Choose Your Own Adventure Granola Bars

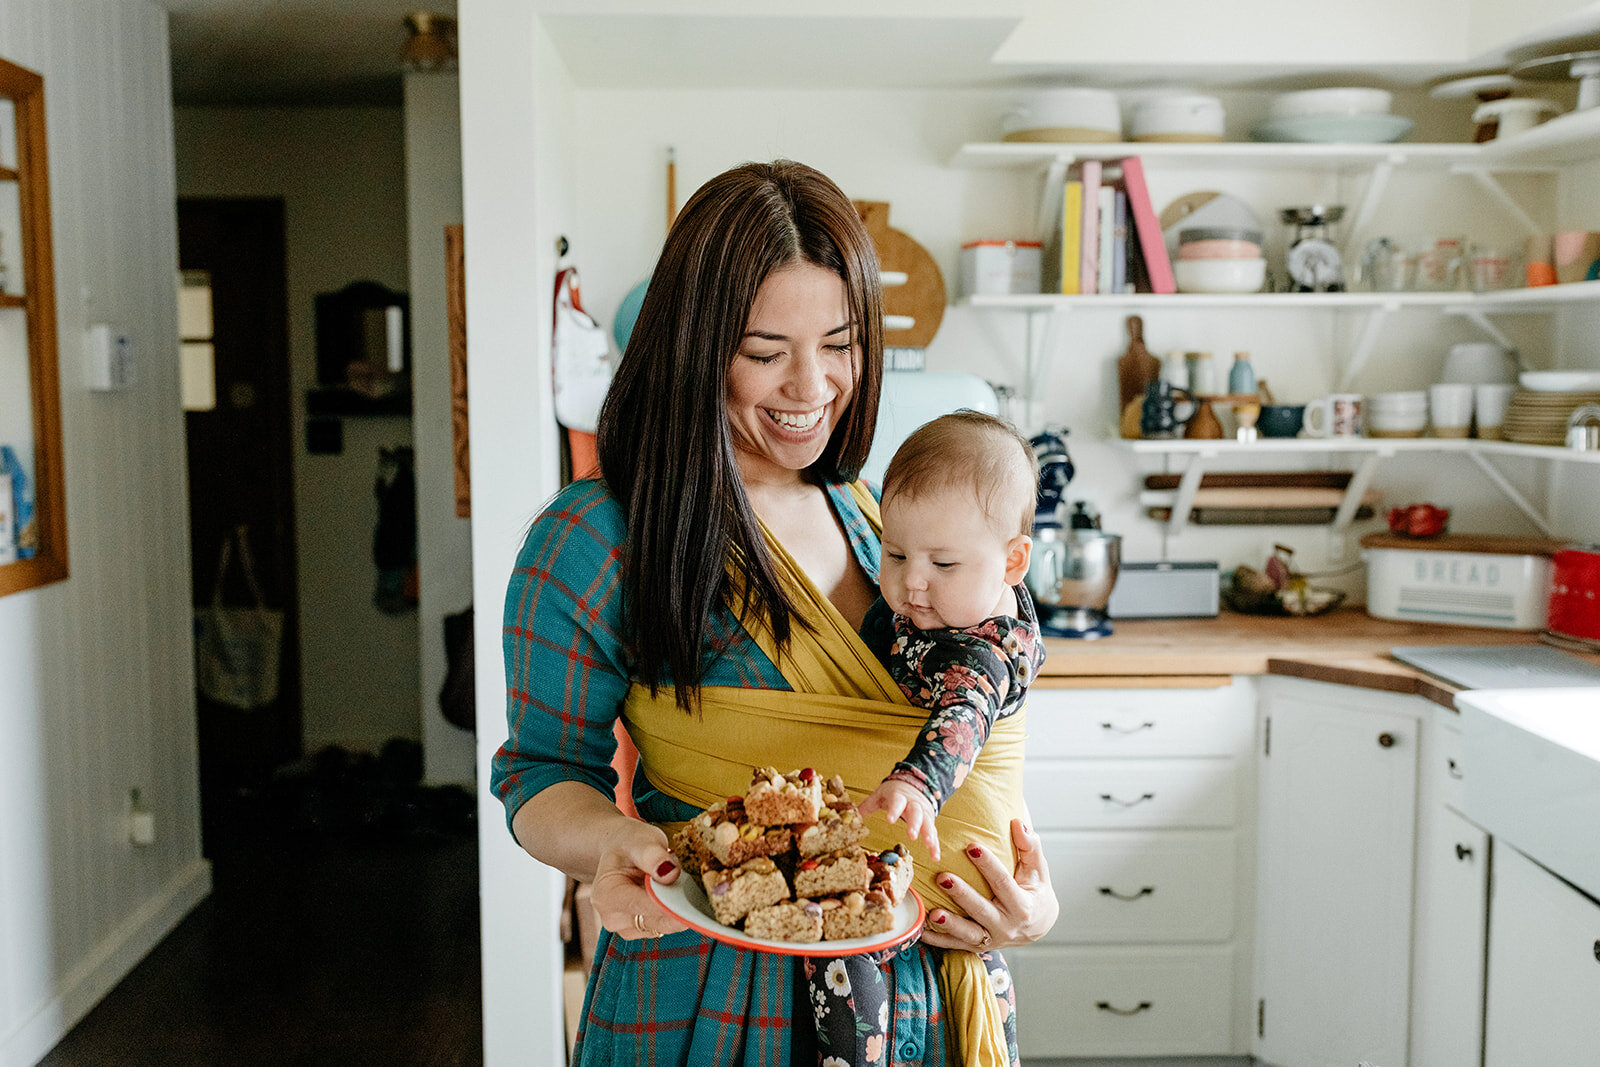
One of the questions I get most these days is how my cooking has changed now that Bernie is around. The answer is that I have a whole new appreciation for quick one-bowl recipes, recipes that require minimal chopping or actual heating, and anything that can sit nicely and well-behaved for 10 minutes if at any point I need to drop it and feed Bern. This is because, unless Bernie is having Grandma or nanny time, she is most likely attached to me. Her bouncer and play pads are cool and stuff but she is often over them after like five minutes so I have to use that time strategically and schedule it for the 10 seconds when I need to put something in the oven or chop up an onion. Or another scenario is that I plan to do all of my vegetable chopping for the next few days while she’s napping so that when she’s awake and on me, I can sail through salad assembly without the use of a knife. 

Logistics aside, cooking has also gotten way more exciting because have you ever seen a baby smell a piece of freshly baked pita for the very first time?! Or stick her face in a pluche of basil for the first time?? The facial expressions are solid gold. I also sometimes try to explain everything I’m doing to her, which kills two birds with one stone: I can rehearse my Girl Meets Farm lines and also encourage her communication development beyond singing Baby Beluga over and over

Some other things I’ve learned include that the sounds of the stand mixer and blender are soothing to her, the site of the water running is fascinating to her, if she’s ever a little fussy I can step outside to get some herbs from the garden and that immediately calms her down, and that she wants to hold anything that has a crunchy wrapper. So if I need to carry a lot of things from the fridge to the counter, I can put the bag of spinach in her hand while I carry the lemon and parmesan, and 50% of the time the spinach will actually make it to the counter!

If this all sounds fine and dandy, trust me, it was a learning curve! Remember the first thing I baked after Bernie was born? Making those cakes required 5,000 breaks, hours and hours, and I still had to forego my obsessive desire for perfect ganache drips. Which is fine. This is still one of my favorite cake photos ever. But slowly I learned this new way of doing things and I’ll continue to learn, especially as Bernie becomes old enough to help in the kitchen (or to decide that she wants nothing to do with helping in the kitchen)!

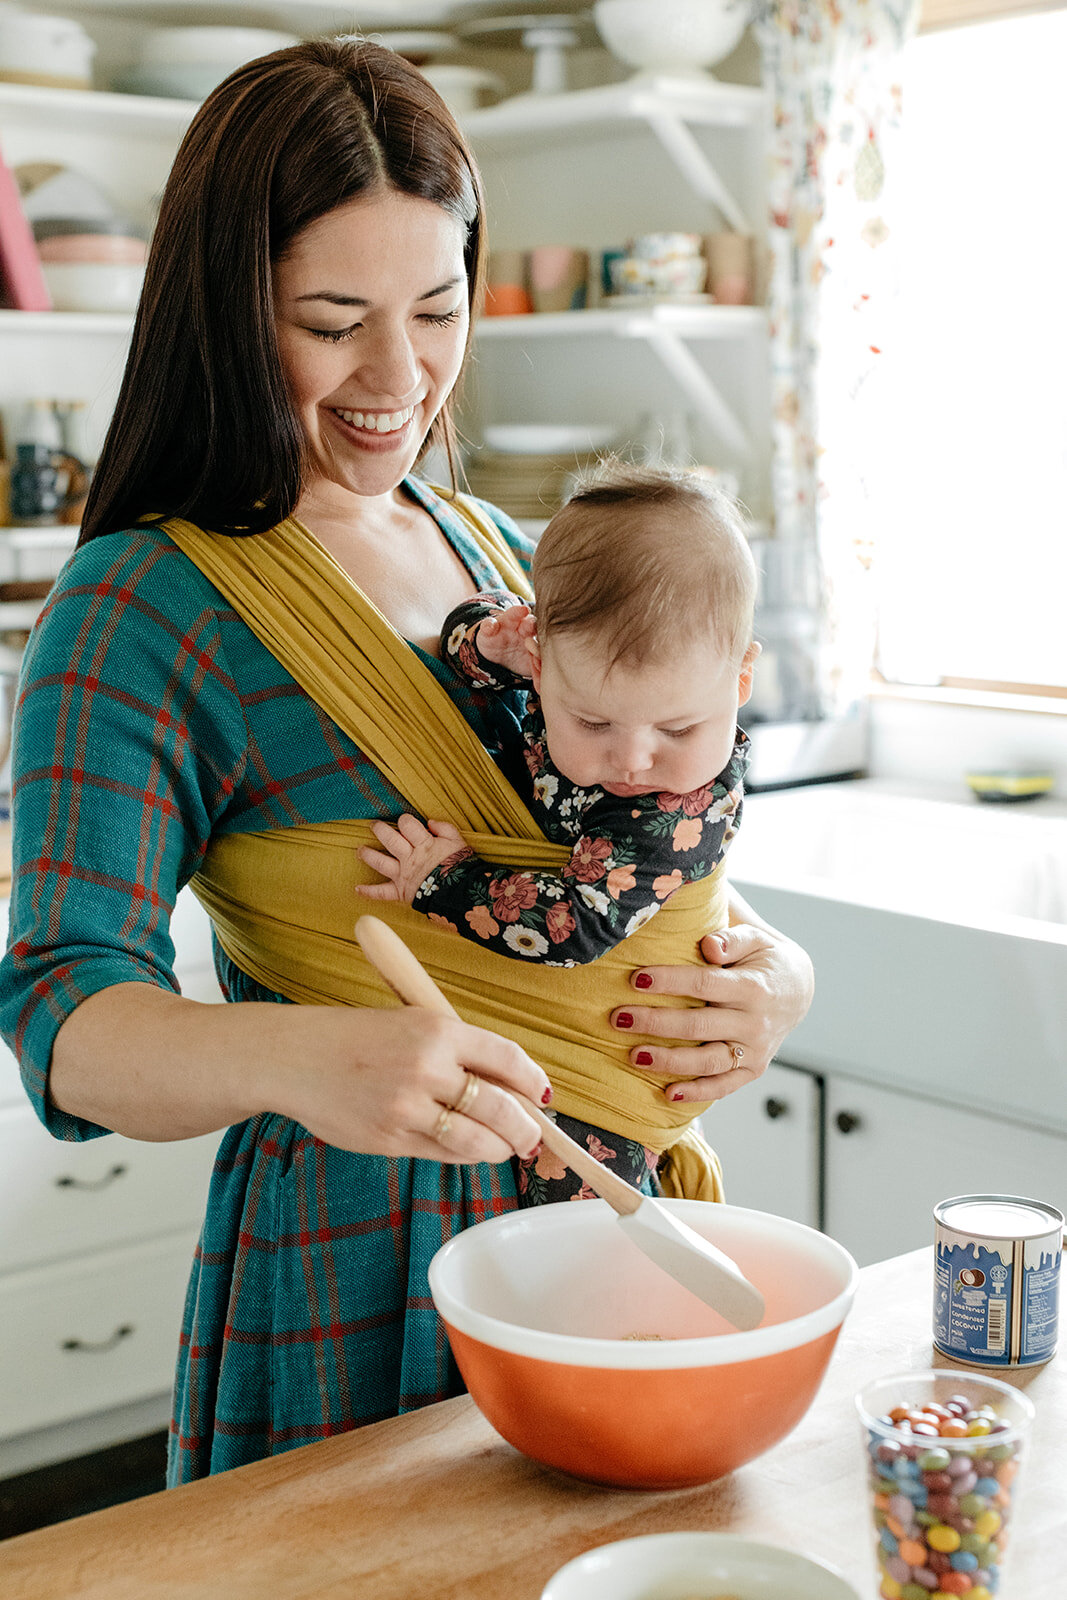
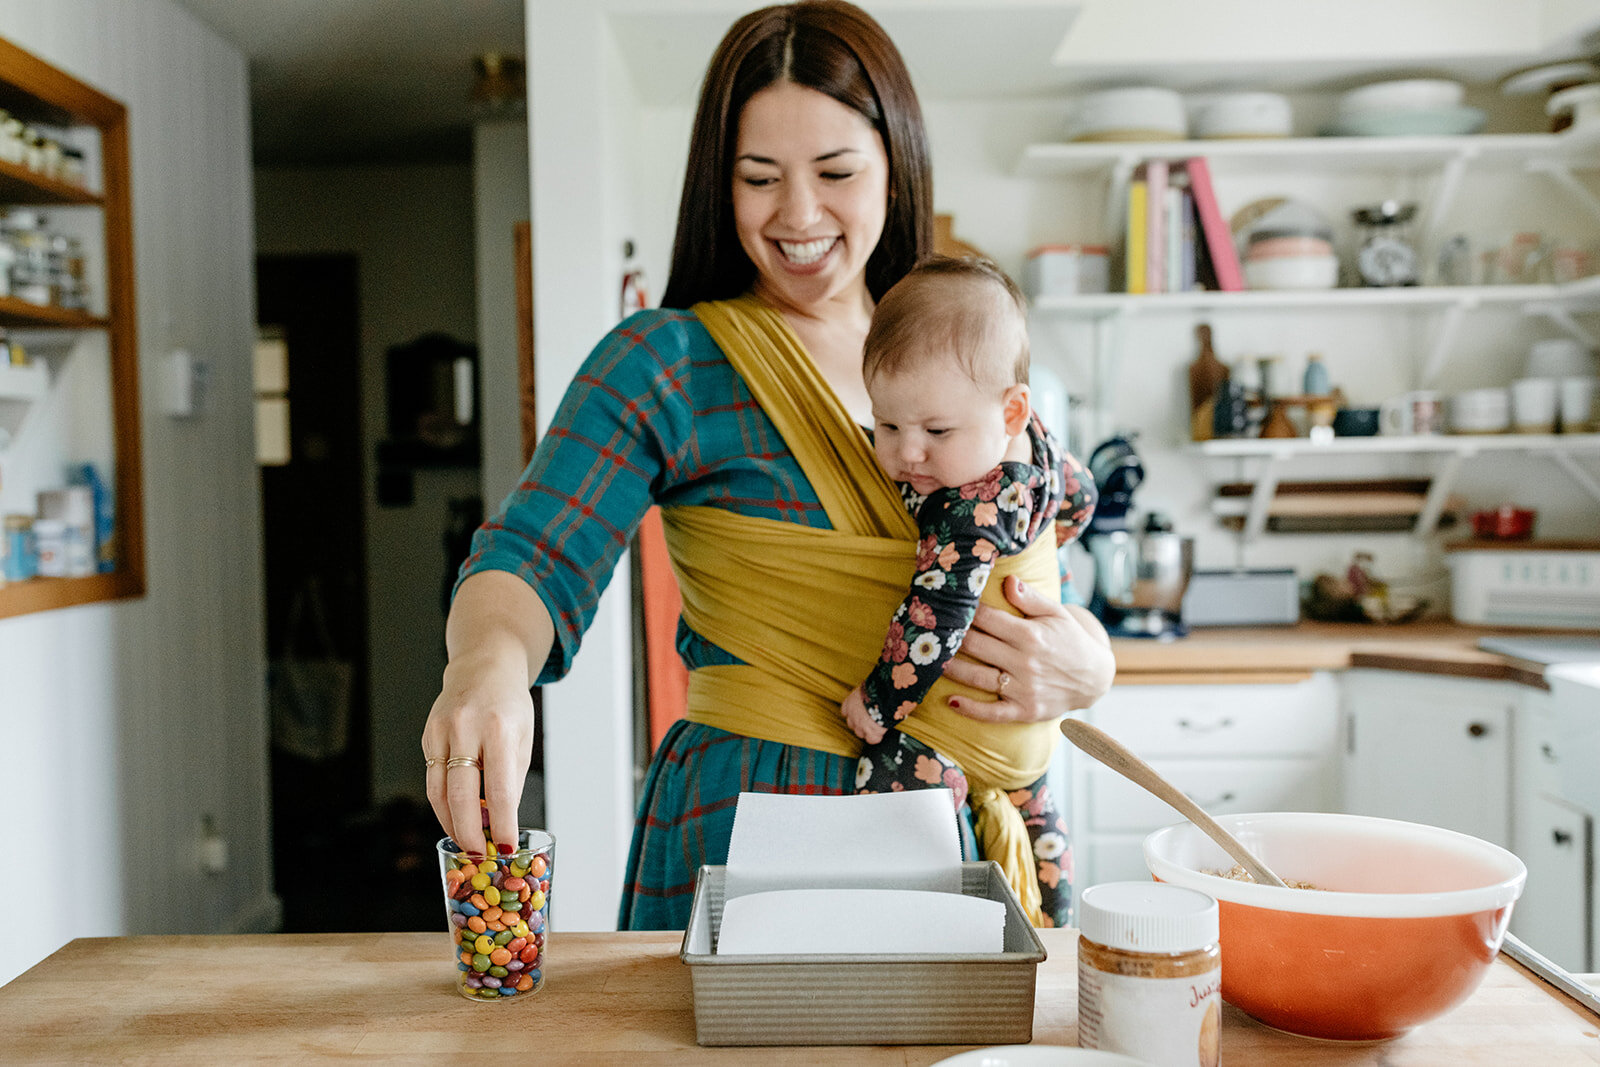
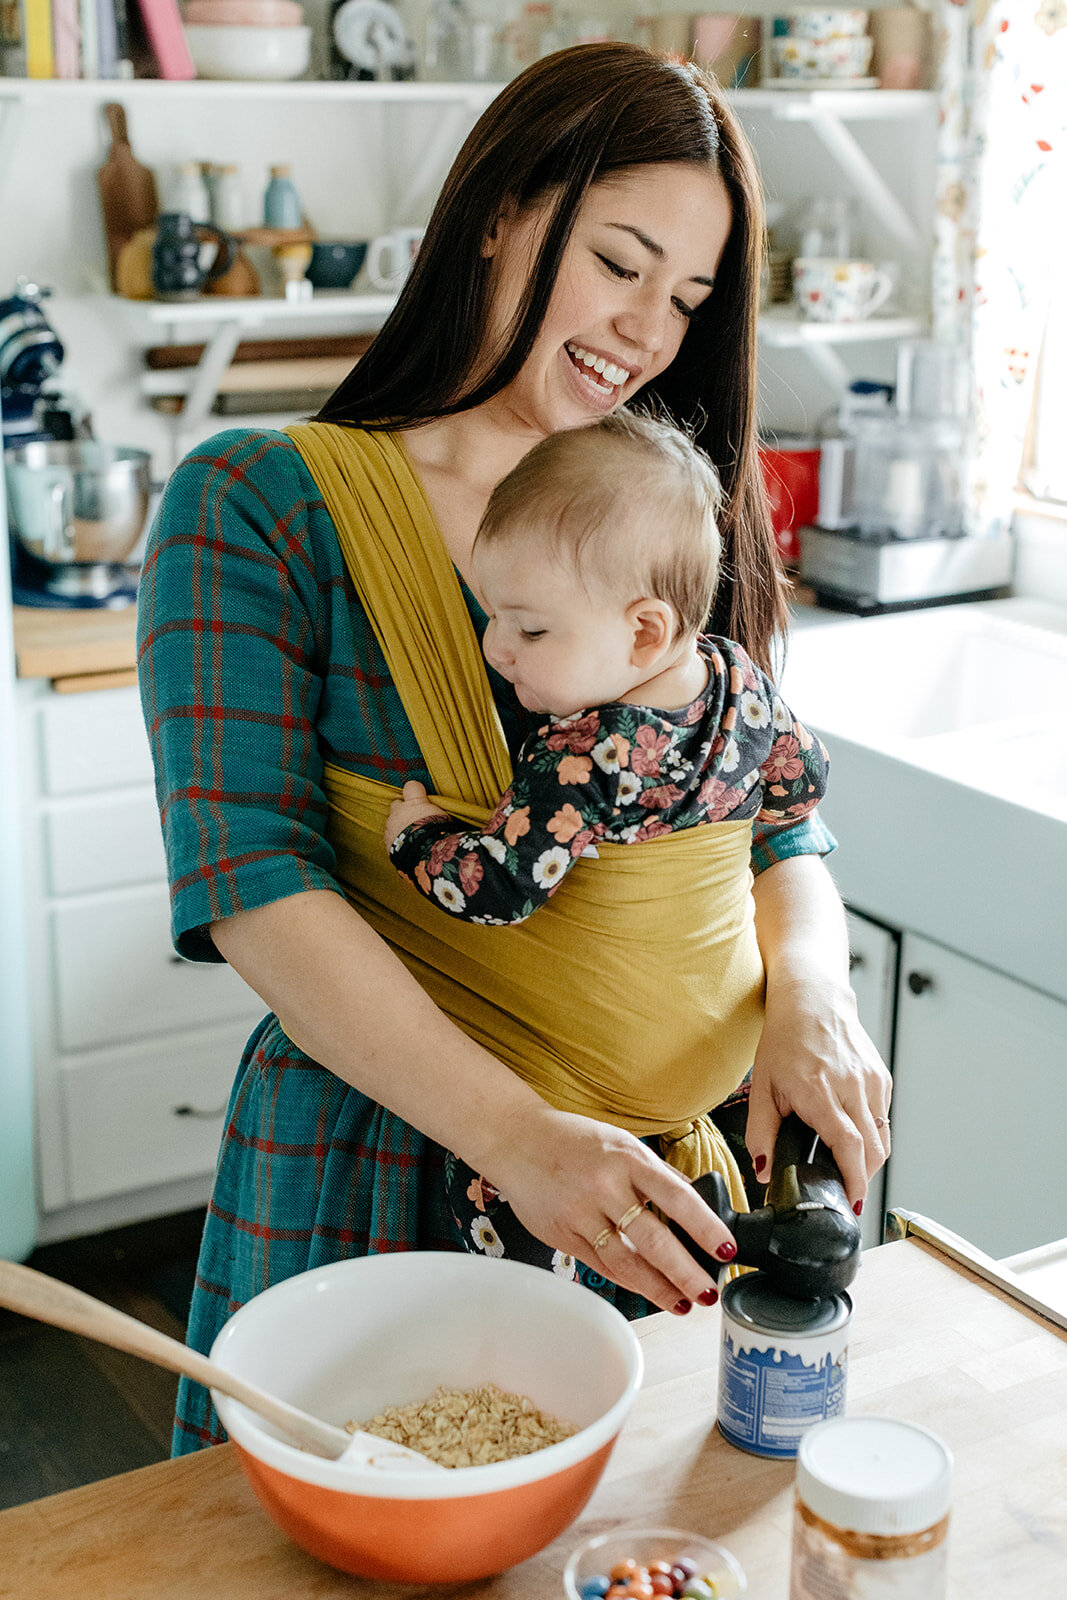
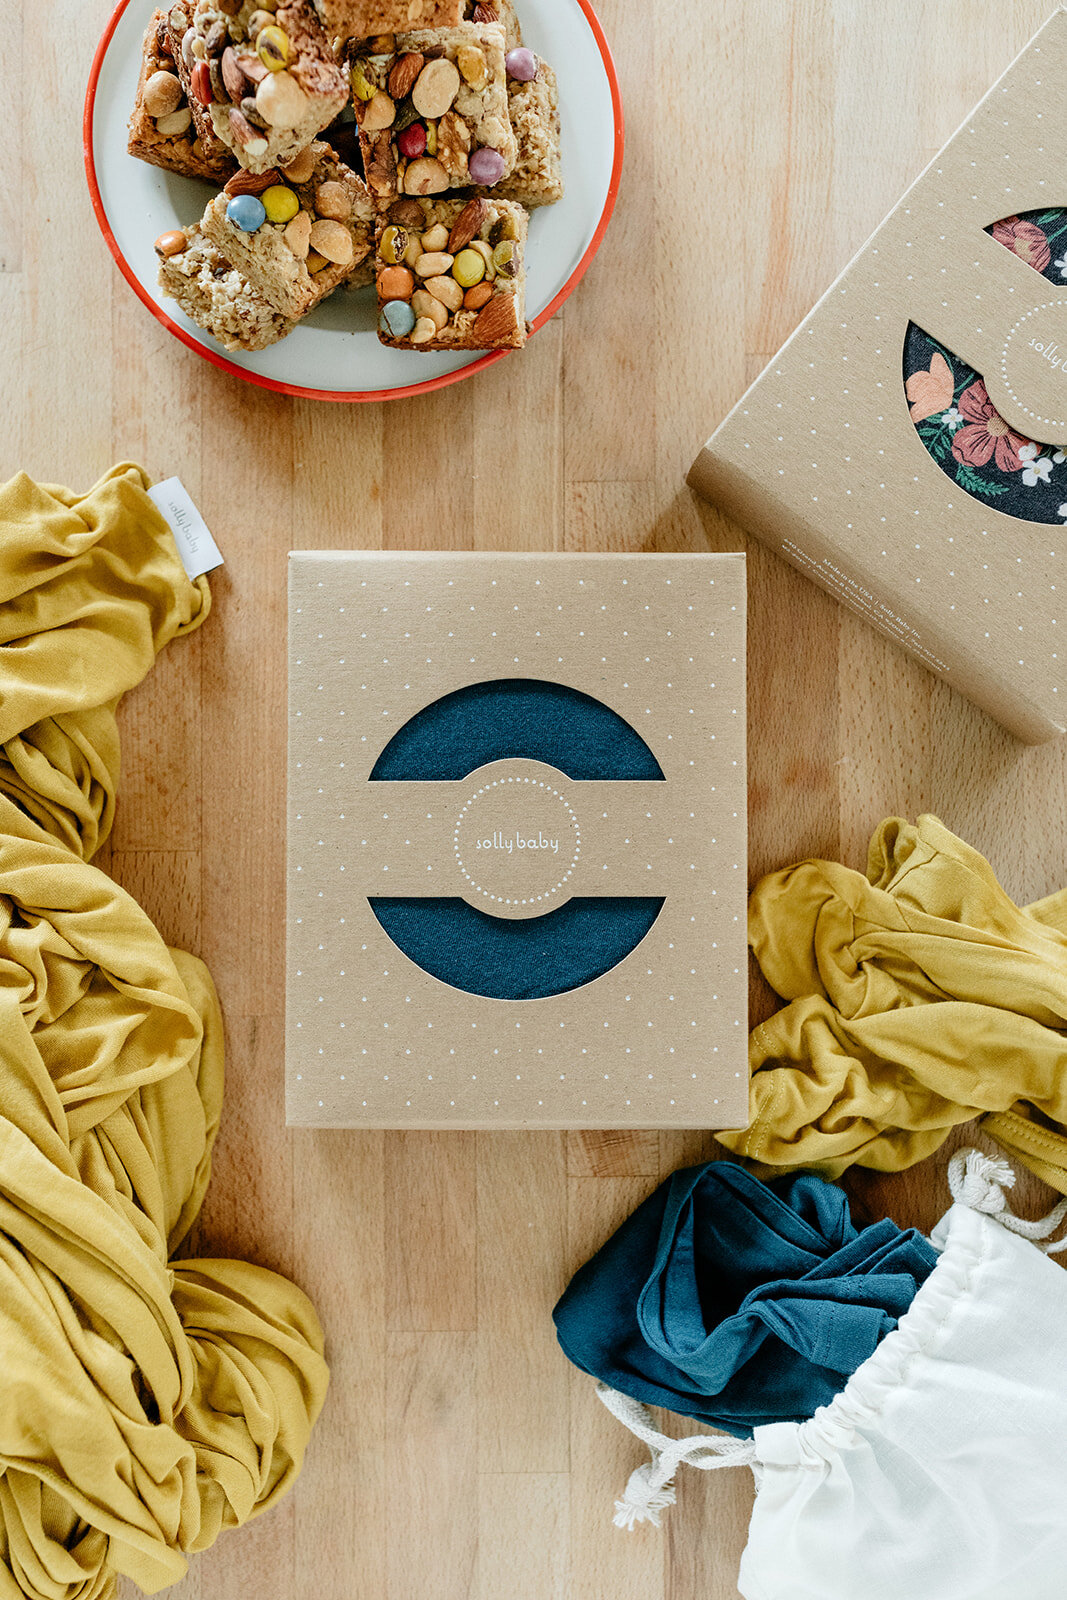
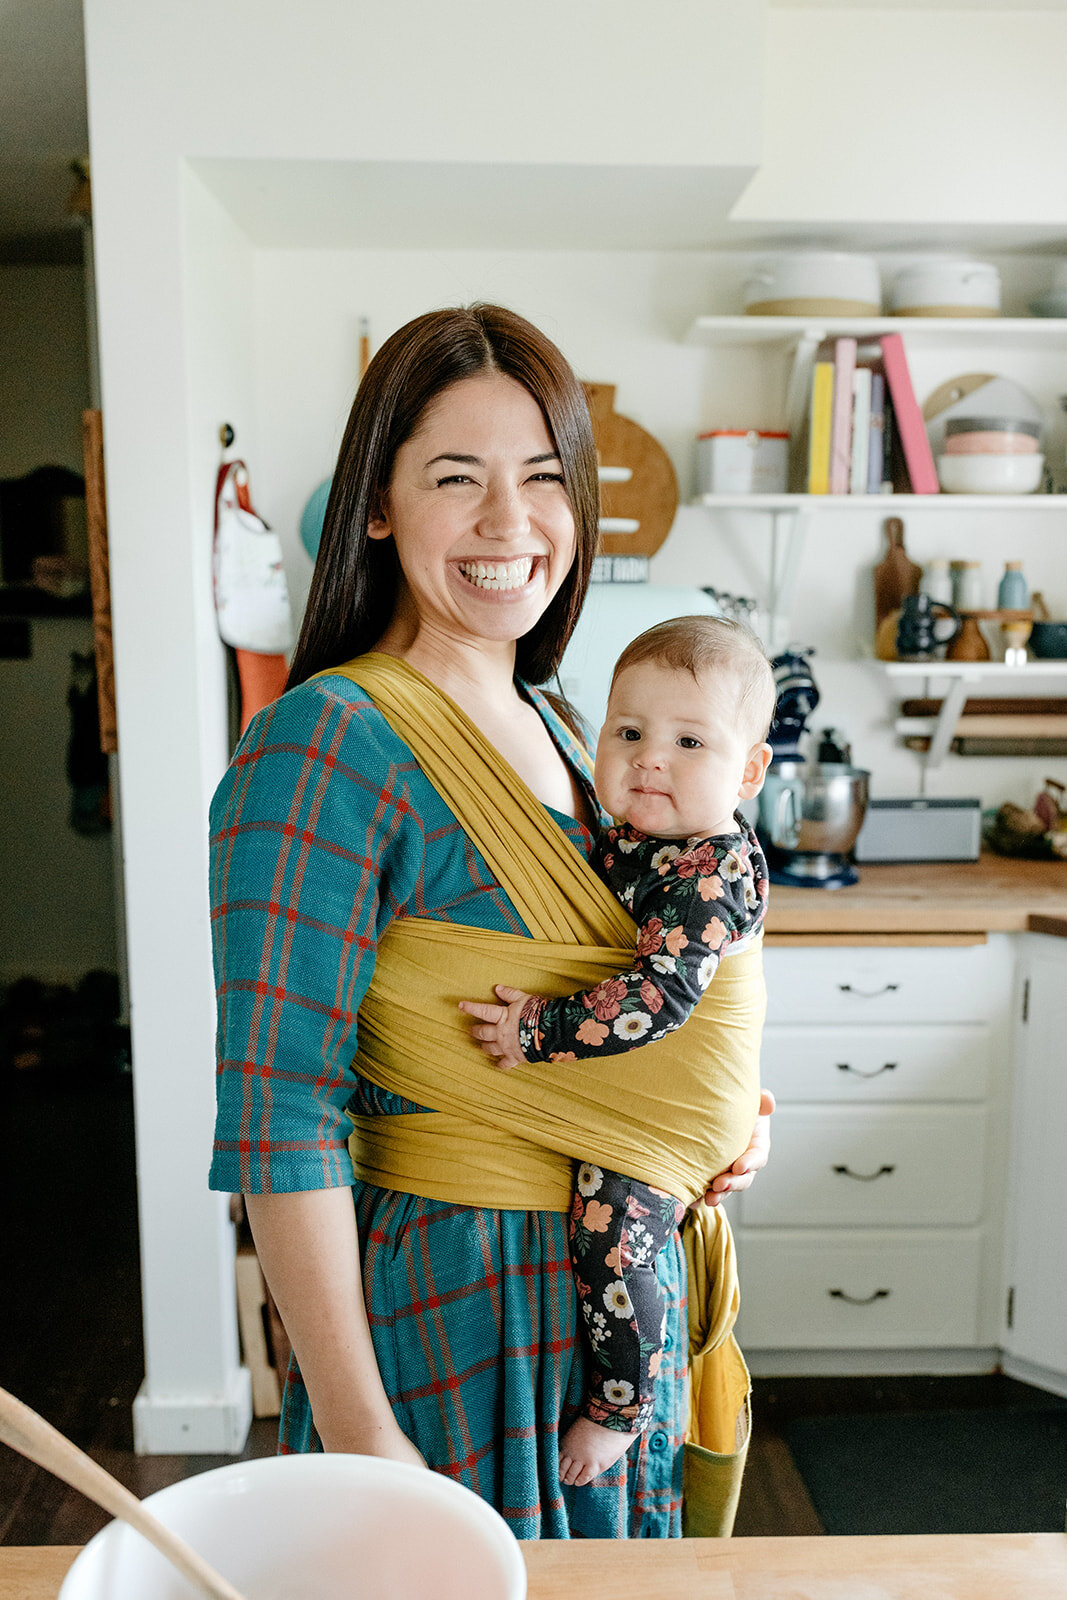
One of my faaaaaaaaaaaaaaaavorite pieces of baby gear during this adjustment to life with Bernie has been my Solly Wrap. I’ve been looking forward to this partnership with them for forever because, well, if you follow me on Instagram you know that she practically lives in it. For her first few months, it was her guaranteed happy place. I wouldn’t leave the house without it because if ever she woke up in her stroller a little cranky, I knew that I could put her in the wrap and calm her right down (even when she wasn’t in it, I’d wear it on me to the grocery store so that I could plop her in it at a moment’s notice). For a while during maternity leave, I would go walking with her at the gym every single day and she would nap the whole time while I listened to Unorthodox. I loved those afternoons sooo much. And then where was she when I made my first postpartum loaf of challah? In her wrap. 

Once we discovered this wrap, time in the kitchen got so much smoother and more enjoyable for both of us! I just love having her on me and she loves it too. I honestly can’t sing enough praises about this thing. It’s become my new go-to gift for new parent fronds. 

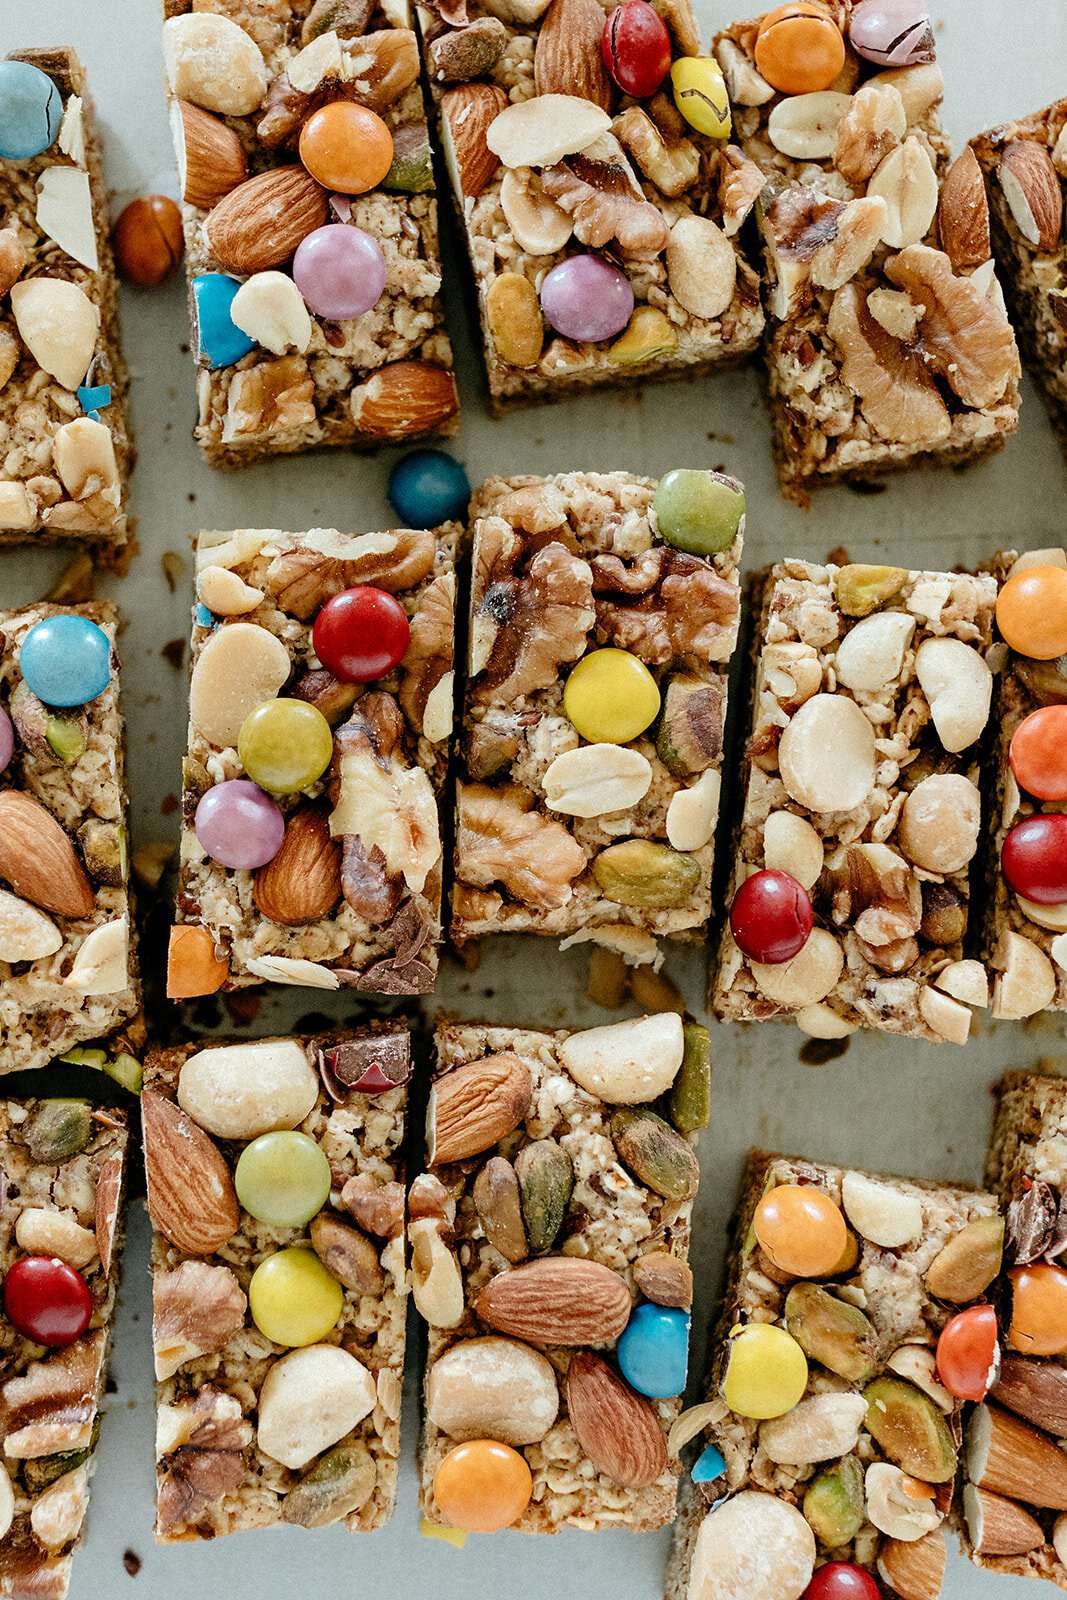
So today I’m sharing a recipe that I have made countless times with Bernie in her wrap. It’s a one-bowl, lightning fast recipe for granola bars that can be made with whatever nut or seed butters, dried fruit or nuts, chocolates, seeds, and other mix-ins that you have on hand. And they’ve got oats and flax to aid in lactation! All of the ingredients are easy to keep in your pantry for whenever you get a free moment to throw these together, and these bars keep for a while in the fridge or freezer. They’re nutty, chewy, filling, and perfectly sweet. I’ve eaten so many of these and Eggboy has too! (Think he’s started lactating? Lol) The only steps I obviously don’t do while Bernie is in her wrap are putting them in and taking them out of the oven and then chopping them into bars. But everything else is wildly easy and after making these one or two times you’ll probably memorize the ingredient amounts. And by the way, this recipe is page one of her cookbook

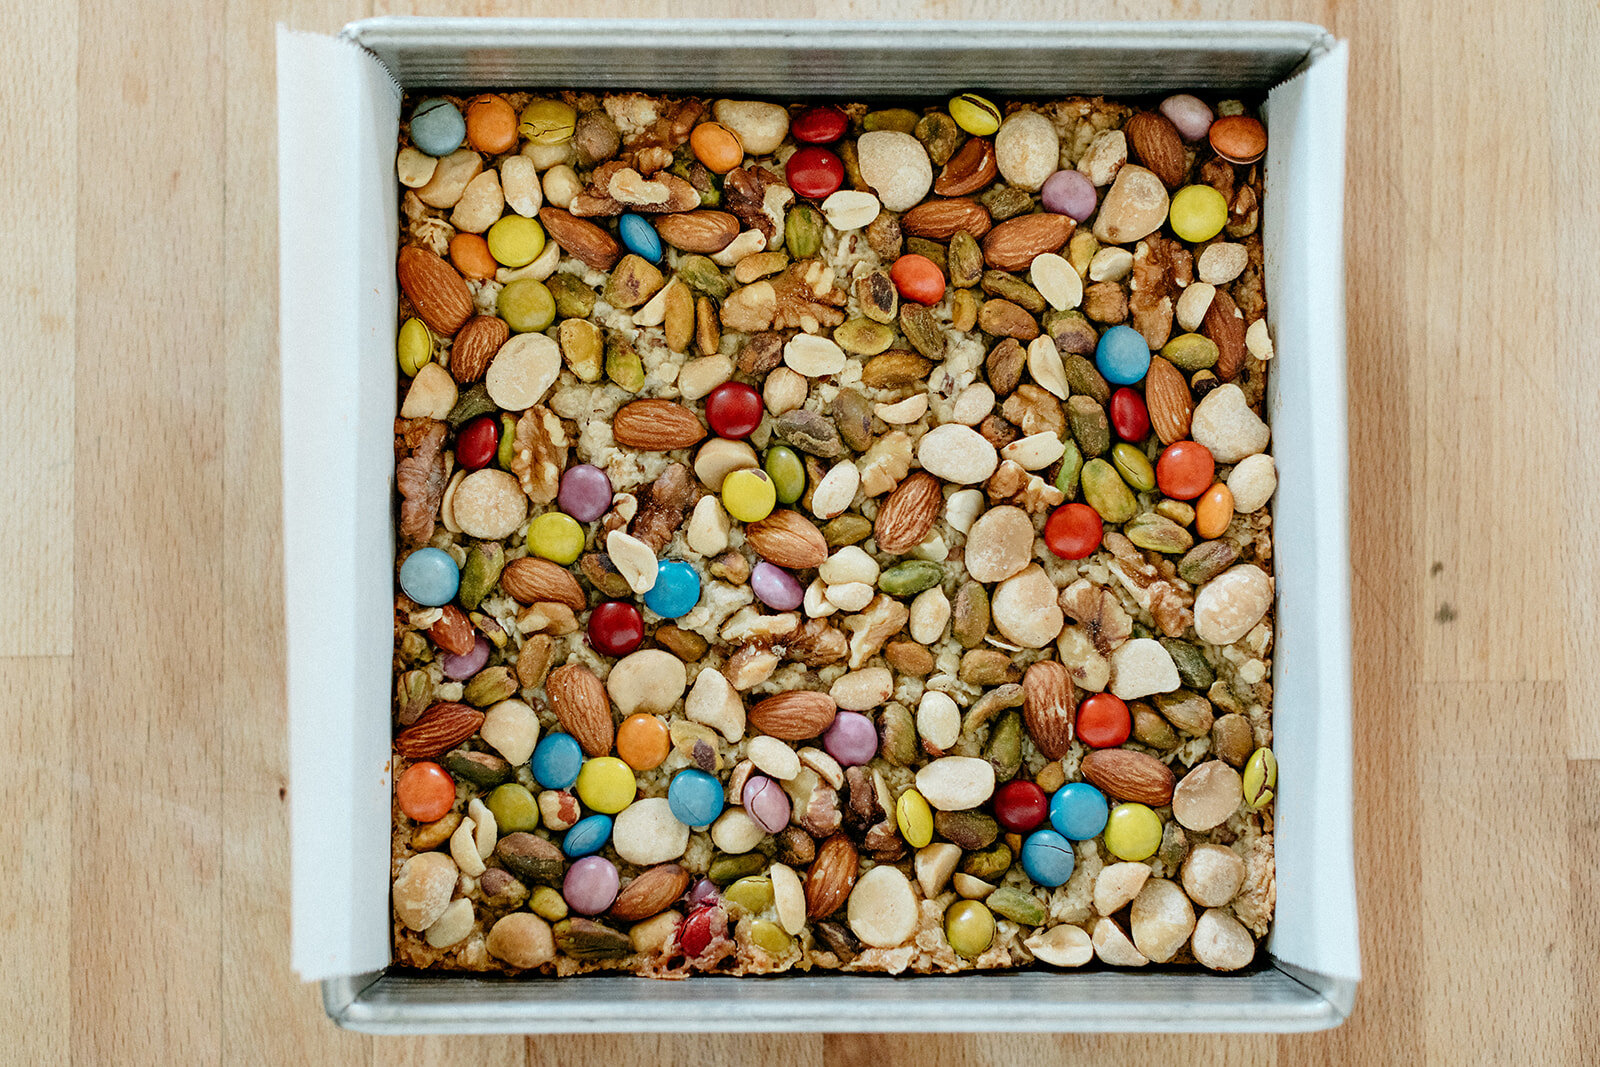
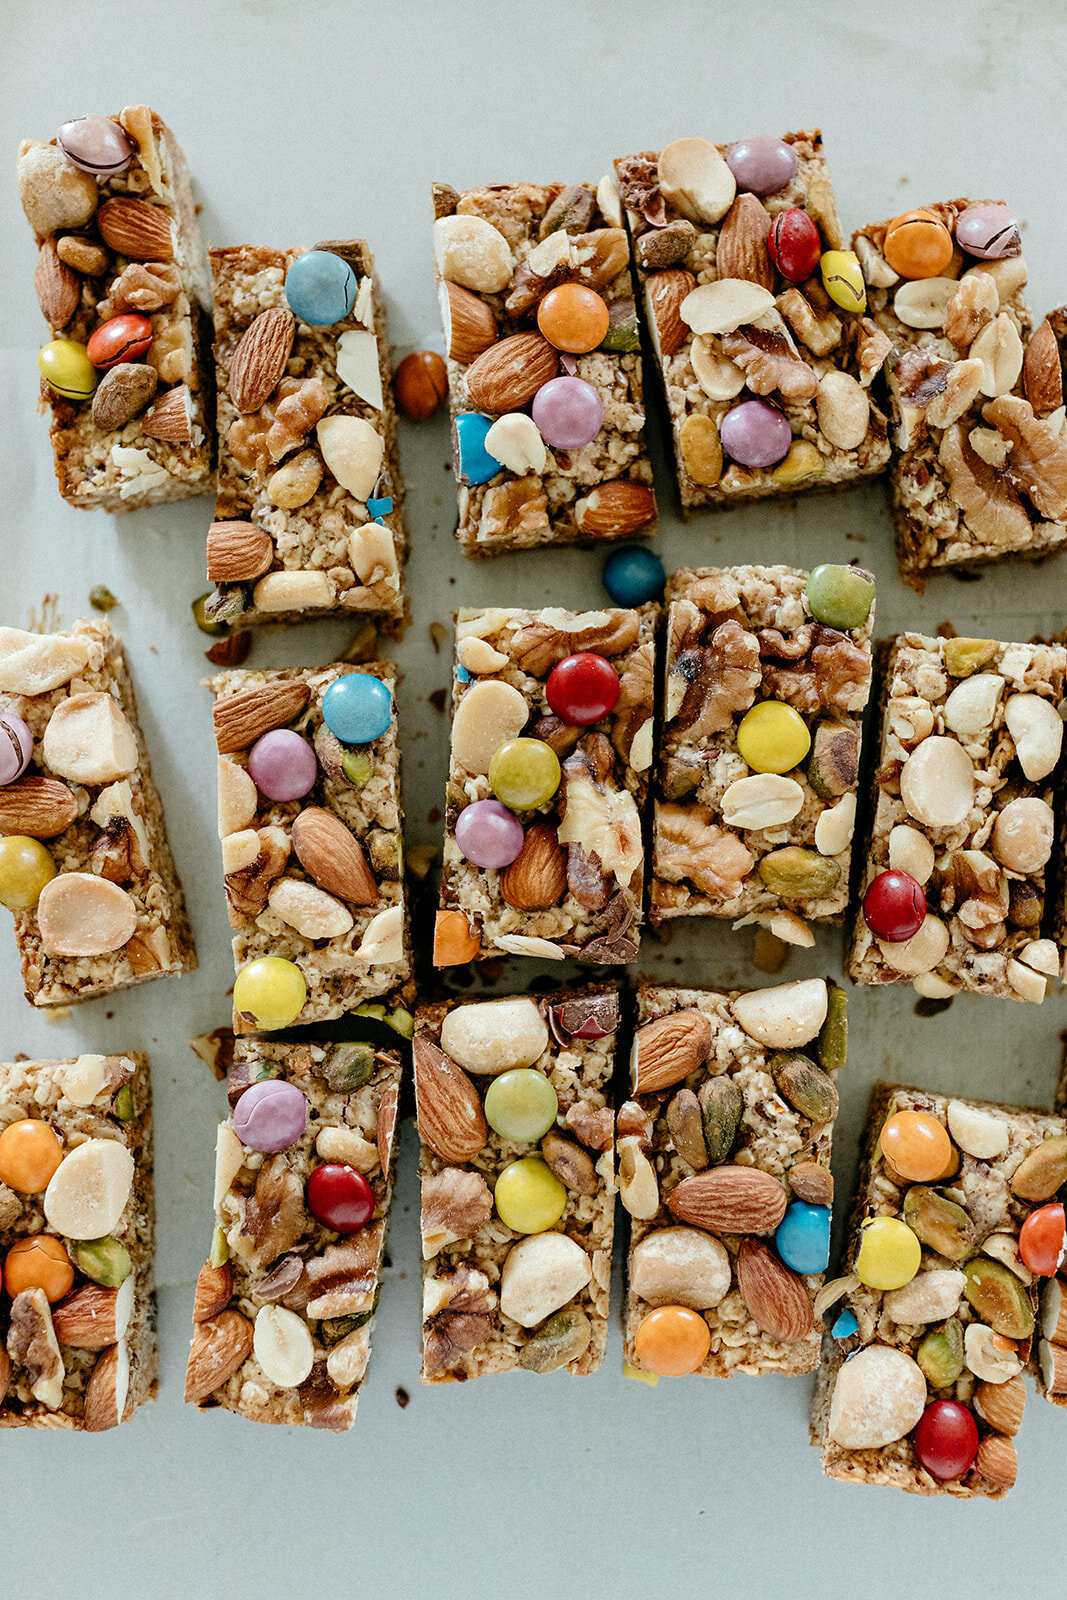
My favorite combos are: cashew butter + dried apricots, almond butter + a broken up white chocolate bar, tahini + roasted pistachios + crumbled marzipan or halva, and peanut butter + dark chocolate. For these pictures I couldn’t decide, so I added all of the nuts! And candy coated chocolates.

So for all of the new parents out there who just want to bake a darn thing, this one is for you!! 


Choose Your Own Adventure Granola Bars

makes 18

Ingredients

1 (14 oz) can sweetened condensed dairy milk or sweetened condensed coconut milk

1/2 c (128g) unsweetened nut or seed butter (I love cashew butter, almond butter, and tahini the best!)

1 tb vanilla extract

1/2 tsp kosher salt

3 1/2 c (280g) quick cooking oats

3 tb (45g) flax seeds, or a mix of different seeds (chia, millet, sunflower, etc)

1 c (112g) roasted salted nuts

3/4 c (120g) dark chocolate chips or candy coated chocolates

Dried fruits, optional

Clues

Preheat the oven to 350ºF. Line an 8” x 8” baking dish with enough parchment paper so that it comes up the sides and hangs over by 1”. 

In a large mixing bowl, stir together the condensed milk, nut or seed butter, vanilla, and salt. Add the oats, seeds, and nuts* and mix to combine.

*Alternatively, you can add the nuts in the next step by pressing them into the top of the granola bars when you add the chocolate chips. This is what’s pictured and it’s just a different lewk!

Scrape into the baking dish and spread it out evenly. Press the chocolate chips and dried fruits (if using) into the top. Bake for 25 minutes or until lightly browned around the edges. Let cool in the pan for 10 minutes then remove to a rack to cool completely. Chop into bars. Store in an airtight container at room temperature for a few days, in the refrigerator for up to a week, or in the freezer for up to a few months.


-yeh!

photos by chantell and brett quernemoen

Thank you SO much to Solly Baby for sponsoring this post and also just for existing. You guys are the best and I love you. Fronds, here is a discount code for 15% off anything on the Solly site: MollySolly15 (code expires November 4th)!

Sesame Pretzels with Za’atar Mozzarella Sauce

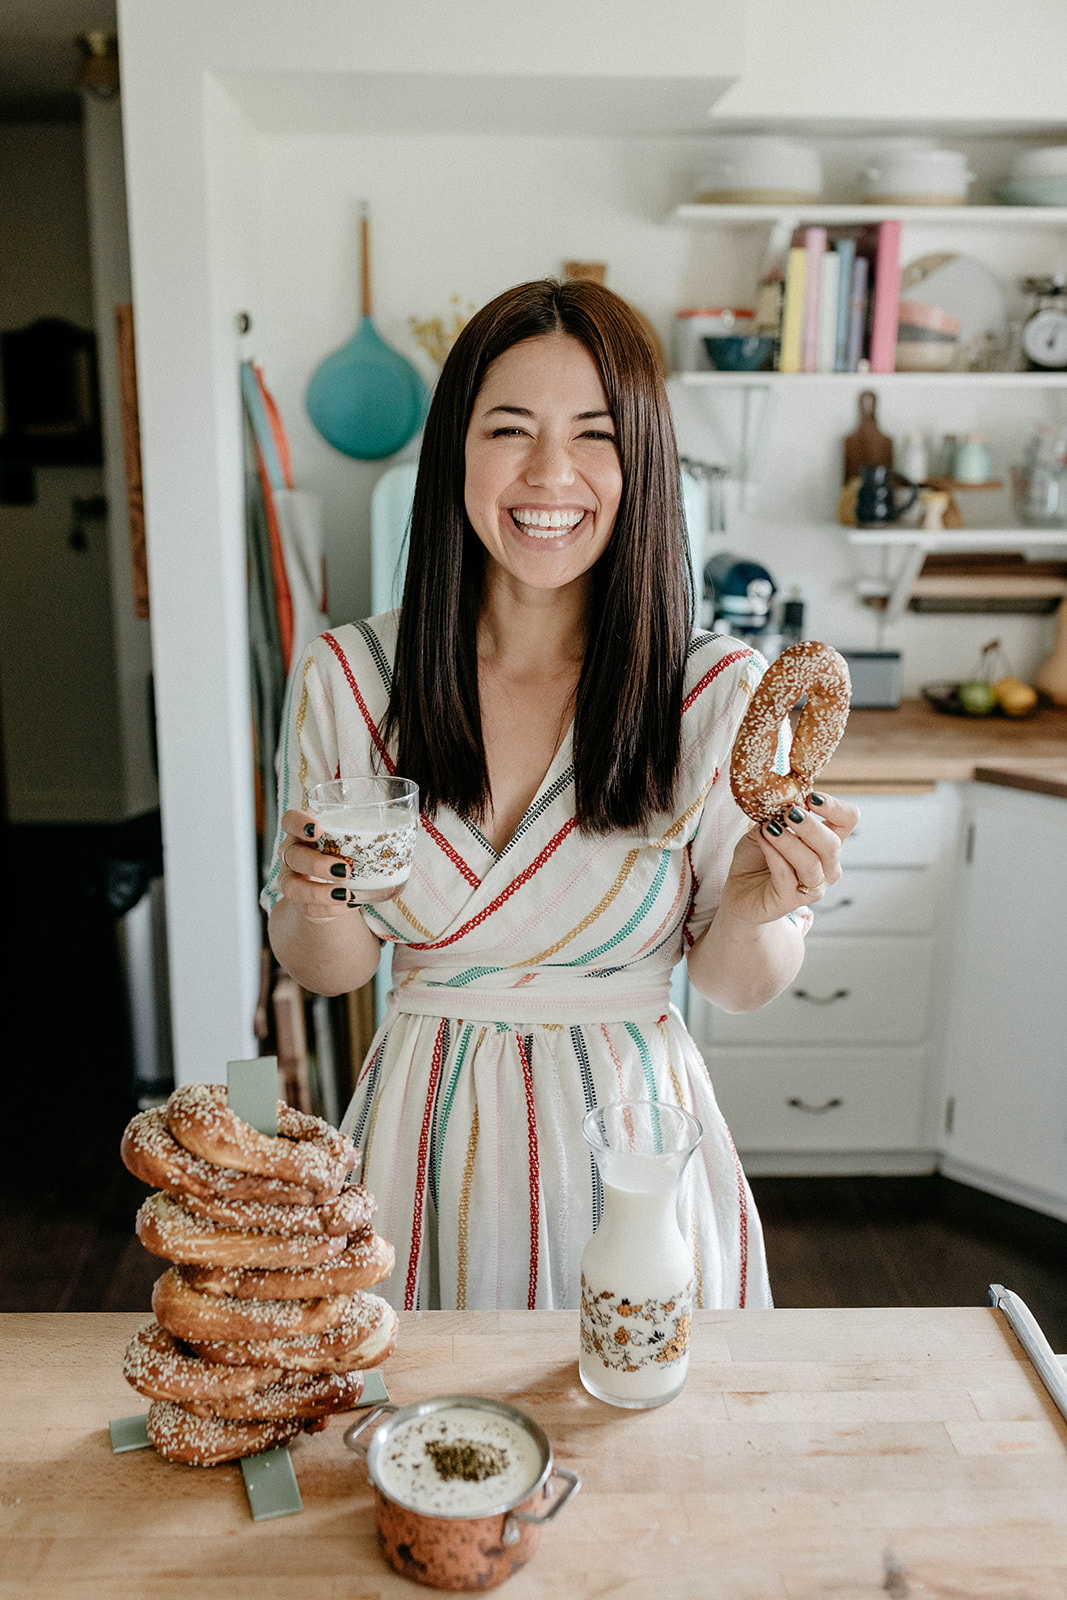
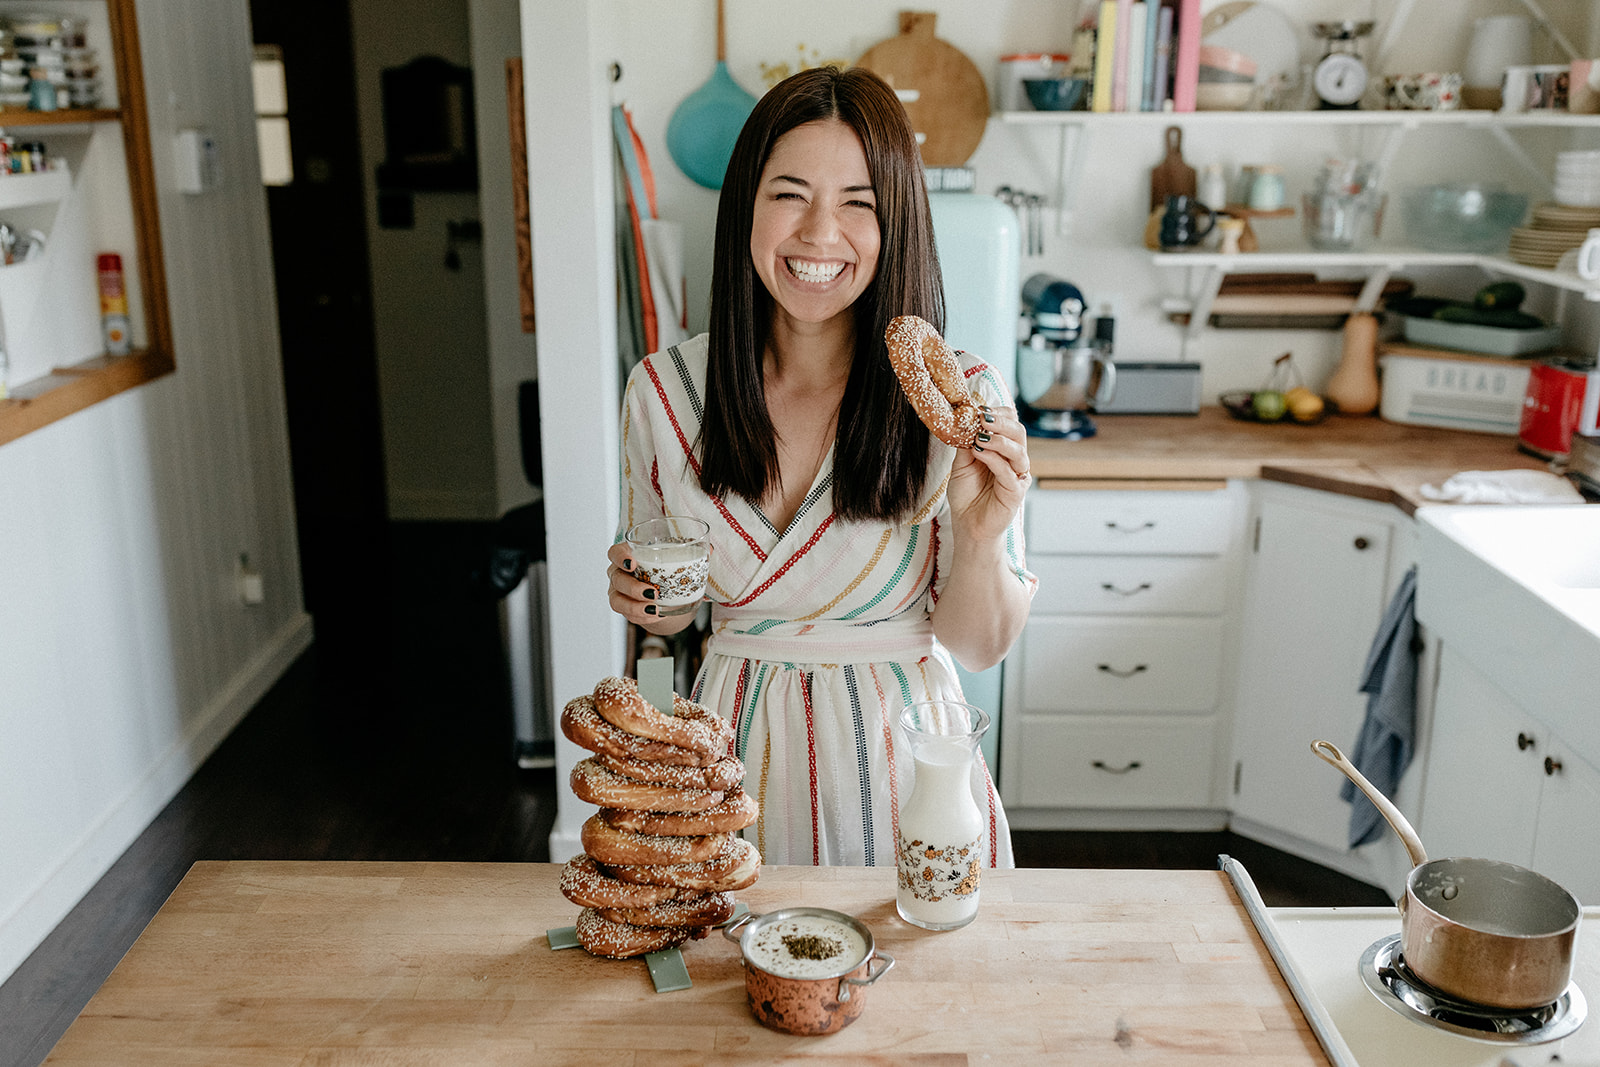
We’ve done it, we’ve achieved peak coziness: Bernie and I live in our matching fuzzy fleeces, soothing whispery folk tunes play on repeat, and in between nap times we pick squash and apples from the garden. I never thought I could love the fall more, but of course now it’s one thousand million times better with a giggling Bern strapped on to me. I try not to think about the fact that in a few short years, this time of year will mean that it’s time for her to start school, but what I do love thinking about is all of the school supplies and the after school snacks that we’re going to enjoy. (I know, I’ve just made my first batch of baby food and I’m already thinking about after school snacks?! Listen, I already know her full Bat Mitzvah menu, ok? Just let me have this.) I’m just so excited because the snack time that I engaged in regularly after school growing up was probably my favorite meal of the day. I mean, I loved my little breakfast sandwiches that I would eat on the ride to school, and lunches in my frog lunchbox were always great especially when they involved baloney sandwiches, but nothing ever compared to sitting at the kitchen counter, feasting on snacks with a big glass of milk, and hanging out with my mom while D.W. got sassy at Arthur on the TV in the background. After school snack food was always the best food: dumplings, pizza pockets, miniature bagel dogs, cheese on toast, and the crown jewel, hot pretzels. I’d have the frozen kind that came with a packet of extra coarse salt and I’d microwave them with a slice of cheese that got bubbly around the edges. I was never patient enough to allow them to cool so that they wouldn’t burn my mouth, but they were delicious all the same (and nothing that a sip of cold milk wouldn’t fix). It was the best tastiest little break between school and marimba practice and I can’t wait to have that break with Bern.

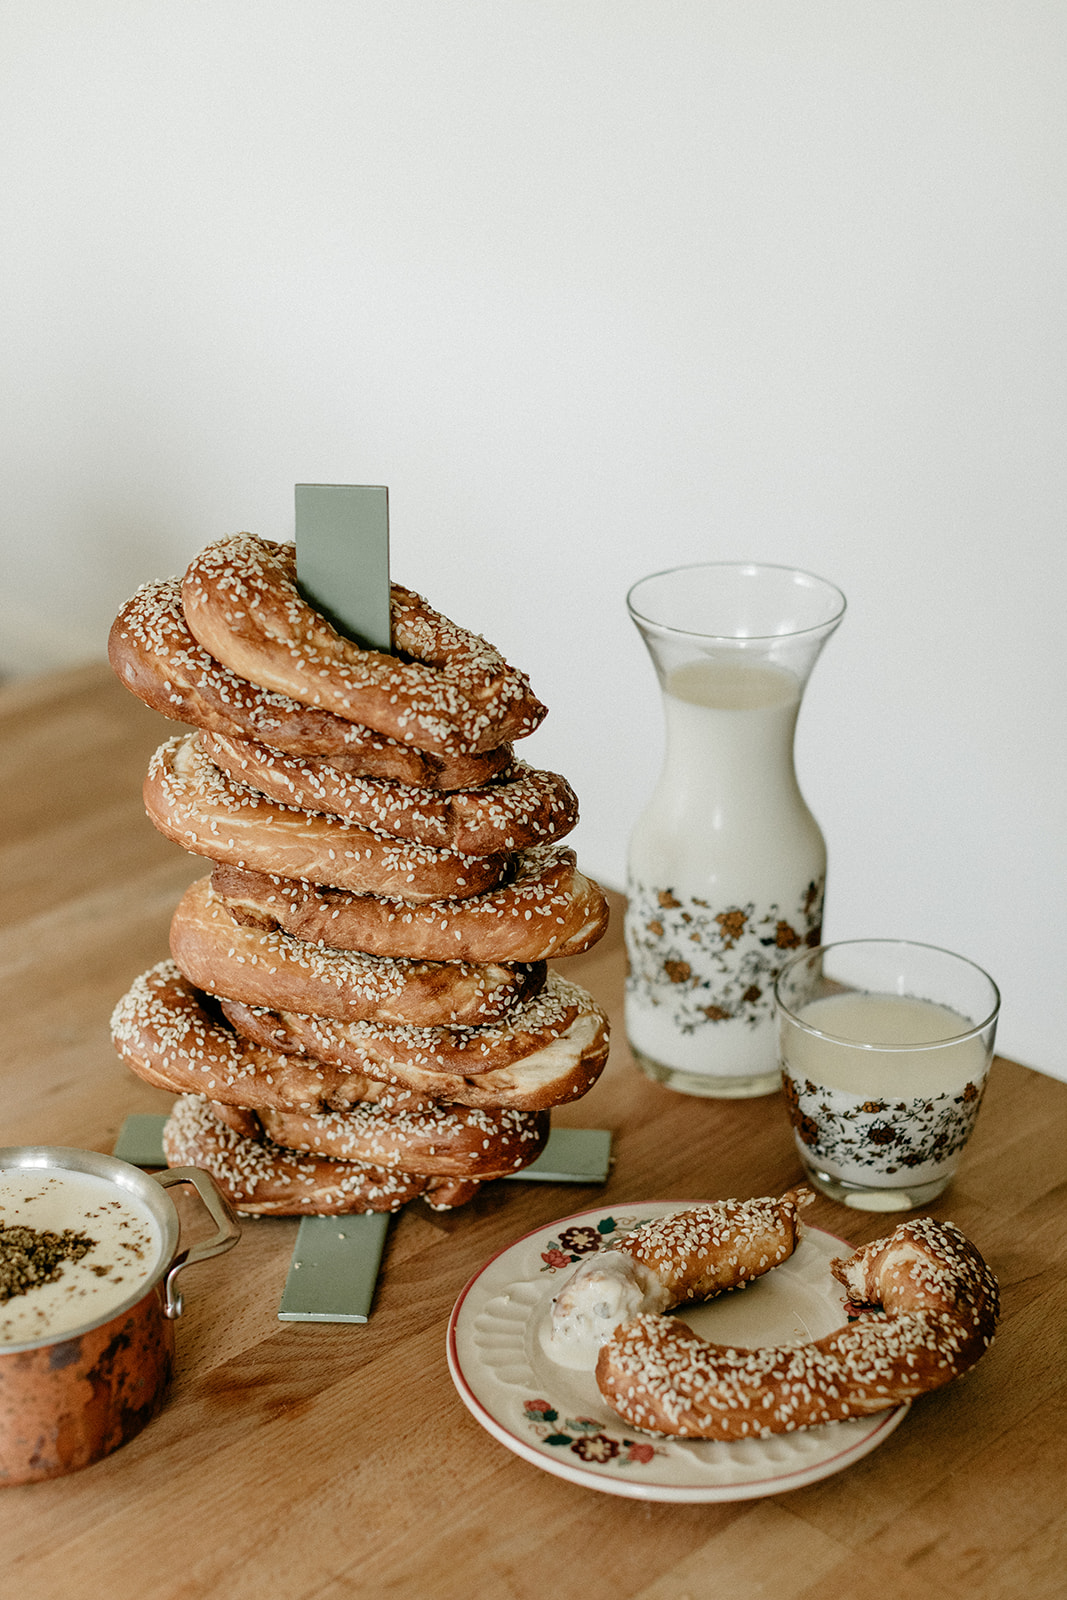
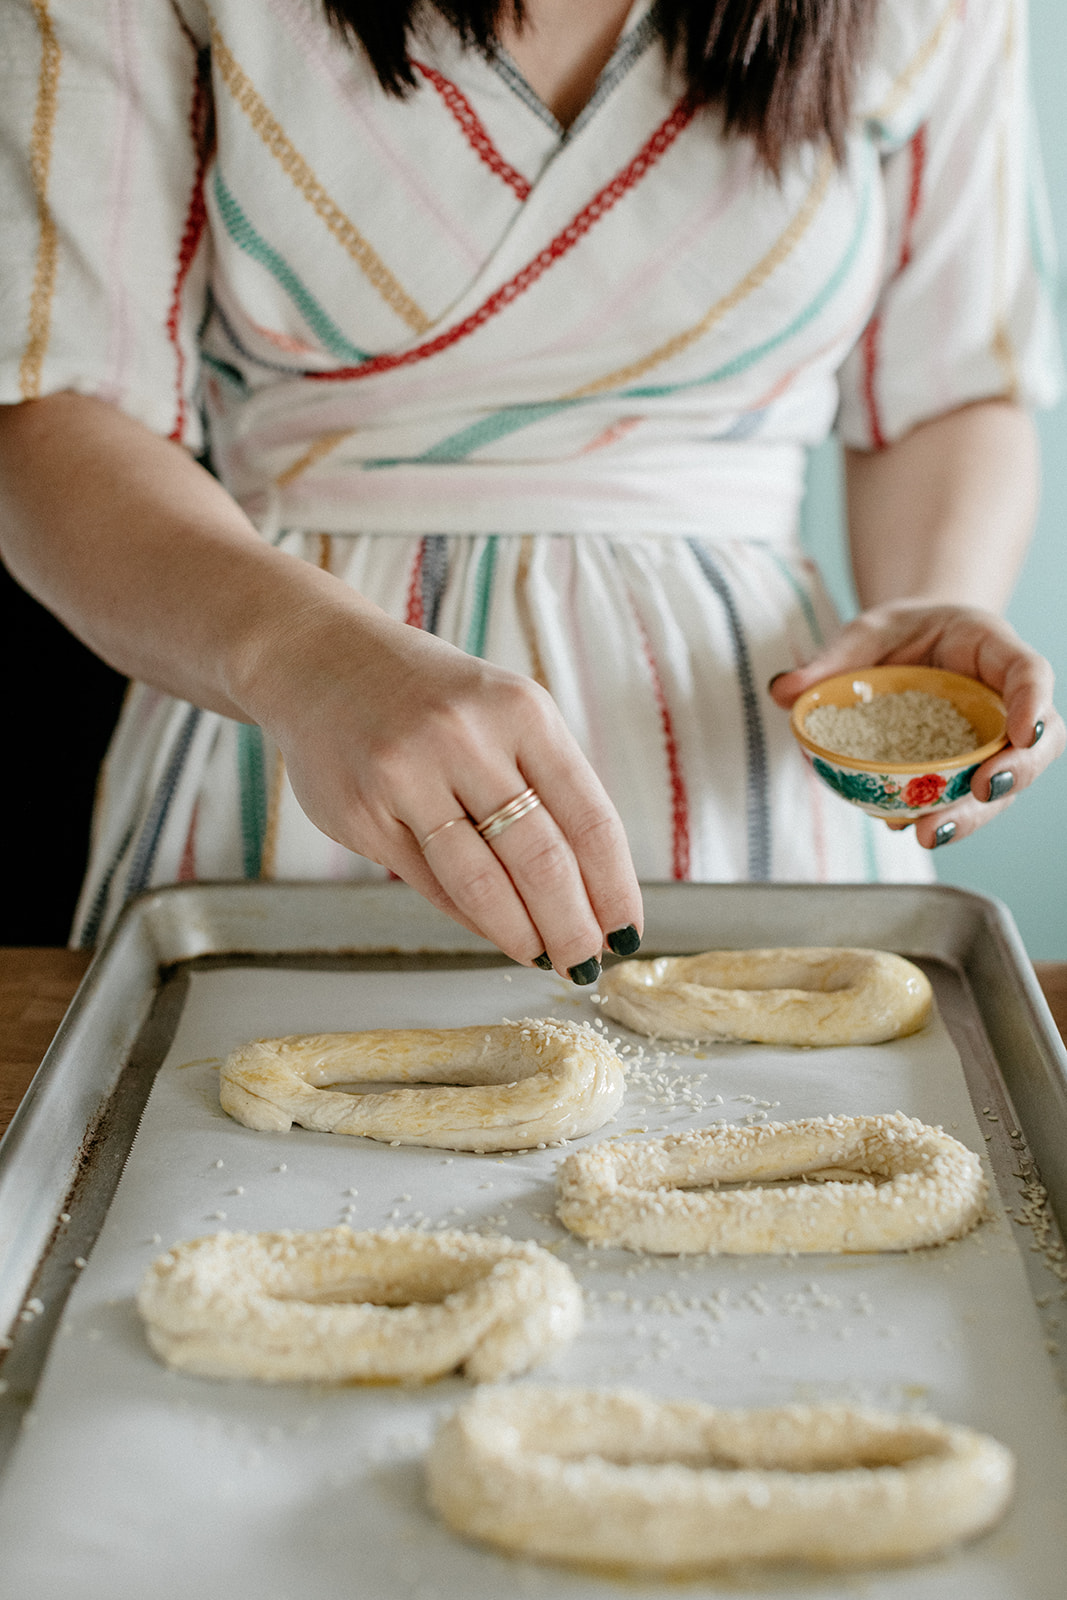
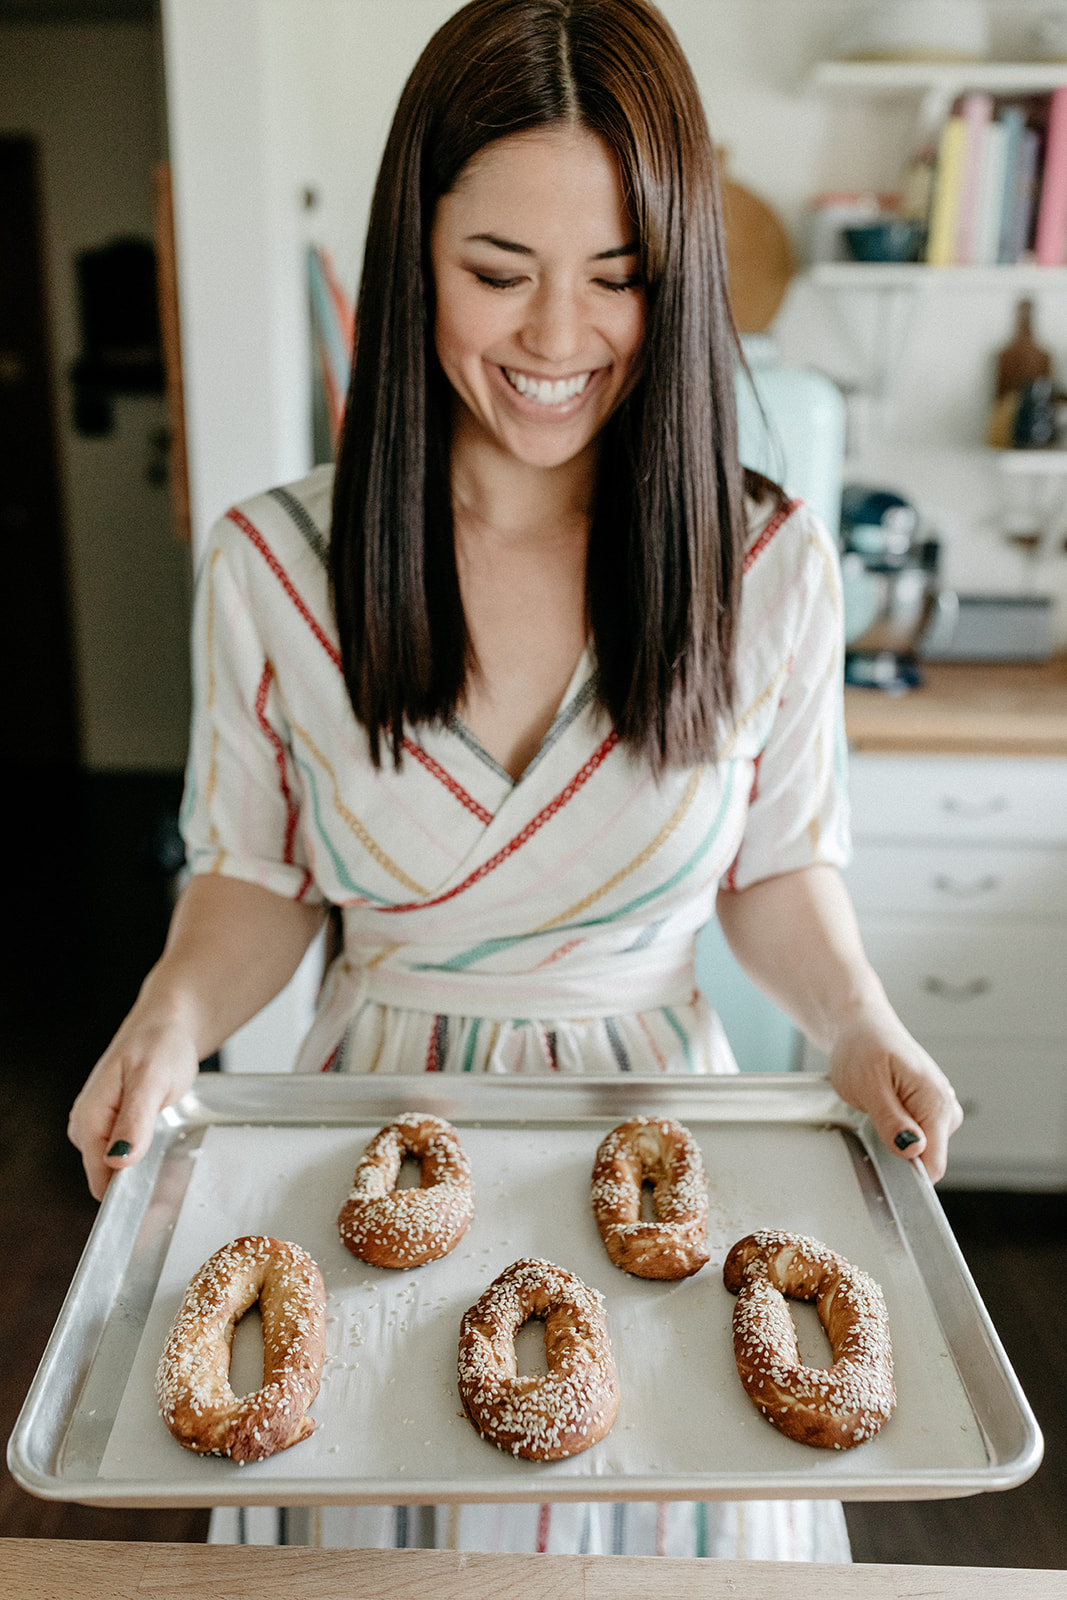
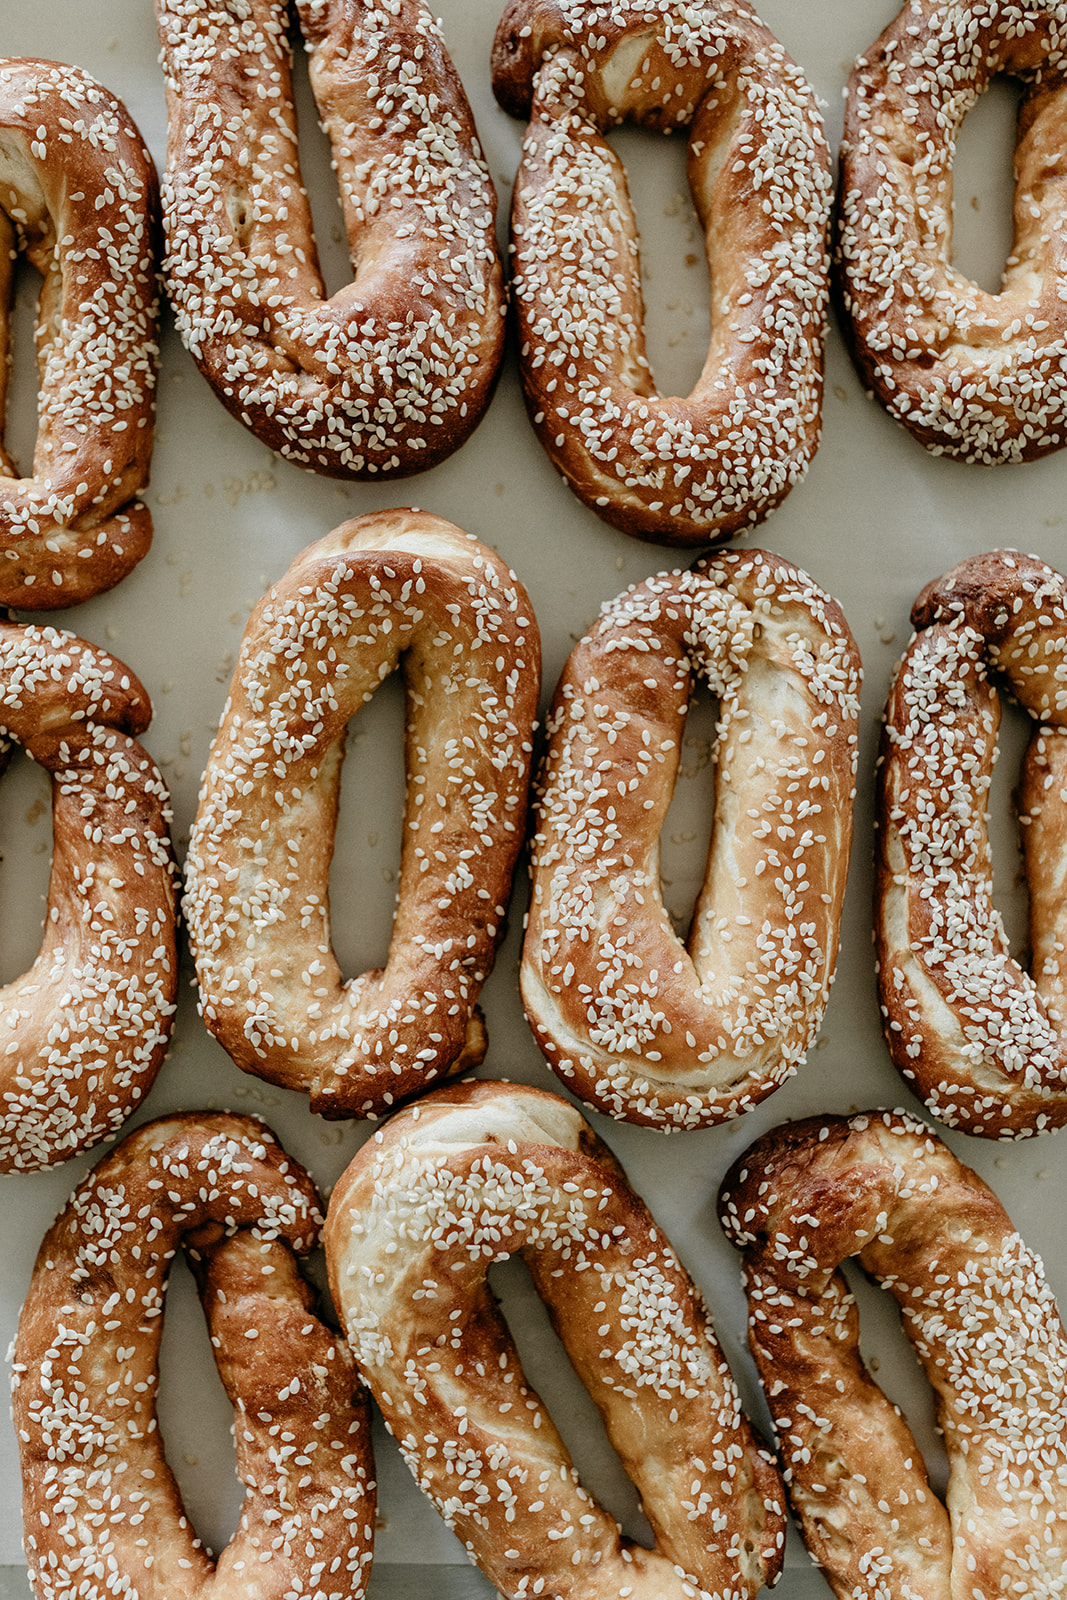
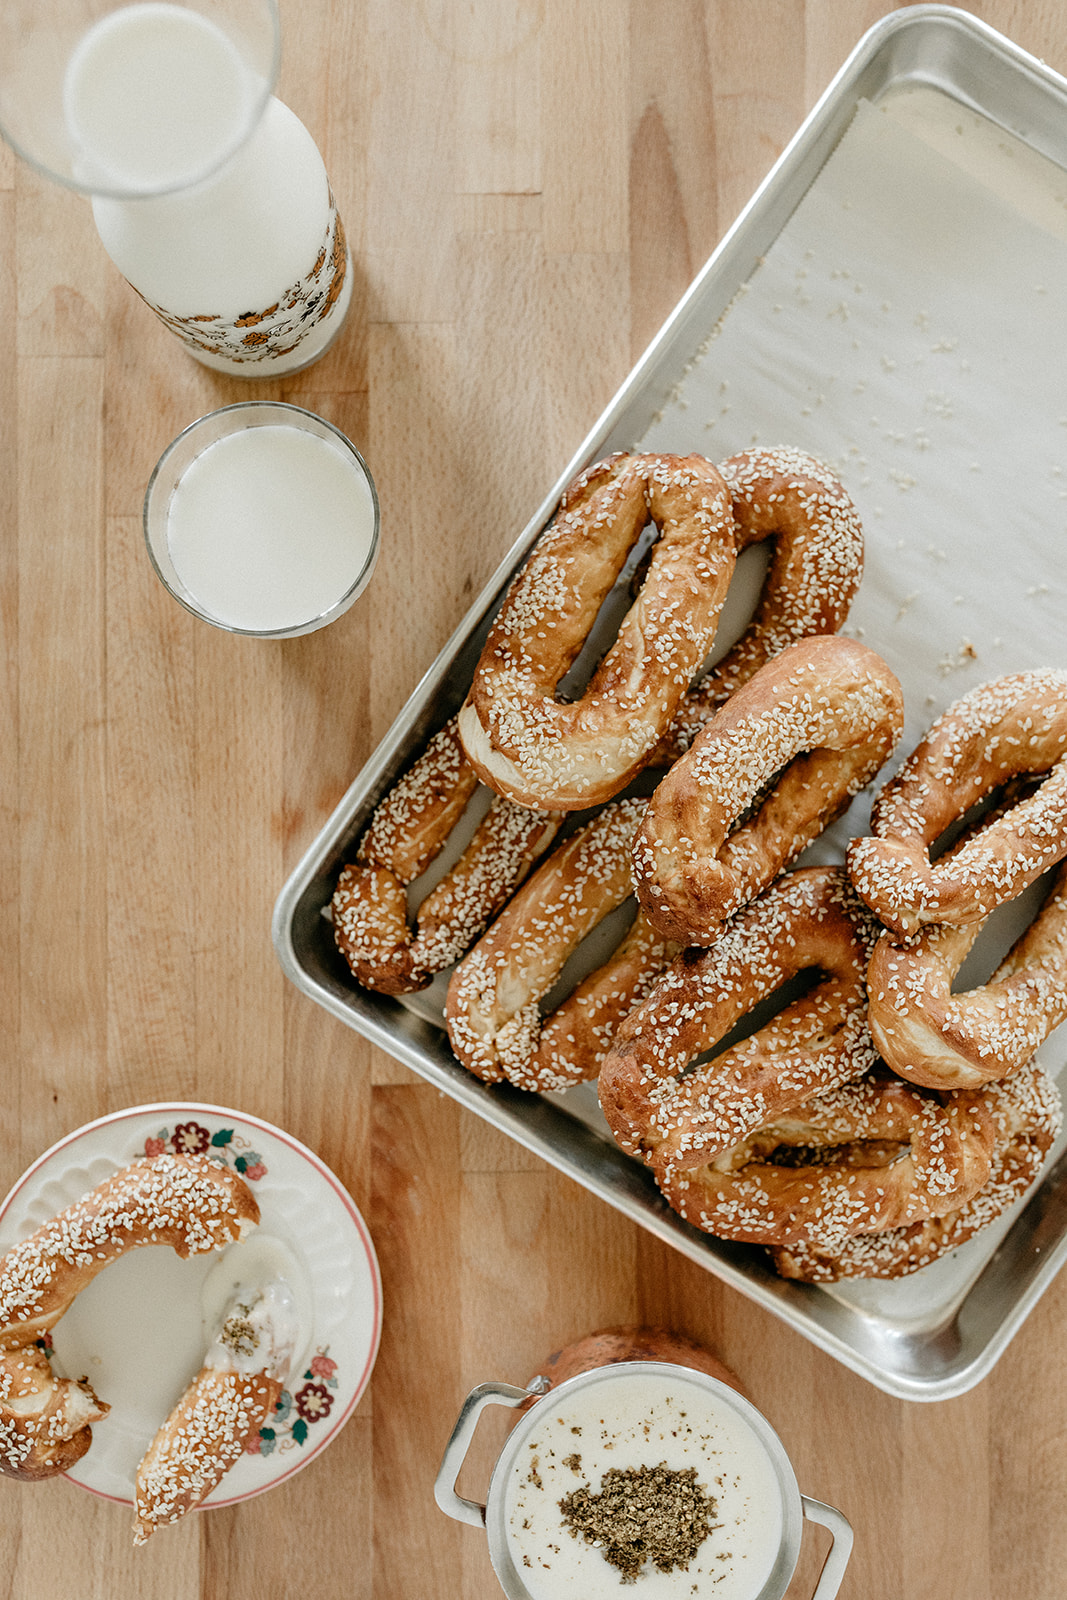
So today I’ve got a new and improved version of my old fave, one that I’ll make as soon as Bernie starts school, and one that I make these days just to have around for noshing. It uses a kitchen hack that I love which is that you can make pretzels from pretty much any fluffy bread dough, store-bought or homemade. In a world where I am an octopus and can hold Bernie with one set of arms while kneading dough with the other set of arms, I would use challah with this. Challah pretzels forever. But these days I’ve been using store-bought bread dough which works like a charm. In a nod to Jerusalem bagels, these are oval shaped and covered in enough sesame seeds to make any basic dough a little bit more interesting. You can make a big batch of pretzels and keep them in the freezer and reheat them so that they’re hot and ready at a moments notice. And they get dipped in a creamy, rich, and surprisingly easy to make cheese sauce that’s topped with earthy za’atar and includes protein thanks to the real milk and cheese within. It’s soo good and filled with nutrients that will keep Bernie going through her after school orchestra rehearsal/dance class/hockey practice/horticulture club (?) etc. It’s just a simple milk-based sauce that comes together in a snap and then melts with mozzarella. I love mild mozzarella with a pop of za’atar but, yes, you can use any melty cheese that’s in your fridge!


Sesame Pretzels with Za’atar Mozzarella Sauce

Makes 8 pretzels 

Pretzel Ingredients

1 c (230g) baking soda

2 (11 oz) cans store bought french bread dough (or a batch of homemade yeasted bread dough, might I suggest challah dough!)

2 c (472g) water

Egg wash: 1 large egg beaten with a splash of water

Sesame seeds and flaky salt, for topping

Mozzarella Sauce Ingredients

2 tb unsalted butter

2 tb all-purpose flour

1 c (240g) whole milk

1 c (125g) shredded mozzarella

Kosher salt and black pepper, to taste

Crushed red pepper or hot sauce, optional

2 tsp za’atar

Clues

First, bake the baking soda. Preheat the oven to 250ºf, spread the baking soda out in an 8” x 8” baking dish and bake for 1 hour. Let it cool and set it aside. This can be prepped ahead and stored in an airtight container for several weeks. (Even though the baked baking soda isn't as strong as lye, which is traditionally used for making pretzels, it could still potentially irritate your skin, so avoid touching it with bare hands once it's out of the oven.)

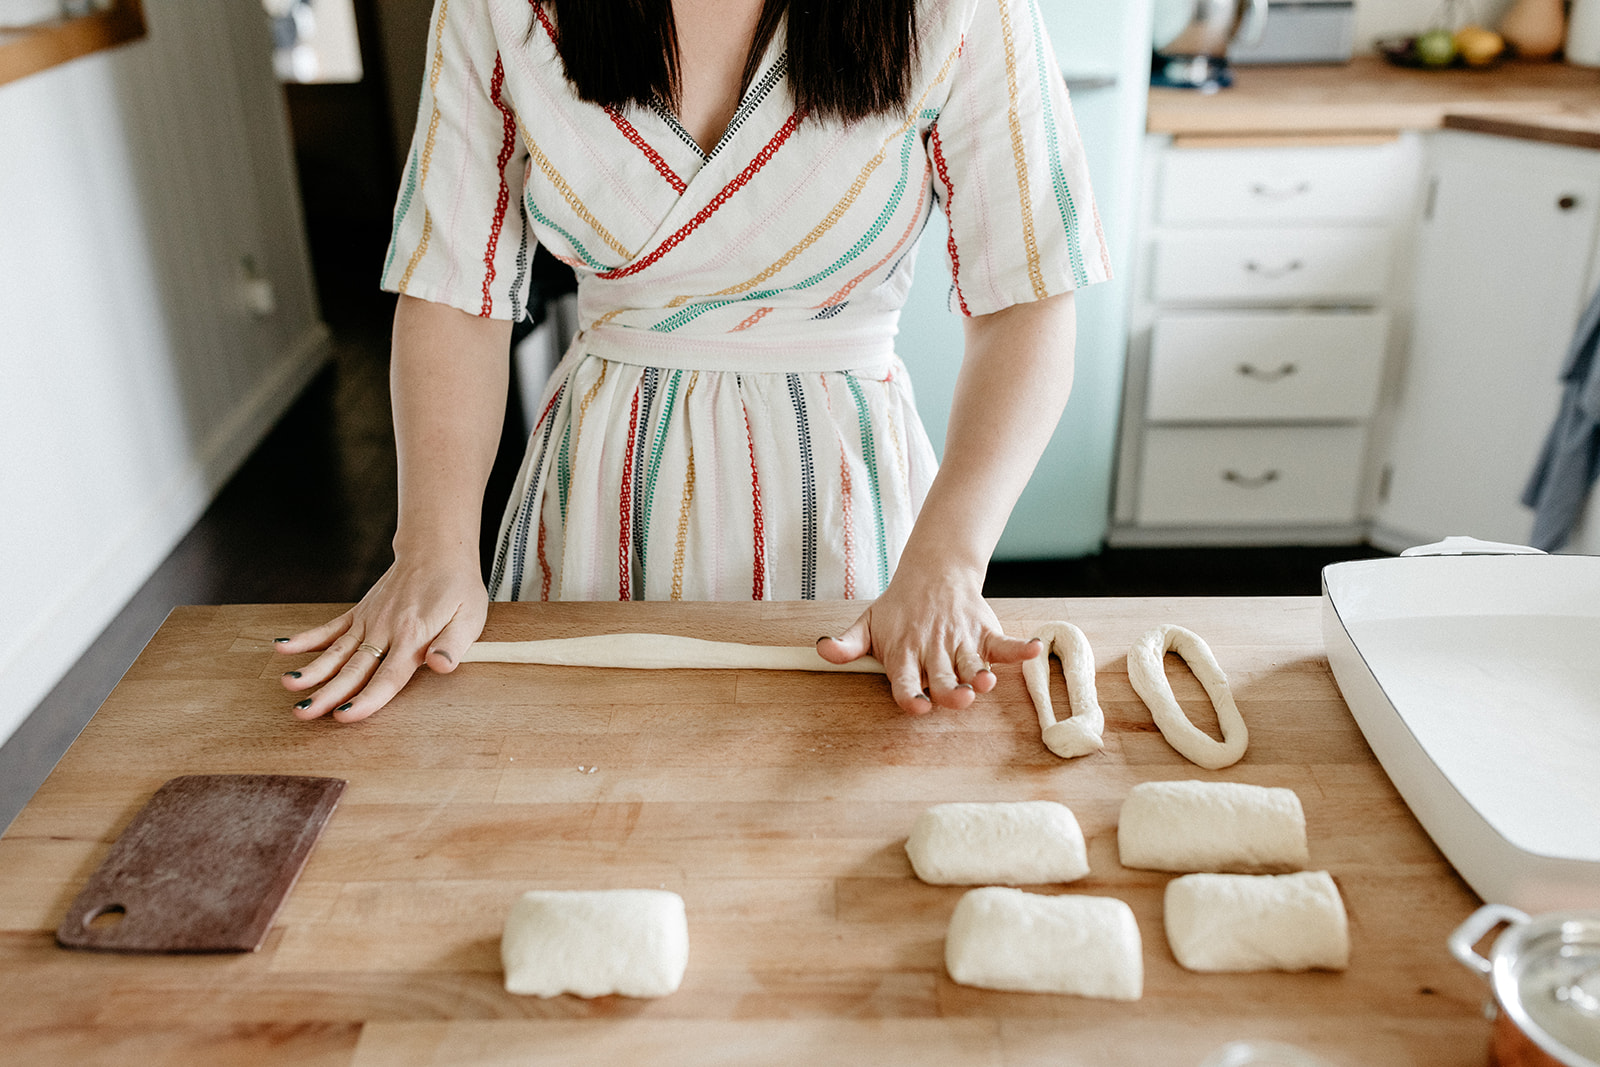
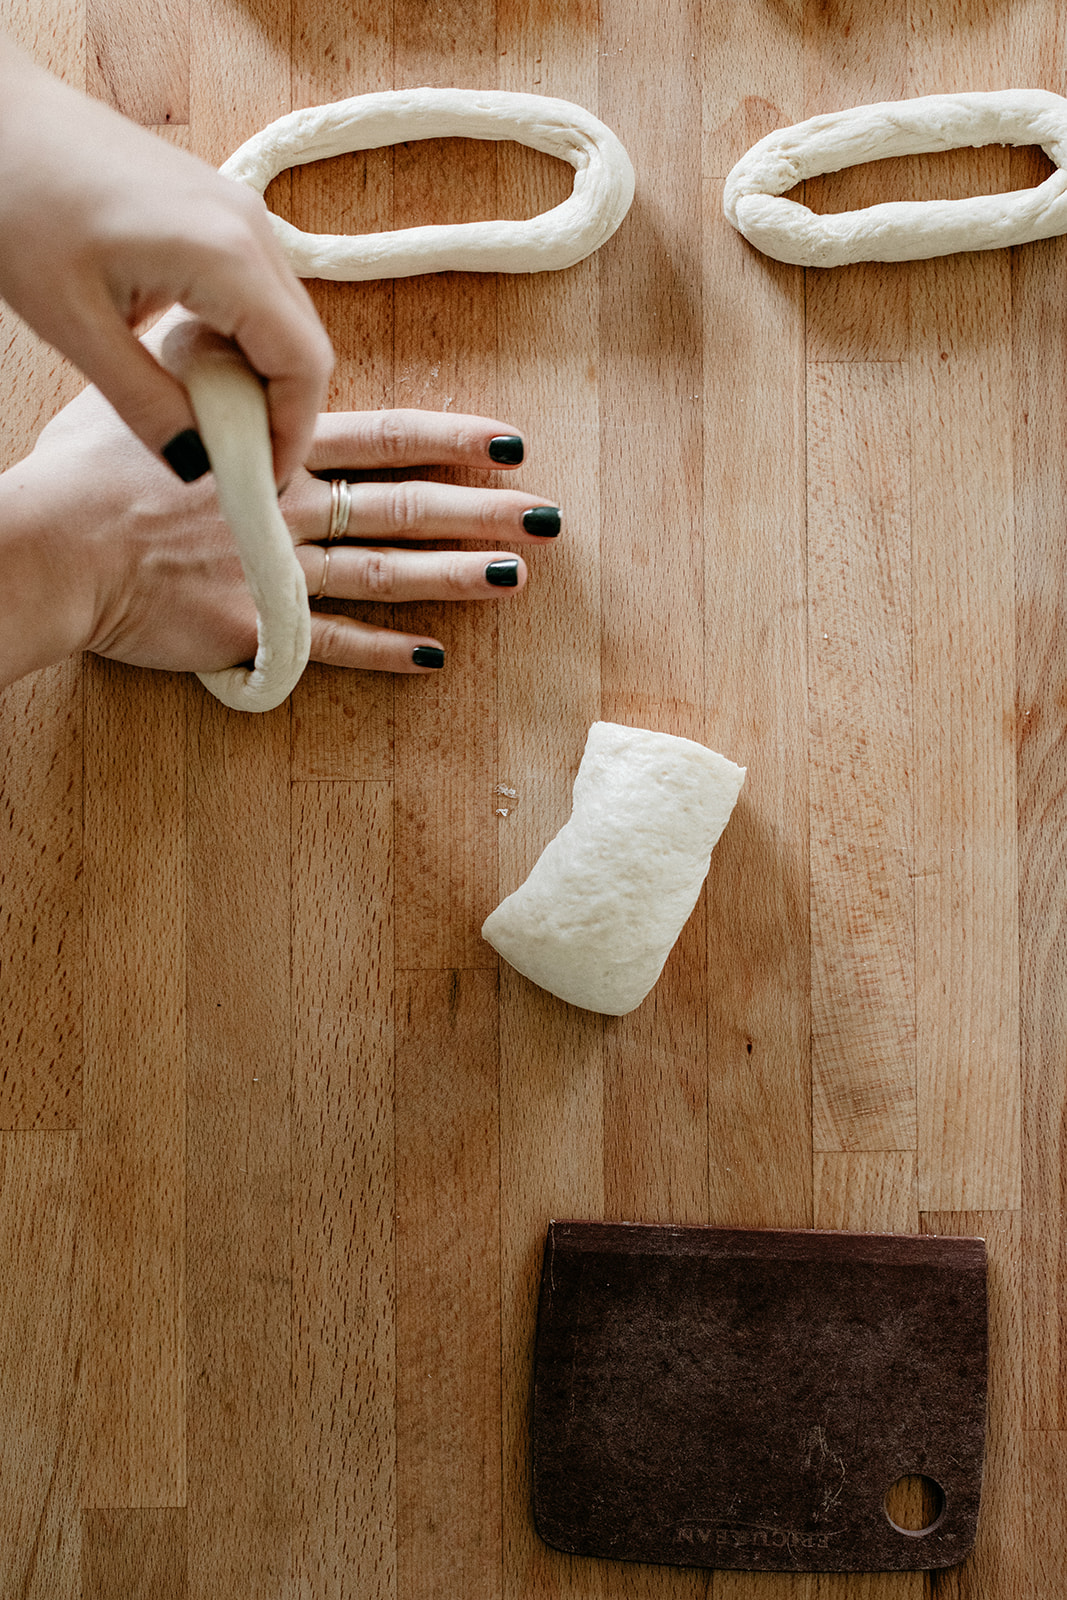
To form the pretzels, line two baking sheets with parchment paper and preheat the oven to 350ºf. Divide the dough into 8 pieces and then roll into snakes, about 3/4-1” thick. Smoosh the ends together to form big ovals and transfer to the baking sheets, one inch apart. 

(If using homemade dough, complete the recipe through the first rising, shape into ovals as described above, place on baking sheets lined with parchment paper, and then give them their second rise.)

Make the baking soda bath: Add the water to the dish with the baking soda and whisk gently to dissolve the baking soda (it likely won’t all dissolve, a few baking soda chunks are totally ok as long as you remove any that stick to the dough). Using gloved hands, tongs, or a slotted spoon, and working in batches, immerse the pretzels into the mixture for 2-3 minutes on each side. Transfer to a plate or pan lined with a paper towel and pat them dry and then place them back on the baking sheet. Brush with the egg wash, sprinkle liberally with sesame seeds and a few pinches of flaky salt, and bake until deep golden brown; begin checking at 16 minutes. Let cool slightly and then enjoy warm with cheese sauce! 

These freeze well! Let them cool fully and store in an airtight container in the freezer for up to a few months. Reheat in the microwave or thaw at room temp.

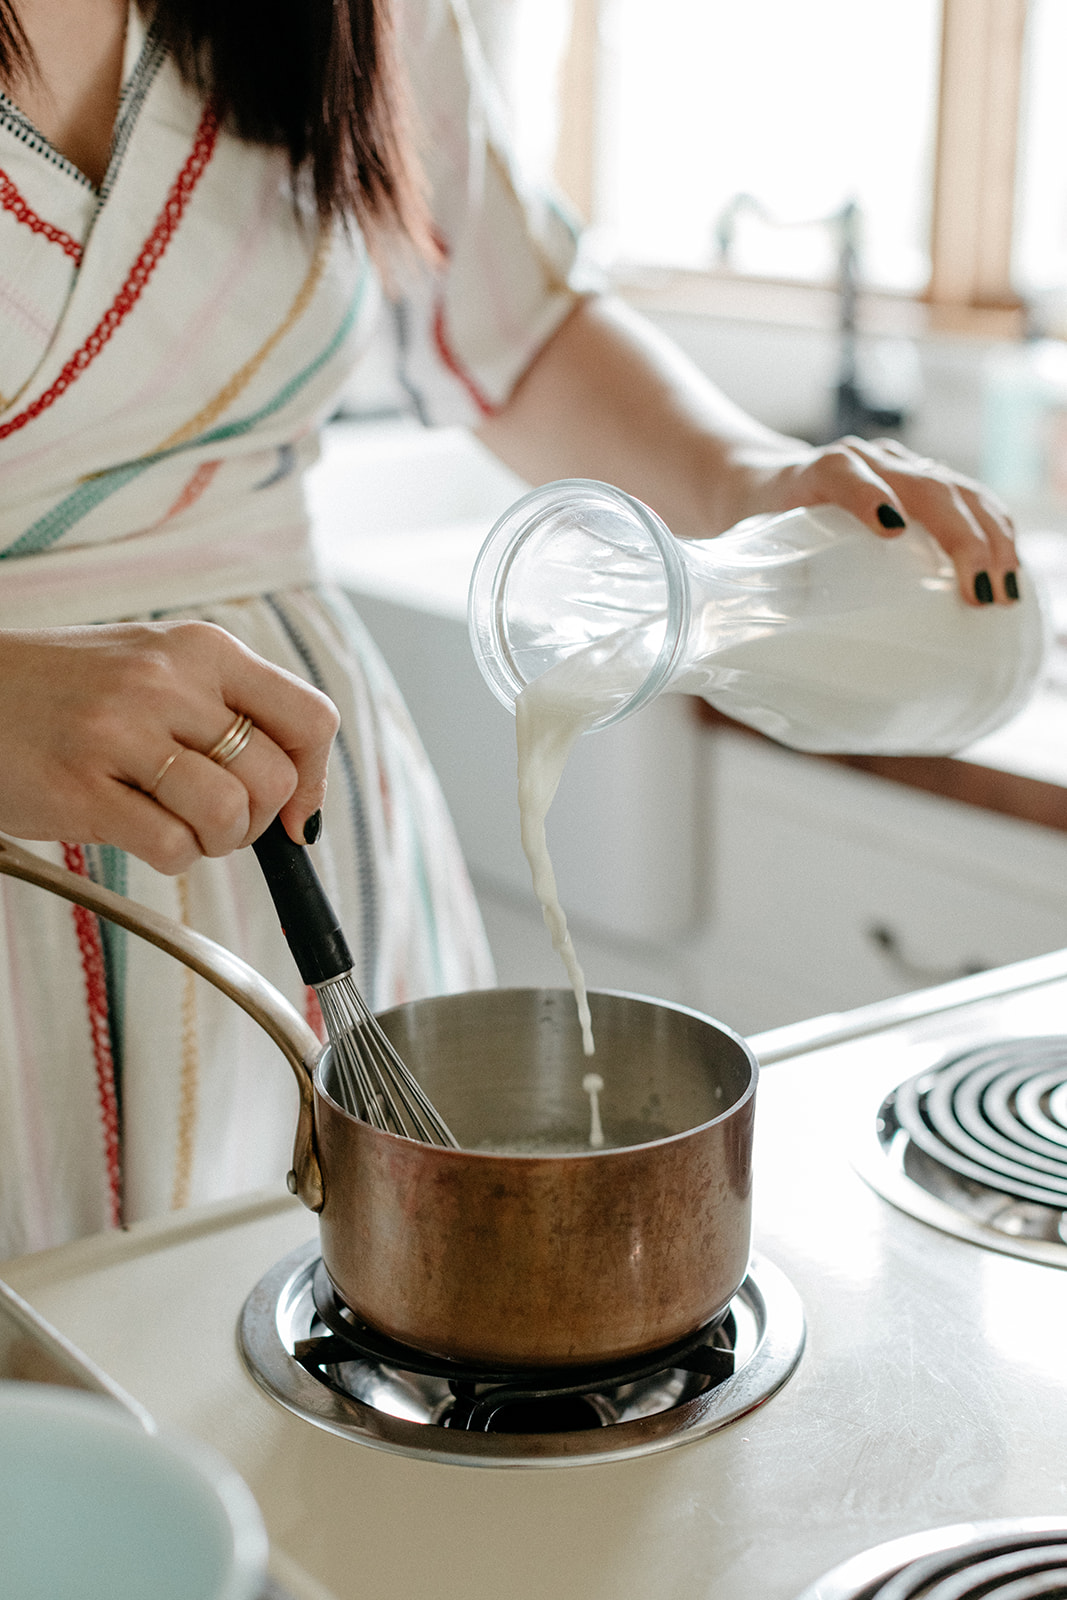
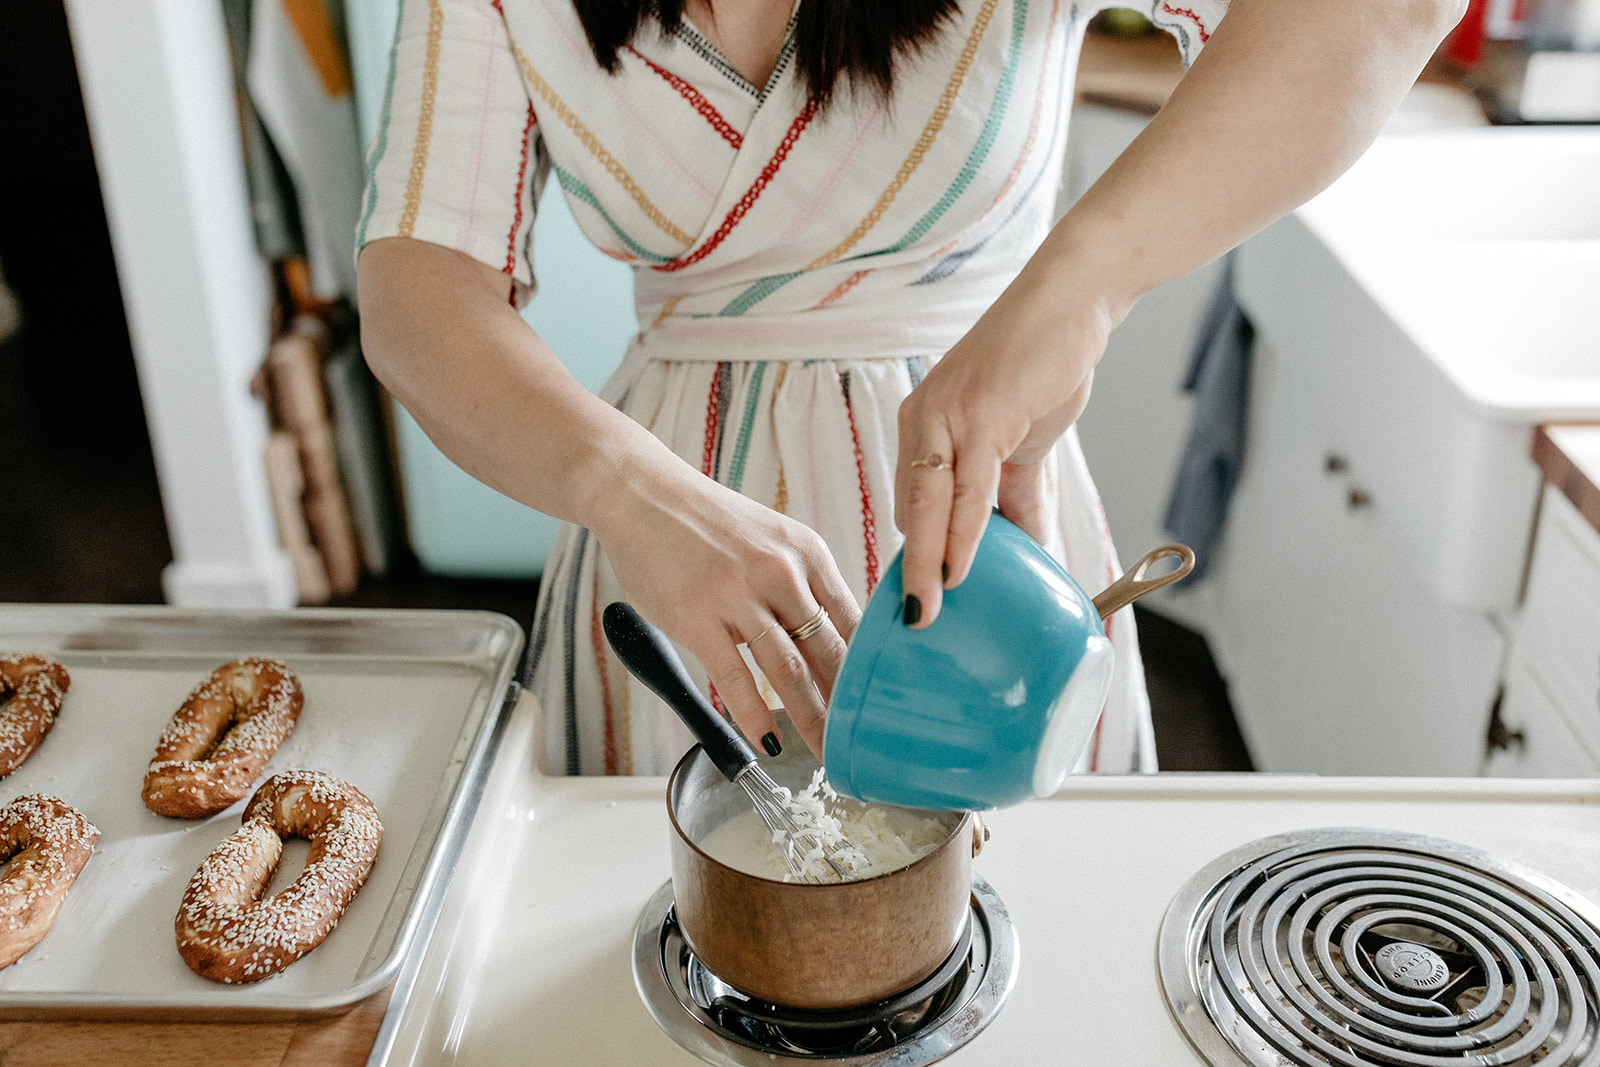
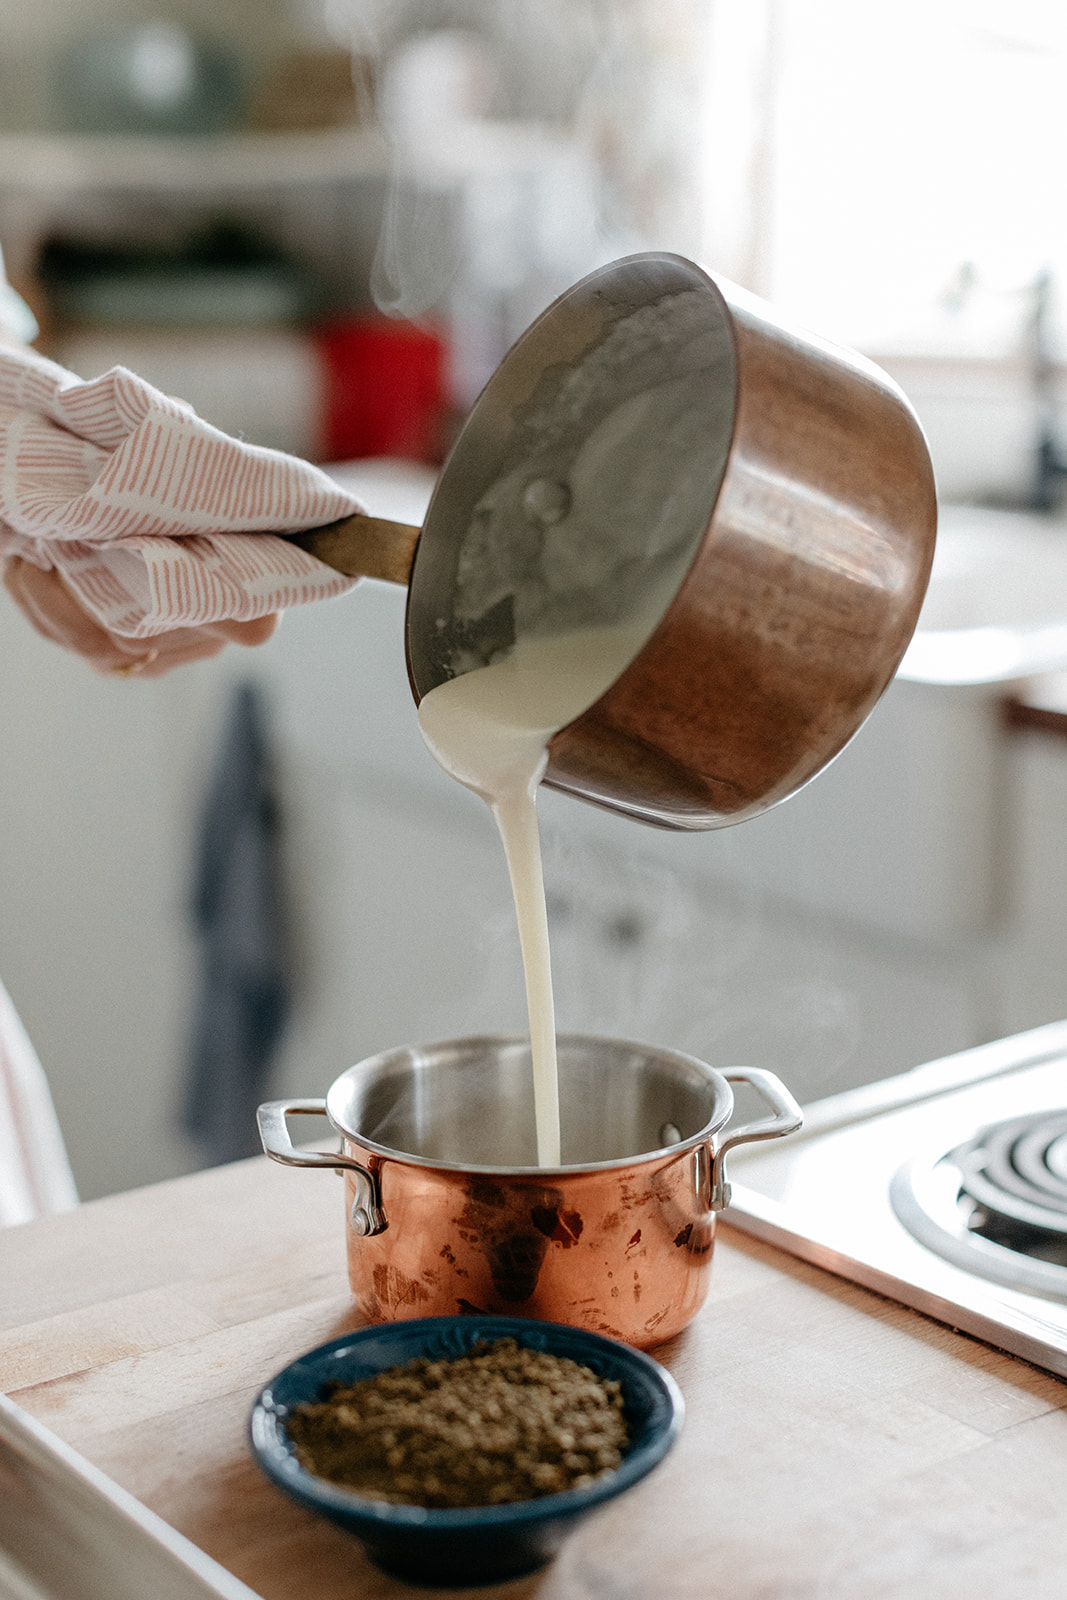
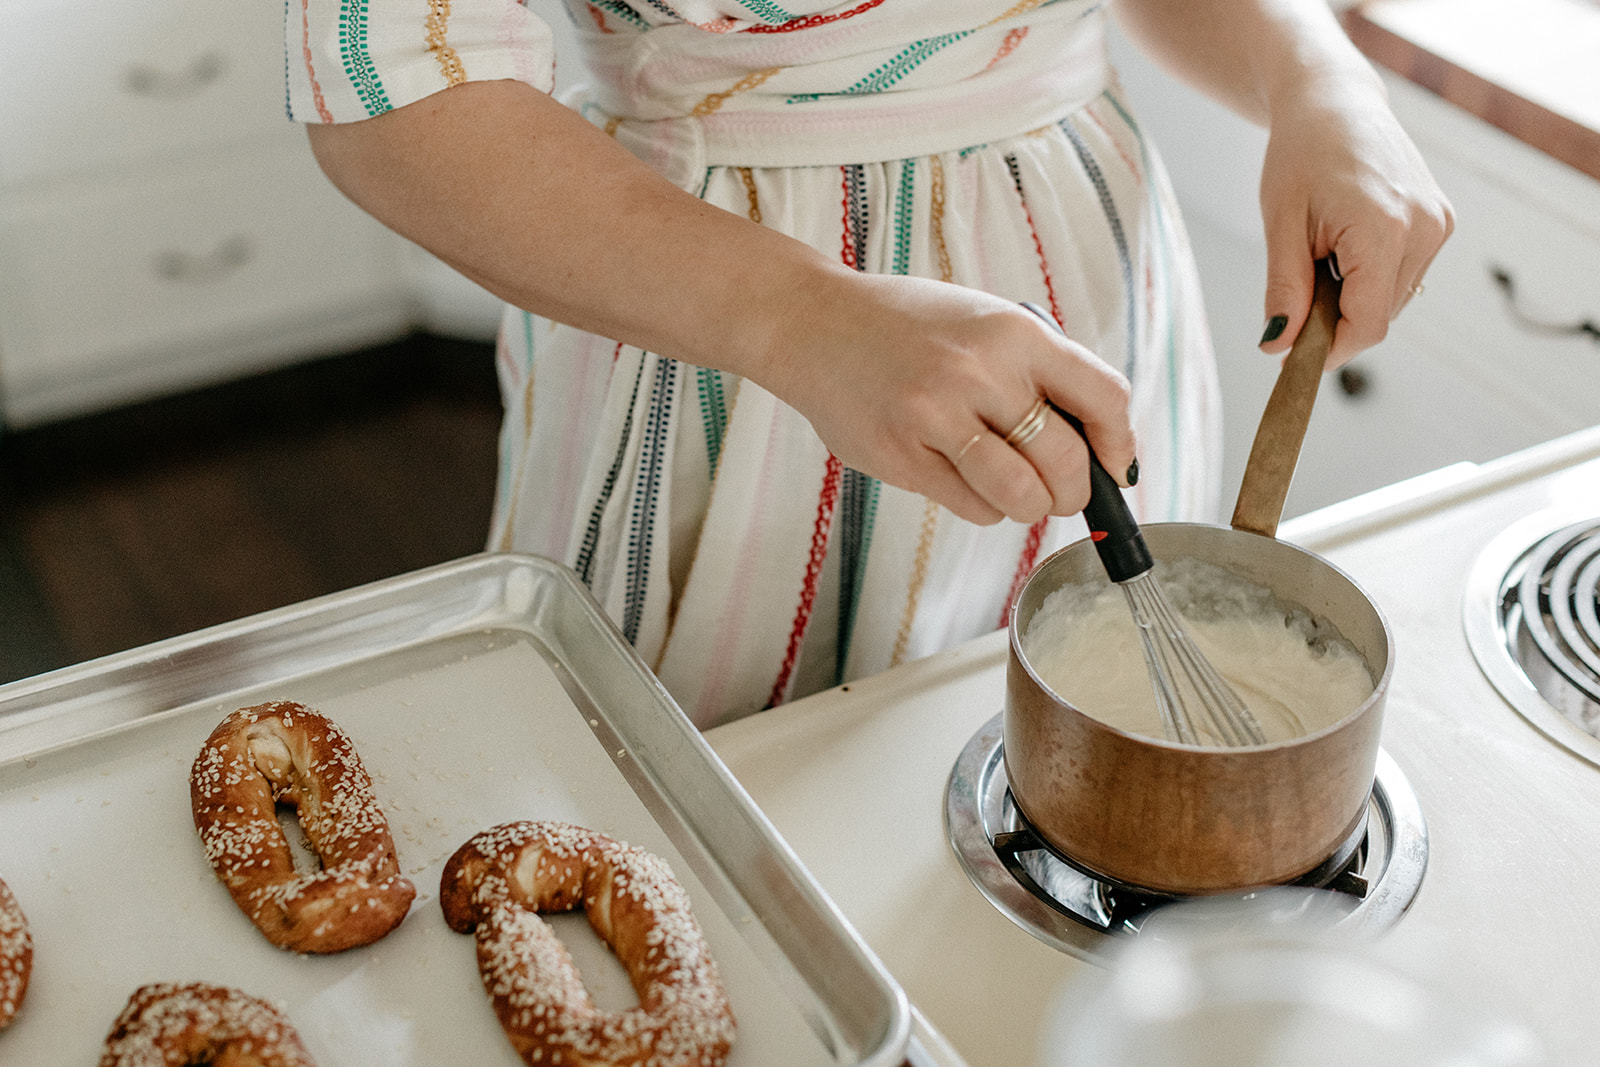
For the za’atar mozzarella sauce: In a saucepan, melt the butter over medium heat. Whisk in the flour and cook for another minute. Add half of the milk and whisk until thickened and then add the other half, continuing to whisk until thickened. Add the mozzarella and whisk until melted. Season to taste with salt, pepper, and spicy stuff, if using. Transfer to a serving bowl, top with za’atar and serve. 

Leftovers can be stored in an airtight container in the fridge and then reheated in a saucepan or microwave. Stir in an extra splash of milk, if desired, to thin it out. 


-yeh!

I’m so pleased to have partnered with milk life, on this recipe! Dairy milk always played a starring role in my favorite back to school moments! Bernie and I already obviously have a special bond when it comes to food (we just started introducing solids and she loves watching me cook!) – and I know as she gets older and goes to school, the role that food plays in how we connect together will only continue to grow.

photos by chantell and brett quernemoen.

grilled blue cheese with honey and walnut pesto

have i told you that i'm, like, *kind of* a pescatarian these days?? not 100%. maybe 90%. (i'll always eat the brisket that you cook for me.) but this summer, with all of our happy vegetables and eggs, a new ful-fueled fascination with beans, and after my trip to cheese school and a first-ever branzino cooking experience, i have been having so much fun diving deep into meals that don't have a big hunk of meat at the center. i like putting the focus on vegetables, nuts, and other things that won't make me look outside and see our macaroni and feel mommy guilt. it's a great challenge and i feel like i'm eating more vegetables for it. maybe it's just in my head. i also like not feeling obsessive about cleaning all of the cooties off of every surface of my body and kitchen when i cook meat, and between the garden and our eggs i can get away with going to the grocery store way less now. 

(side note: we have two chicken breasts in our refrigerator because i'm a dirty hypocrite but i'm having trouble figuring out what to add to next week's ful burritos that will make them better than just burritos filled with mushy beans. do you have any suggestions??) 

so! i don't know where i'm going with this, i think i just wanted to tell you since friends update friends on those kinds of things. not--i repeat not!!!--that i want you to change your menu for when you have me over for dinner next. but when you come to my house we'll probably have lentils. or if we're grilling, how about a fancy grilled cheese!  

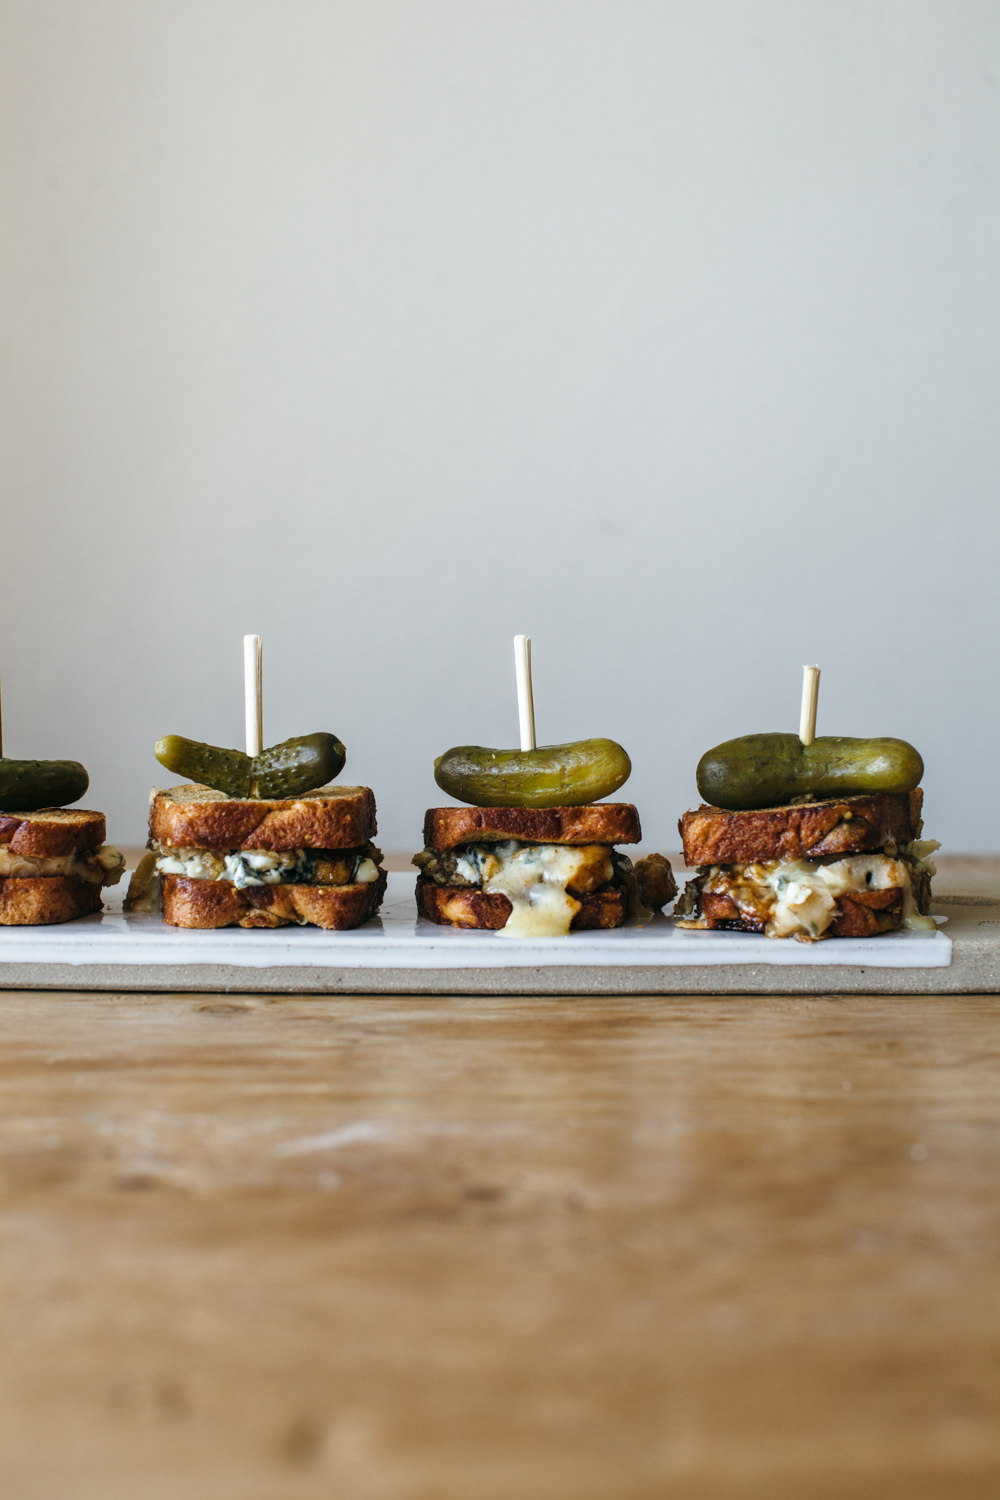
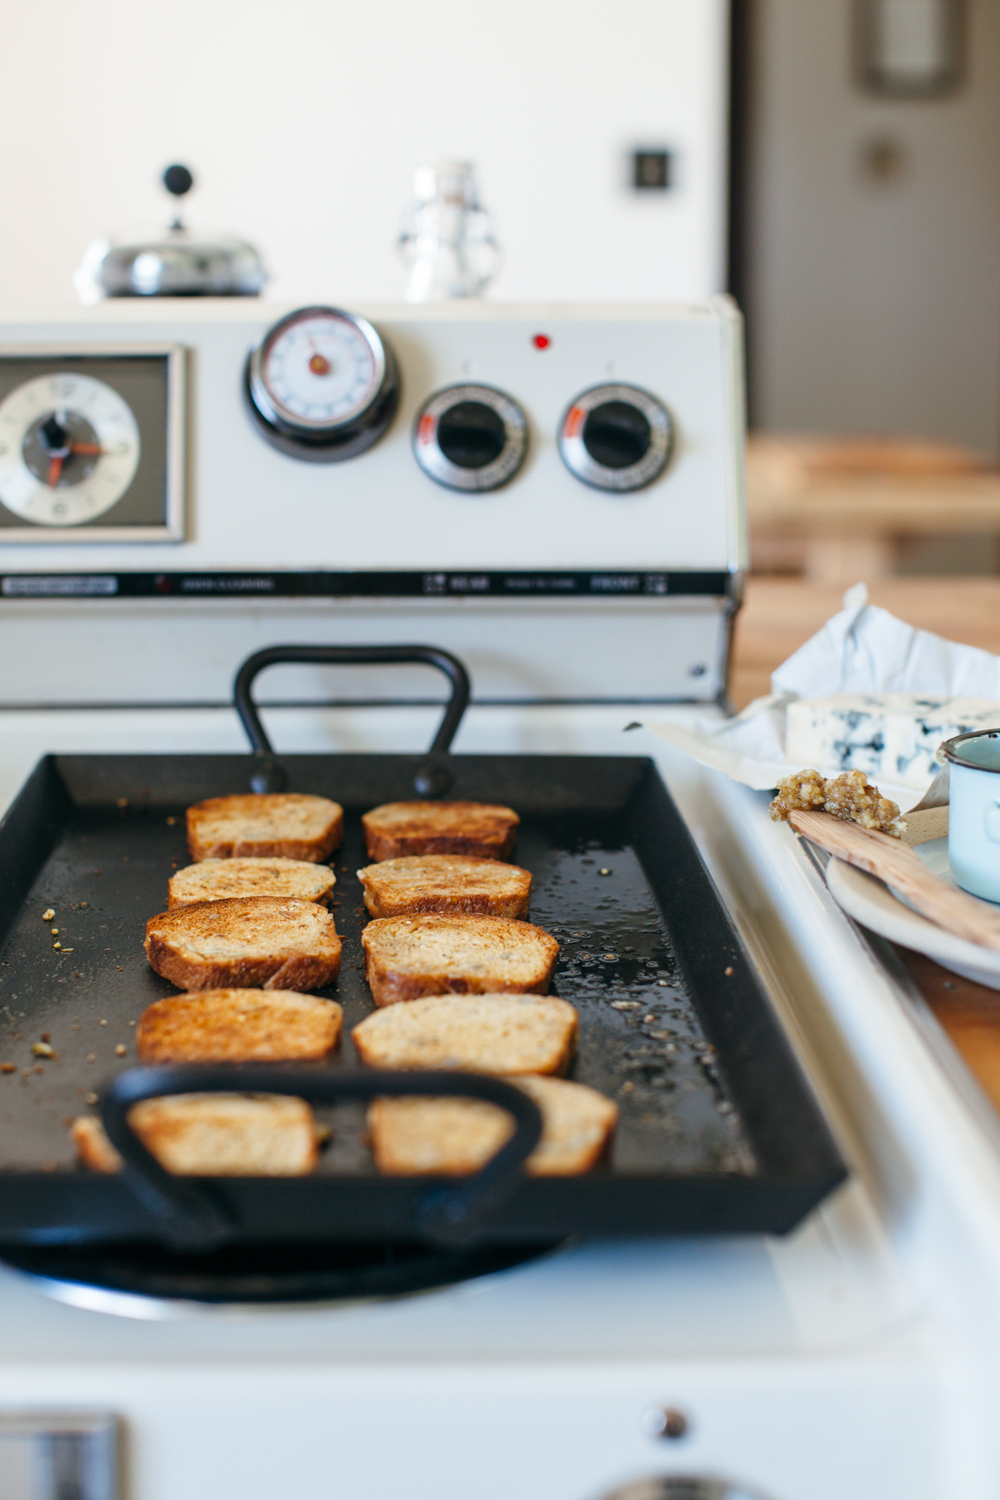
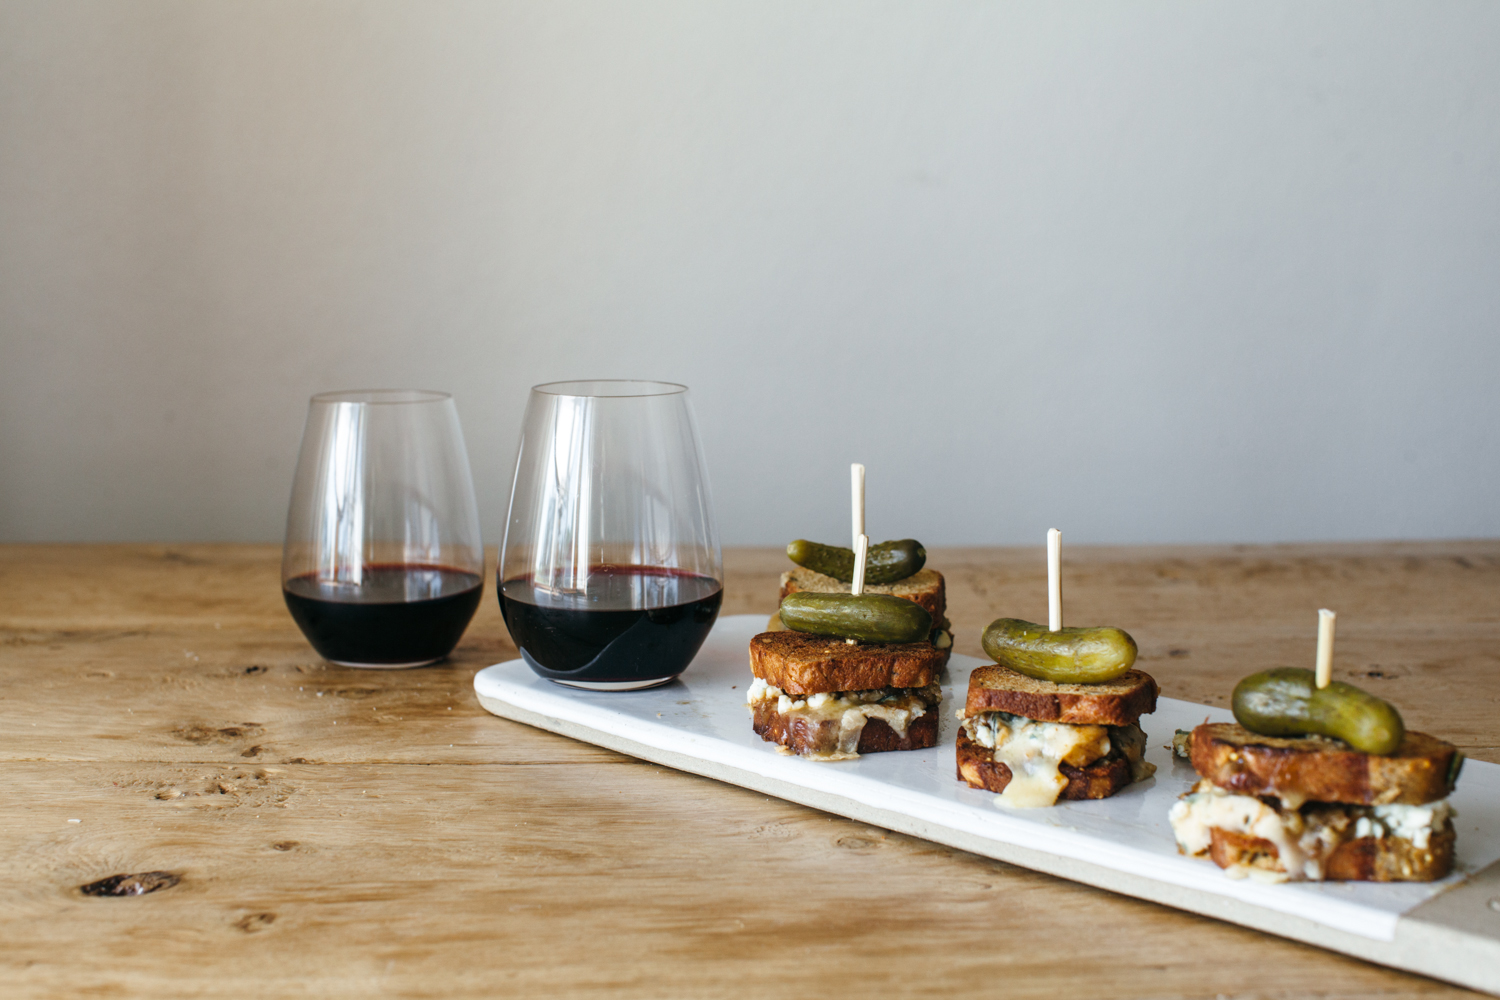
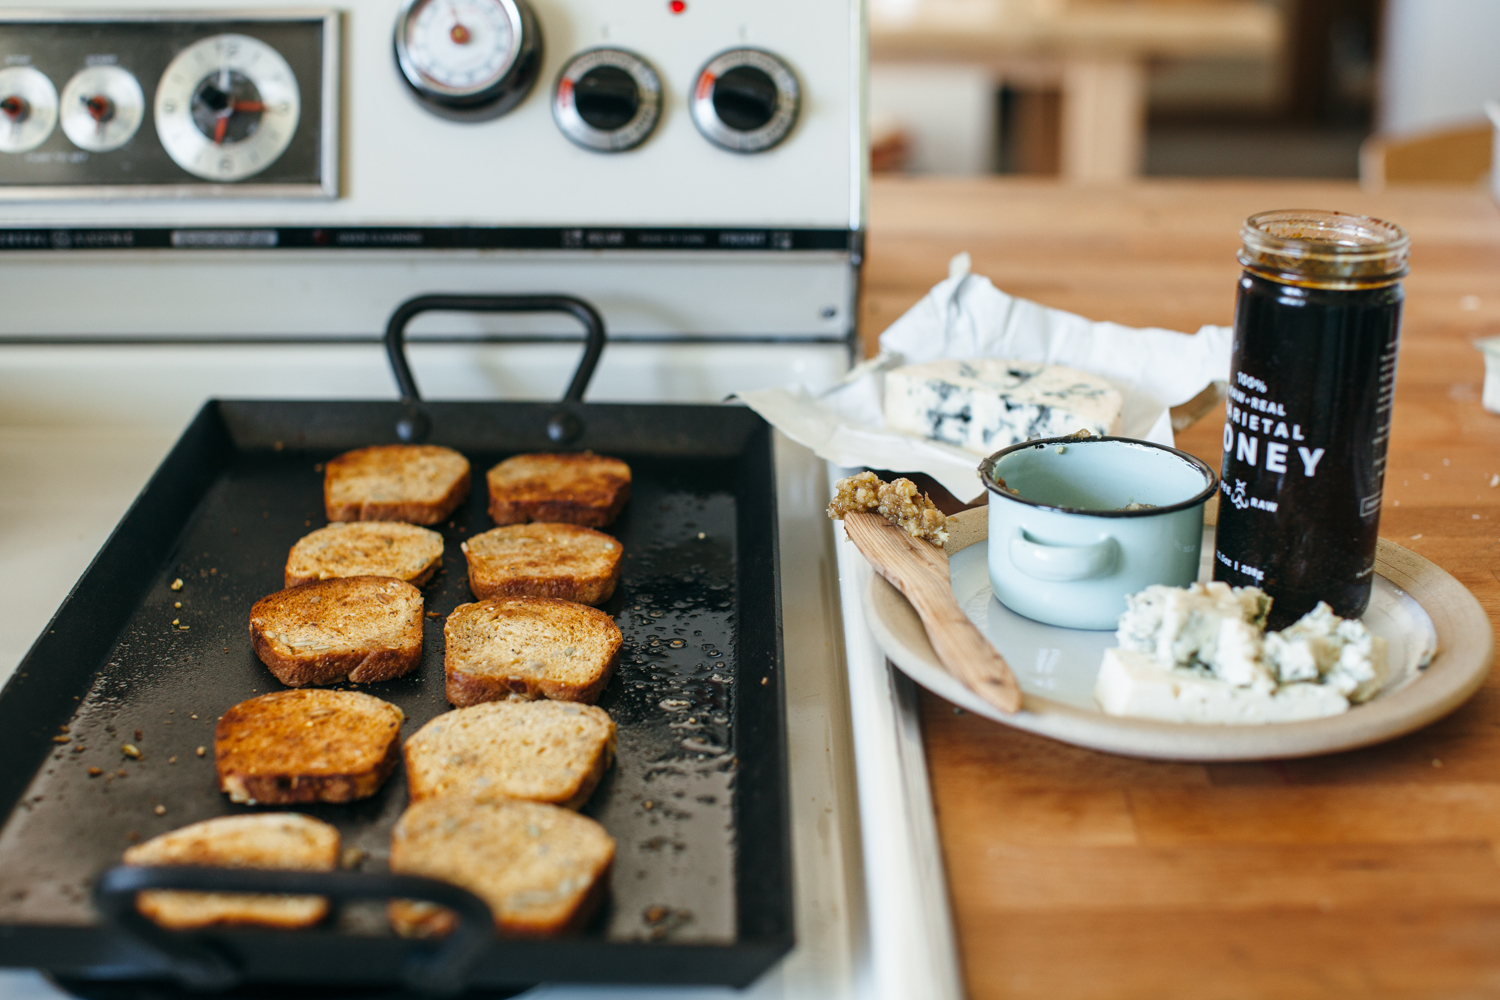
let's discuss grilled cheese! i like grilled cheeses where the inside of the bread is first toasted. it allows the cheese to get a little jump start melting, and then there is more textural excitement all up in the middle with nary a soggy bite in sight. a few months ago at cheese school, we tasted various cheese pairings and the one that blew my mind the most was honey with castello's double creme blue cheese. it was like salty/sweet but on steroids because of blue's awesome funkiness and this particular blue's uber creaminess. i knew right then and there that this combination would make one luxurious grilled cheese. so i came right home and did just that. i paired it with a second blue cheese, a quick little walnut pesto too for some oomph and bulkiness, and boom! it's the grown-up grilled cheese of my/your/our dreamz. oh and it needs wine because that's the rule about eating a grown-up version of a kid thing, so this is getting paired with the bright and rich napa cellars' zinfandel. yum. the grilled cheeses pictured here are miniature, fit for a party, but if you're making a meal out of it, go the magnum route


grilled blue cheese with honey and walnut pesto

makes 4 mini or 2 large grilled cheeses

ingredients

walnut pesto:

1/2 c toasted walnuts

1/4 c olive oil

1 clove garlic

a squeeze of lemon

crushed red pepper

kosher salt and black pepper

grilled cheese:

8 mini slices bread (pictured) or 4 slices sandwich bread

2 ounces castello double creme blue cheese

2 ounces castello traditional danish blue cheese

honey 

clues

to make the pesto, blend all ingredients in a food processor and season to taste. be careful not to add too much salt since the blue cheese is salty!

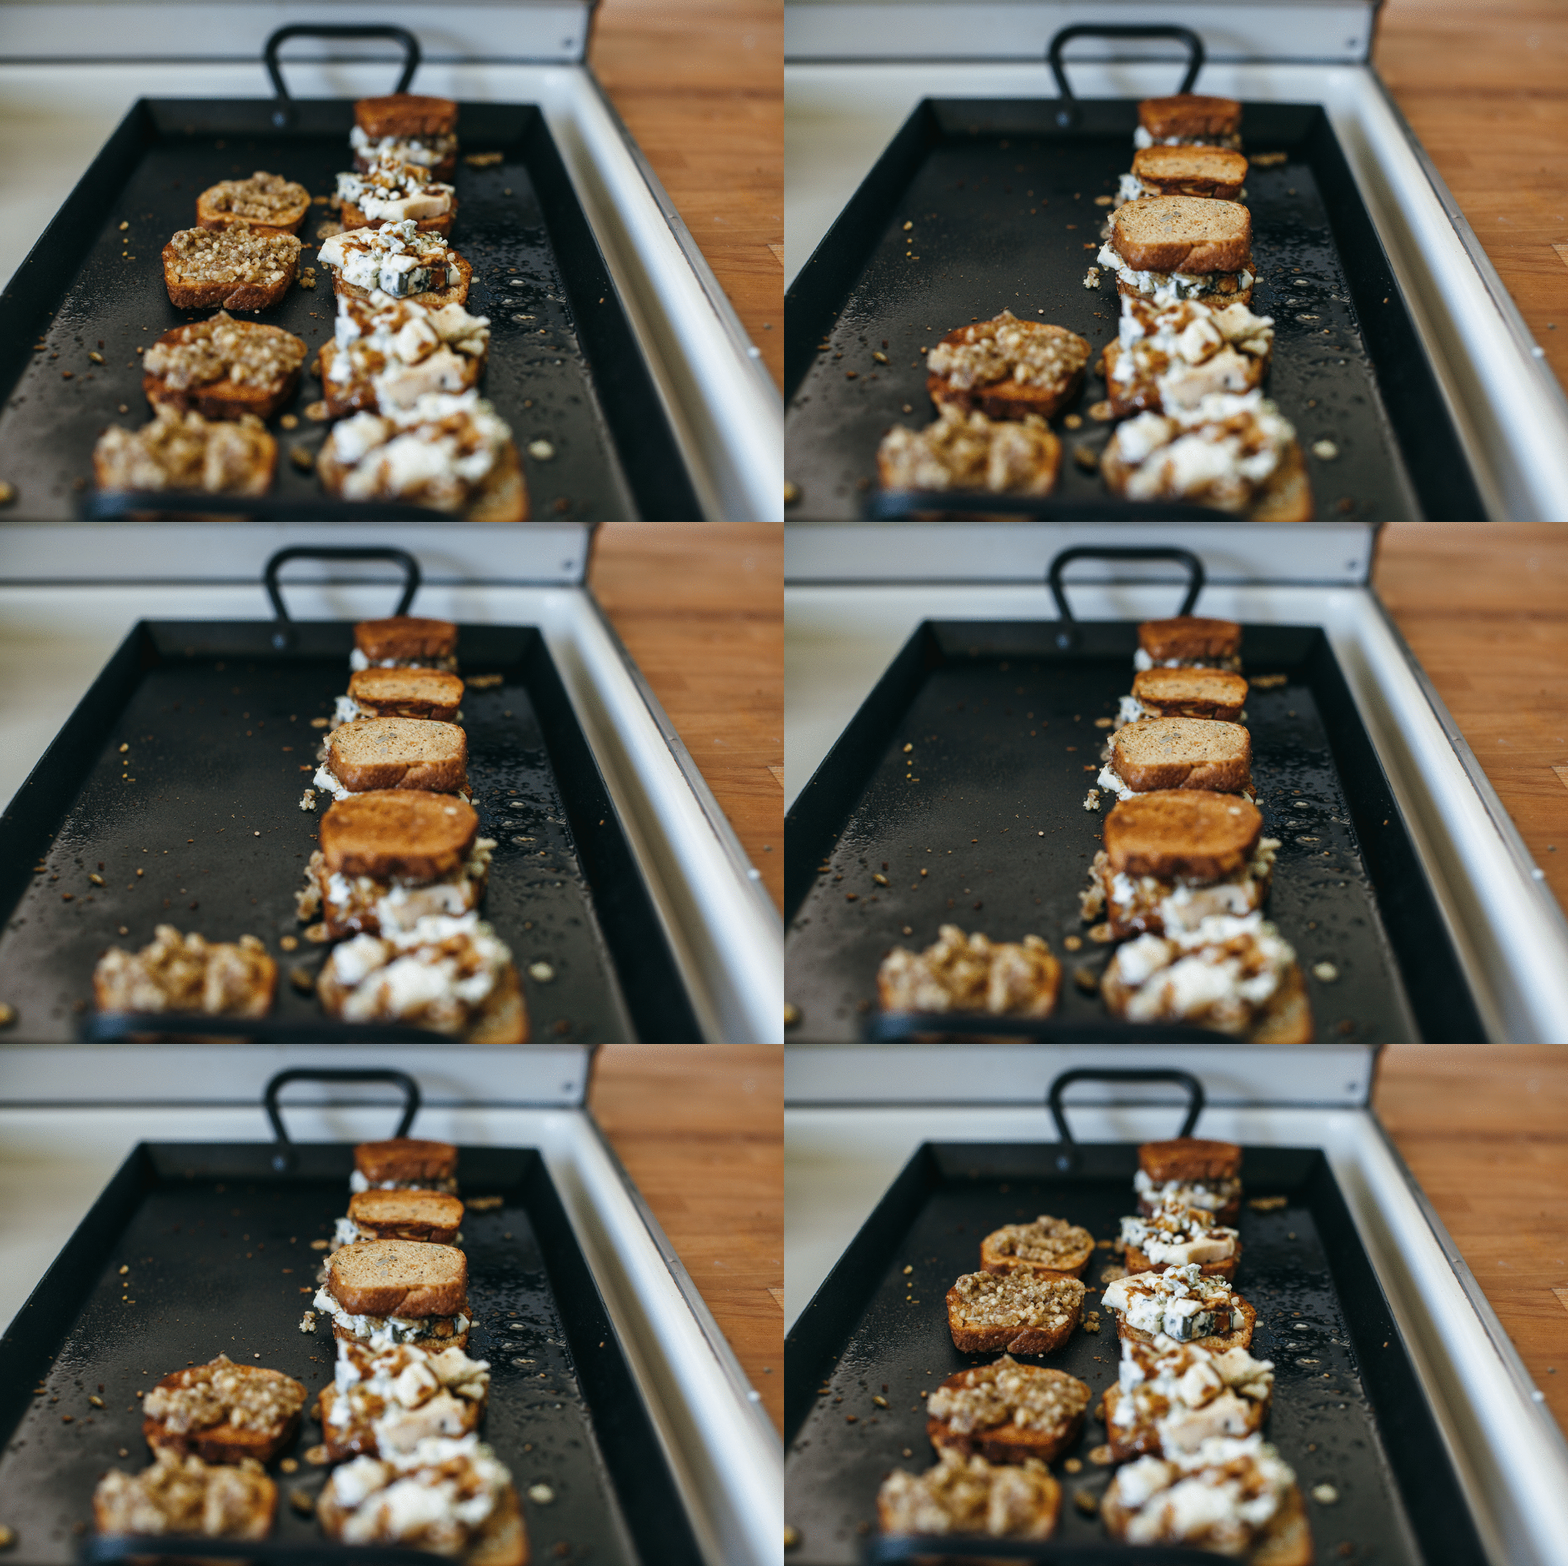
to make the grilled cheeses, toast one side of each of your slices of bread, flip them over, and then top half of them with a layer of walnut pesto, both types of blue cheese, and a drizzle of honey. top with remaining slices of bread and grill until the cheese is melty. 

serve with a pickle and zinfandel and enjoy!


-yeh!

thank you, castello and trinchero family estates, for sponsoring this post!

sweet potato curly fries with yogurt, sriracha, and cilantro

we're installing our new dishwasher today!!!! well, errrm, eggboy's installing it. i'm sitting on the couch eating a breakfast panzanella and waiting until the kitchen is cleared of all of the dishwasher-installing tools so that i can work on dirtying some dishes to christen the thing. i've got lots to make today! tomorrow my friends and i are serving a giant hummus feast in fargo, so there are chickpeas to soak, labnehs to drain, zhougs to blend, etc. etc. etc. what are you up to this weekend?? are your gardens planted? are you reading anything good? tell me tell me, just don't. mention. how. much. you. hate. the. new. instagram. logo. we're better than that. 

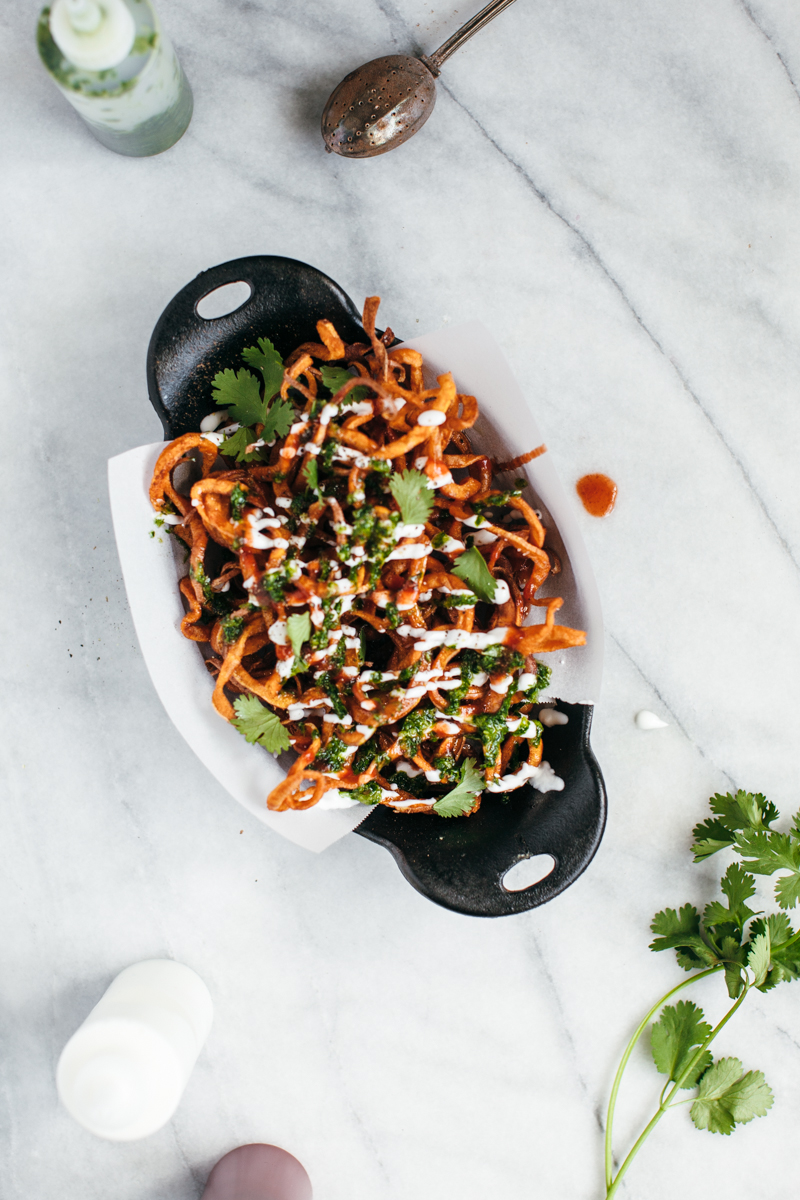
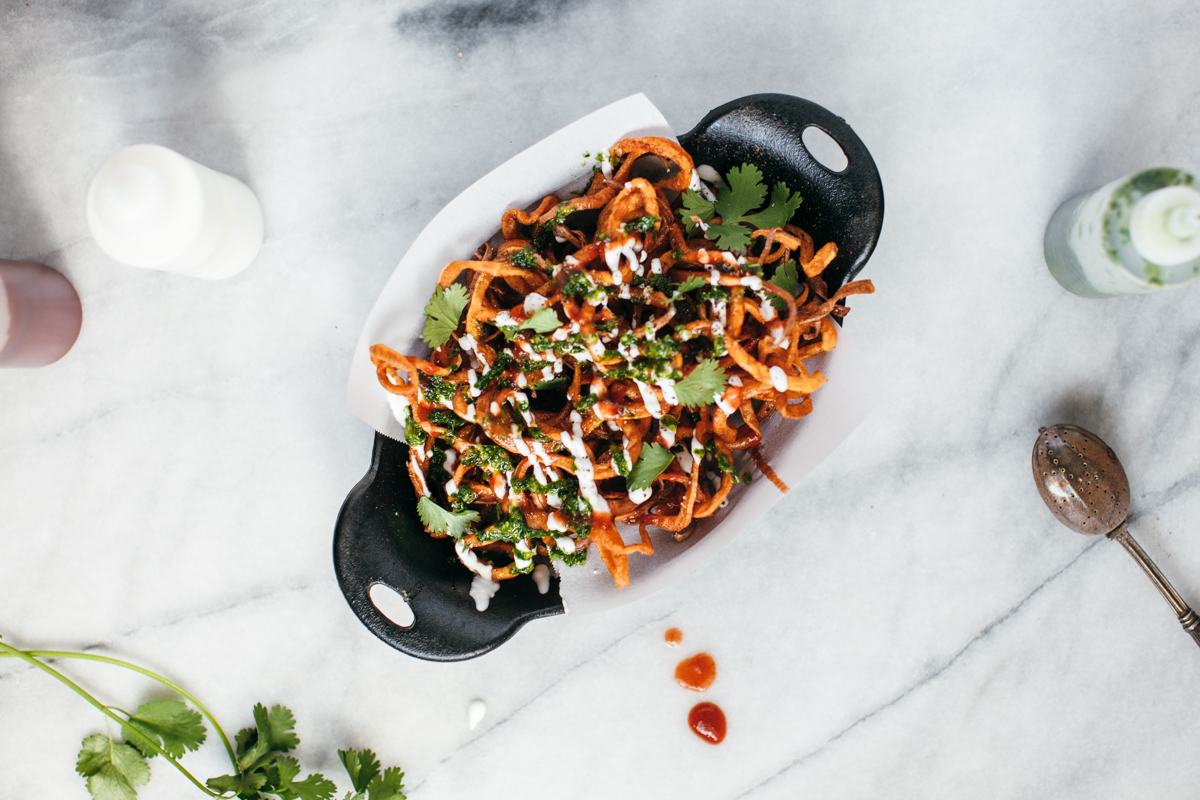
i have fries for you! they are inspired by a roasted squash dish from plenty more that i made for a dinner party when it was still slightly cold out. you basically roast squash in cinnamon and then cover it with yogurt, sriracha, and a bright cilantro garlic sauce that dashes all of your beliefs that a cinnamon-y squash should be exclusive to the fall. that's why i like it, its flavors are vaguely seasonally ambiguous and they work together like a well-oiled machine.

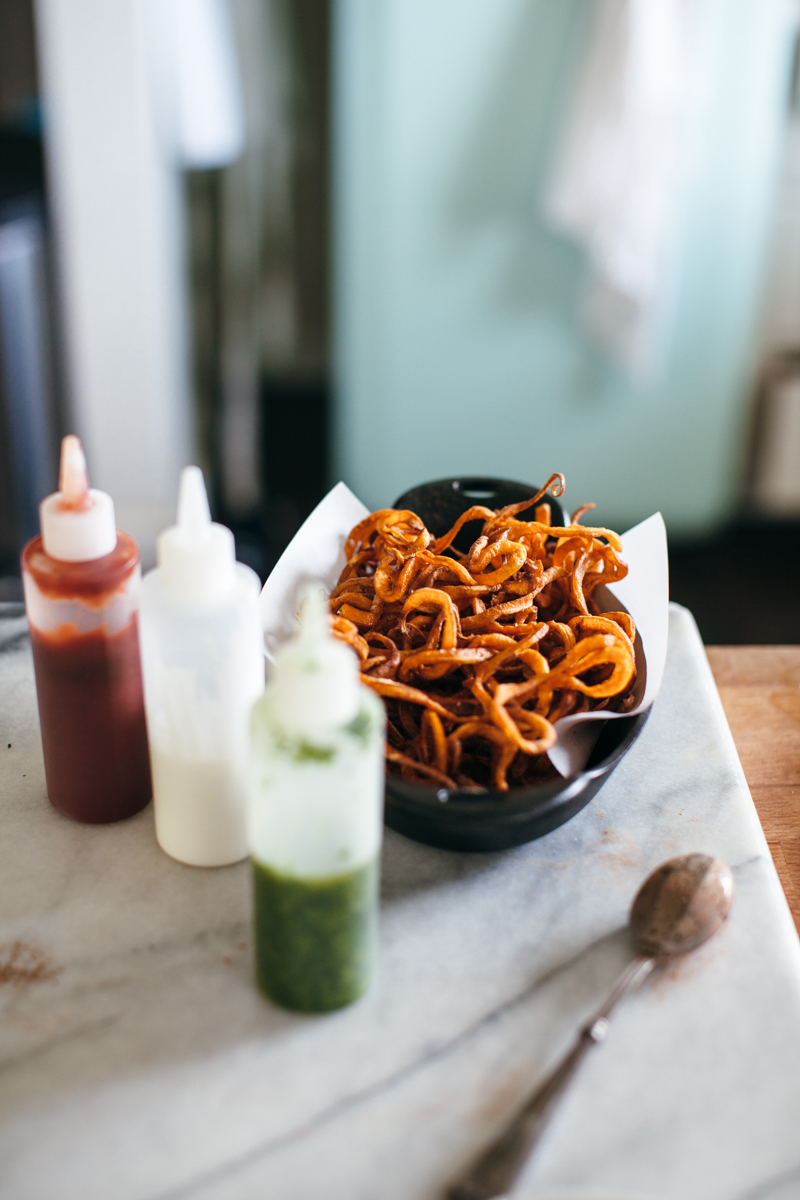
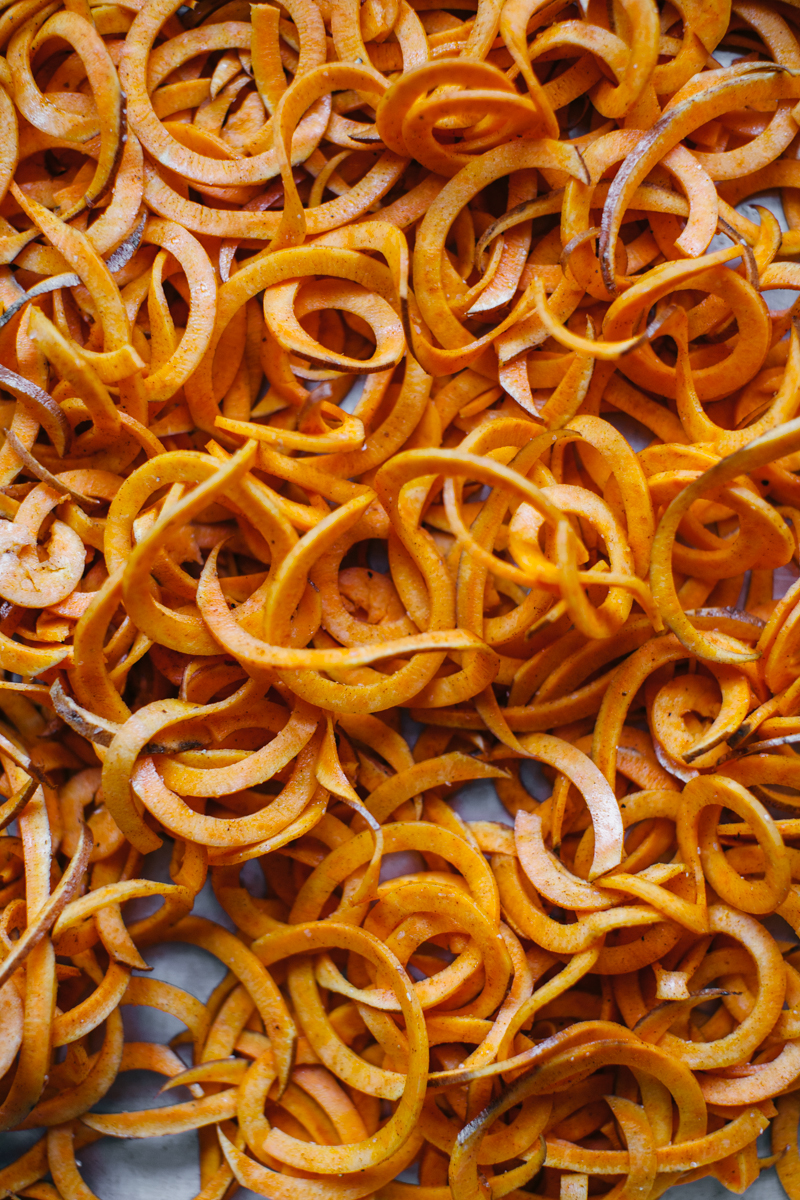
so because it's my birthday month* i've lowered the brow and adapted this experience to sweet potato fries. and they're curly, à la ali! they're crispy, salty, unexpectedly refreshing, and as flavorful as they are colorful. and fun/messy to eat, so b.y.o. wet wipes. 

*why is this month different from all other months? in this month we eat french fries with abandon!!!

for a lazier option: put these toppings on sweet potato chips.

for a baked option: put these toppings on sweet potato oven fries.


sweet potato curly fries with yogurt, sriracha, and cilantro

makes 4 servings (but it's fries so what are serving sizes really?)

ingredients

cilantro sauce:

25 sprigs fresh cilantro (stems and leaves), roughly chopped, plus additional leaves for serving

1 clove garlic

1/4 c olive oil

kosher salt and black pepper

fries:

oil, for frying

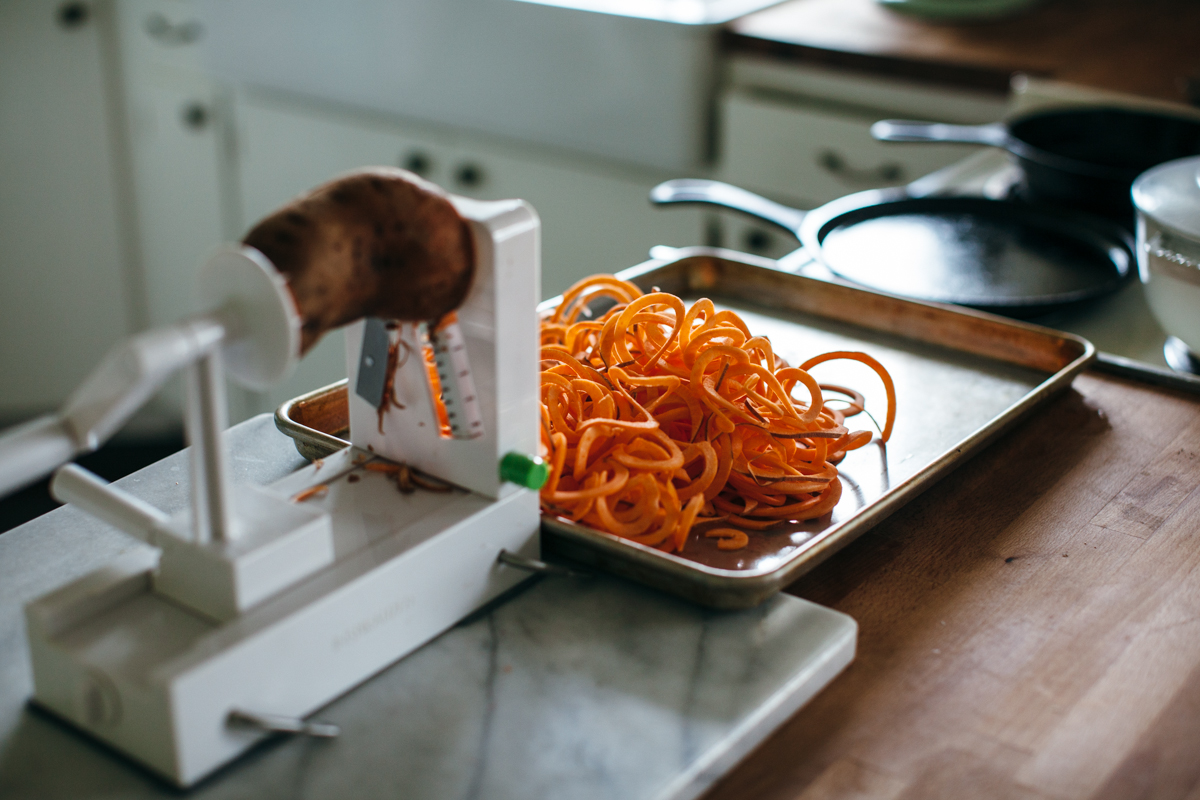
2 large sweet potatoes (about 2 lbs), spiralized on blade c

kosher salt

cinnamon

assembly:

plain greek yogurt

sriracha

clues

to make the cilantro sauce, combine the cilantro, garlic, and olive oil in a food processor and blend to combine. season to taste with salt and pepper.

to make the fries, heat about 2 inches of oil in a heavy pot to 360ºf. fry the potatoes in batches until lightly browned and crispy. transfer to paper towel or rack. sprinkle with a big pinch of salt and a small pinch of cinnamon. 

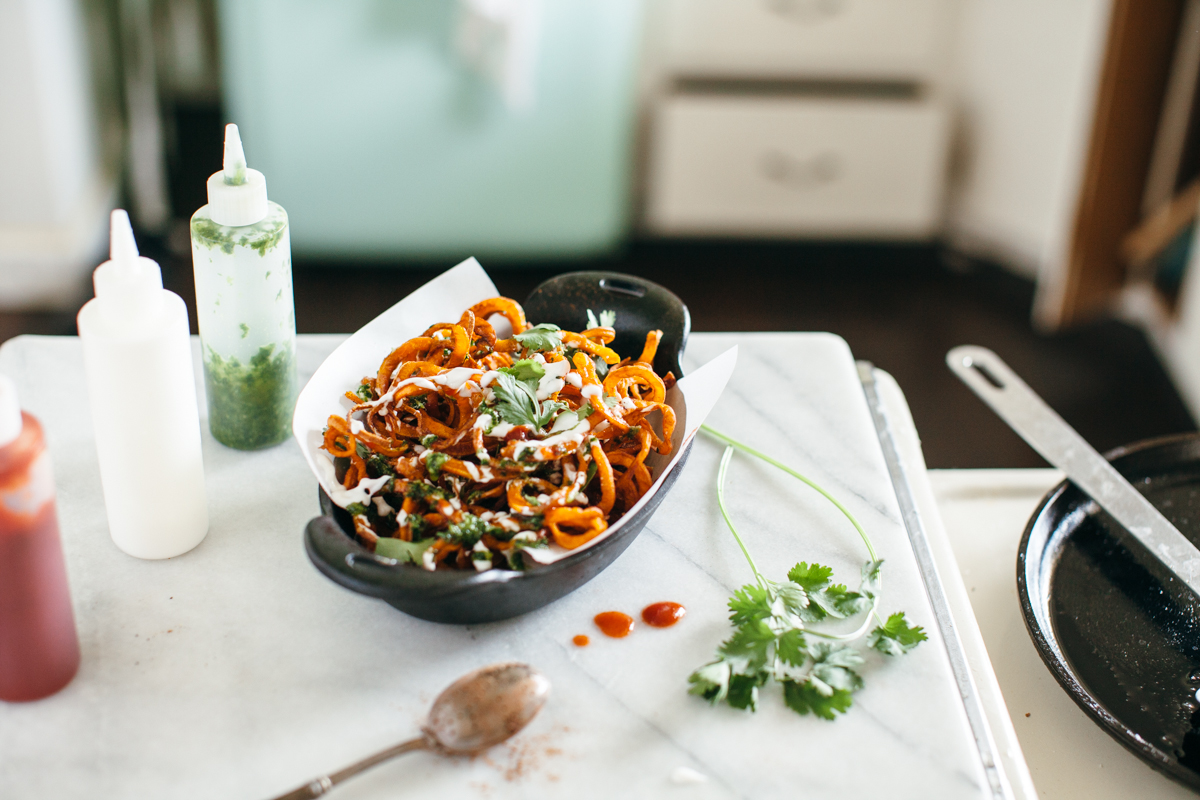
to assemble, drizzle with the cilantro sauce and yogurt. dot with sriracha and sprinkle with fresh cilantro leaves. serve immediately and enjoy! 

-yeh!