
peanut butter s'mores pop tarts
/
Omg I love a s’more occasion because it means it’s warm enough to sit outside but not so warm that you’d overheat near a bonfire. It’s a similar pleasure to having the temperature of your house on the colder side just so you can wear your coziest sweatshirts.
I made these s’mores pop tarts last month for Eggboy’s cousin Sarah’s bridal shower. She’s getting married at a ranch in the Tetons next week and I cannot wait!!! We are staying one night in Jackson Hole, which will be my first time to Wyoming, and then driving to the ranch to hike and celebrate. Where do I need to eat brunch in Jackson Hole???
There are some very specific things I need to talk to you about with these pop tarts. I’m going to do this in list form:
- The magic is in the crust! It is a pie crust dressed up as a graham cracker and the measurements below are such that the crust remains thick. It’s true that I have a complicated relationship with pie crust and that I am so not opposed to using store bought pie dough in situations where the fillings carry the dish, however, 1) this crust is truly magical and nutty and oomphed up with cinnamon and nutmeg, and 2) the fillings require no preparation so the crust is the only place where you need to exert energy. It’s so good!
- An unfortunate thing about marshmallows is that they really can be too sweet. It’s one reason why Lily doesn’t like them. But between the crust, which is not very sweet, and the unsweetened peanut butter, there is a really nice balance that happens in this tart that I think Lily and others alike would approve of. Where these tarts leave off in sweetness, they pick up in nuttiness from the peanut butter. Obviously almond butter or another nut butter or tahini would also be great here.
- Real marshmallows alone do not werk! They are firmed up with gelatin, which melts down to complete liquid in the oven and has a very, very high chance of oozing out. However, if they do stay put in the tart then when they cool back down to room temp, they leave you with some of that signature s’mores chewiness. Marshmallow fluff, on the other hand, does the opposite of all of that. It is thickened with egg whites and therefore gets firm in the heat of the oven so there’s little risk of that oozing out but then when it cools you don’t have the chewy marshmallow texture. My solution is to use both. Fluff to lock in the marshmallows, marshmallows to provide chewiness, and both to provide flavor. You can make both from scratch if you’re truly feeling extra (this fluff rules), or you can make neither from scratch. Just do whatever option will leave you with enough energy to make the pie crust because that really is the most important part of this picture.
- To me, Hershey’s bars are a very important part of a s’more. The waxy texture and milk chocolate flavor are what I latch onto when I dream of a s’more and that’s just how I am. You might have a need for a fancy chocolate and that’s fine, you do you. I’ve opted to use a straight up piece of the chocolate bar here rather than using a chocolate spread because I like how it firms back up when the tarts cool. (I also like my chocolate croissants this way, with a full on hard chocolate bar in the middle. It’s texturally more exciting to me than a soft spread. It makes me want to eat a chocolate bar sandwich. We’re getting off topic.)
Make these!!!
Peanut Butter S’mores Pop Tarts
Makes 10
Ingredients
Crust
1 1/2 c (195g) all-purpose flour
1 c (130g) whole wheat flour
1/4 c (50g) sugar
1 tsp kosher salt
1 tsp ground cinnamon
A few passes of nutmeg
18 tb (253g) unsalted butter, cold and cubed
1/4 c ice cold water
Filling and assembly
About 1/4 c (65g) unsweetened peanut butter (I like Smucker’s All-Natural)
2 hershey’s milk chocolate bars
About 3/4 c (60g) marshmallow fluff
30 mini marshmallows
1 egg, beaten
Glaze
1 c (120g) powdered sugar
1/4 c (30g) unsweetened cocoa powder
2 tb whole milk
A pinch of kosher salt
Sprinkles
Clues
In a food processor, pulse to combine the flours, sugar, salt, cinnamon, and nutmeg. Add the butter and pulse until pea-sized (a few larger bits are ok). Drizzle in the water and continue to pulse until the dough starts to come together. It may still look crumbly but it’s ready when it sticks together if you squeeze a handful of it together. Turn it out onto a clean surface and use your hands to smush it all together into a ball. Divide it in half and pat out into discs. Wrap in plastic wrap and refrigerate for 30 minutes or up to a day or two.
Preheat the oven to 425ºf. Line two pans with parchment and set aside.
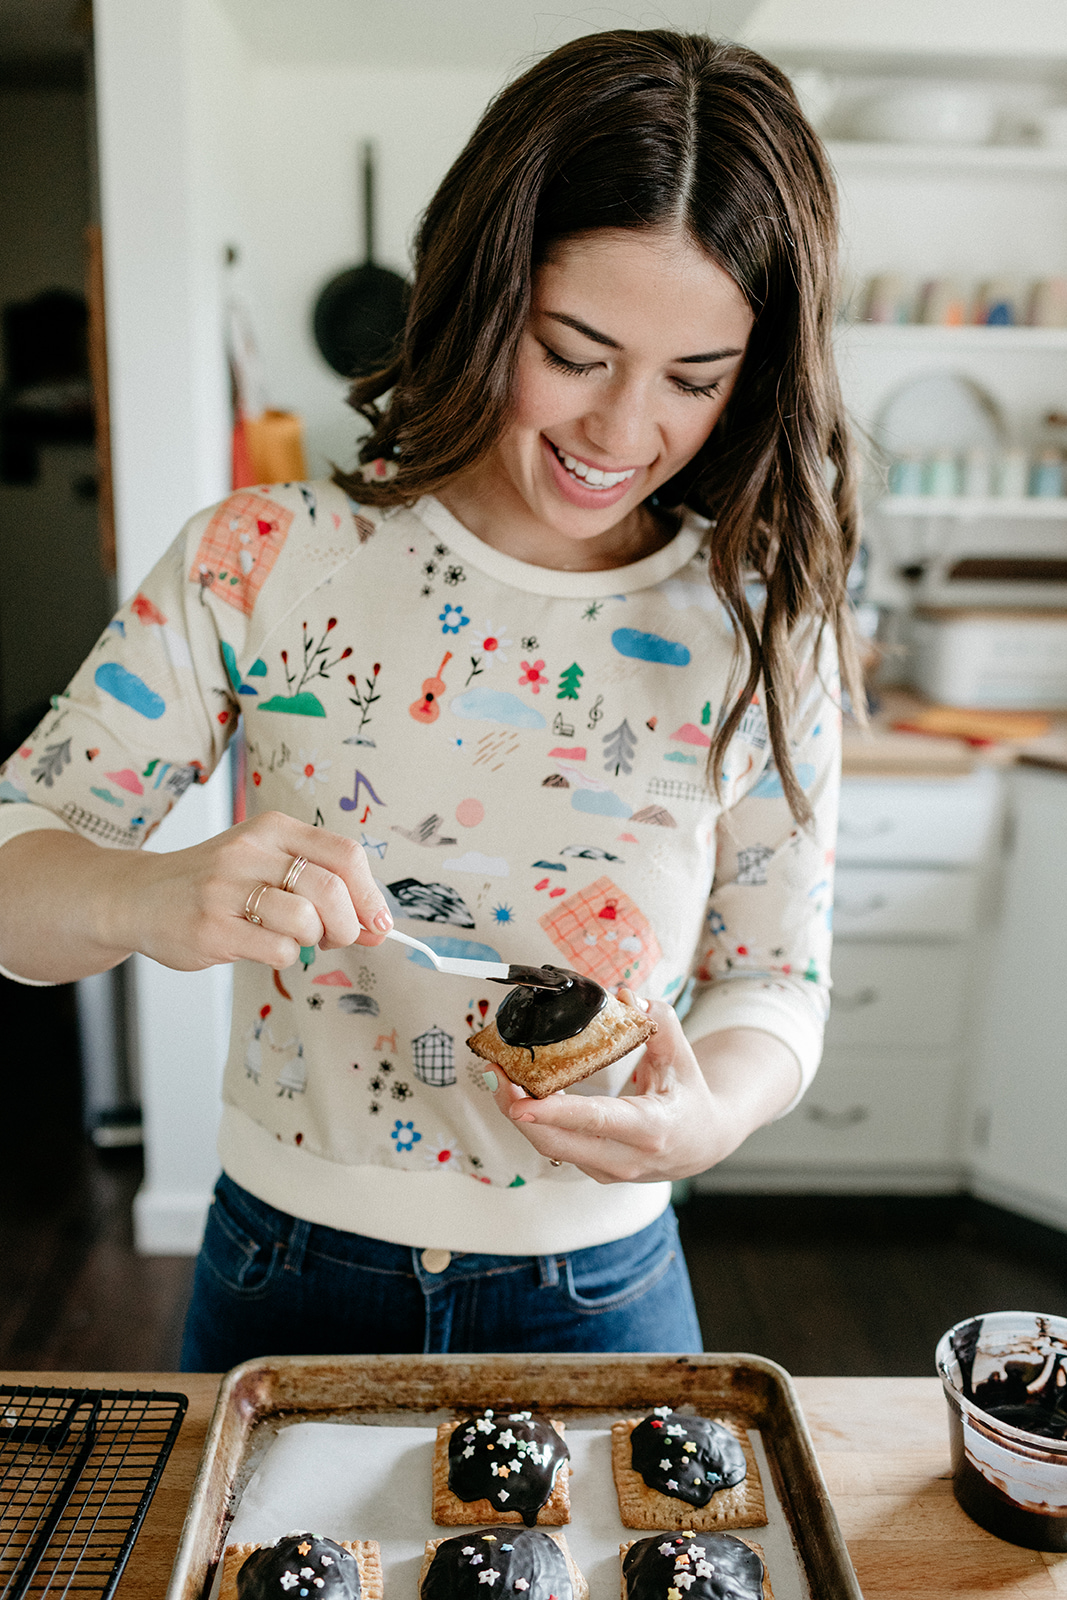
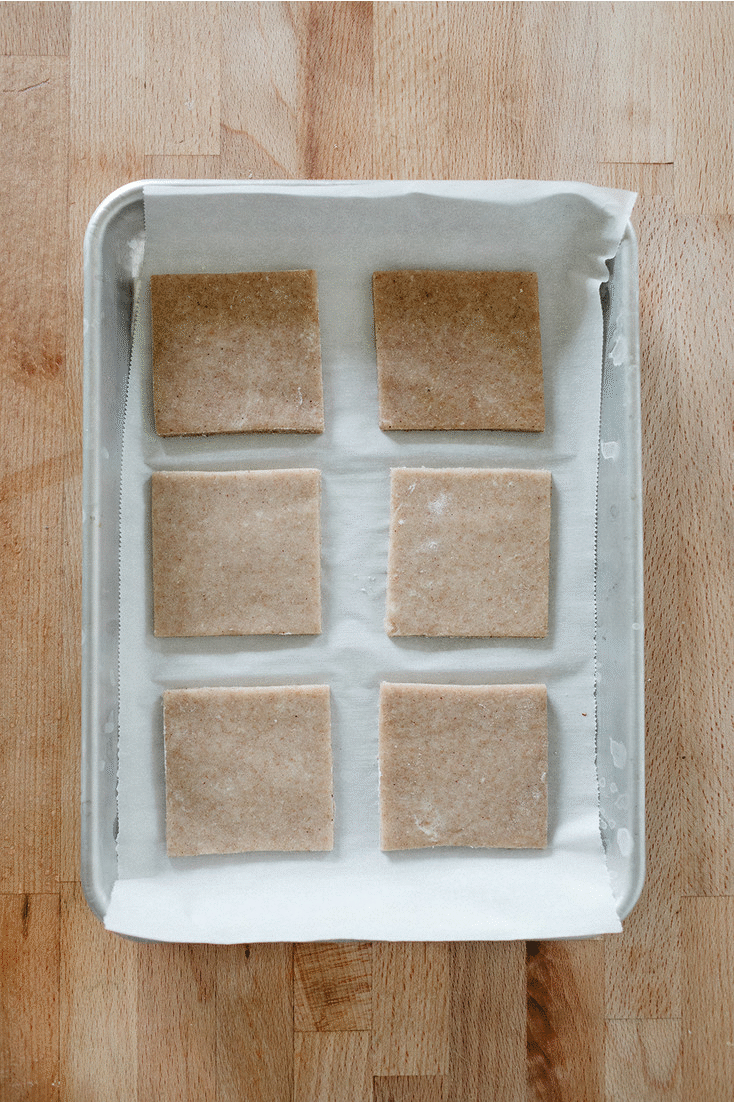
On a lightly floured surface, working with one dough disc at a time and dusting with additional flour as needed to prevent it from sticking, roll it out until it’s just under 1/4” thick (3/16” is ideal but I don’t mean to freak you out with such an odd measurement). Cut out 10 3” squares, re-rolling scraps, and arrange them on the baking sheets at least 1” apart. Top each with a heaping teaspoon of peanut butter, 2 chocolate rectangles, about a tablespoon of marshmallow fluff, and 3 mini marshmallows. I recommend adding the marshmallow fluff by piping it out of a piping bag or a ziploc bag with the corner cut off. It makes this process cleaner and allows you to make a little border that will hold in your mini marshmallows. (See the gif above as a reference.) And you can eyeball the tablespoon measurement, it doesn’t need to be exact.
Roll out the remaining dough disc along with any scraps from the first disc and cut out 3 1/2” squares, re-rolling scraps as needed. Brush the edges of the bottom squares with a thin layer of egg wash and top with a larger square. Pinch the edges to seal well and crimp with a fork to ensure that they’re sealed. Trim the edges if desired so that they line up cleanly. Poke a few holes in the top with a fork and brush the tops with egg wash. Bake until golden brown; begin checking for doneness at 16 minutes. Let cool on the pans for 10 minutes and then transfer to a wire rack to cool completely.
To make the glaze, combine all ingredients and mix until smooth.
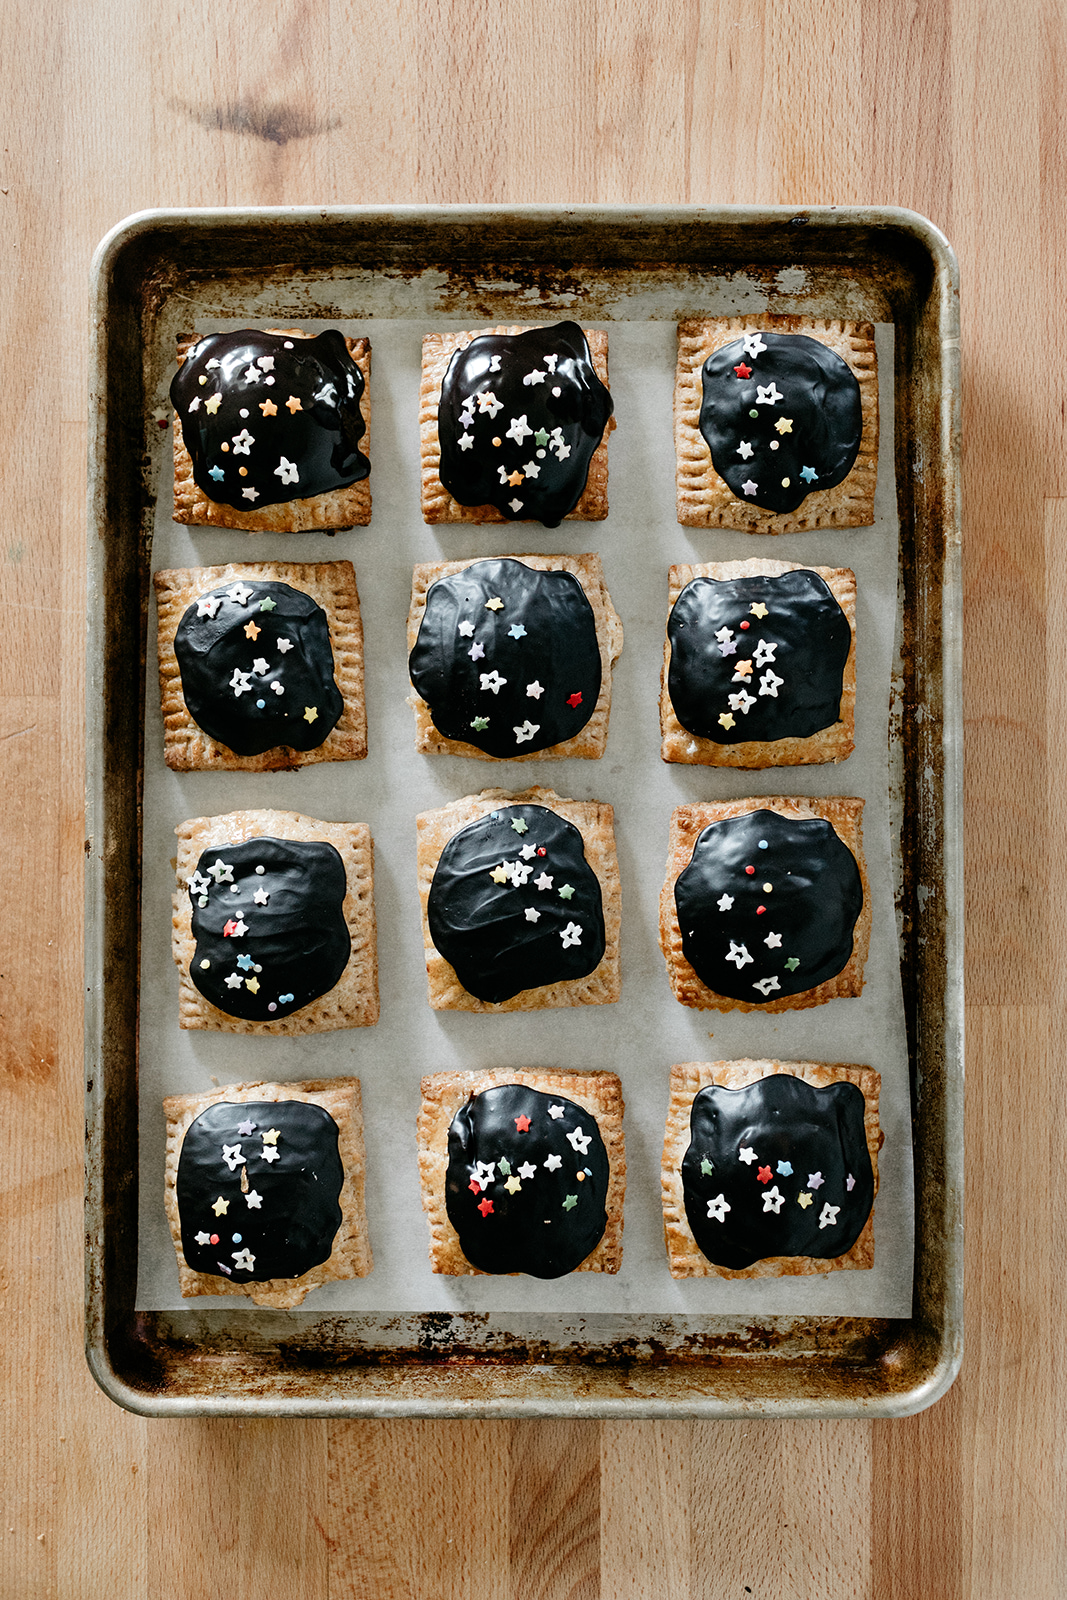
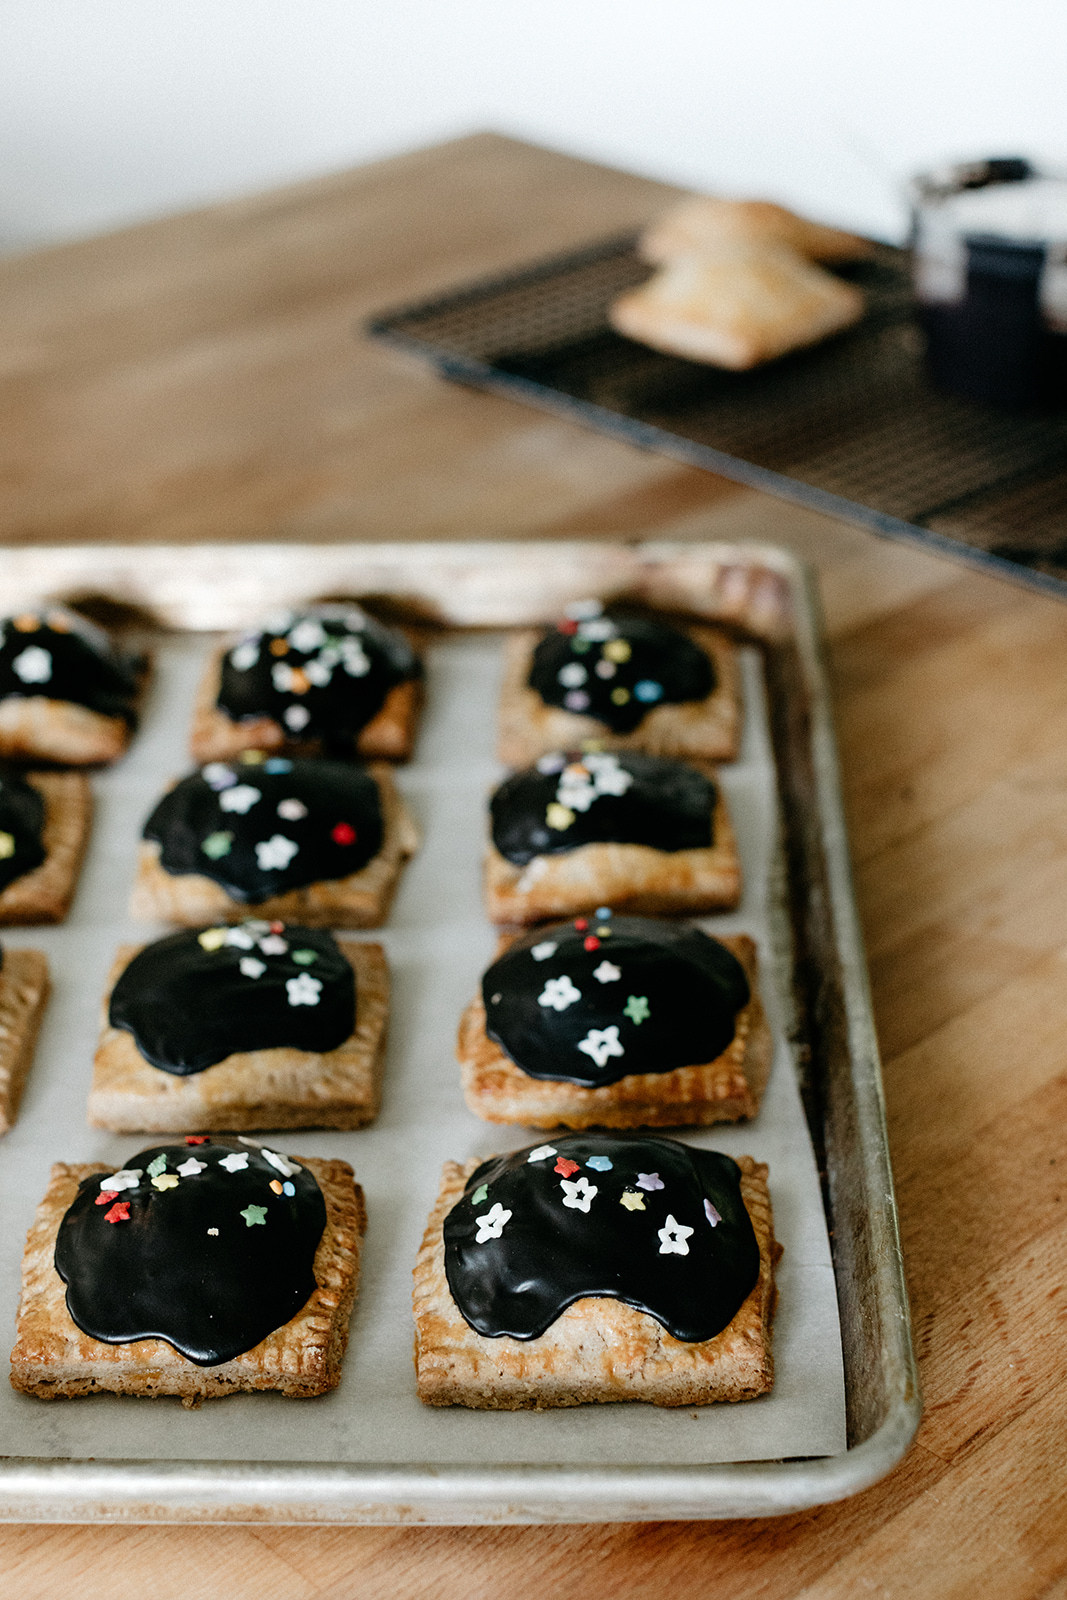
Top the tarts with glaze and sprinkles and enjoy! These will keep for a couple of days at room temperature.
-yeh!
photos by chantell and brett! shirt from of a kind! sprinkles from supernatural!

![IG_Story_1080x1920[2].jpg](https://images.squarespace-cdn.com/content/v1/515ecaf0e4b0875140cb8775/1529419018979-VR6FV7NTV4G7GEYGMFU4/IG_Story_1080x1920%5B2%5D.jpg)


