Homemade Snickers

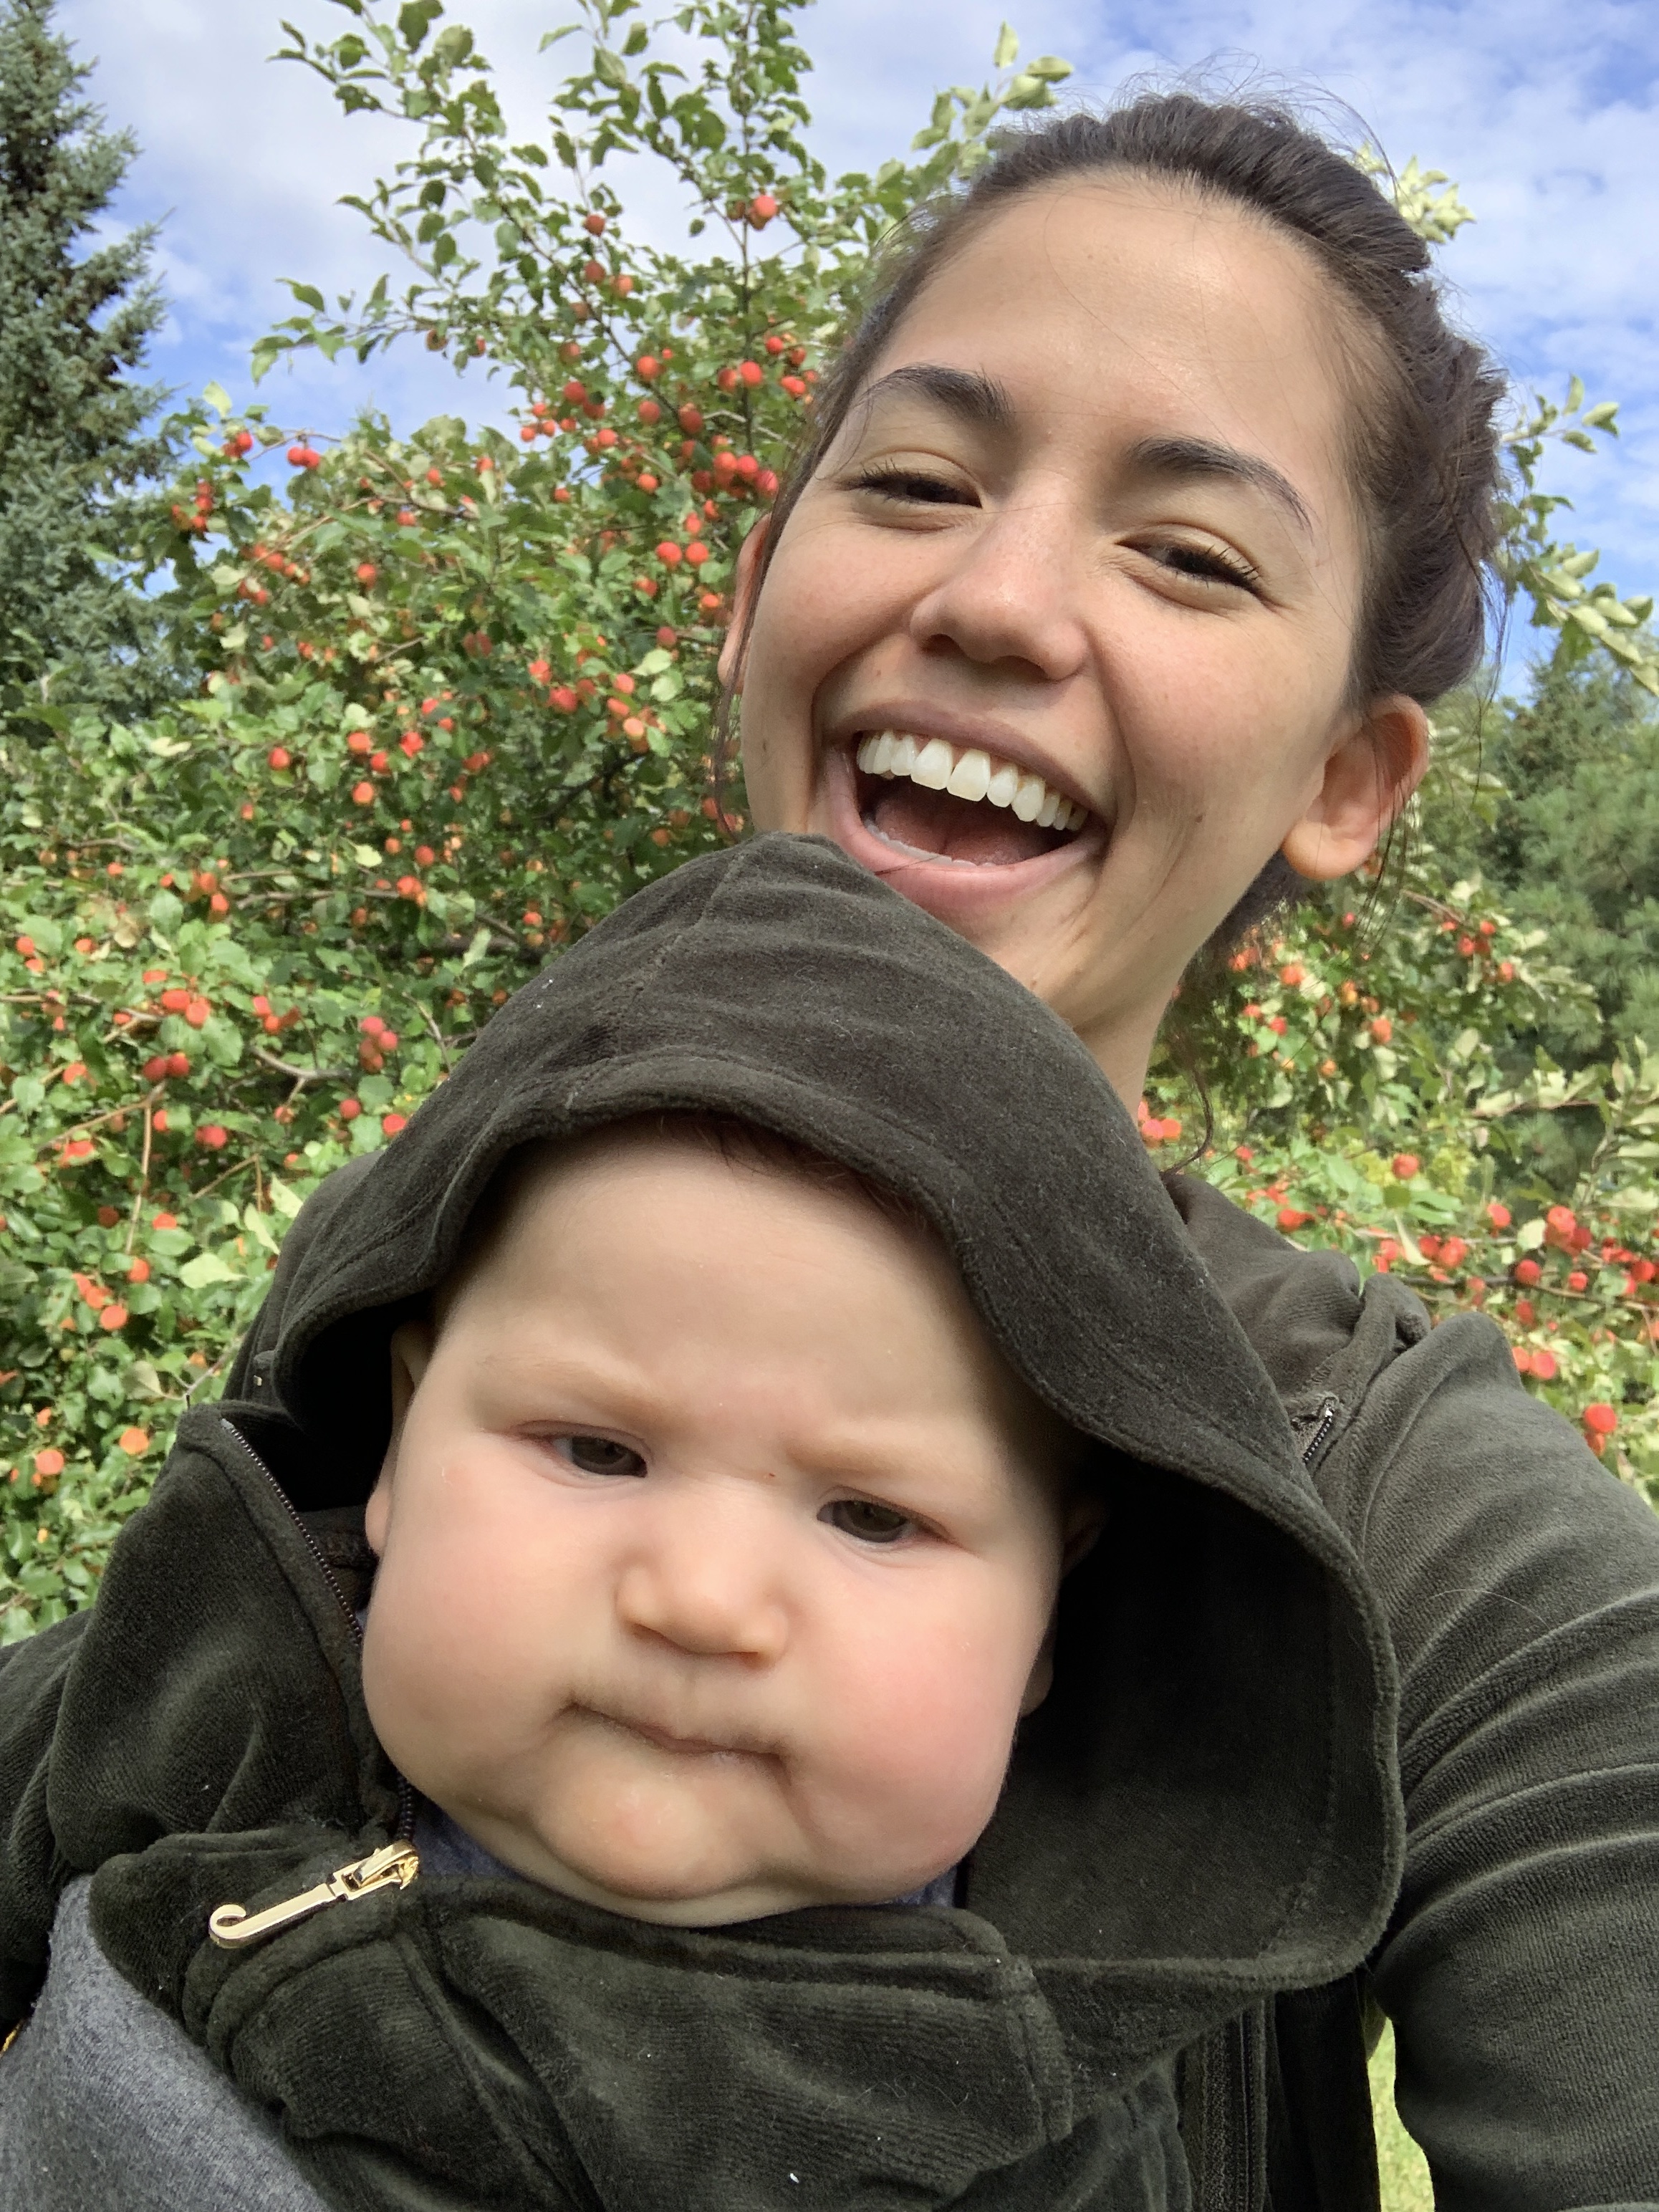
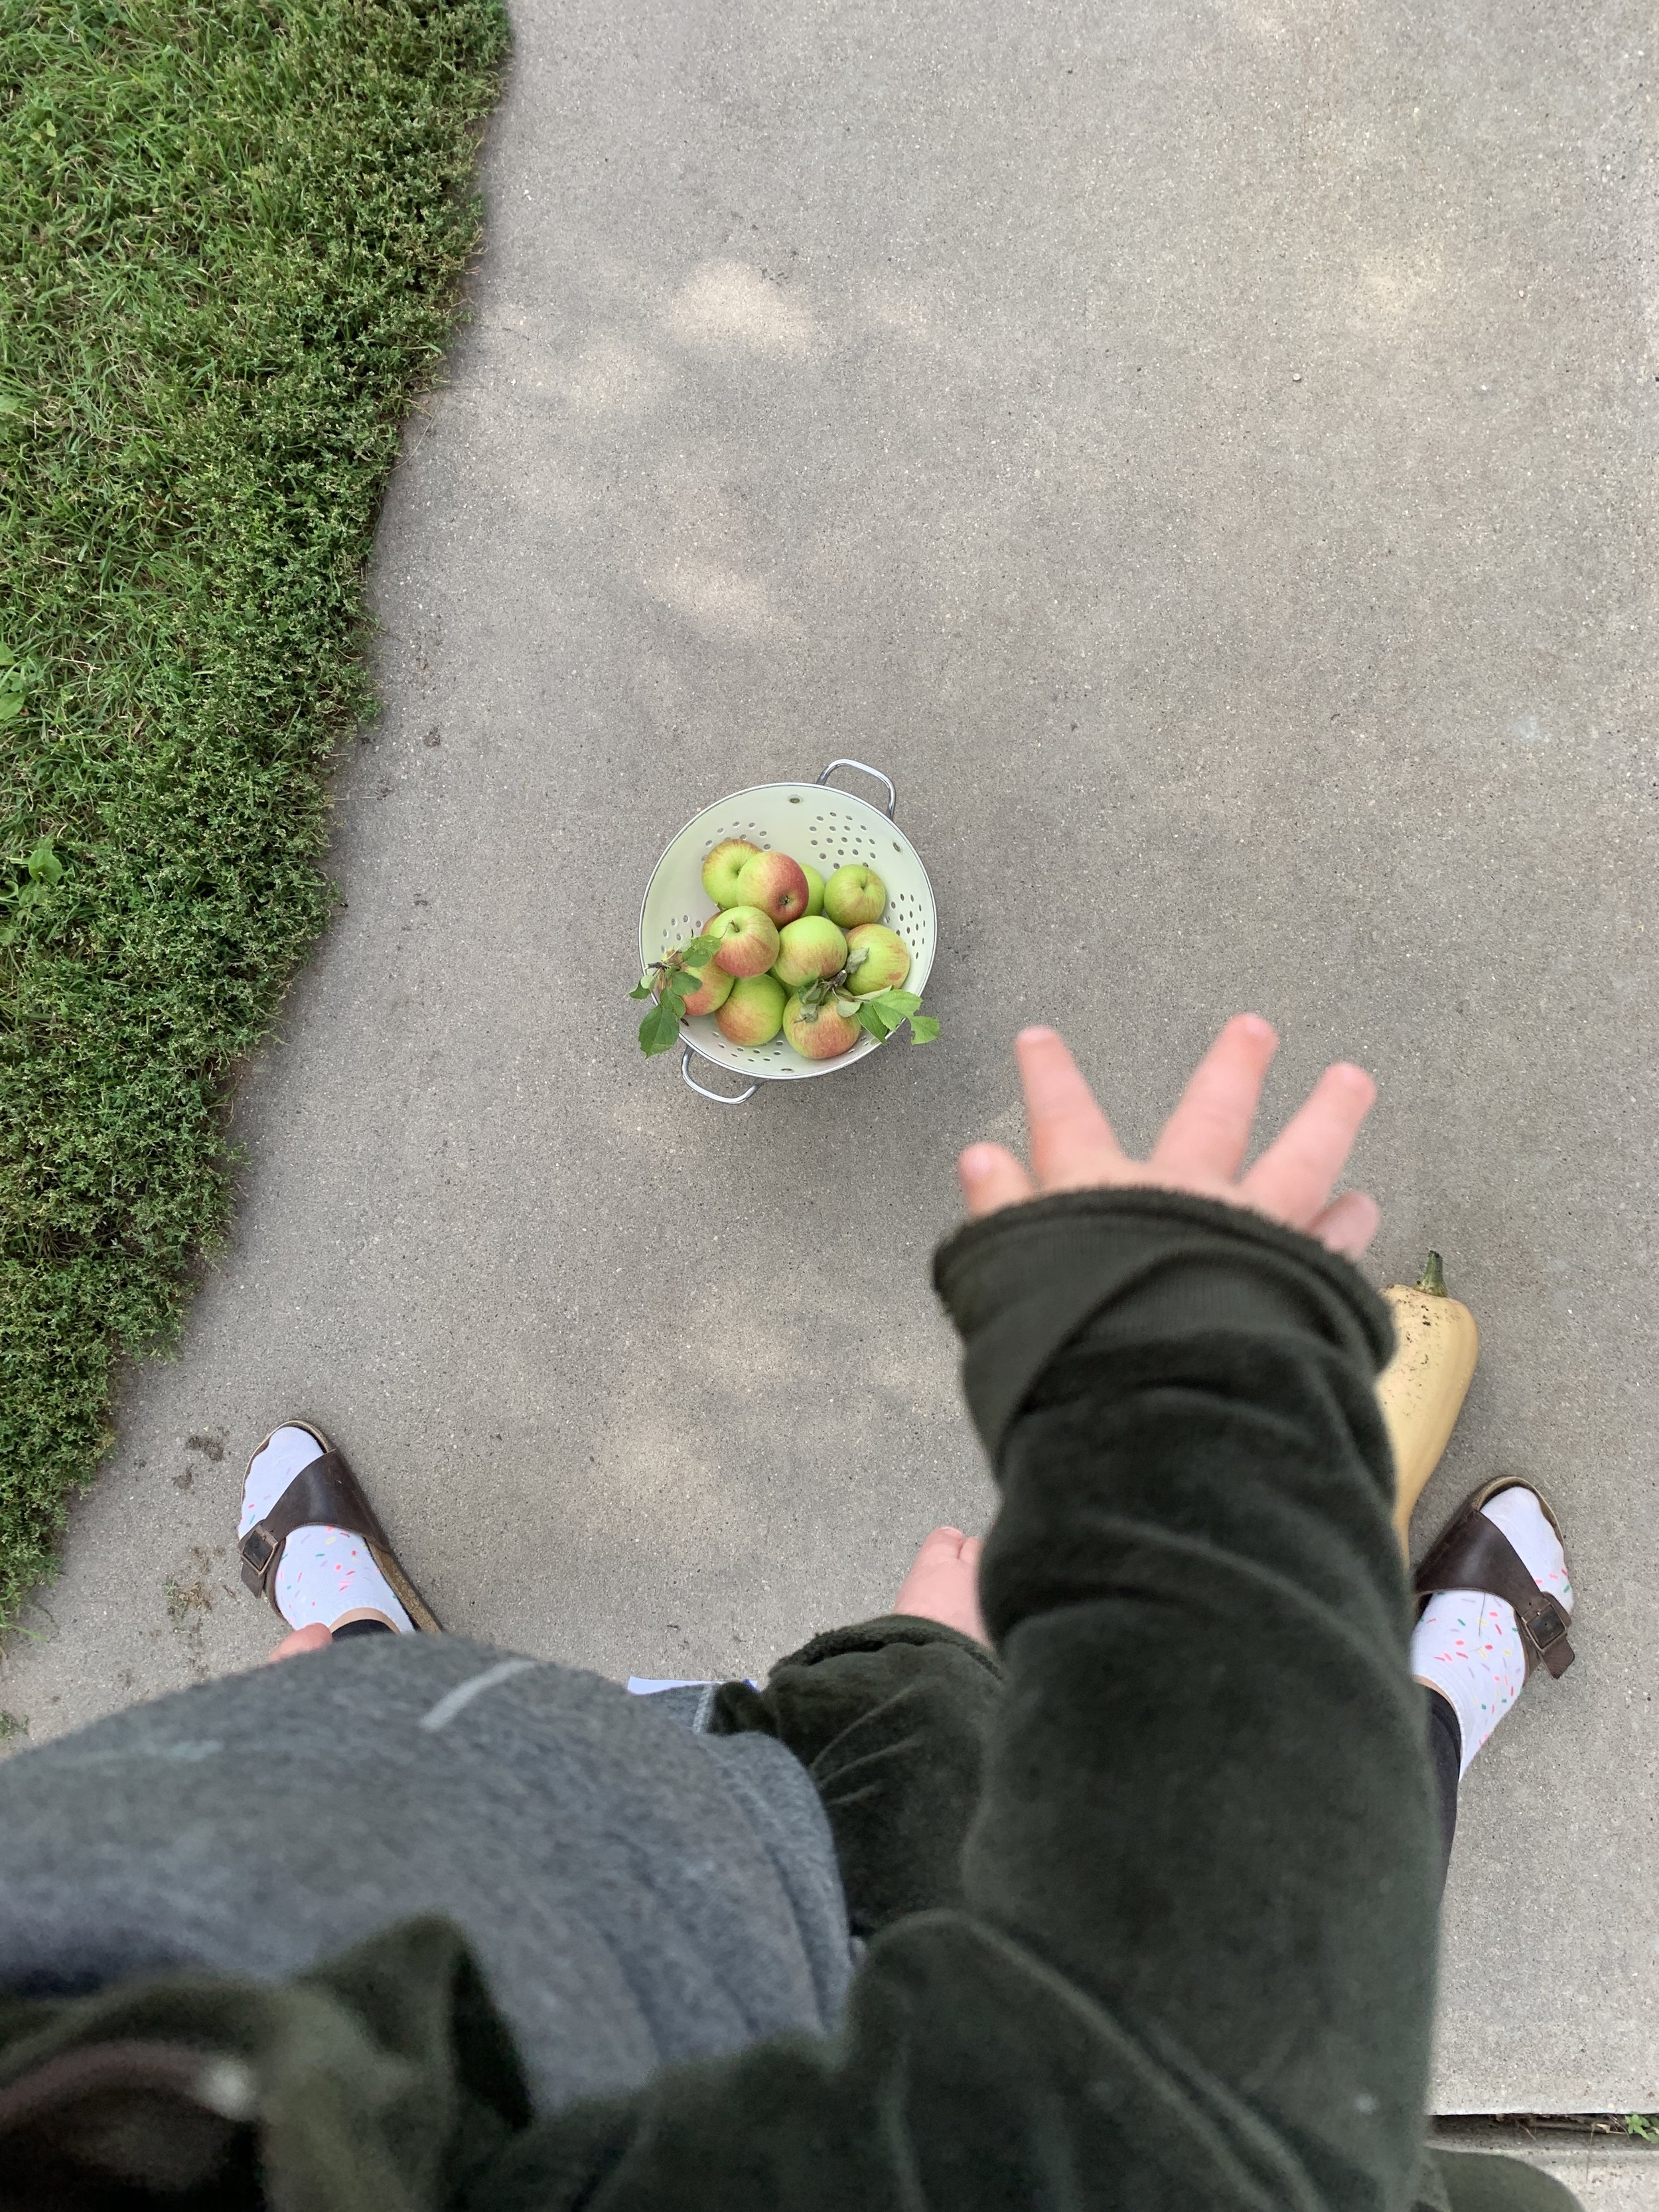
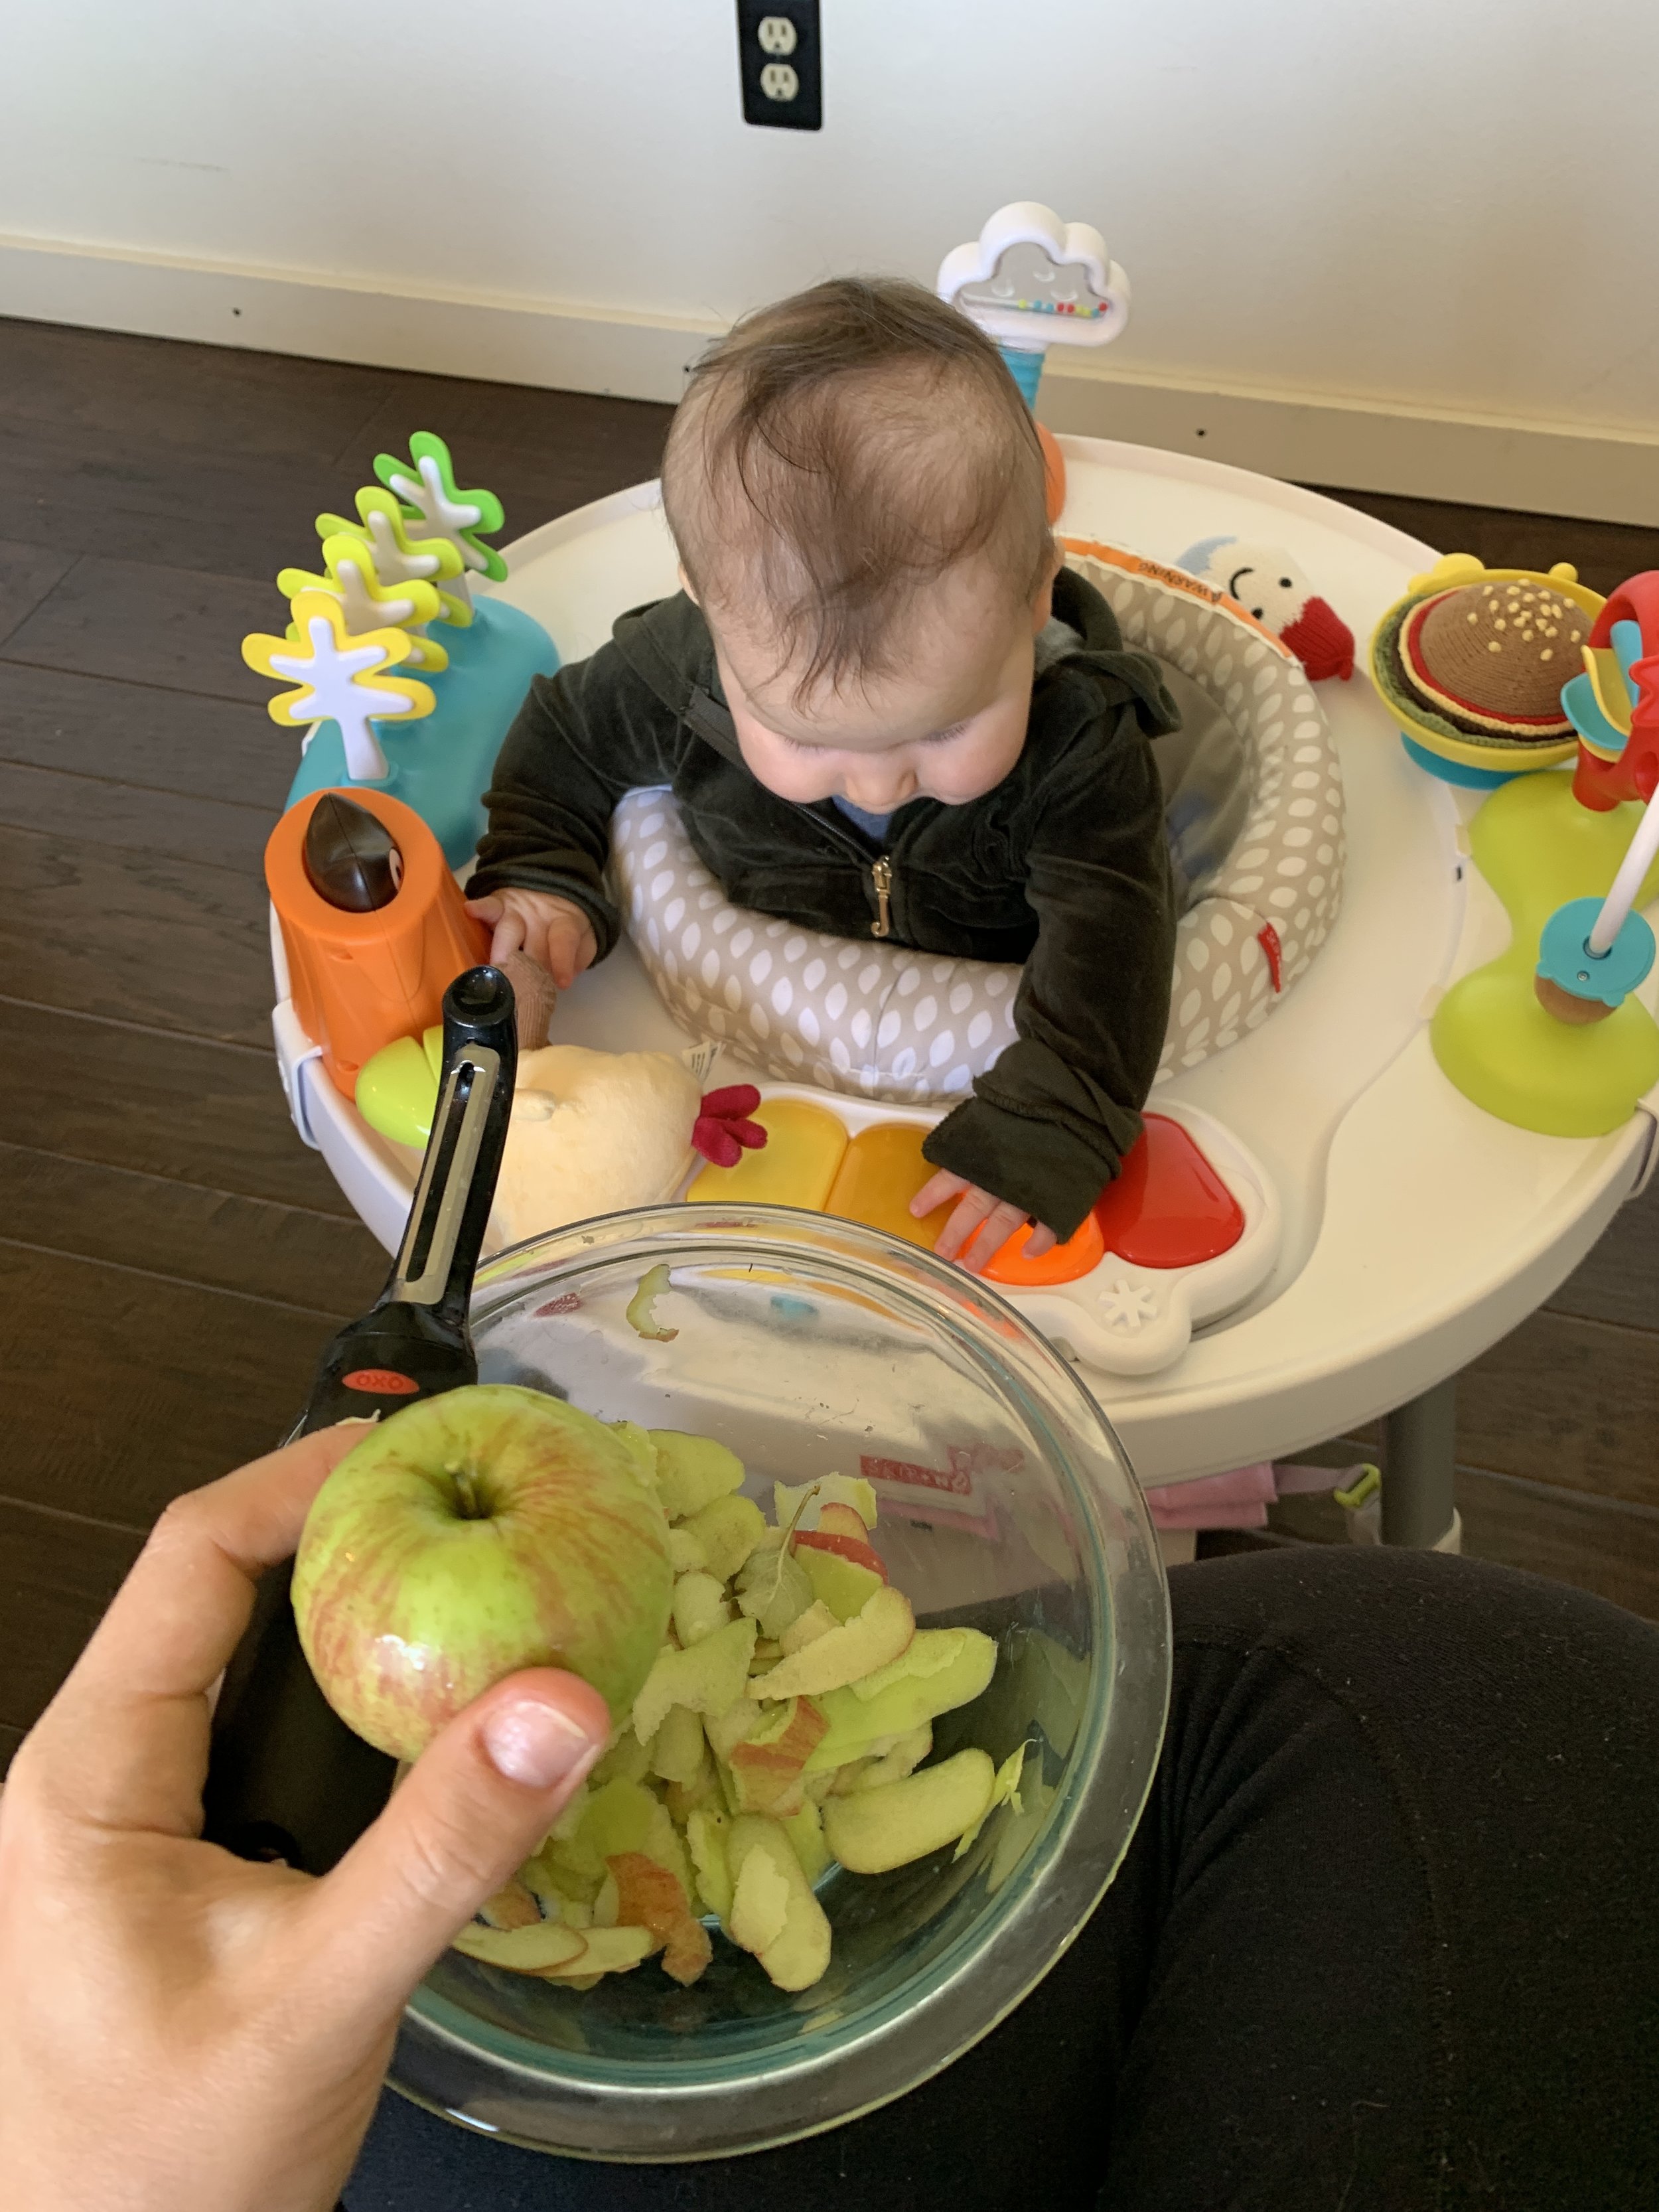
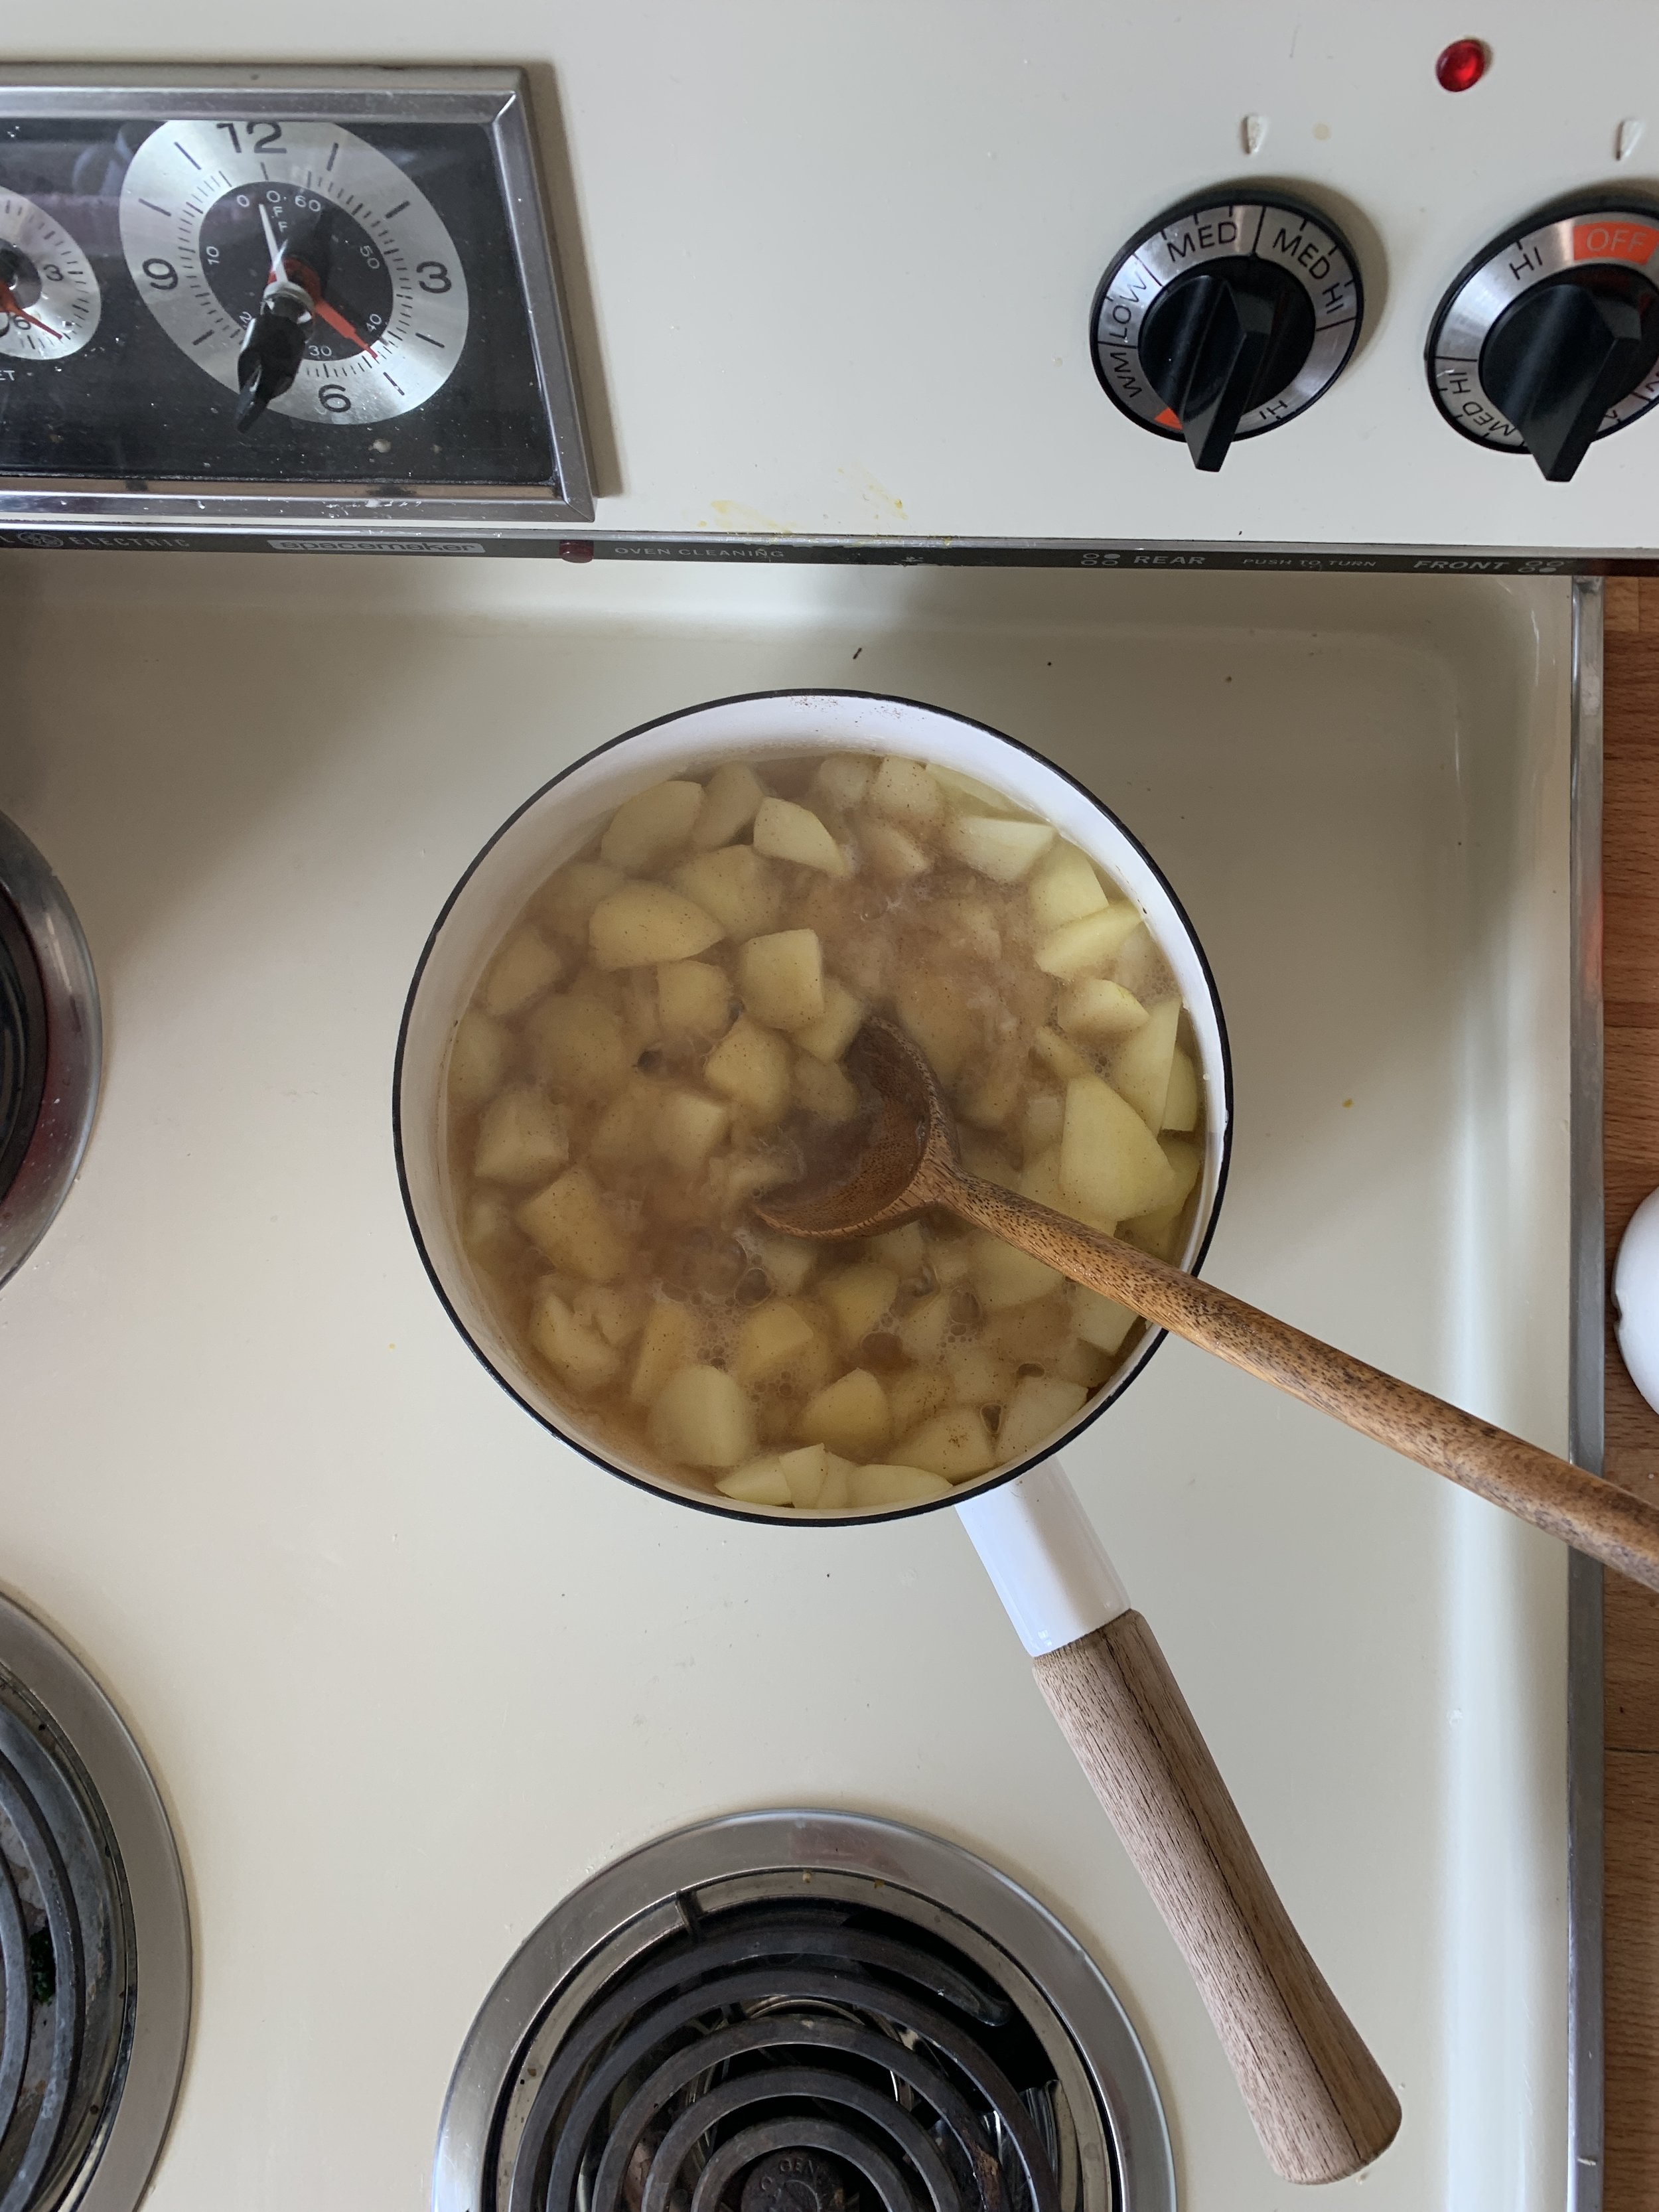
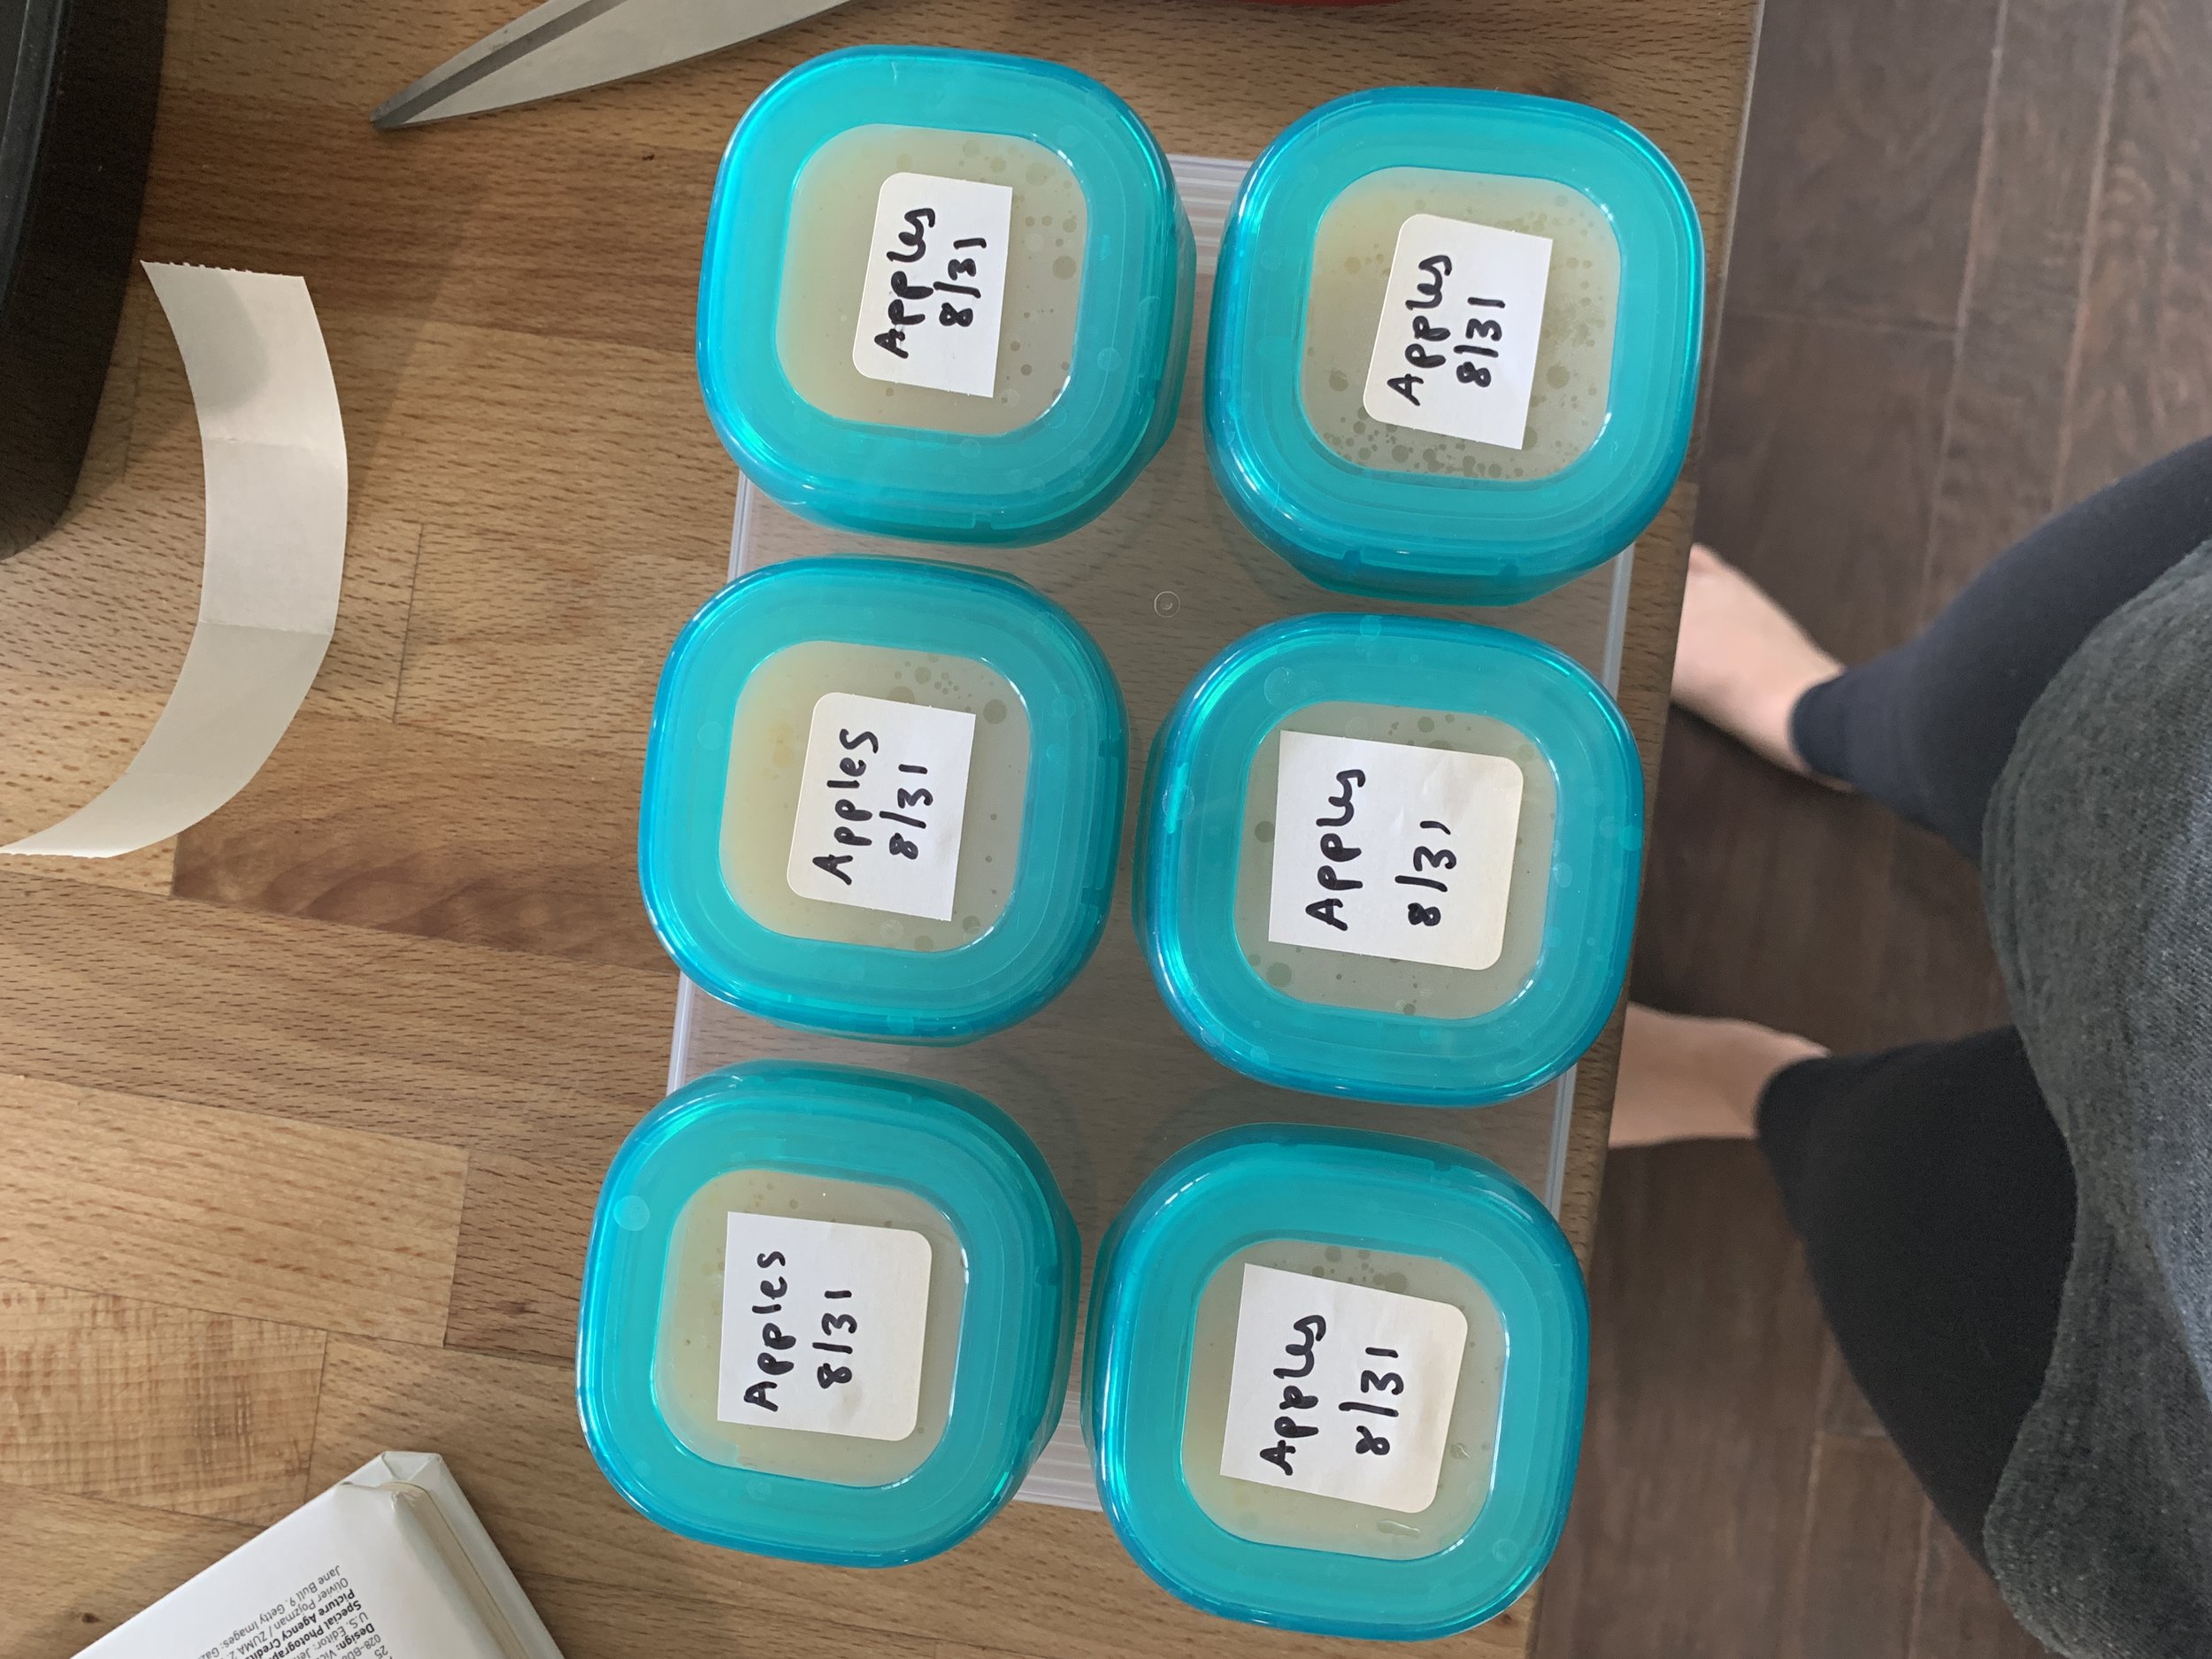
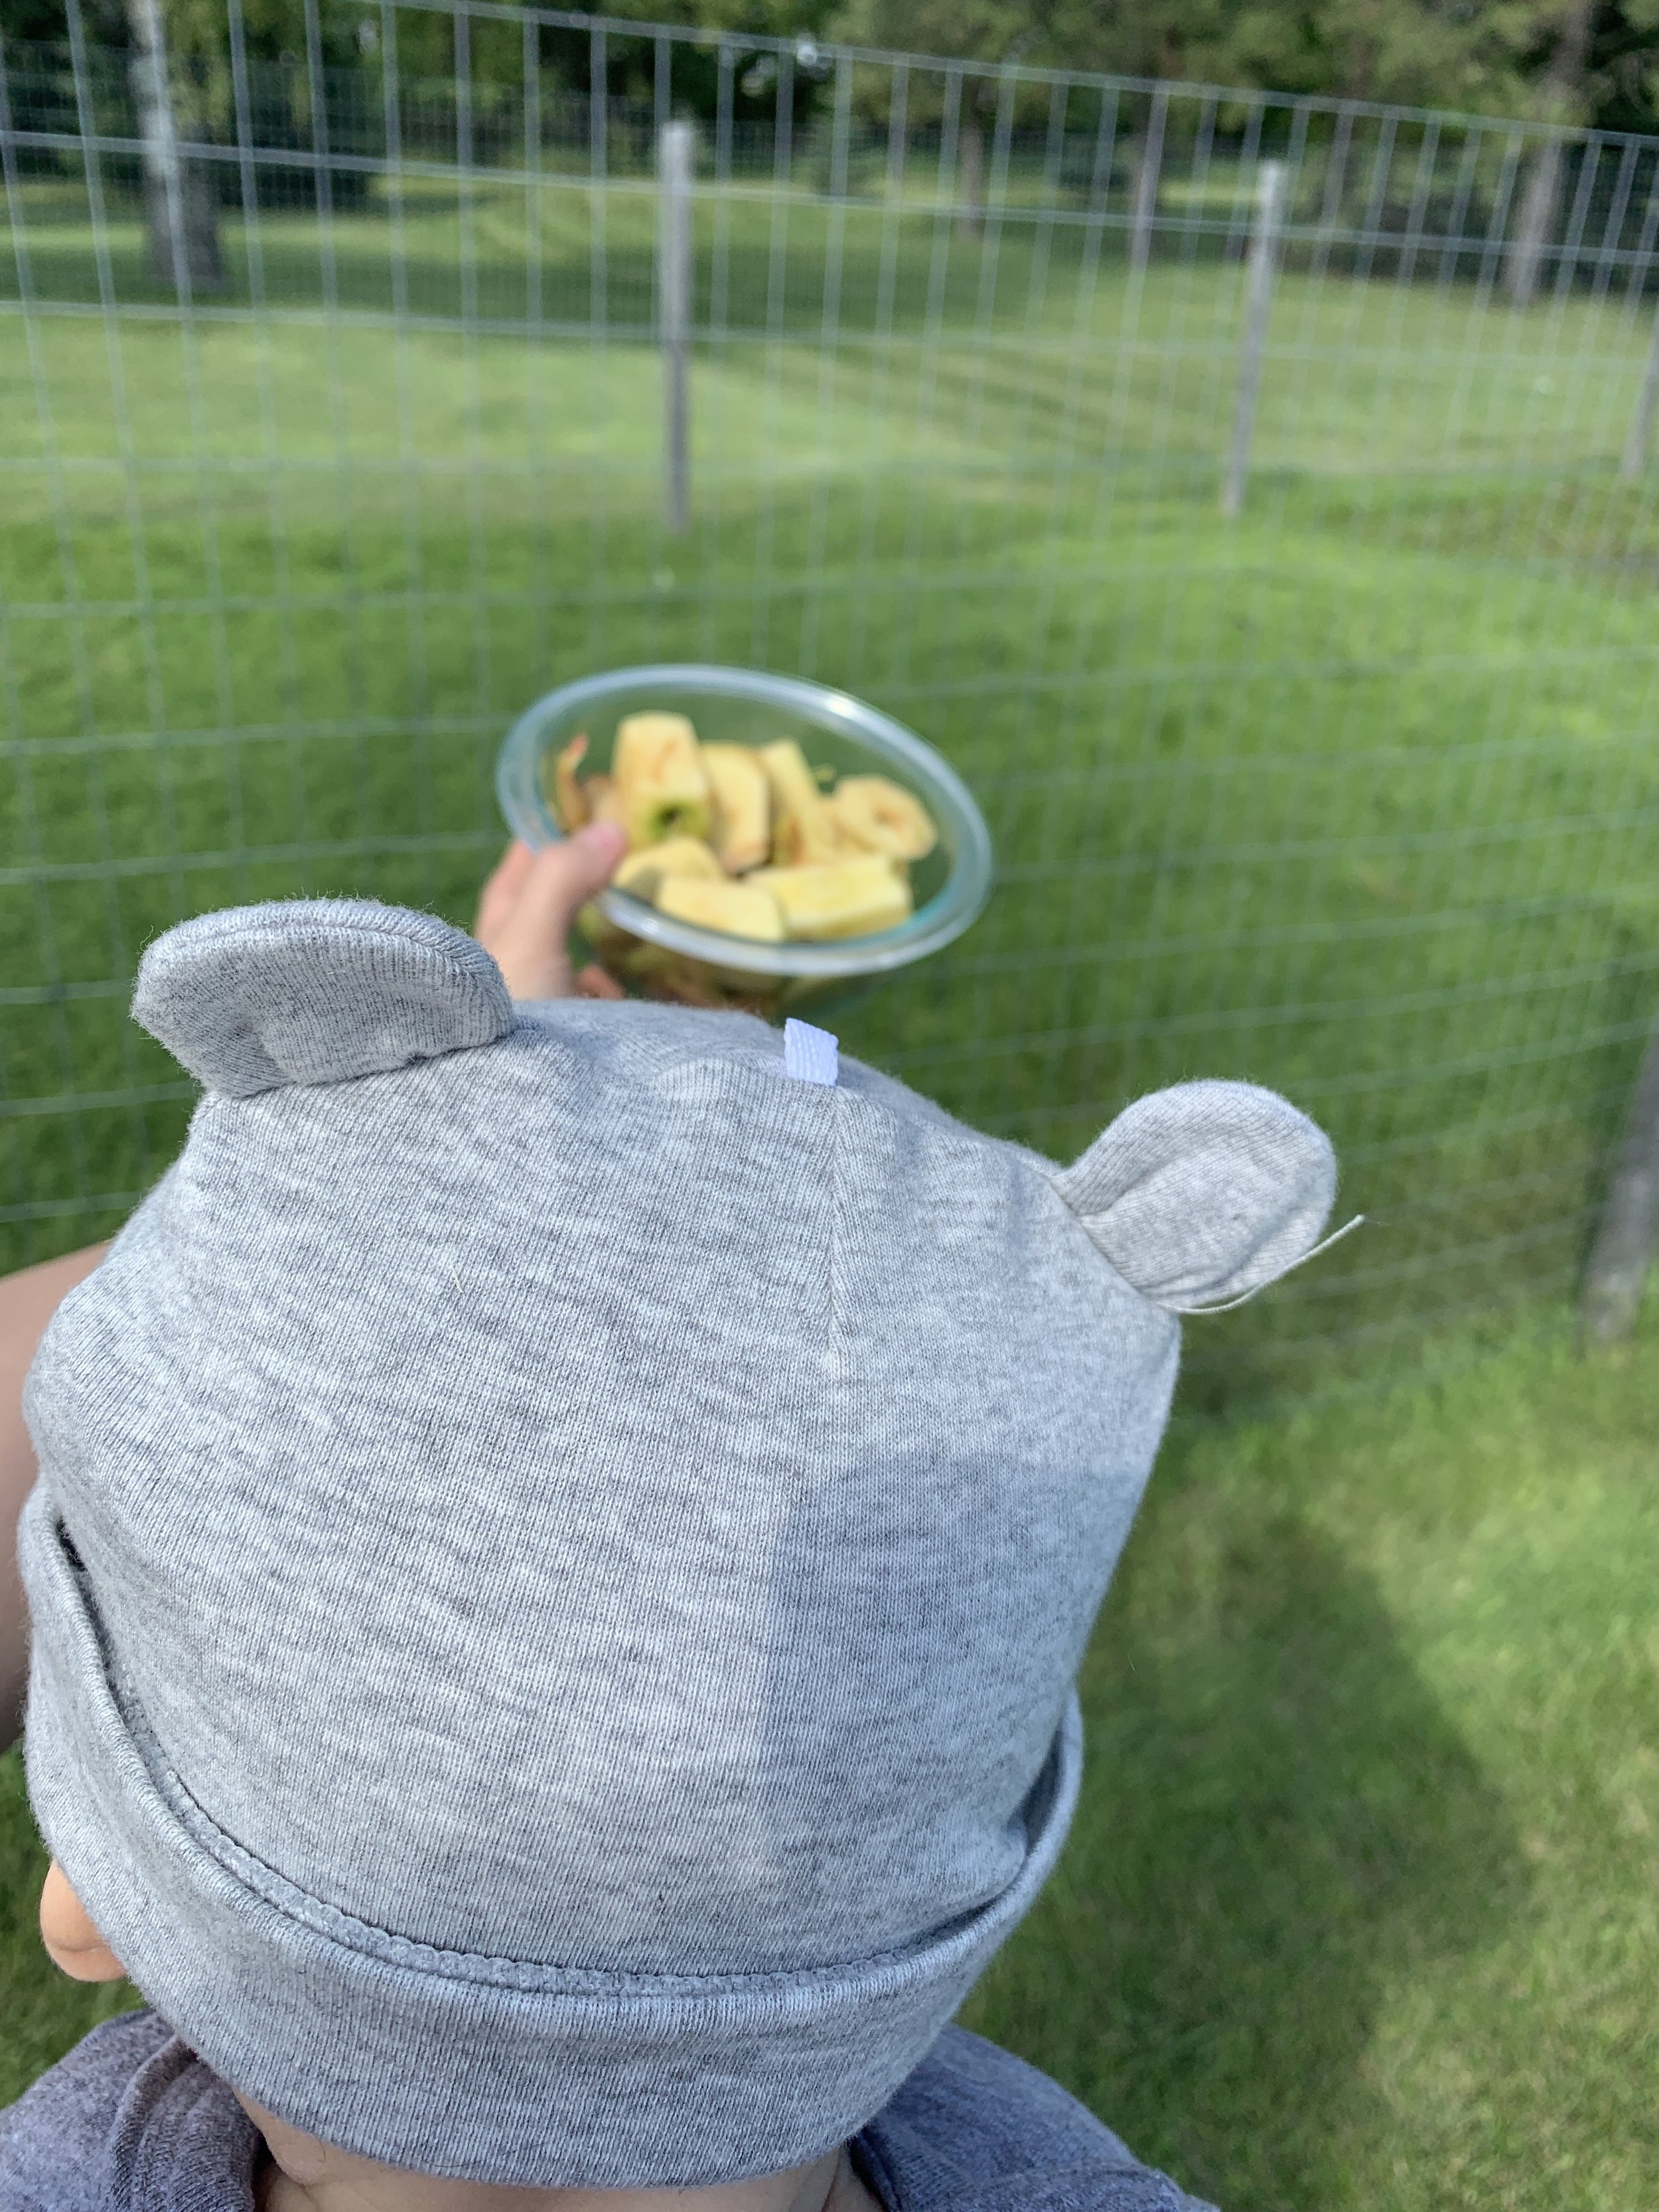
We had a very big weekend! Bernie had her first solid food!!! Our apple trees were ready for their first little harvest, so we zipped up in our matching green hoodies, I strapped her in her carrier, and together we walked outside and picked a basket of apples. Then we peeled them, chopped them into pieces, and simmered them with a little cinnamon as we sang that we like to Oat Oat Oat Opples and Banonos. The apples were still a little tart (I’m pretty sure they’re Gala apples but they don’t get that sweet until the first frost) so I added a chopped Honeycrisp to the mix. Once they got very soft, I pureed them with a stick blender and then poured them into her cute baby blocks. Then we fed the apple cores to the chickens!

We also made squash puree! Peeling a butternut squash with a five-month-old takes half a day but we did it and steamed some for Bernie food to stick in the freezer and used the rest for grownup supper.

I’m inspired by Bringing Up Bébé to try to serve Bernie the same foods that Eggboy and I eat, so on Monday night we sat down for supper and all ate apples! Apple squash hotdish for us, applesauce for Bernie. Sitting down to our first real family dinner was a dream come true. And, ok, Bernie’s reaction to the applesauce wasn’t exactly the same excited reaction that she had after slurping up grape flavored Tylenol back when she got her four-month shots, but she went back for a second bite! And almost a third. And then made a face that said you overdid it on the acidity, mommy, you’re chopped. I’m pretty sure the apples were just too tart for her. Oops. I think I’ll add another Honeycrisp next time. Anyway, it’s all just going to get better from here and I’m sure it’s only a matter of time before she’s opining on my cake textures and soup seasoning! Wouldn’t it be funny if her first word was “moist.”

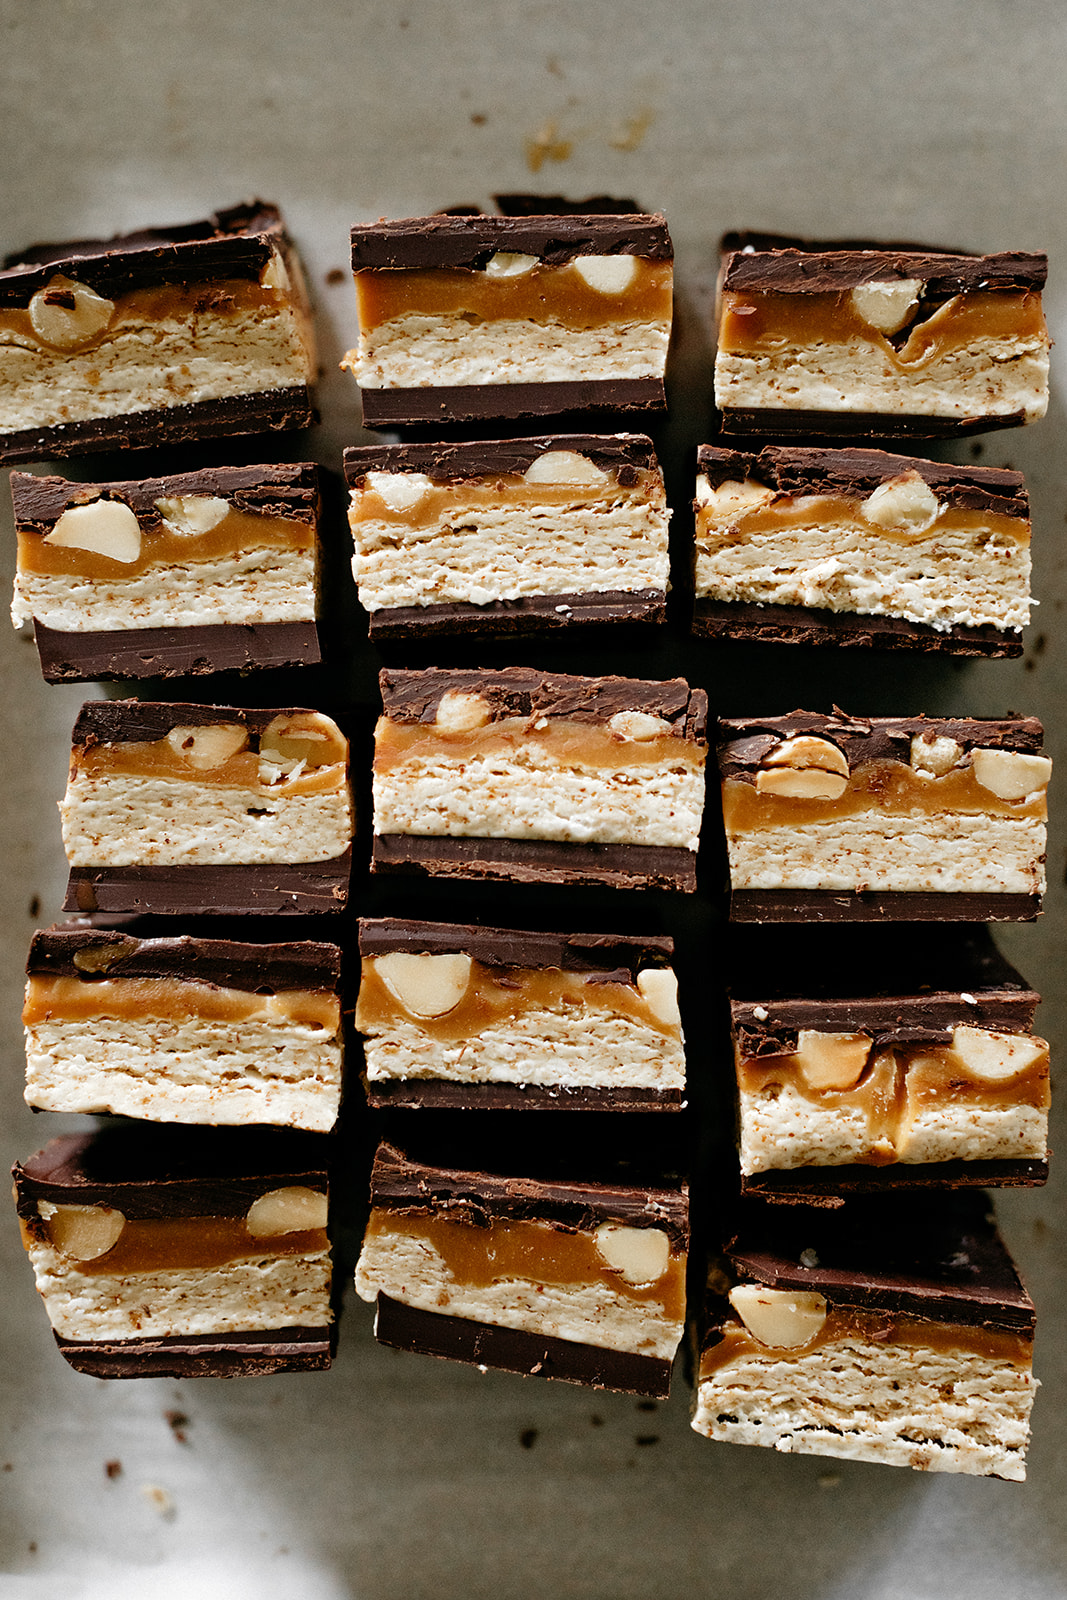
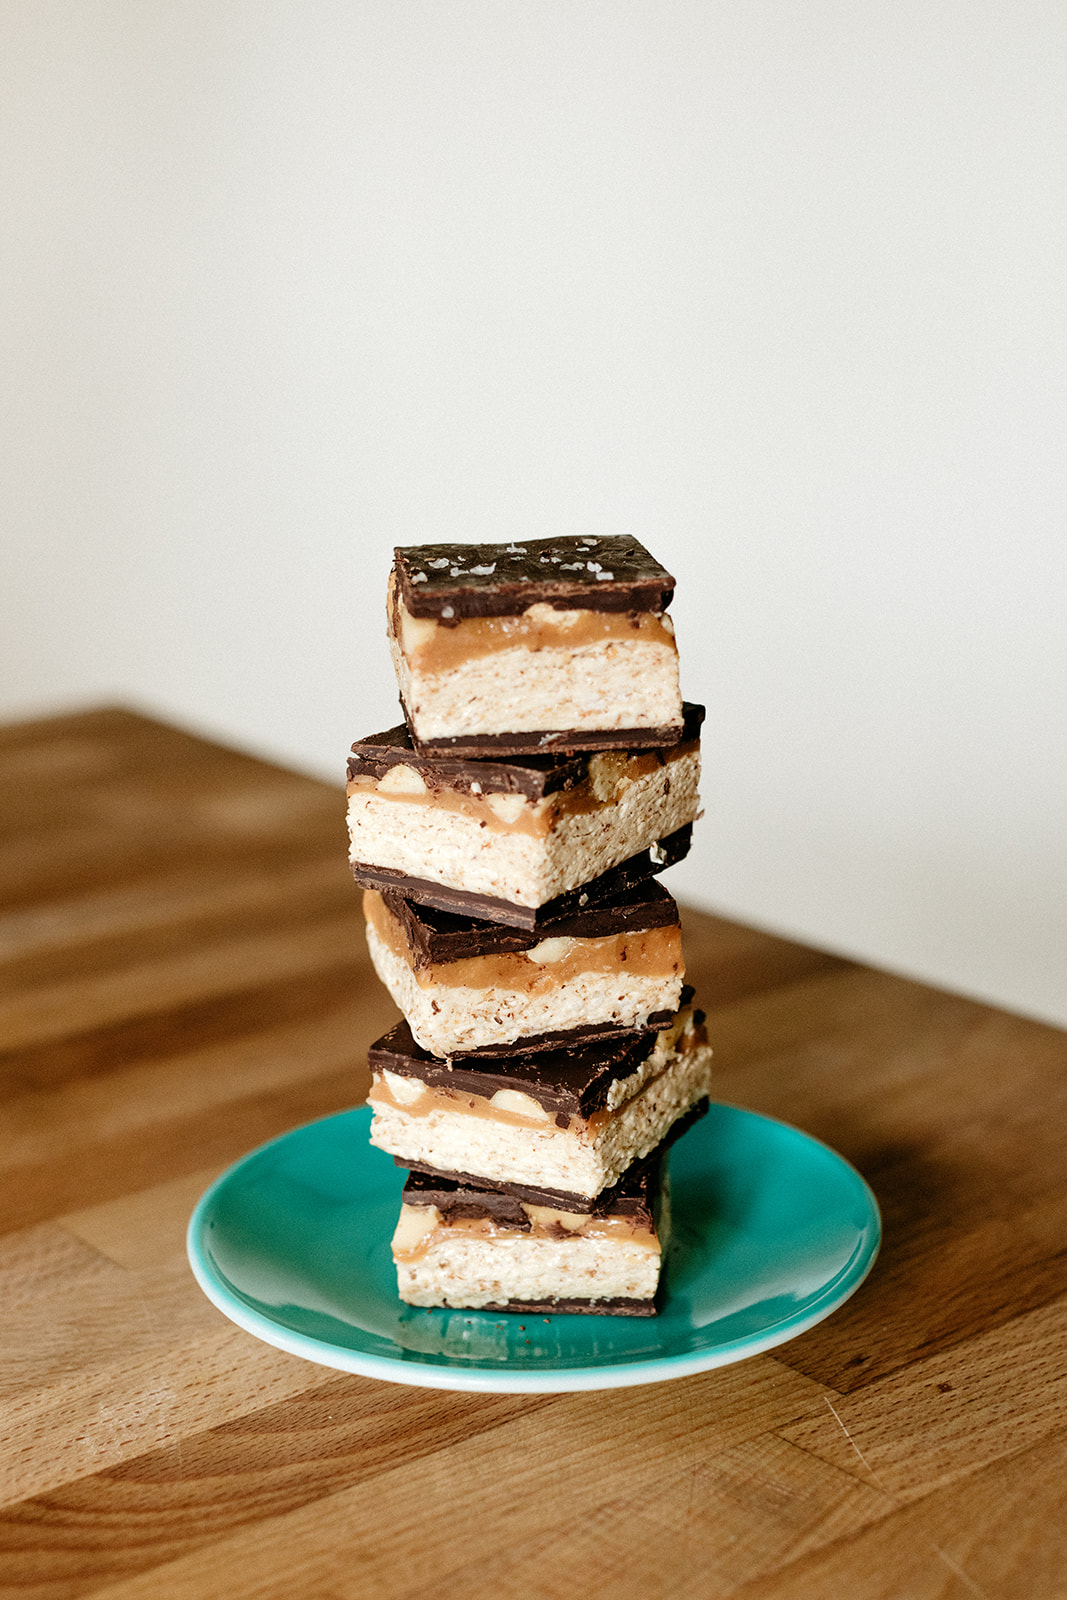
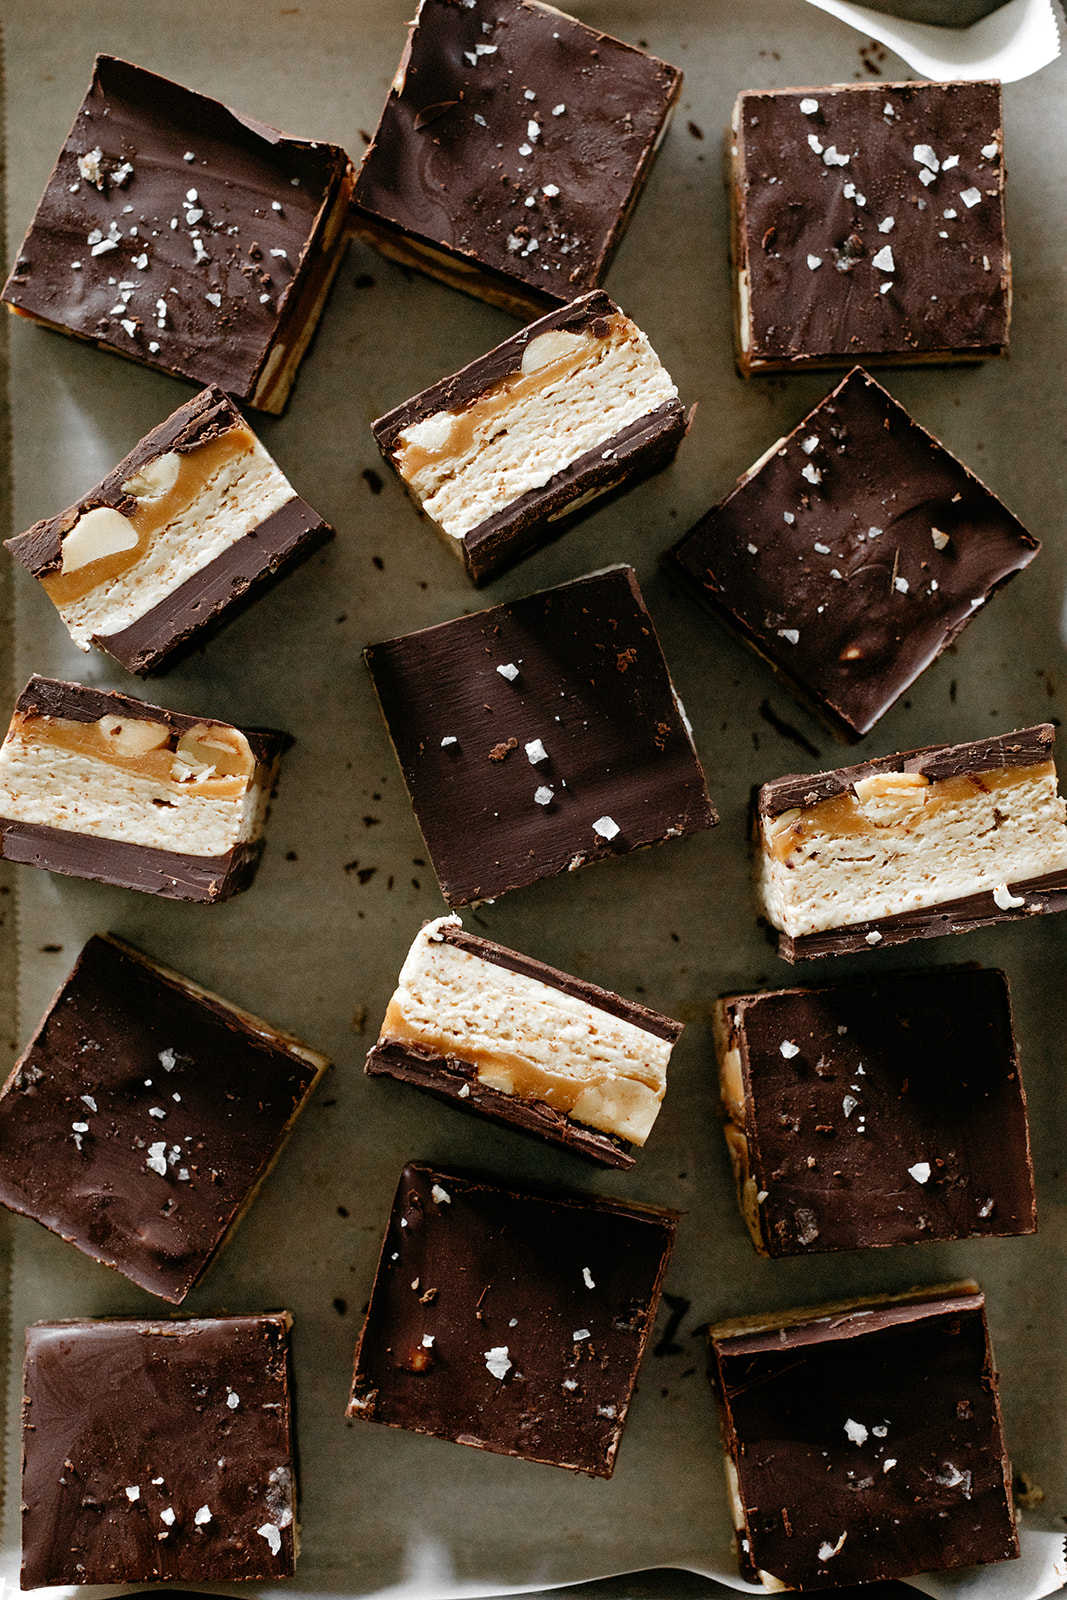
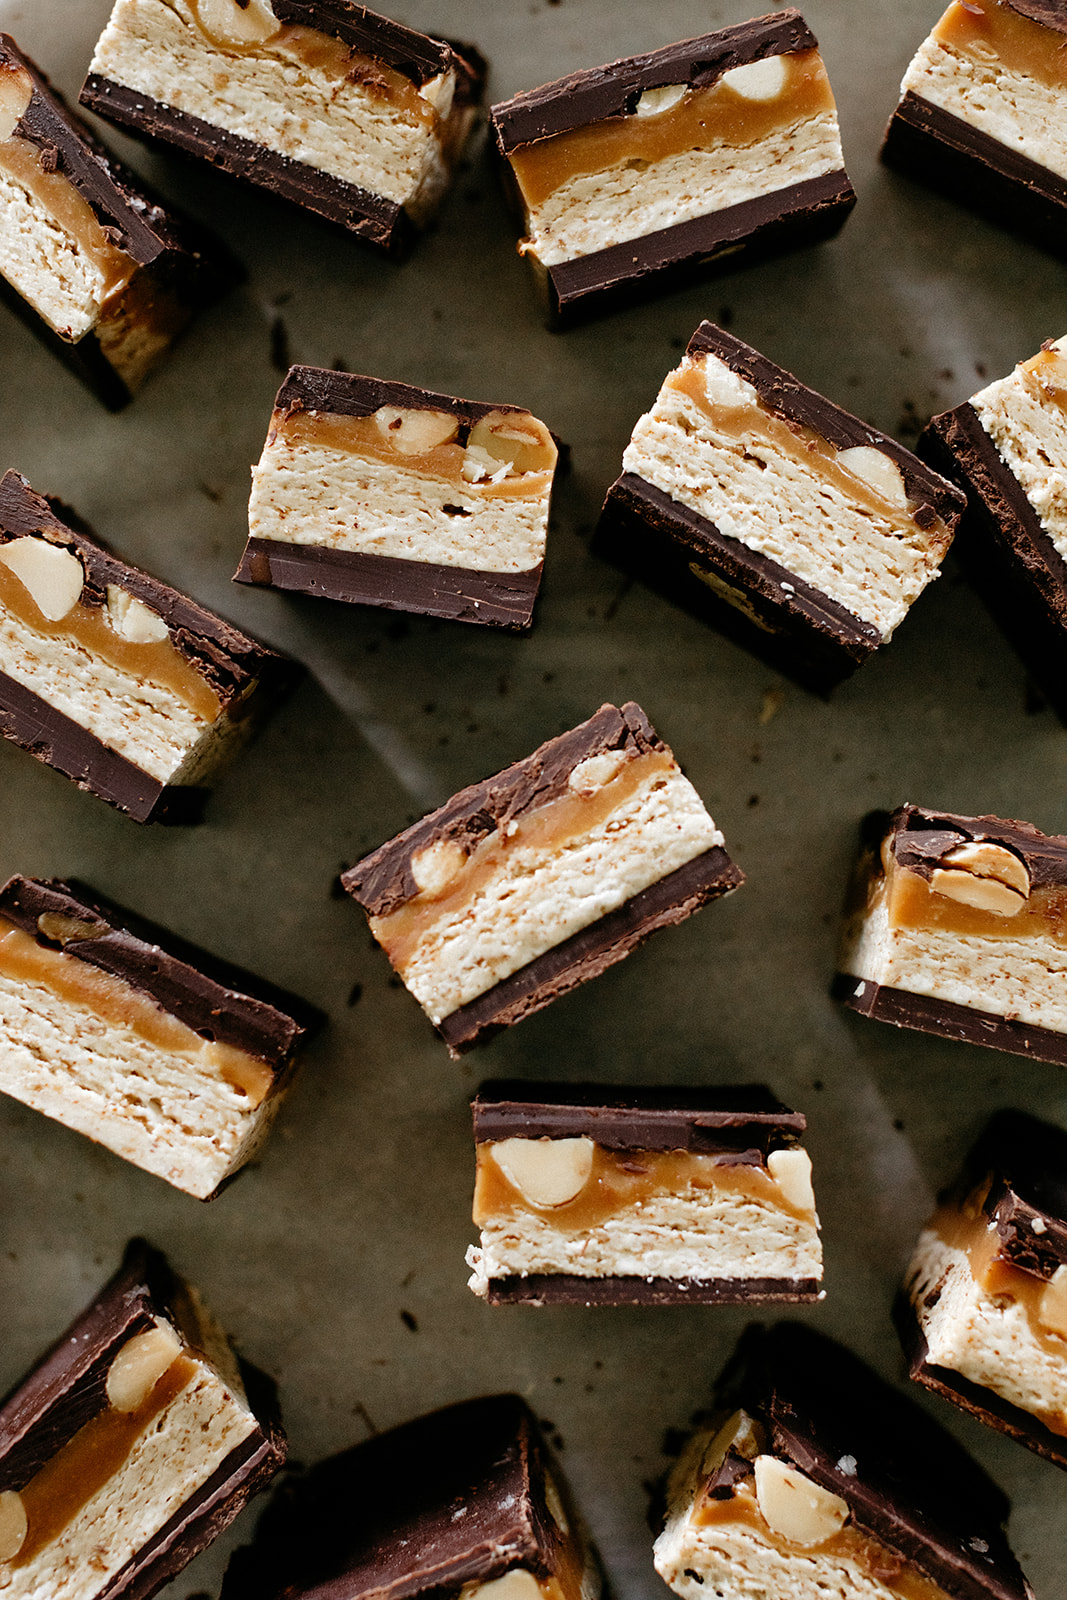
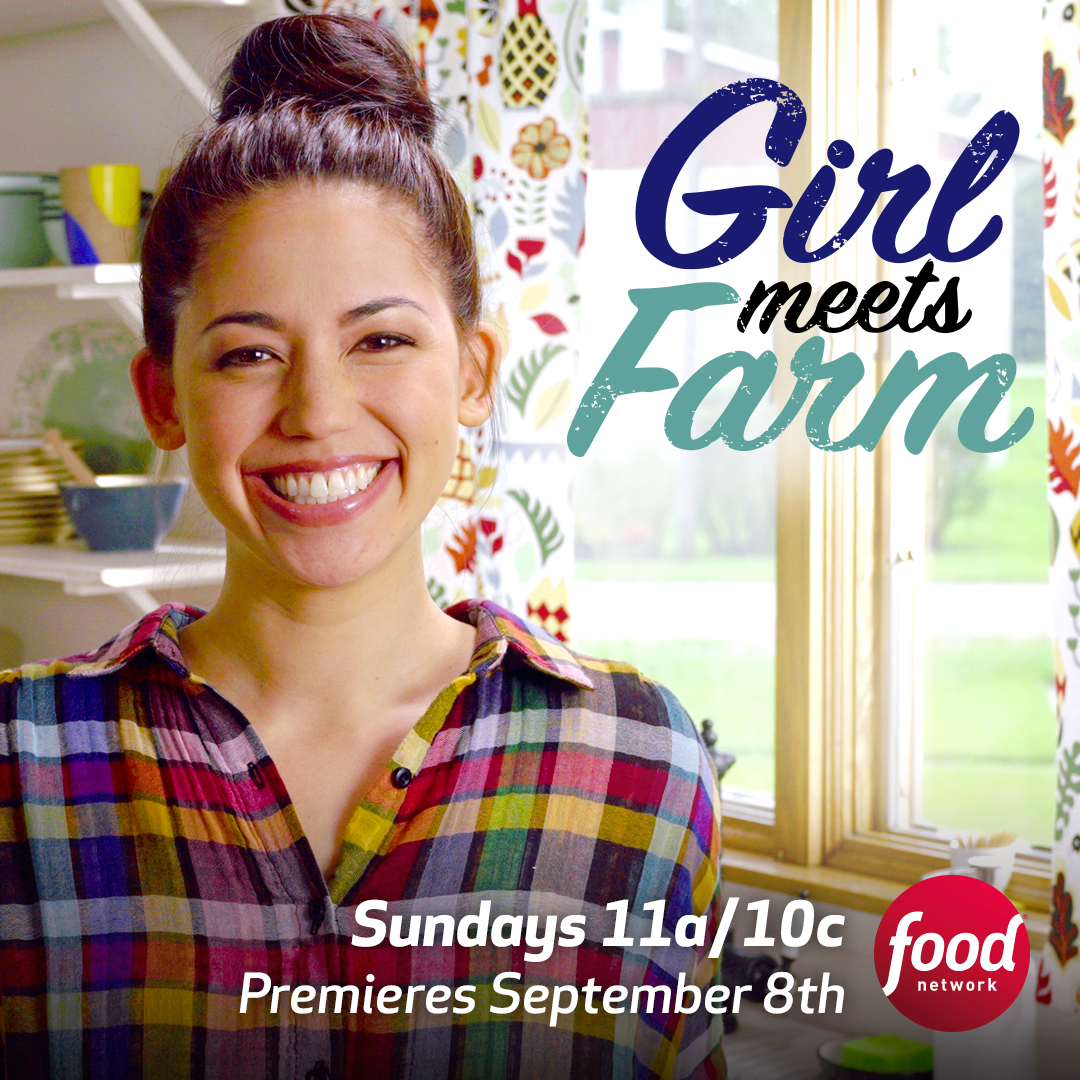
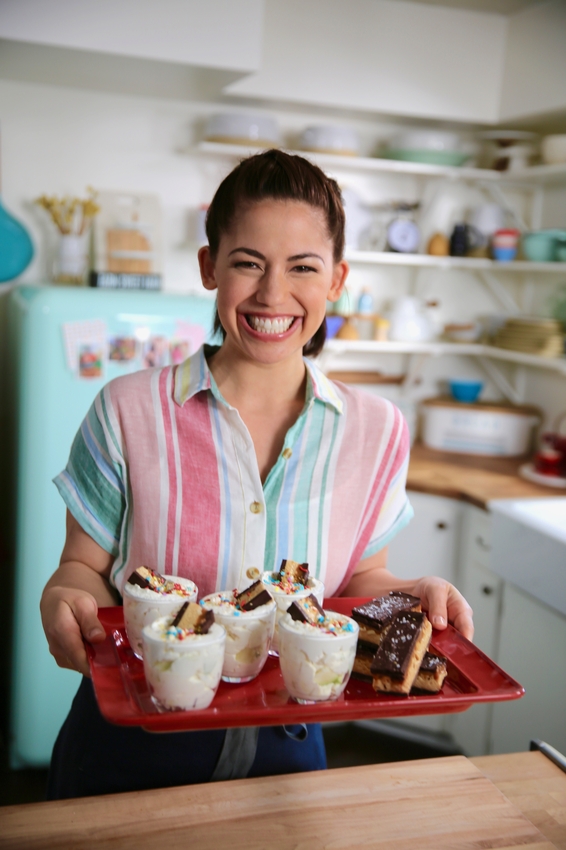
We have another very big weekend coming right up: Bernie’s TV debut along with the debut of season four of Girl Meets Farm on Sunday!! Not to give away any spoilers but the season premiere is hella cute. Because Bernie. And also because it features one of my new favorite dessert recipes, homemade Snickers!! Ugh they are so dangerously good and easy to make. Really surprisingly easy. When I think of Snickers bars, I think of nougat and caramel and when I think of nougat and caramel I think of candy thermometers and time-sensitive things and too many pots and then having to scrub too many pots of sticky stuff and it strikes fear! But it turns out that there’s a perfect hack for the nougat, which is marshmallow fluff. Marshmallow fluff + nut butter + sugar = Snickers nougat but better because you can use any nut or seed butter you want and you just mix it up in one bowl, no thermometer needed. And with the caramel thing, I’ve decided I’m probably only using store bought caramel from now until Bernie and any future younger siblings of hers go off to college. Another thing that’s fun with these is that you can change up the nuts, as long as they are salted and roasted since they need to balance out the sweetness of the nougat and caramel. Over the summer, my mom and I made tahini snickers with pistachios, almond butter snickers with macadamia nuts (that’s what’s pictured here), and the classic peanut butter with peanut scenario. It’s truly a Choose Your Own Adventure recipe. You could also theoretically use different types of chocolate with these but I’d recommend sticking with dark because, again, the nougat and caramel are indeed quite sweet. These little guys come together really quickly, they might be my new favorite no-bake dessert, and they keep really well in the fridge. So yeah, I can’t stress enough their element of danger because of how good they are, but if you learned anything from your halva bars, just keep them next to the carrots. Carrot, Snickers, carrot, Snickers, balance. 


Homemade Snickers:

Makes 16 Candy Bars

ingredients

3 c (720g) dark chocolate chips, divided

1 tb refined coconut oil, divided

½  c (128g) unsweetened nut or seed butter

2 c (192g) marshmallow fluff

3 c (360g) powdered sugar

2 tb whole milk or almond milk

3/4 c (84g) roasted salted nuts

11 oz (312g) caramels

2 tb heavy cream or almond milk

Flaky salt, for topping

clues

Spray the bottom and sides of an 8” x 8” square pan with cooking spray and line with parchment paper that hangs over the edge of the pan by an inch on two sides.  Add 1 ½ cups of chocolate chips and 1 ½ tsp of coconut oil to a glass bowl and place the bowl over a simmering pot of water. Stir the chocolate until it has melted completely, about 5 minutes.  Pour it into the pan and use an offset spatula to spread it evenly in a thin layer all over the bottom. Place in the freezer to set.

Meanwhile make the filling.  In a large bowl mix together the marshmallow fluff, nut or seed butter,  powdered sugar, and milk. Mix well until it becomes a soft dough-like consistency (this mixture is incredibly sticky and you may need to use your hands).  Remove the pan from the freezer, wet your finger tips and press the fluff filling down over the chocolate in an even layer. Sprinkle the nuts on top and press lightly into the fluff.  

Add the caramel and cream to a small sauce pot and cook over low heat, while stirring.  Cook until the caramels are melted, 5-8 minutes. Spread the caramel over the fluff and place in the refrigerator for 5 minutes.  Meanwhile, melt the remaining chocolate and coconut oil. Spread the chocolate over the top of the caramel and sprinkle with flaky salt. Place back in the refrigerator until chocolate is fully set and hardened, about an hour or up to overnight.

Using the parchment, pull the bars out of the pan and transfer to a cutting board. Run a sharp knife until warm water and then cut 16 bars. Enjoy! Store in an airtight container in the fridge. These should keep for a week or even longer, if they last that long.


-yeh!

photos by chantell and brett quernemoen

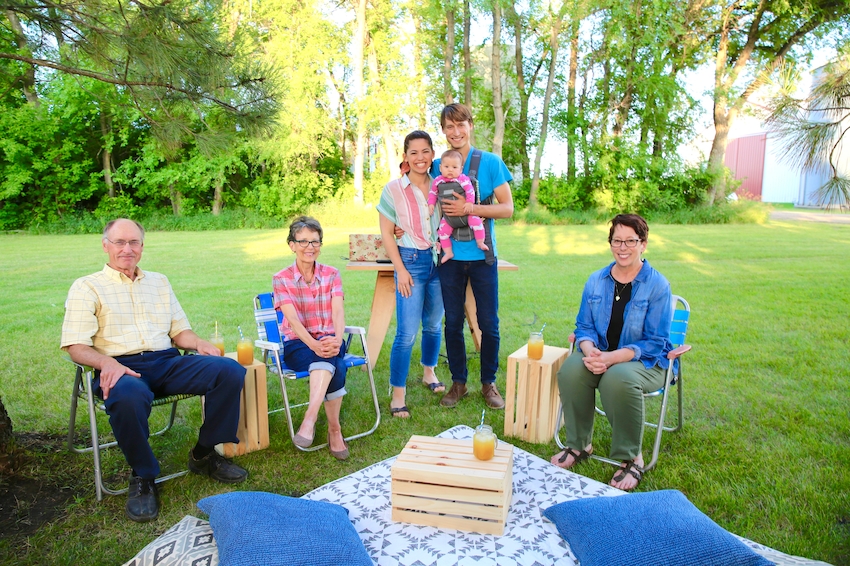
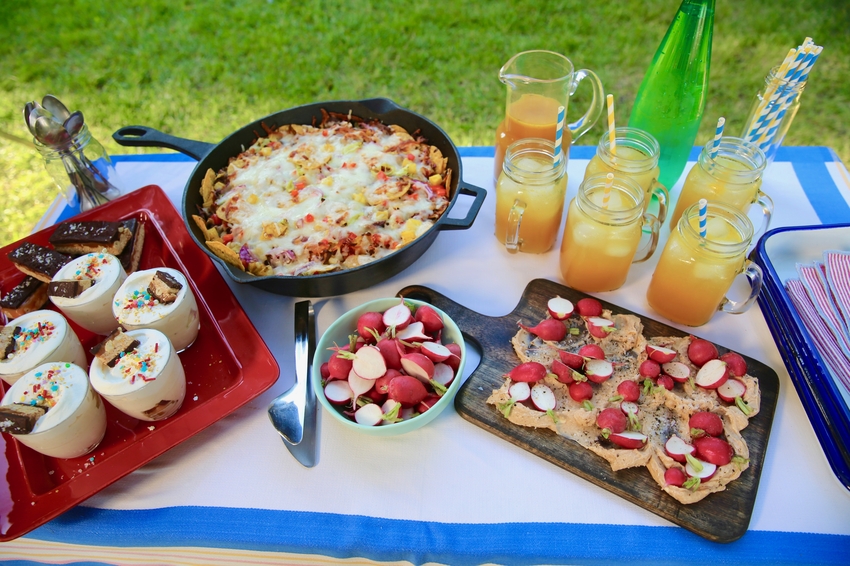
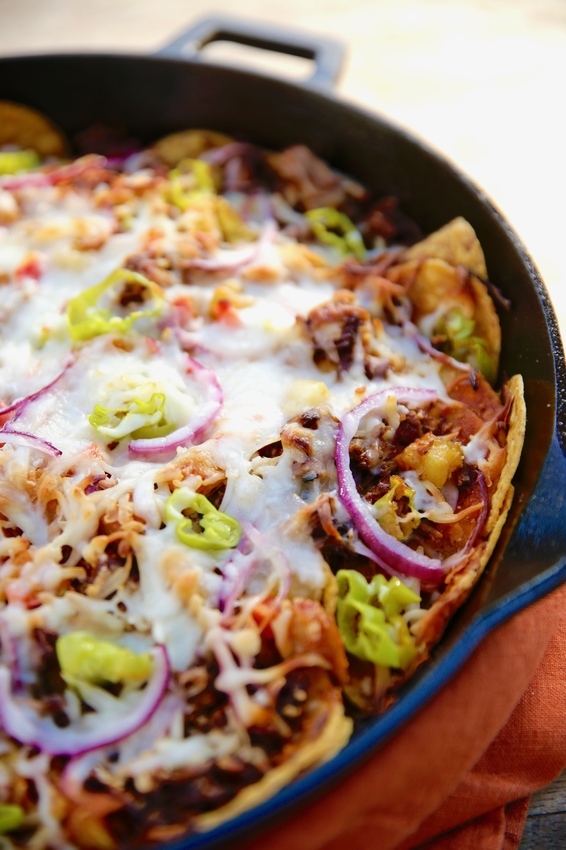
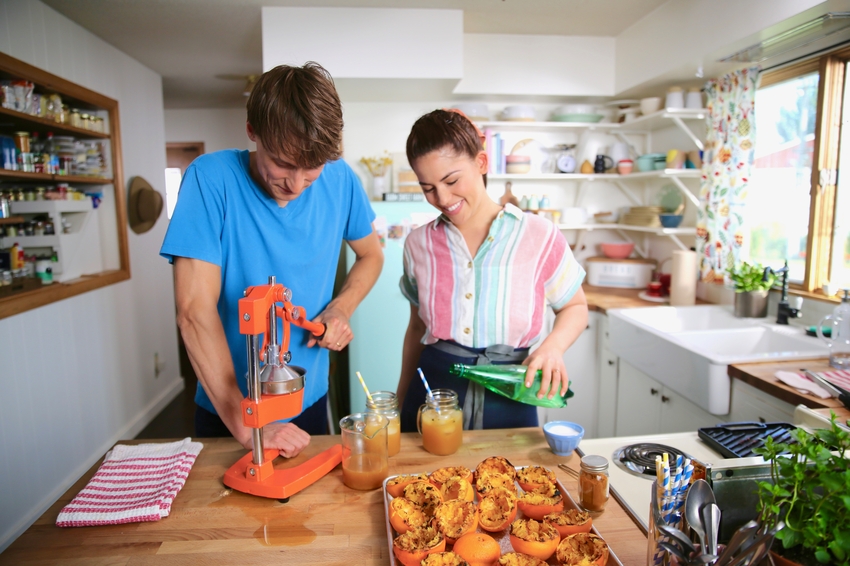
P.S. Don’t forget to tune in to Food Network this Sunday at 11a/10c for the season premiere of Girl Meets Farm! Here are some pics from this episode!

Crispy Chickpea Salad Kit with Butter Fried Croutons

When they said that everything changes when you have children, I didn’t realize that this would extend to my tastebuds! In my postpartum life, I am suddenly obsessed with two opposites: sugar and salad. (But Molly, you’ve always been obsessed with sugar? I mean, I’ve always been obsessed with making things with sugar, but until 18 weeks ago I would have chosen a pile of cheese fries over ice cream any day. Now... not so much.) We can argue about the sugar thing later but today’s post is about my new heightened love of ~salad~. It started literally from the day after Bernie was born. I had my token I’m-not-pregnant-anymore Jimmy John’s Italian Nightclub on white bread and then my excellent friend Heather texted that she would like to deliver a gigantic salad to me at the hospital. She brought me a big container of greens with chopped apple and cheddar and a bunch of colorful veggies and held my one-day-old Bernie while I gobbled up every last leaf. It was the tastiest thing in the world. Not just because Heather is one of my favorite chefs in the world but also because something had changed in my tastebuds that made me love raw vegetables and forkfuls of greens like never before. So that salad was the first salad of the rest of my postpartum salad-obsessed life and what happened after that was Eggboy and I proceeded to live on salads. Friends and Eggmom delivered tons of salads and I got mediumly good at balancing a salad bowl on the arm of the recliner while I nursed Bernie. And then after we ate all of the salad deliveries, we cobbled together as many salads as we could. I’d put Bernie in her sling and try to assemble a salad without having to chop anything because I didn’t want to use a knife while she was on me, or I’d try to direct Eggboy in making a salad but salad making requires serious multitasking skills and, erm, they don’t not call him Multitaskingboy for nothing (sorry!!!), so what we found was that salad kits are a great invention!!! Wow, they are so good at getting crunchy greens into my mouth. They make salads achievable in 30 seconds. They come with cute bags of crunchy things and tiny bags of seasoning that look like dime bags! The dressings are fatty and ok tasting! My first few journeys out of the house with Bernie were to the Hugo’s salad section, where I’d get a dozen salad kits at a time. We’d gobble them up multiple times a day. I know what you’re thinking though, and I absolutely agree: salad kits are flawed. There aren’t enough crunchies, the nuts are too brittle, the dressing is probably loaded with crazy ingredients I’ve never heard of, and where is the protein! I never said they were perfect, but they got me dreaming...

In the produce section of my grocery store dreams, salad kits are way more luxurious. They come with fluffy butter-fried pita croutons, crispy salty chickpeas, a small bag of za’atar, feta (!), and creamy tahini dressing. And you know what they say about dreams, make them come true! So now that Bernie has gotten pretty good at sitting in her bouncy chair, playing with her toys, listening to Raffi, and keeping me company in the kitchen, my hands have been free enough to do some salad prep at the beginning of the week, eliminating my need to clear out the salad kit section. It’s so fun. We sing Down By The Bay and squeeze lemons into tahini and whenever something smells particularly good I stick it under Bernie’s nose so she can take a whiff. So far the only thing that’s yielded a huge smile is the freshly baked pita that I was about to turn into croutons. Same, Bern, same.

So here’s a little non-recipe to get your juices flowing so that you can create your own salad kits with whatever’s looking good in your garden, your favorite cheeses and dressings, and whatever forgotten chunk of bread you have lying around that’s waiting to be crouton’d. I usually just pile all of the prepped veggies in a container or bag and then make separate containers of cheese, dressing, croutons, and a protein so that everything is ready to dump and go, easy peasy. Make a few at a time! Make one to deliver to a friend! Go wild!


Crispy Chickpea Salad Kit with Butter Fried Croutons

Veggies: In a big container, pile in fresh spinach or other greens, halved grape tomatoes, chopped cucumbers, chopped red onion, thinly sliced radishes, and chopped fresh mint. Store in the fridge for up to three days.

Chickpeas: Drain, rinse, and dry a can of chickpeas and dump them onto a rimmed baking sheet. Toss with a good drizzle of olive oil and salt and pepper. Roast at 350ºf for 50 minutes, tossing occasionally. Let cool and transfer to a container. Store at room temp for up to four days.

Feta: Put a big handful in a cute container 🤷🏻‍♀️Store in the fridge.

Za’atar: Put a teaspoon or so in a tiny bag. Seal with a cute piece of washi tape.

Tahini dressing: Mix 1/4 c tahini with a squeeze of lemon juice and 3-4 tb water until creamy and pourable. Season with salt and pepper. Transfer to a cute jar and store in the fridge for up to four or five days. If it gets too thick to pour while it’s in the fridge, mix in a little more water before serving.

Butter fried croutons: Heat a good layer of butter in a pan over medium and tear up two thick fluffy pitas into the pan. Fry until golden and crispy on the outside but still a little chewy on the inside (I like em best this way!) transfer to a plate, sprinkle with salt, and let cool. Store in a container at room temperature for four or five days.

-yeh!

Homemade Cake Mix for Peanut Butter Cake with Chocolate Glaze

Hello, I am so excited about this cake mix!!!! It’s everything I love in one tidy highly giftable package: cute jars, sprinkles, typewriter cards, string, peanut butter (!), a menorah candle disguised as a birthday wish, and the anticipation of cake! Developing this might have been my favorite part of meal prep especially because it’s the most fun and also, well, it’s for my birthday today! I just figured, who knows if Eggboy will have time to bake my annual yellow cake, and I’ll certainly be too busy to pipe a dang embroidery marzipan llama. So what’s the easiest next best option? A homemade peanut butter cake mix with chocolate glaze mix that I can whip up with a Bernie in one arm and a whisk in the other. I assembled the mix back in March and it’s been sitting in my pantry since. (I kind of feel like I should have half a dozen of these on hand for future cake emergencies, no?) I’d never made anything like it before but realized after looking at my peanut butter cake ingredients that most of the ingredients are easily available in powdered form. Powdered peanut butter and powdered milk were the only two things that I didn’t already have on hand but I bought some at the store and tried them out and they worked so well! So the only things that are required for assembly are an egg, oil, and water, just like a store-bought mix! The result is a really moist and fluffy cake with a shiny chocolatey glaze. I made a set of dala horse cakes, just enough for our little family, but this can be made in a round 8” cake pan or easily doubled and made into a sheet cake!


Homemade Cake Mix for Peanut Butter Cake with Chocolate Glaze

Makes 1 One-layer 8” Round Cake

Ingredients:

Cake:

3/4 c + 2 tb (175g) sugar

1/2 c + 2 tb (81g) all-purpose flour

1/2 c (65g) cake flour, or more all-purpose flour

1/4 c (28g) powdered peanut butter (such as PB2)

2 tb (14g) milk powder

1/2 tsp kosher salt

1 1/8 tsp baking powder

Glaze:

1 c (120g) powdered sugar

1/4 c (30g) unsweetened cocoa powder (I like dutch cocoa for the darker color)

2 tb (14g) powdered peanut butter

1 tb (7g) milk powder

Other bells and whistles:

A birthday candle

A card with directions (see below)

A packet of sprinkles and other colorful candy

Other decorations as desired

Clues

In a medium jar (I used a 1/2 L Weck jar), layer the sugar, flour, cake flour, peanut butter powder, milk powder, salt, and baking powder. In a separate smaller jar (I used a 1/4 L Weck jar), layer the powdered sugar, cocoa powder, peanut butter powder, and milk powder. Cover and wrap up cutely with a candle, directions card, a packet of sprinkles, and any other decorations. Go wild! Gift it to the birthday person! 

Directions To Bake (print this out or make a card on a typewriter if you’re into that)

Cake:

  1. Preheat oven to 350ºf. Grease an 8” round cake pan.

  2. Dump the large jar into a bowl and whisk to combine. Add 1 large egg, 1 cup water, and 1/4 cup oil and whisk to combine. 

  3. Pour into pan and bake for 30 minutes, or until a toothpick stuck in the center comes out clean. Let cool in pan.

Glaze:

  1. Add 3 tablespoons water to the small jar and mix until spreadable, adding an additional tablespoon of water if it’s too thick to spread. Pour over cake.

  2. Decorate and enjoy!


-yeh!

photos by chantell and brett quernemoen