
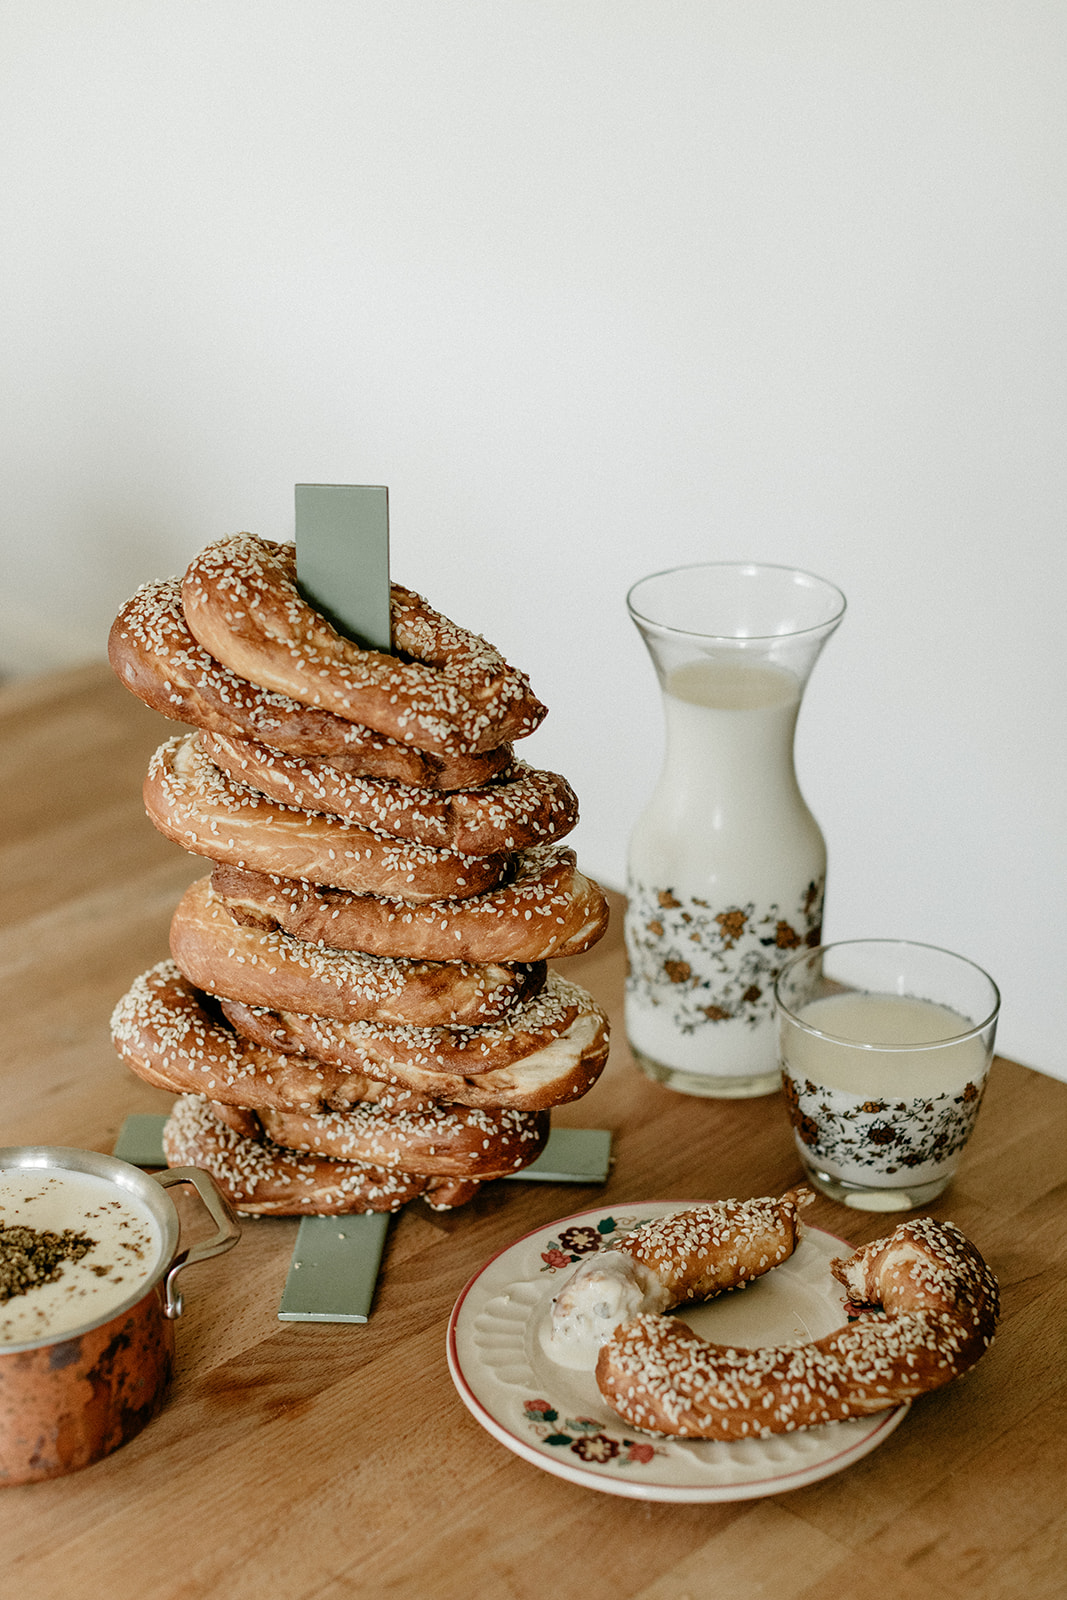
Sesame Pretzels with Za’atar Mozzarella Sauce
/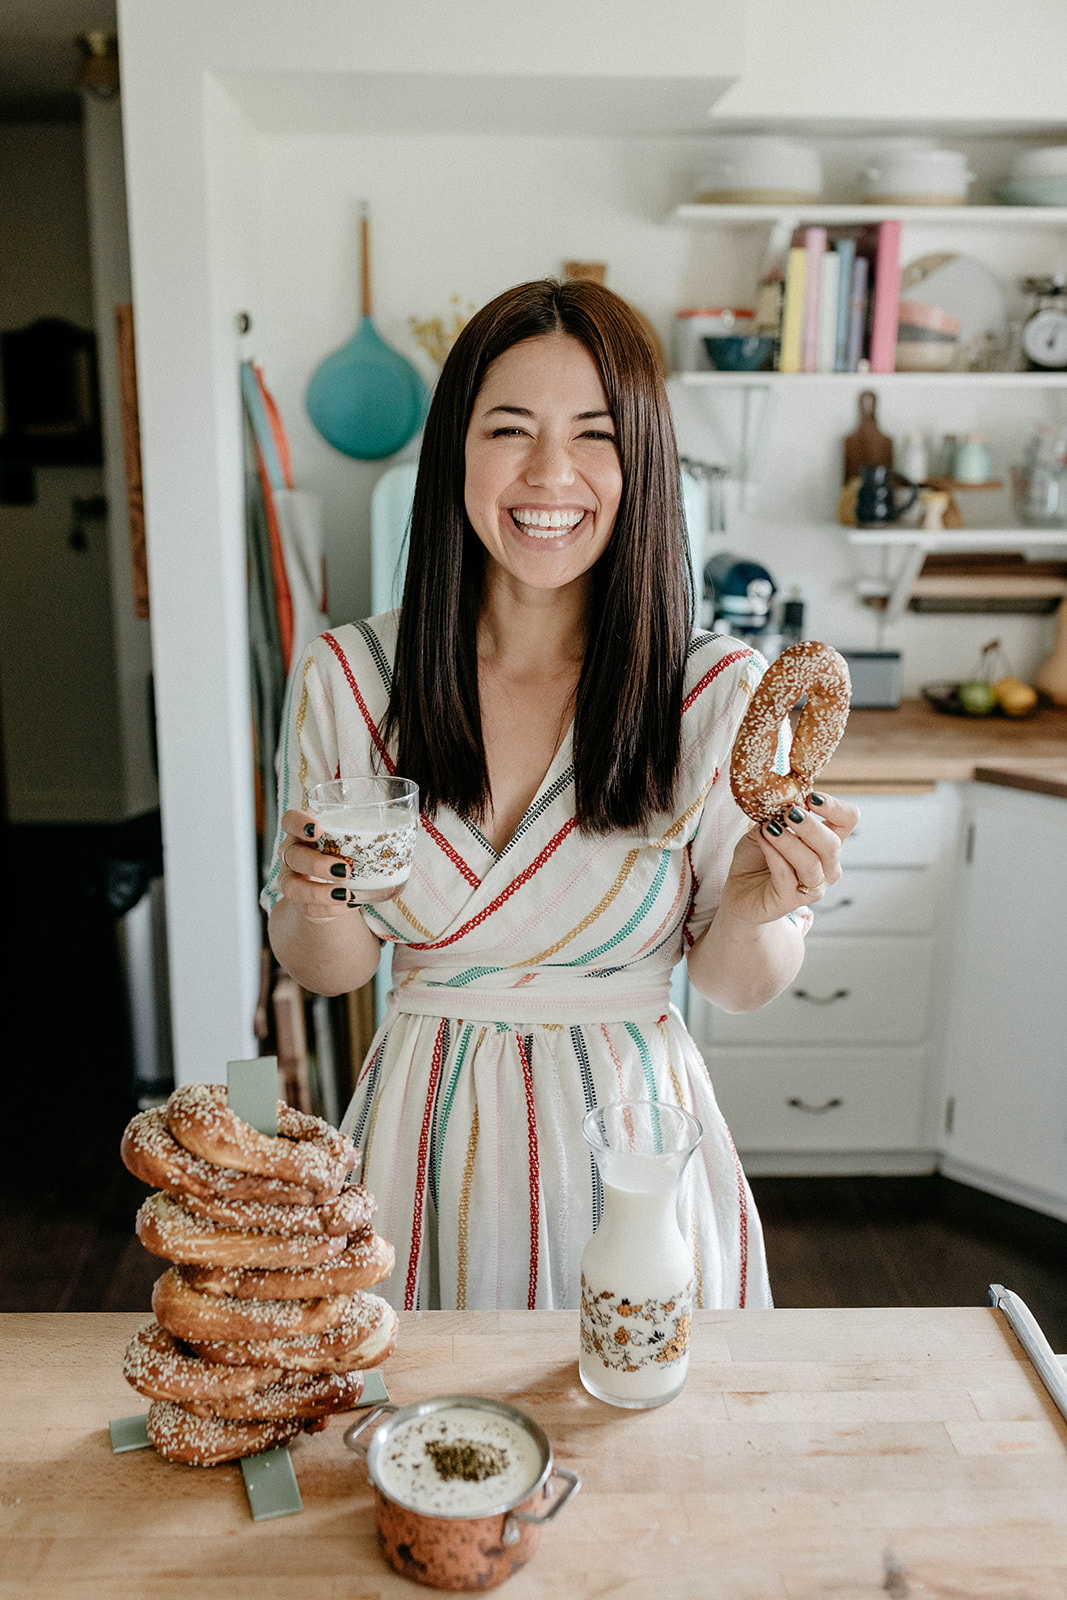
We’ve done it, we’ve achieved peak coziness: Bernie and I live in our matching fuzzy fleeces, soothing whispery folk tunes play on repeat, and in between nap times we pick squash and apples from the garden. I never thought I could love the fall more, but of course now it’s one thousand million times better with a giggling Bern strapped on to me. I try not to think about the fact that in a few short years, this time of year will mean that it’s time for her to start school, but what I do love thinking about is all of the school supplies and the after school snacks that we’re going to enjoy. (I know, I’ve just made my first batch of baby food and I’m already thinking about after school snacks?! Listen, I already know her full Bat Mitzvah menu, ok? Just let me have this.) I’m just so excited because the snack time that I engaged in regularly after school growing up was probably my favorite meal of the day. I mean, I loved my little breakfast sandwiches that I would eat on the ride to school, and lunches in my frog lunchbox were always great especially when they involved baloney sandwiches, but nothing ever compared to sitting at the kitchen counter, feasting on snacks with a big glass of milk, and hanging out with my mom while D.W. got sassy at Arthur on the TV in the background. After school snack food was always the best food: dumplings, pizza pockets, miniature bagel dogs, cheese on toast, and the crown jewel, hot pretzels. I’d have the frozen kind that came with a packet of extra coarse salt and I’d microwave them with a slice of cheese that got bubbly around the edges. I was never patient enough to allow them to cool so that they wouldn’t burn my mouth, but they were delicious all the same (and nothing that a sip of cold milk wouldn’t fix). It was the best tastiest little break between school and marimba practice and I can’t wait to have that break with Bern.
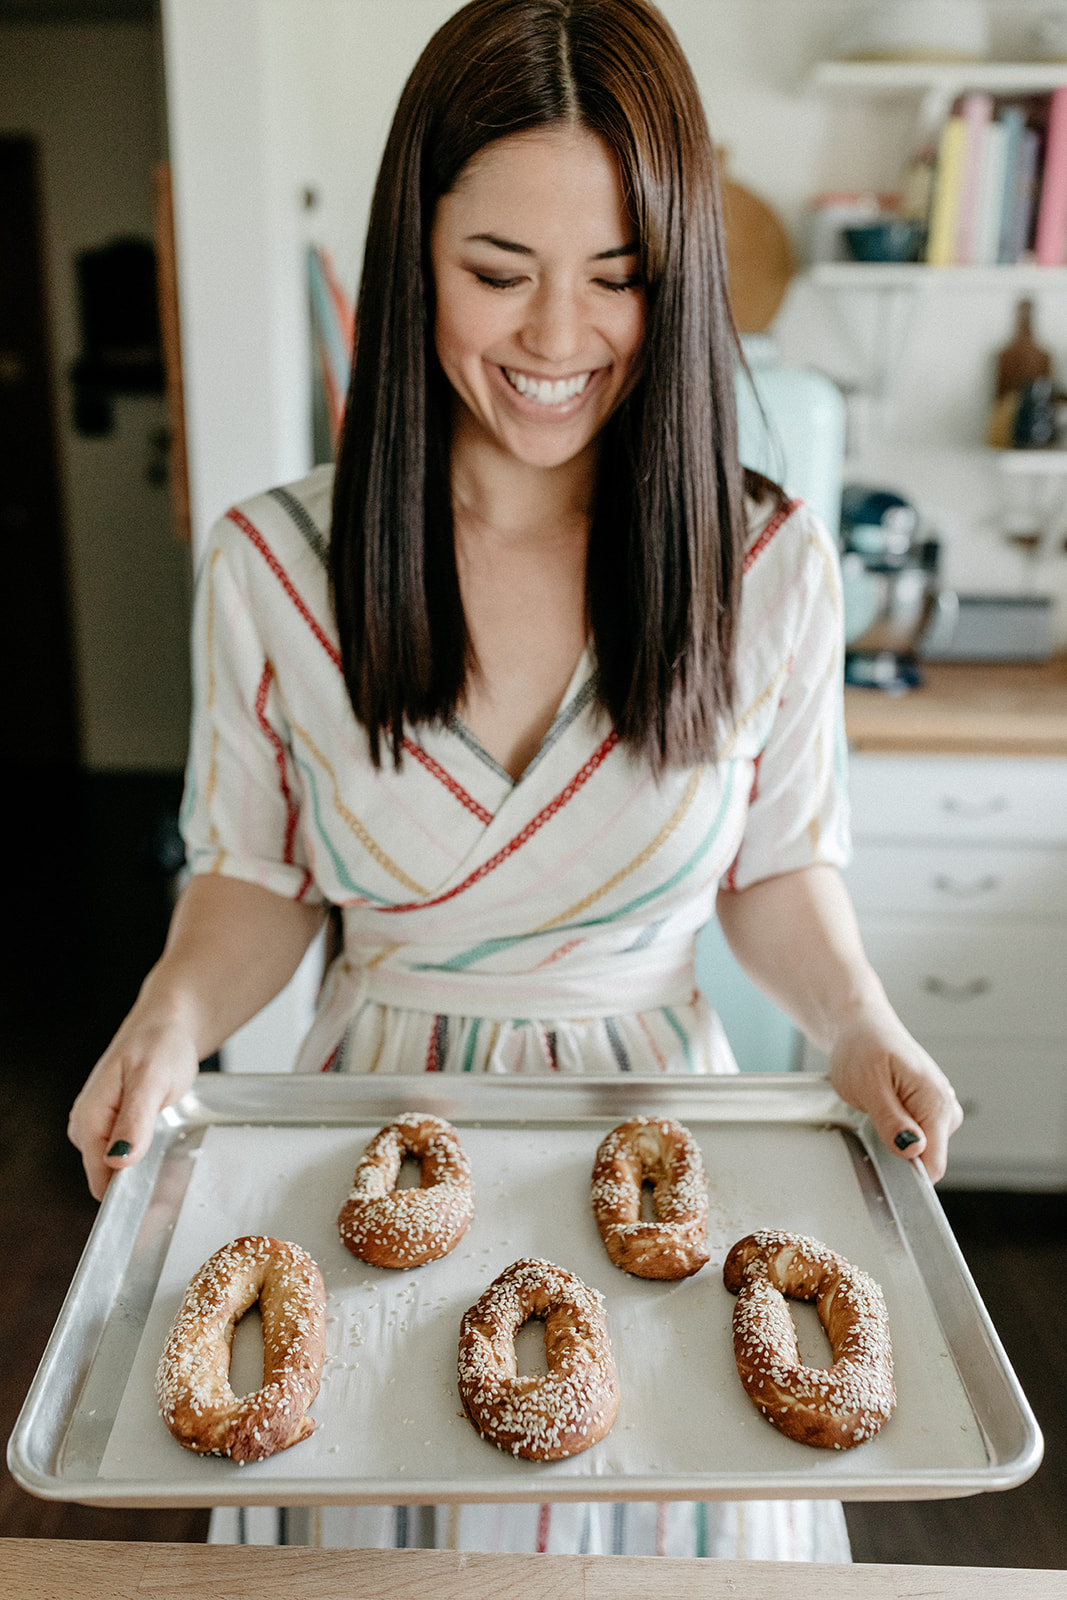
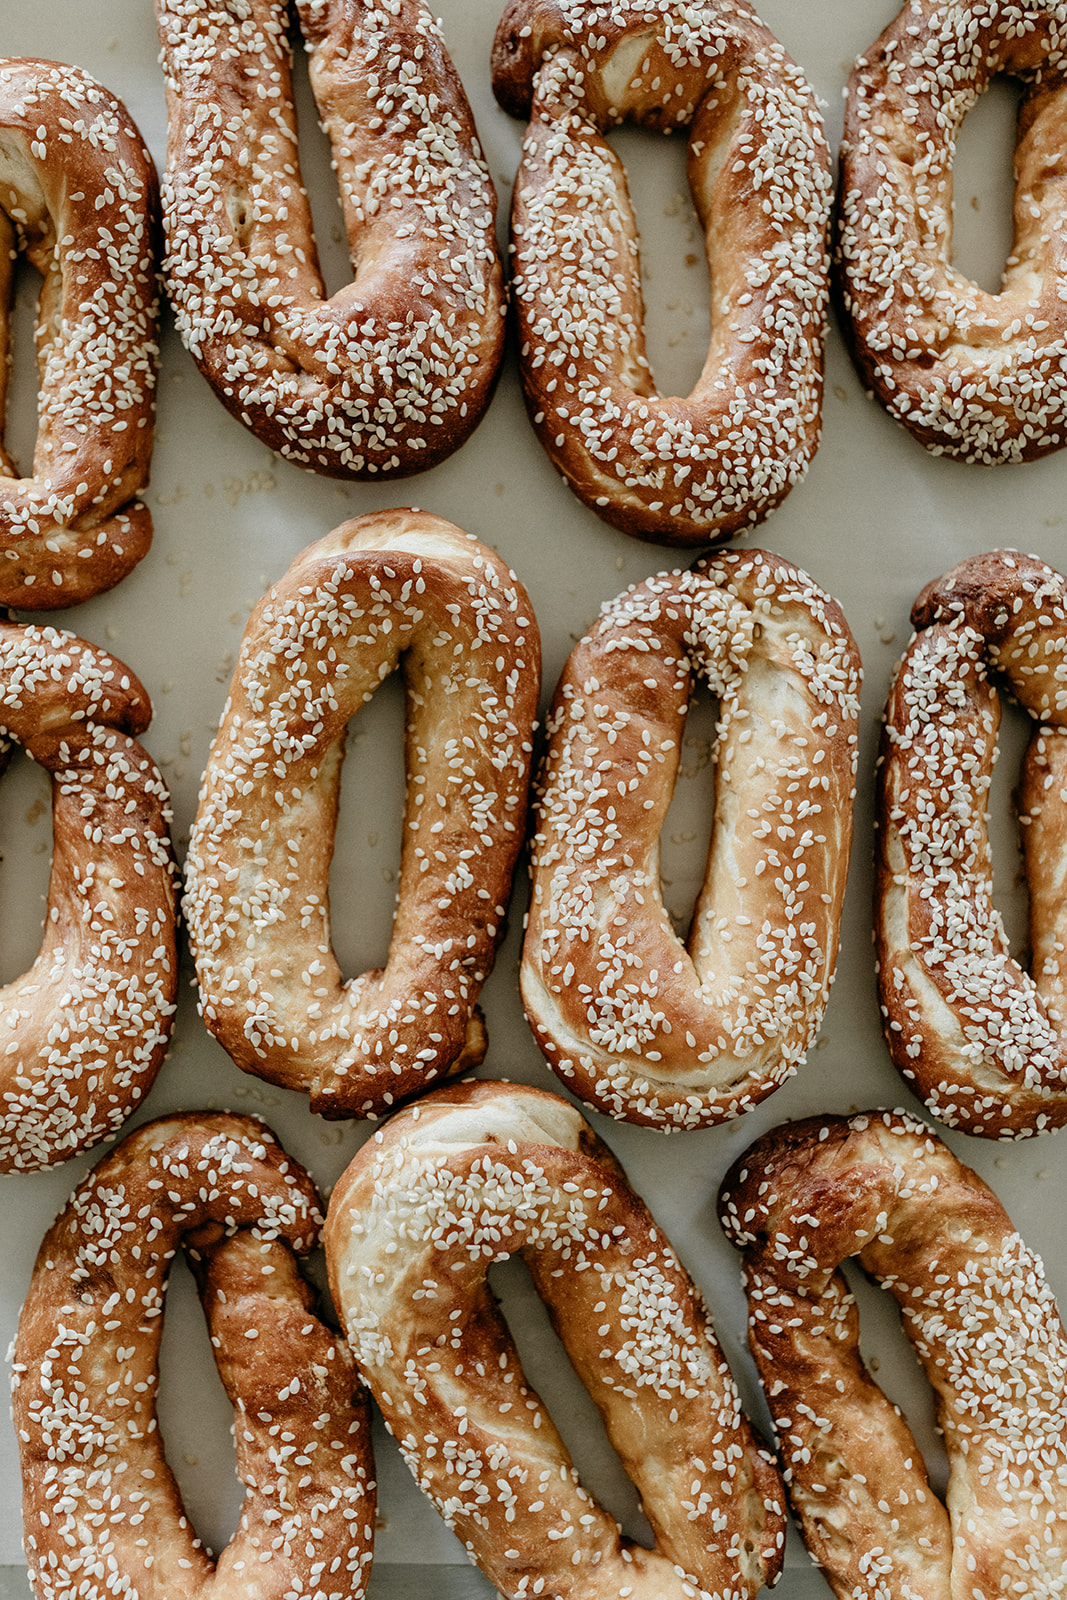
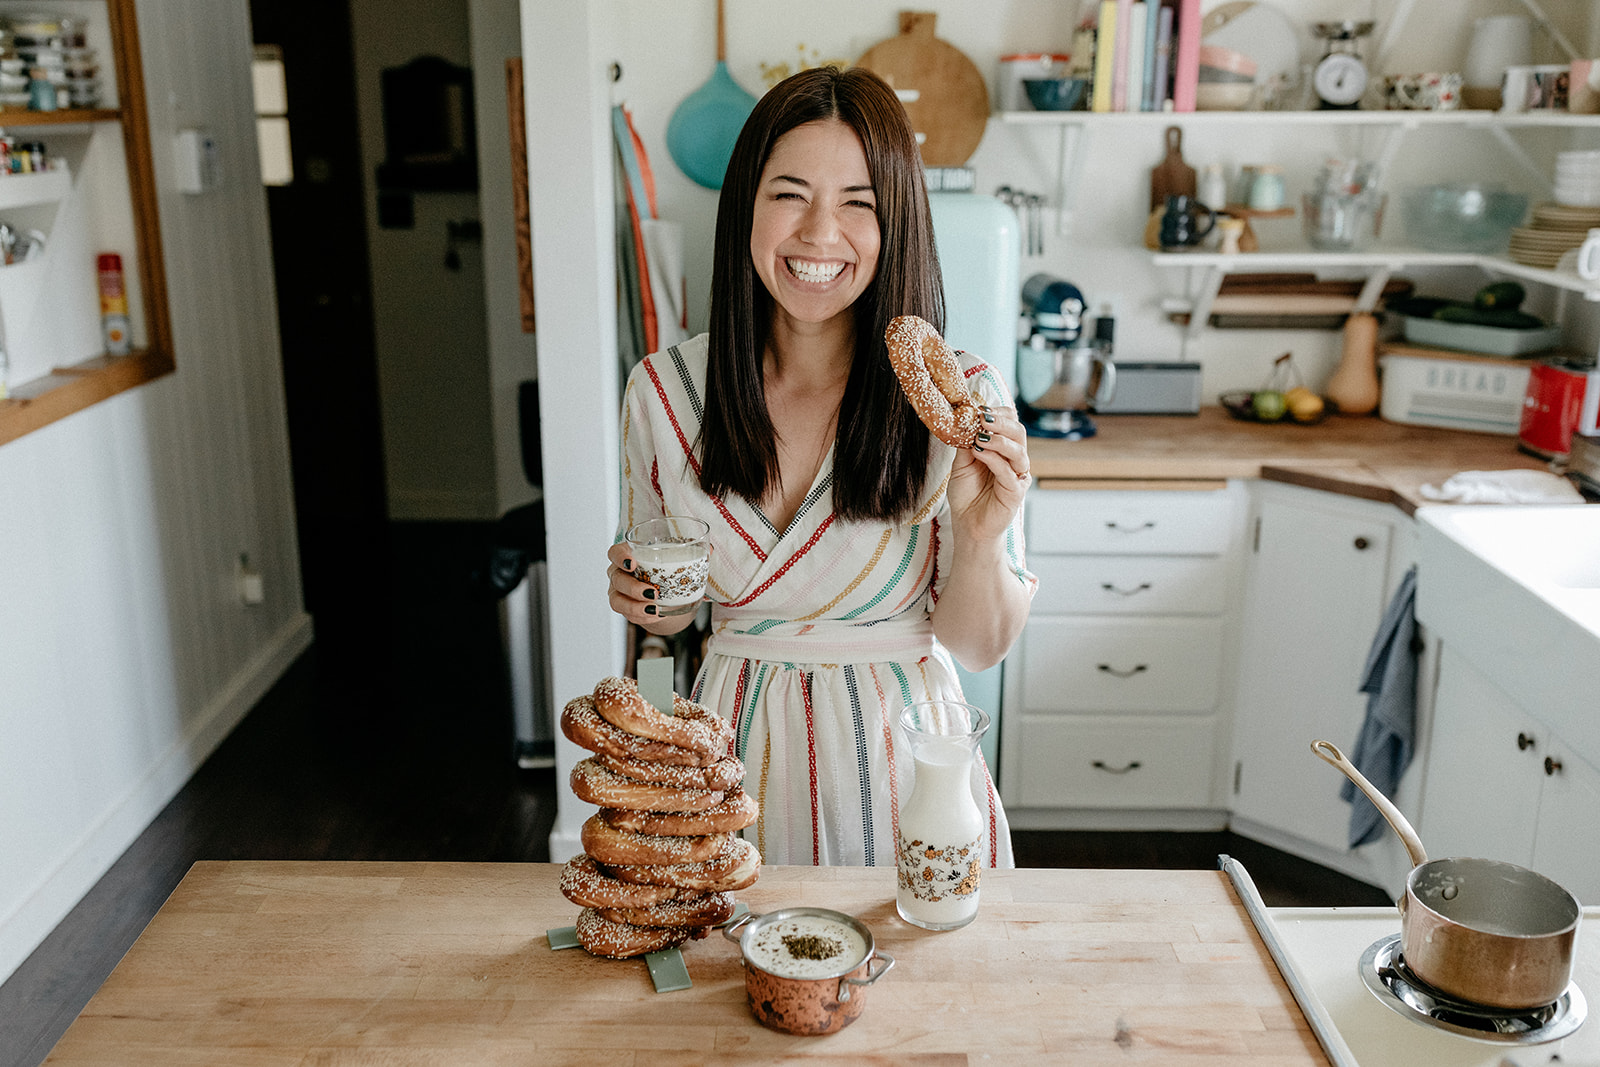
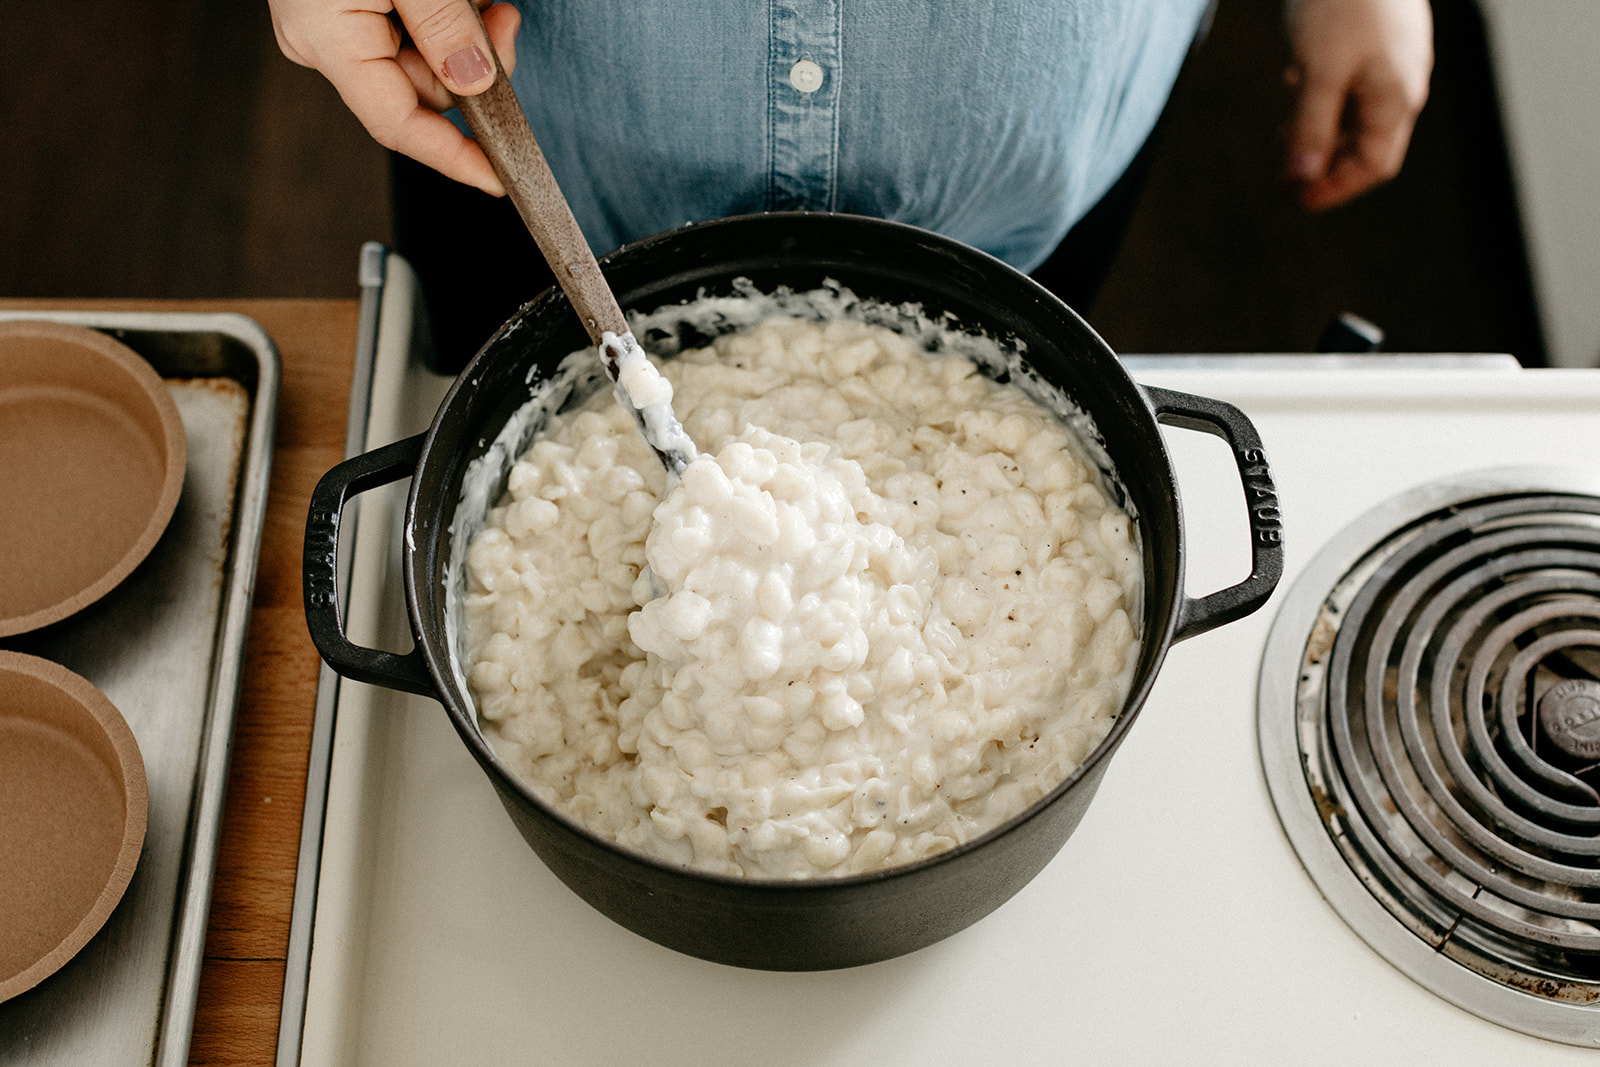
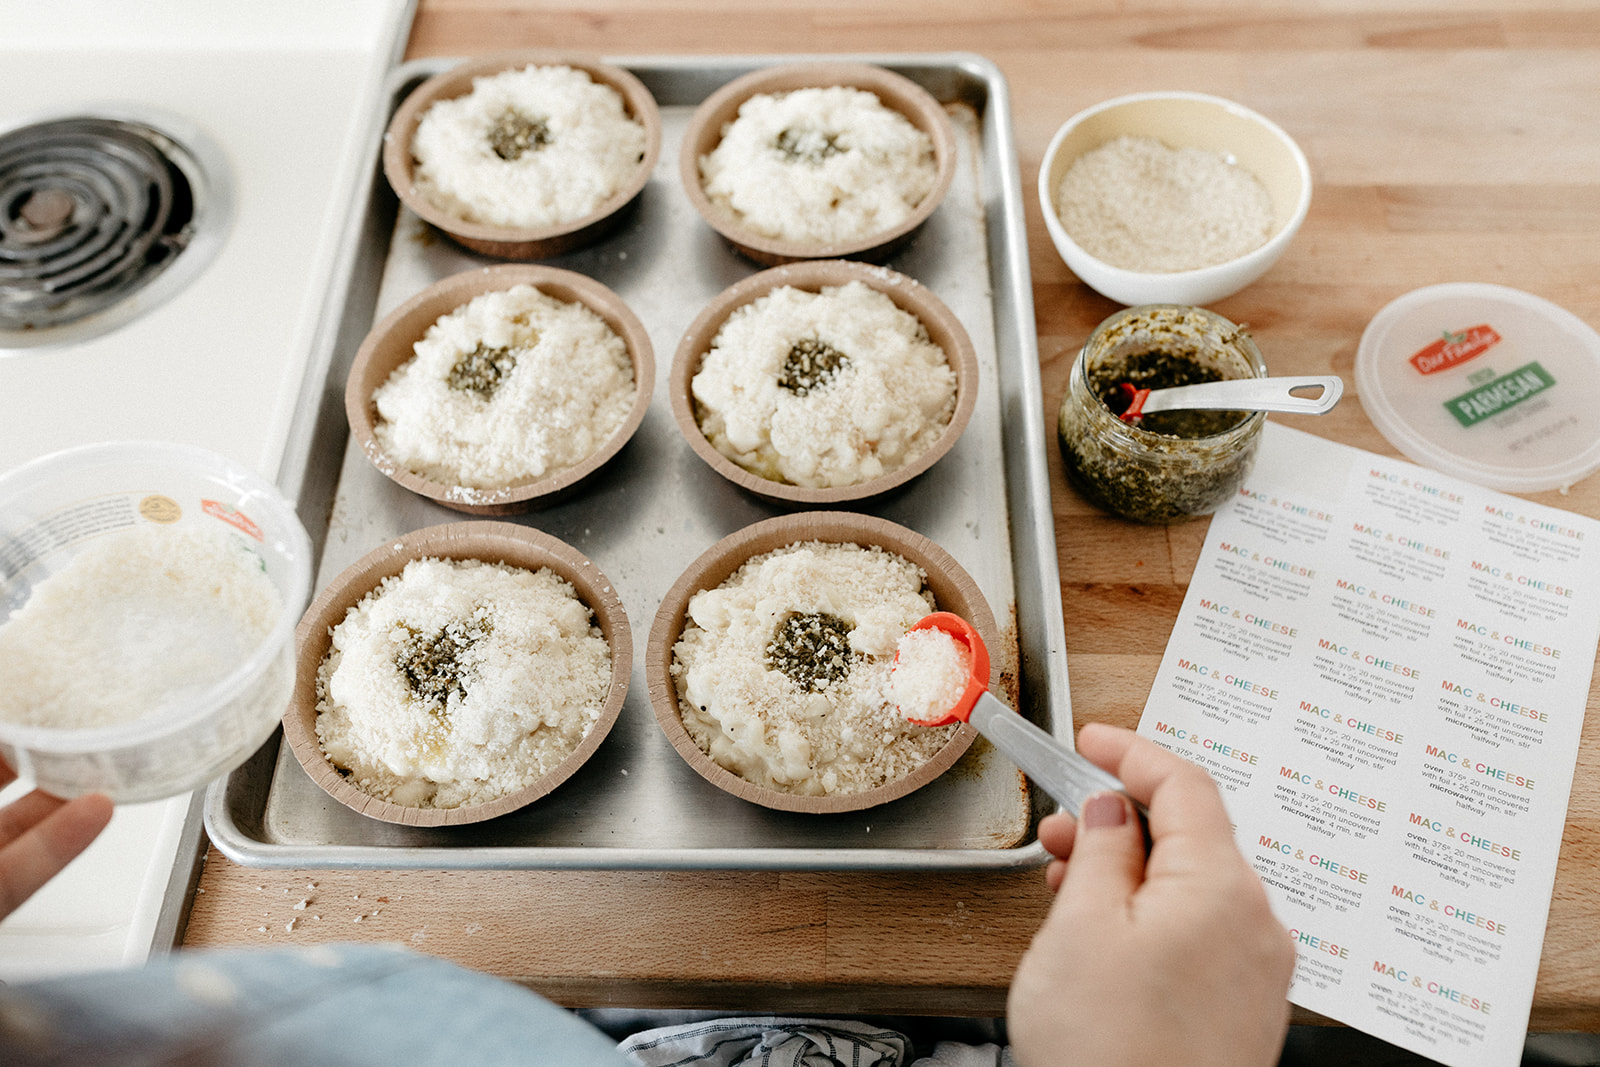
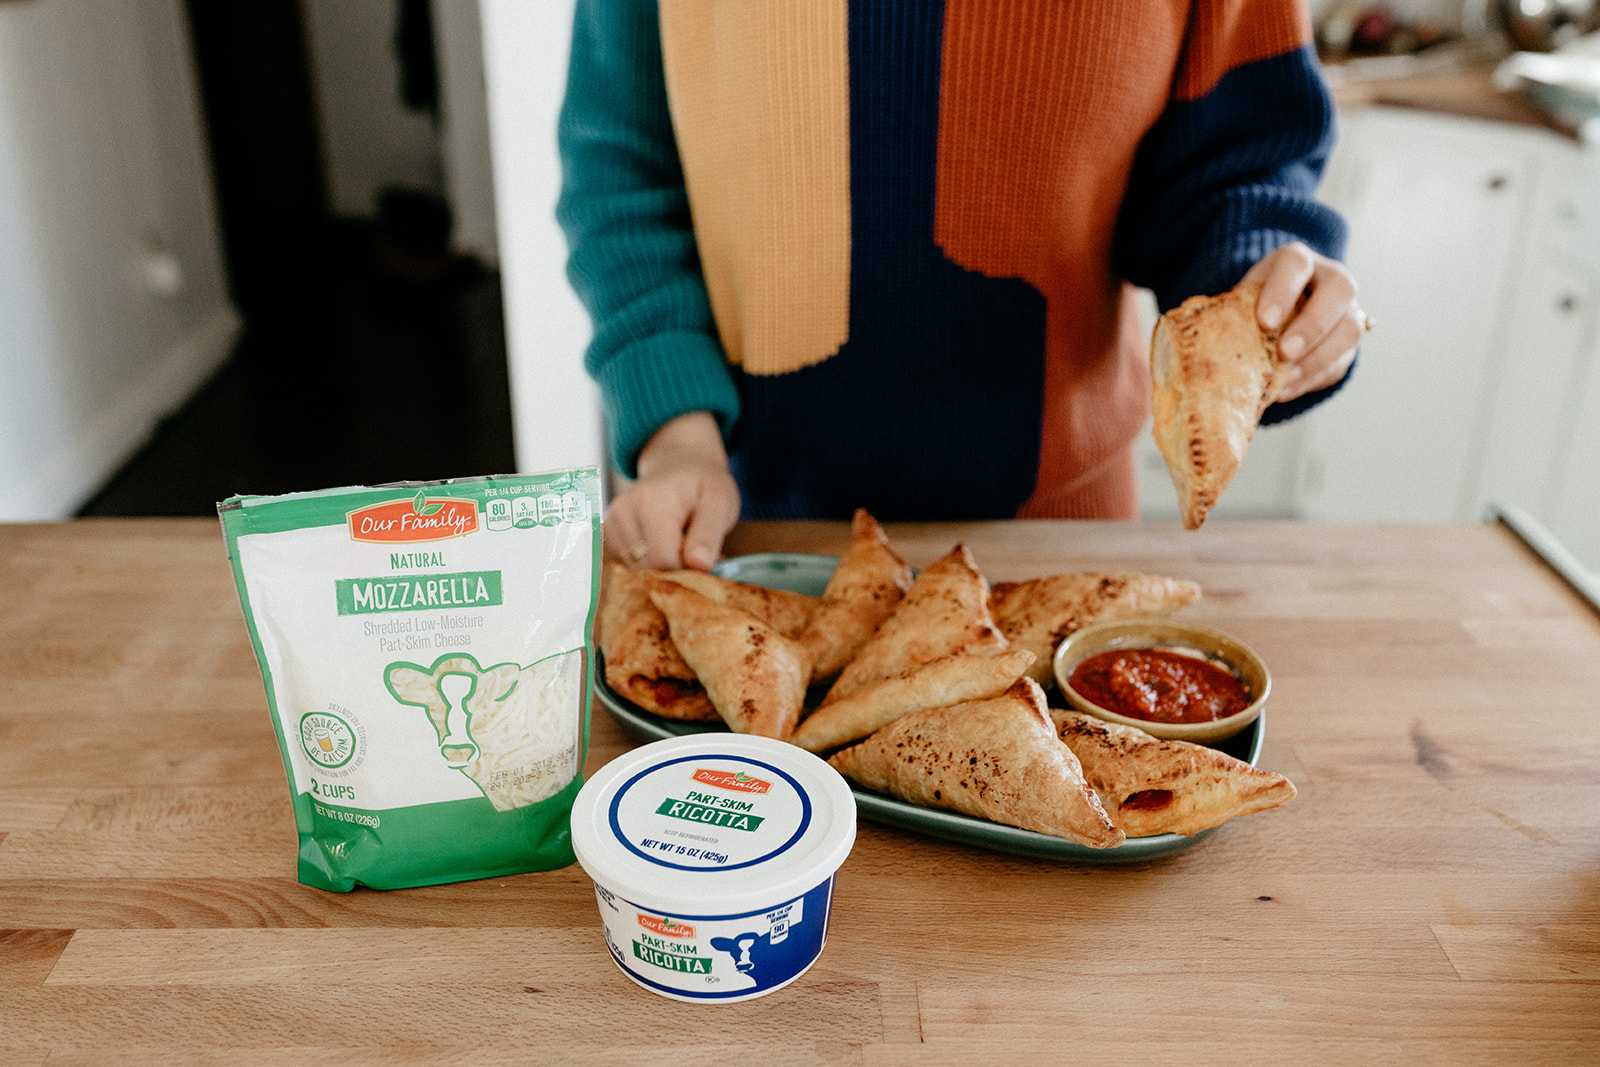
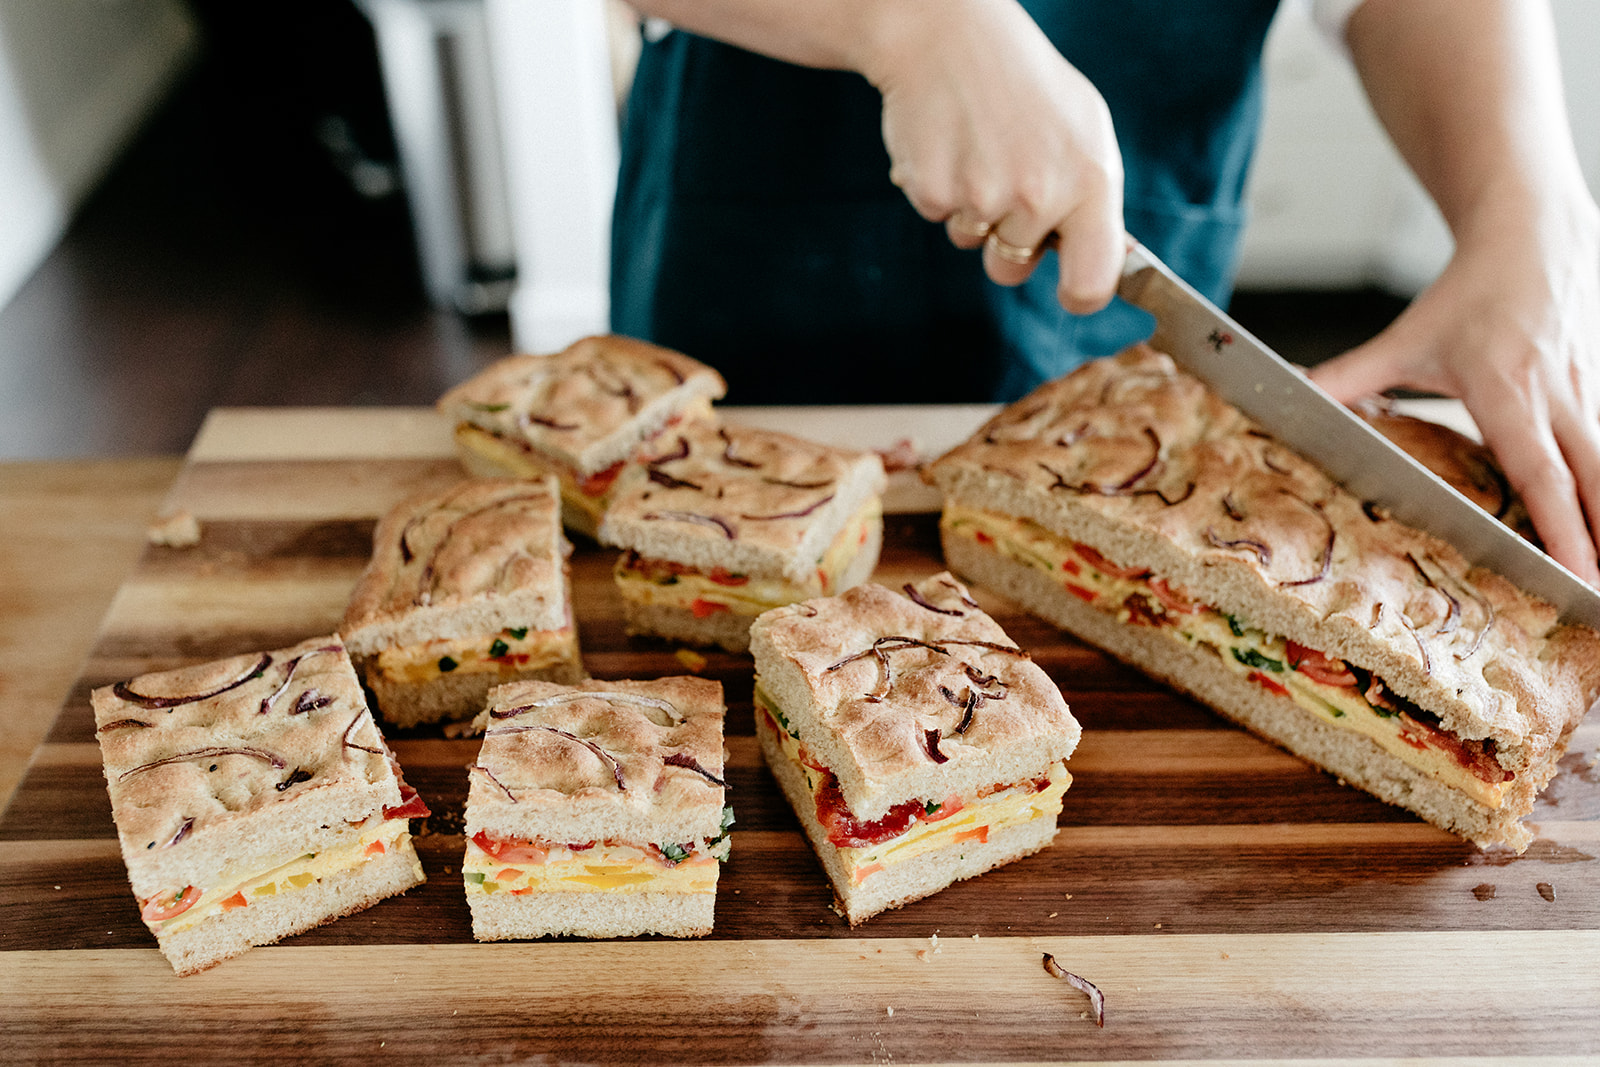
So today I’ve got a new and improved version of my old fave, one that I’ll make as soon as Bernie starts school, and one that I make these days just to have around for noshing. It uses a kitchen hack that I love which is that you can make pretzels from pretty much any fluffy bread dough, store-bought or homemade. In a world where I am an octopus and can hold Bernie with one set of arms while kneading dough with the other set of arms, I would use challah with this. Challah pretzels forever. But these days I’ve been using store-bought bread dough which works like a charm. In a nod to Jerusalem bagels, these are oval shaped and covered in enough sesame seeds to make any basic dough a little bit more interesting. You can make a big batch of pretzels and keep them in the freezer and reheat them so that they’re hot and ready at a moments notice. And they get dipped in a creamy, rich, and surprisingly easy to make cheese sauce that’s topped with earthy za’atar and includes protein thanks to the real milk and cheese within. It’s soo good and filled with nutrients that will keep Bernie going through her after school orchestra rehearsal/dance class/hockey practice/horticulture club (?) etc. It’s just a simple milk-based sauce that comes together in a snap and then melts with mozzarella. I love mild mozzarella with a pop of za’atar but, yes, you can use any melty cheese that’s in your fridge!

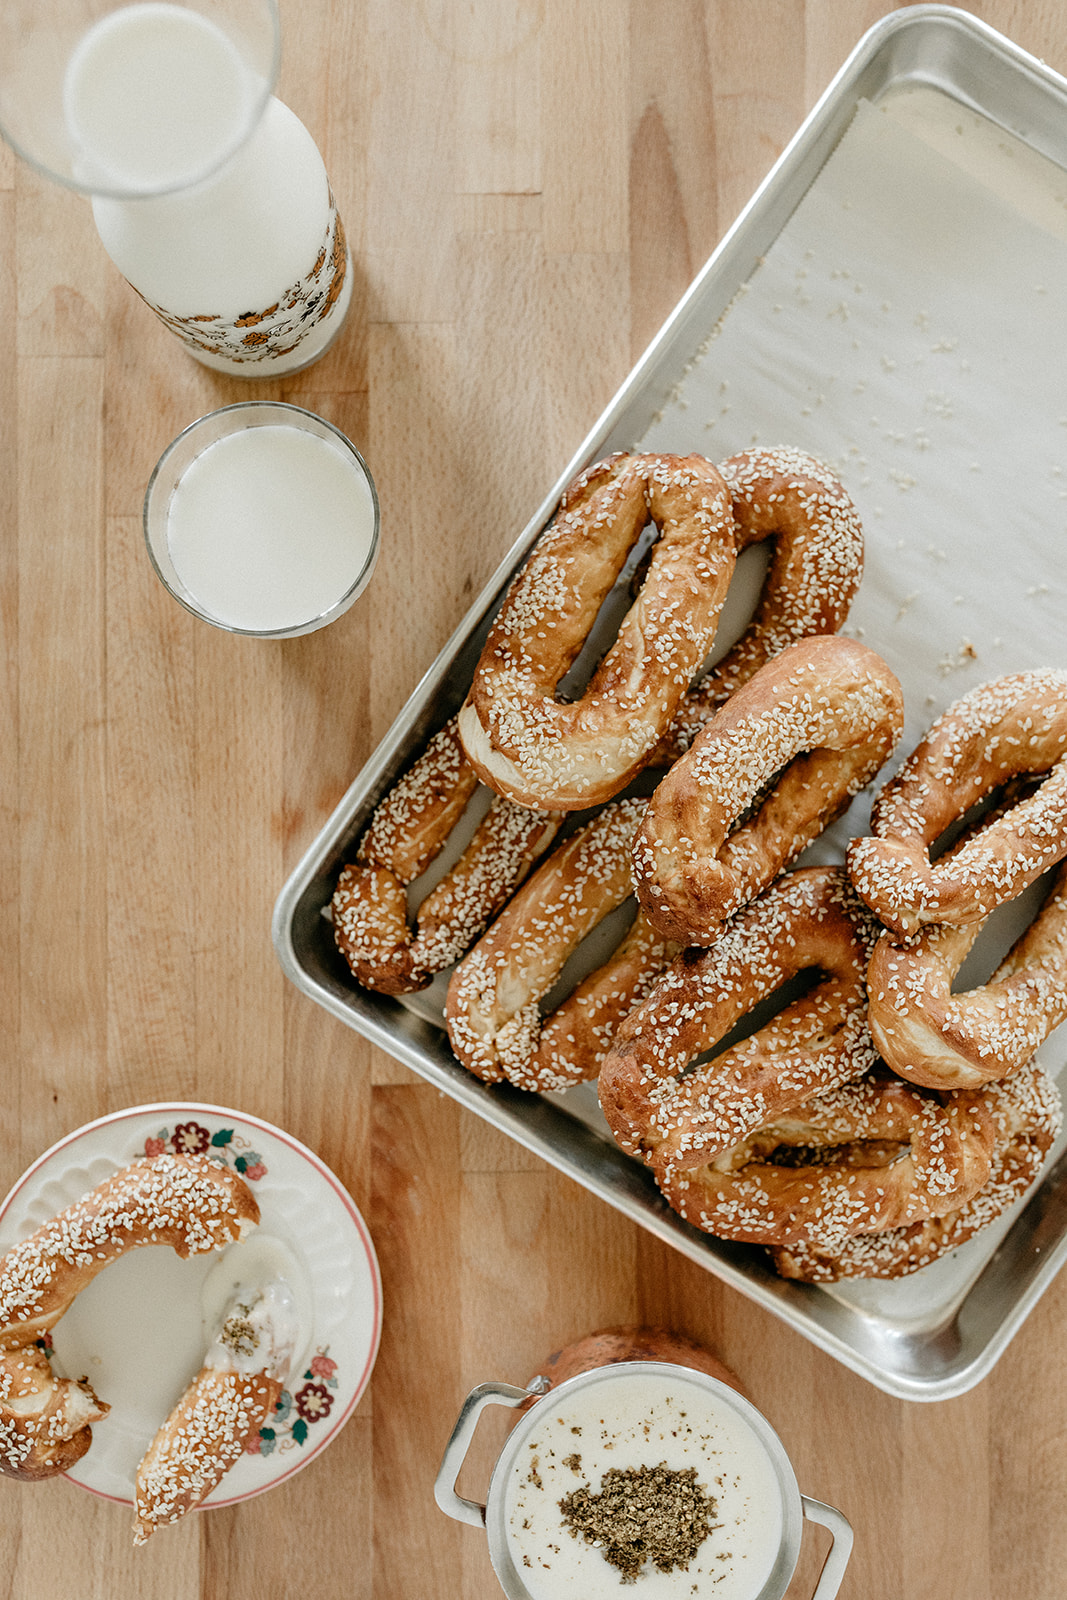
Sesame Pretzels with Za’atar Mozzarella Sauce
Makes 8 pretzels
Pretzel Ingredients
1 c (230g) baking soda
2 (11 oz) cans store bought french bread dough (or a batch of homemade yeasted bread dough, might I suggest challah dough!)
2 c (472g) water
Egg wash: 1 large egg beaten with a splash of water
Sesame seeds and flaky salt, for topping
Mozzarella Sauce Ingredients
2 tb unsalted butter
2 tb all-purpose flour
1 c (240g) whole milk
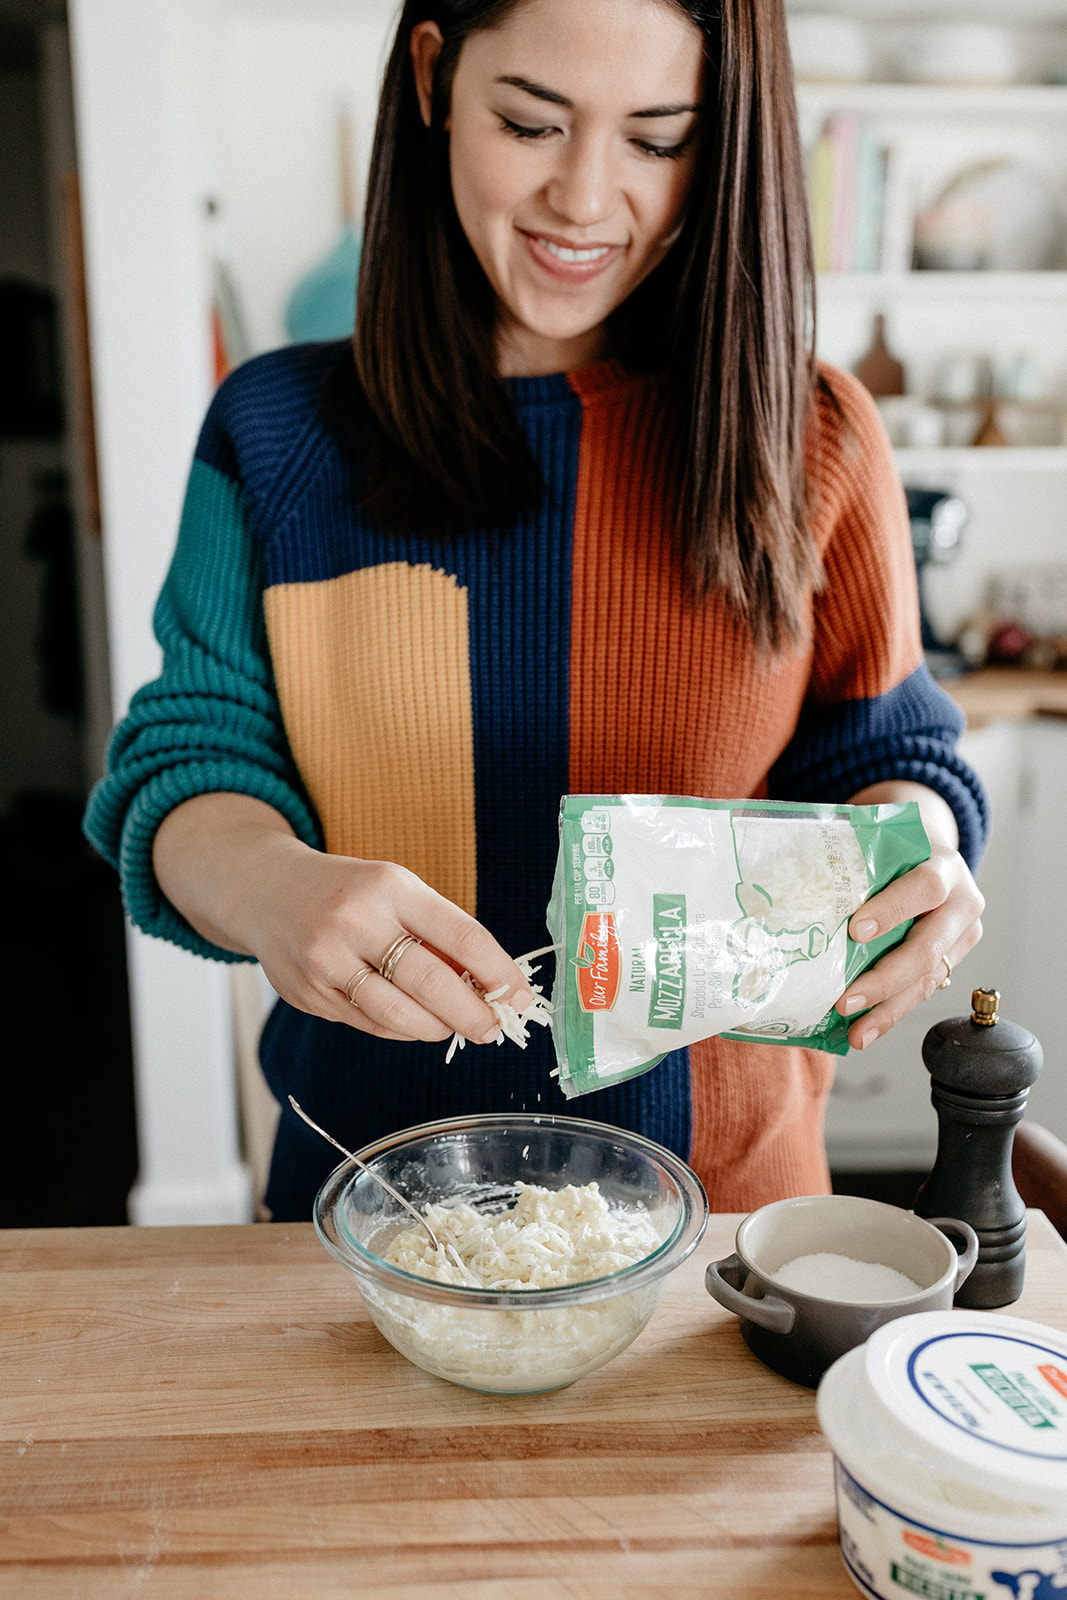
1 c (125g) shredded mozzarella
Kosher salt and black pepper, to taste
Crushed red pepper or hot sauce, optional
2 tsp za’atar
Clues
First, bake the baking soda. Preheat the oven to 250ºf, spread the baking soda out in an 8” x 8” baking dish and bake for 1 hour. Let it cool and set it aside. This can be prepped ahead and stored in an airtight container for several weeks. (Even though the baked baking soda isn't as strong as lye, which is traditionally used for making pretzels, it could still potentially irritate your skin, so avoid touching it with bare hands once it's out of the oven.)
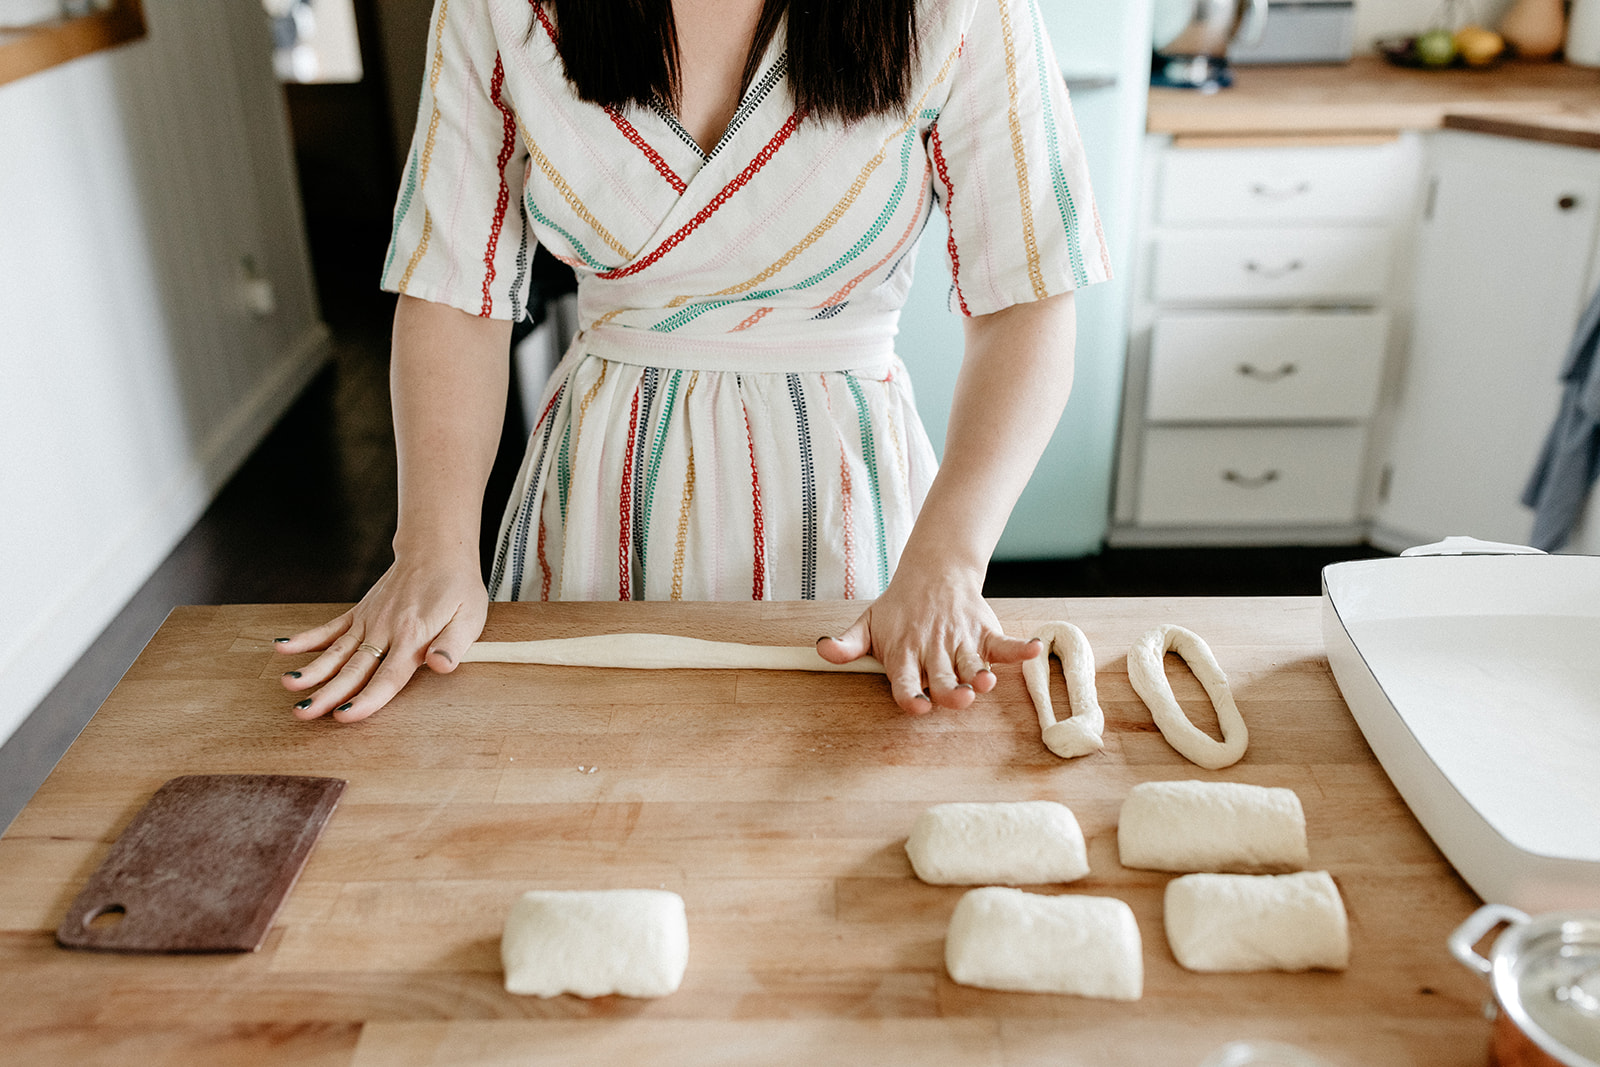
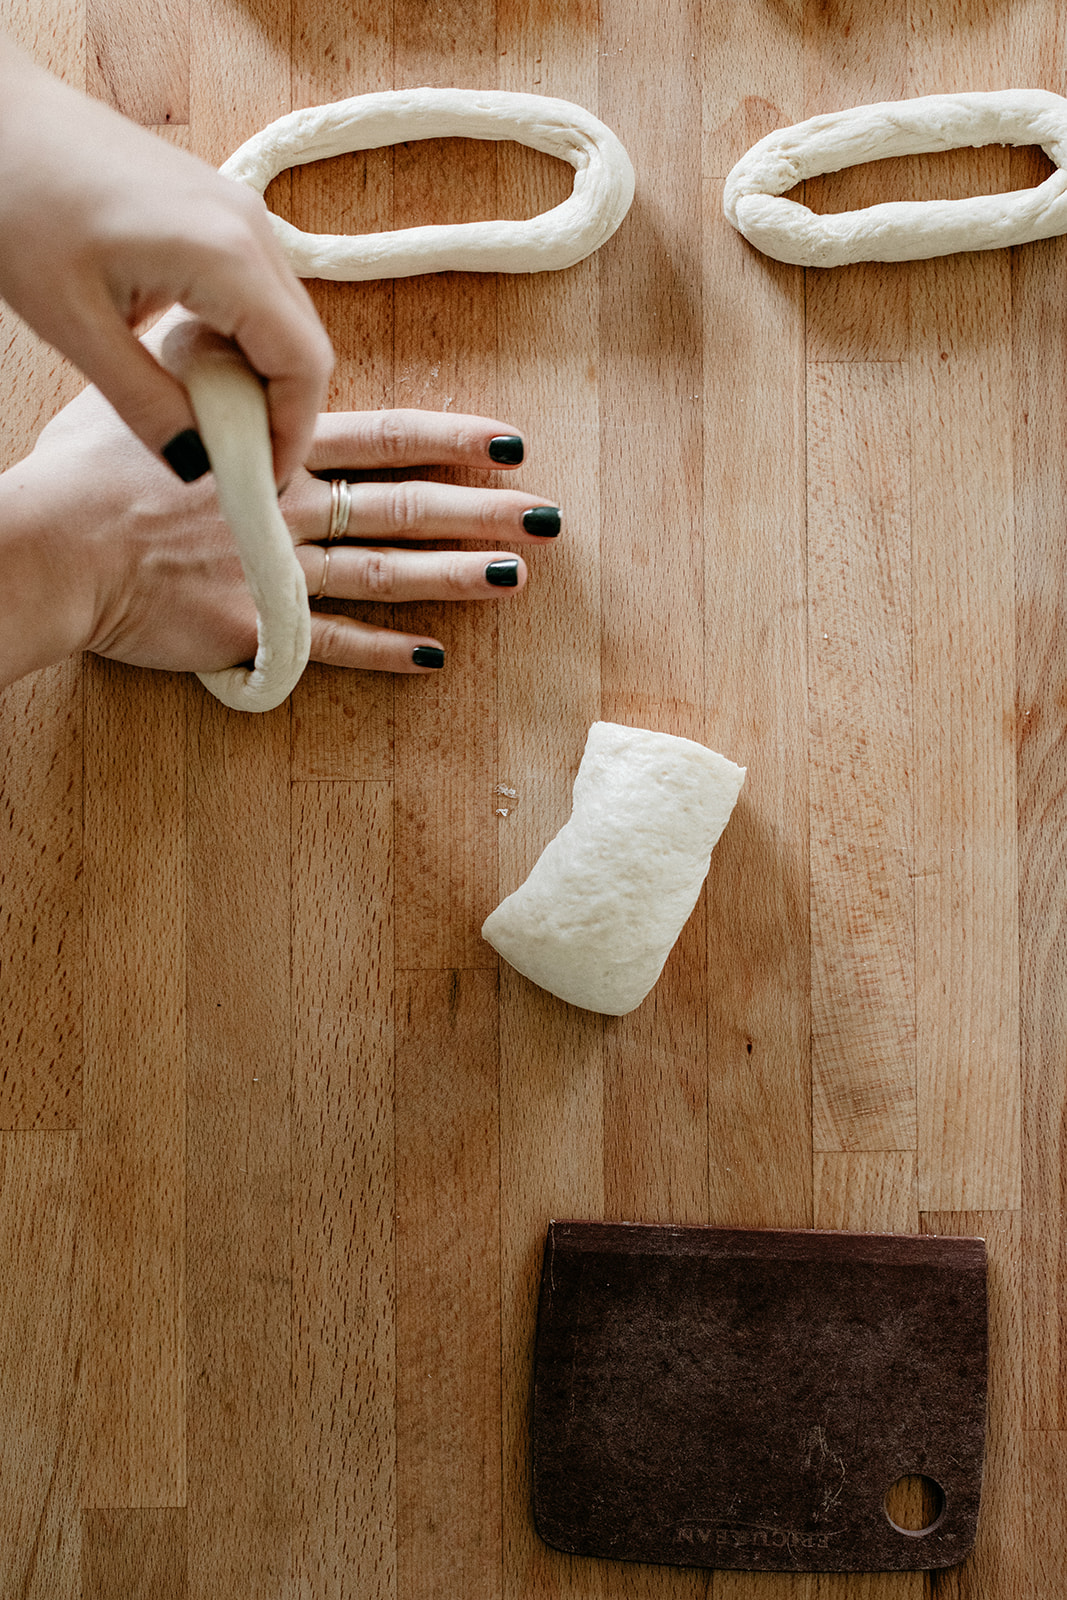
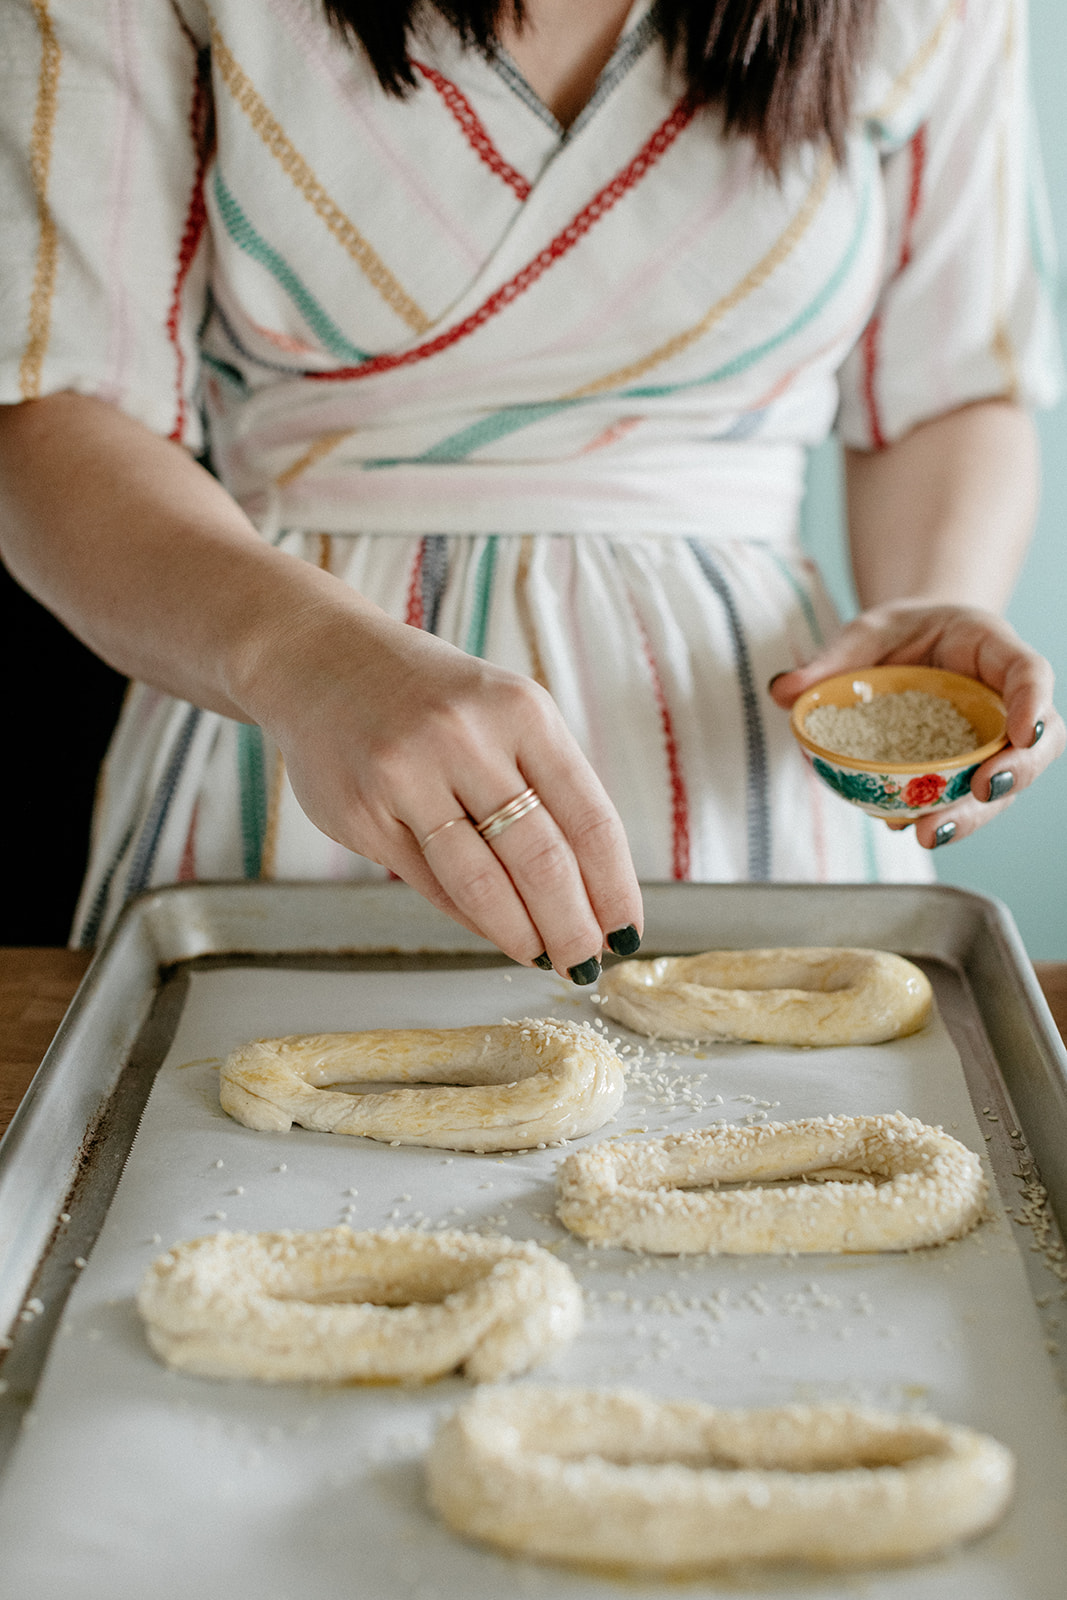
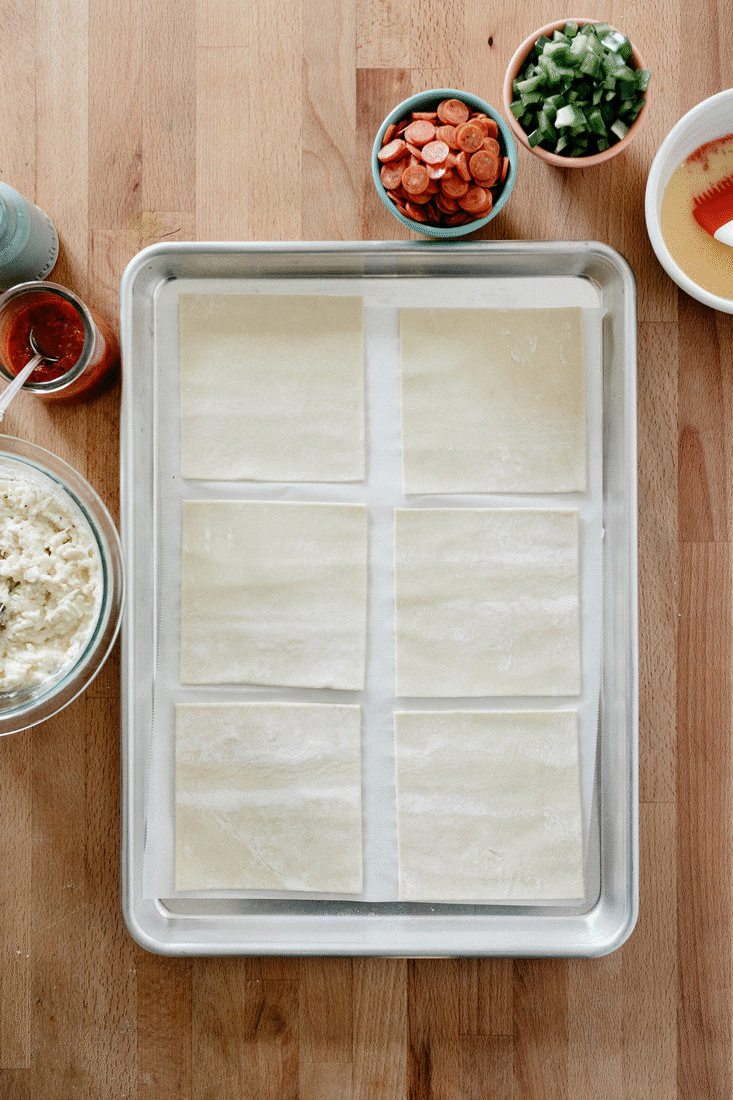
To form the pretzels, line two baking sheets with parchment paper and preheat the oven to 350ºf. Divide the dough into 8 pieces and then roll into snakes, about 3/4-1” thick. Smoosh the ends together to form big ovals and transfer to the baking sheets, one inch apart.
(If using homemade dough, complete the recipe through the first rising, shape into ovals as described above, place on baking sheets lined with parchment paper, and then give them their second rise.)
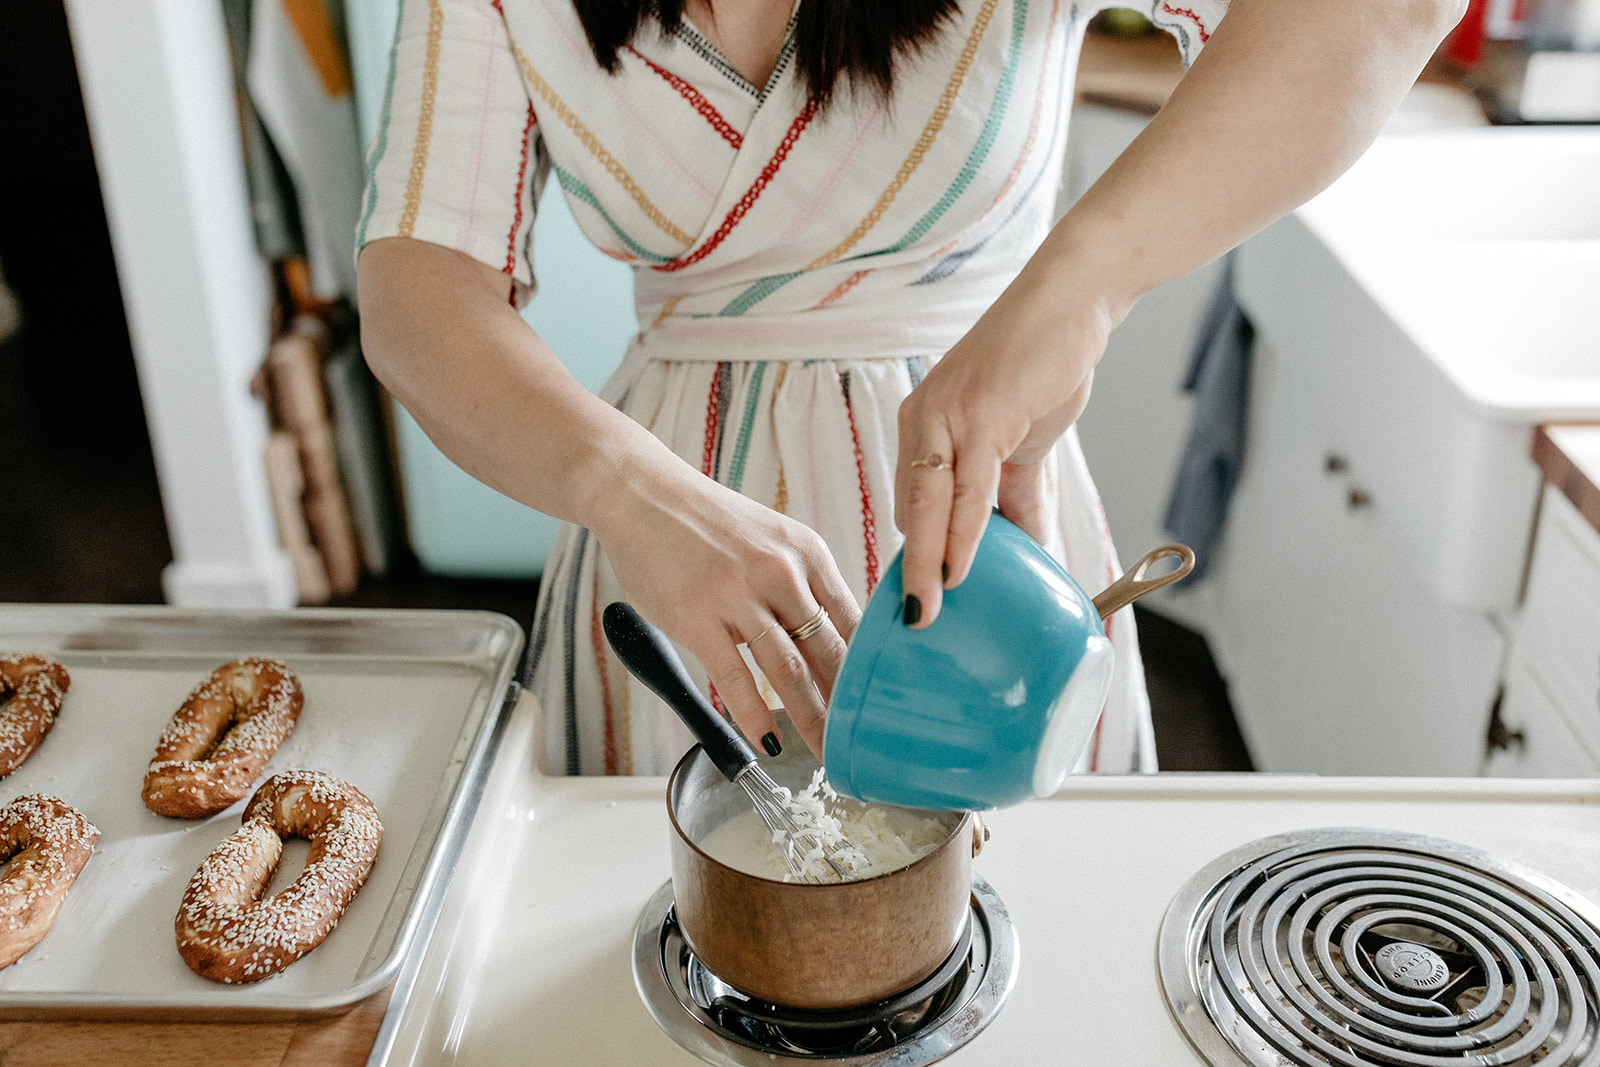
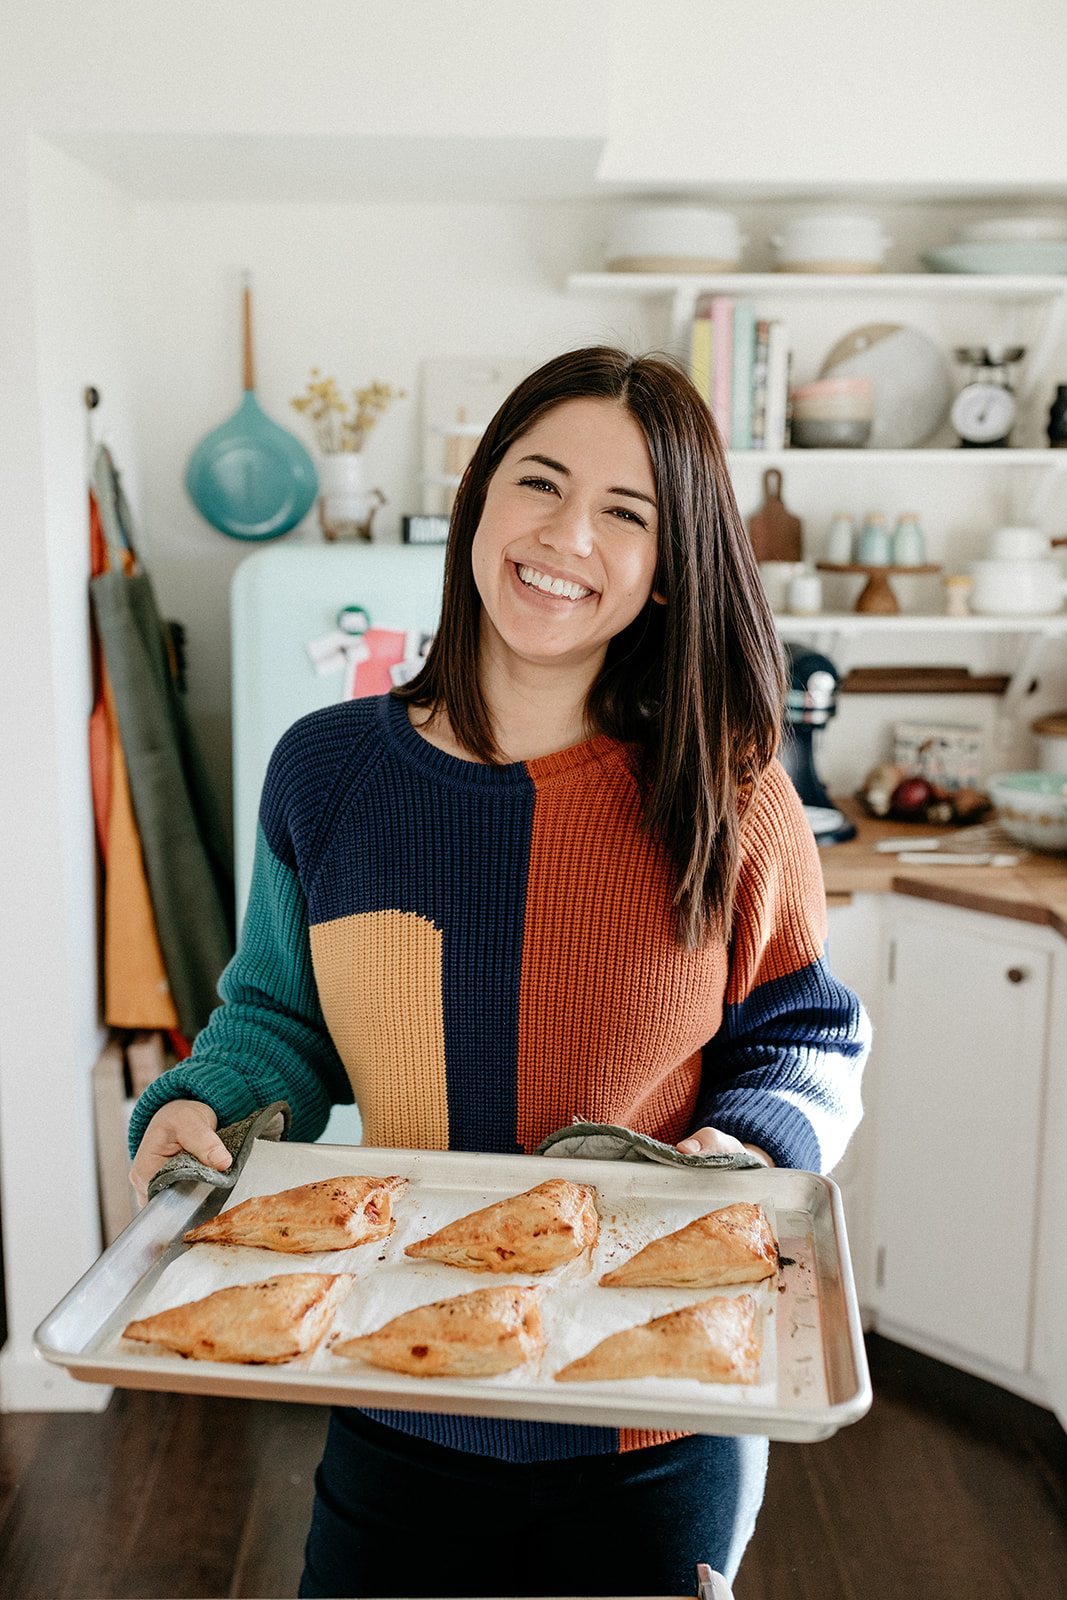
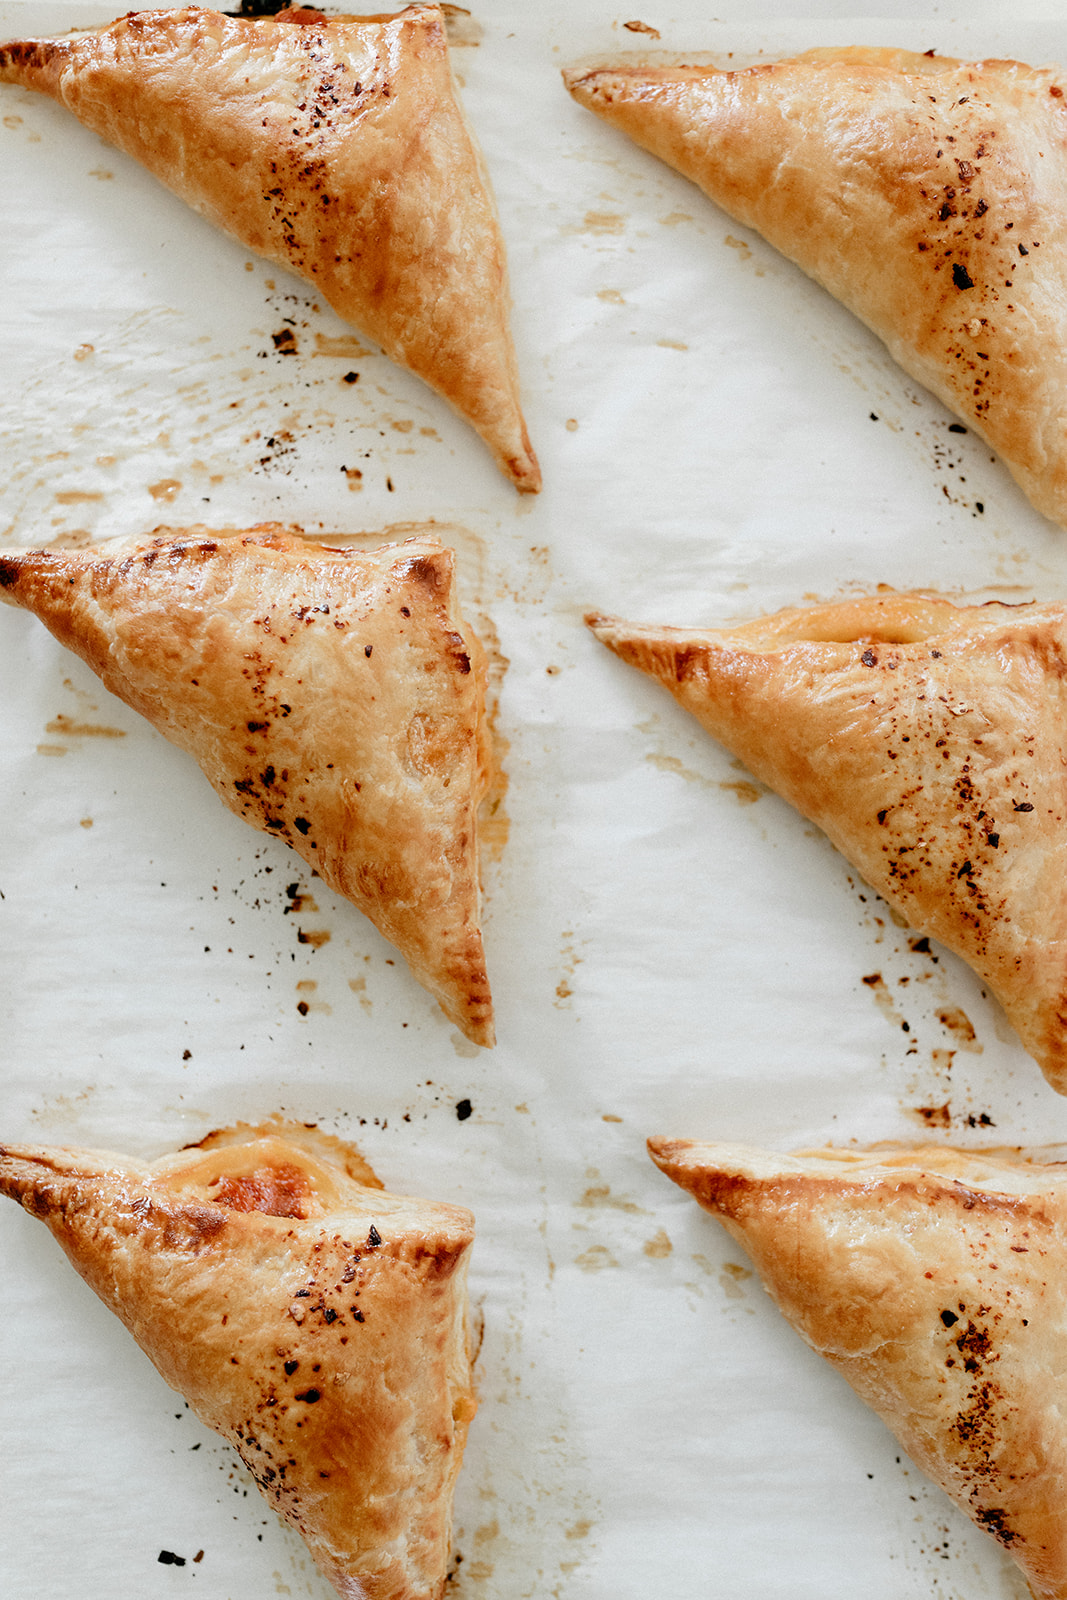
Make the baking soda bath: Add the water to the dish with the baking soda and whisk gently to dissolve the baking soda (it likely won’t all dissolve, a few baking soda chunks are totally ok as long as you remove any that stick to the dough). Using gloved hands, tongs, or a slotted spoon, and working in batches, immerse the pretzels into the mixture for 2-3 minutes on each side. Transfer to a plate or pan lined with a paper towel and pat them dry and then place them back on the baking sheet. Brush with the egg wash, sprinkle liberally with sesame seeds and a few pinches of flaky salt, and bake until deep golden brown; begin checking at 16 minutes. Let cool slightly and then enjoy warm with cheese sauce!
These freeze well! Let them cool fully and store in an airtight container in the freezer for up to a few months. Reheat in the microwave or thaw at room temp.
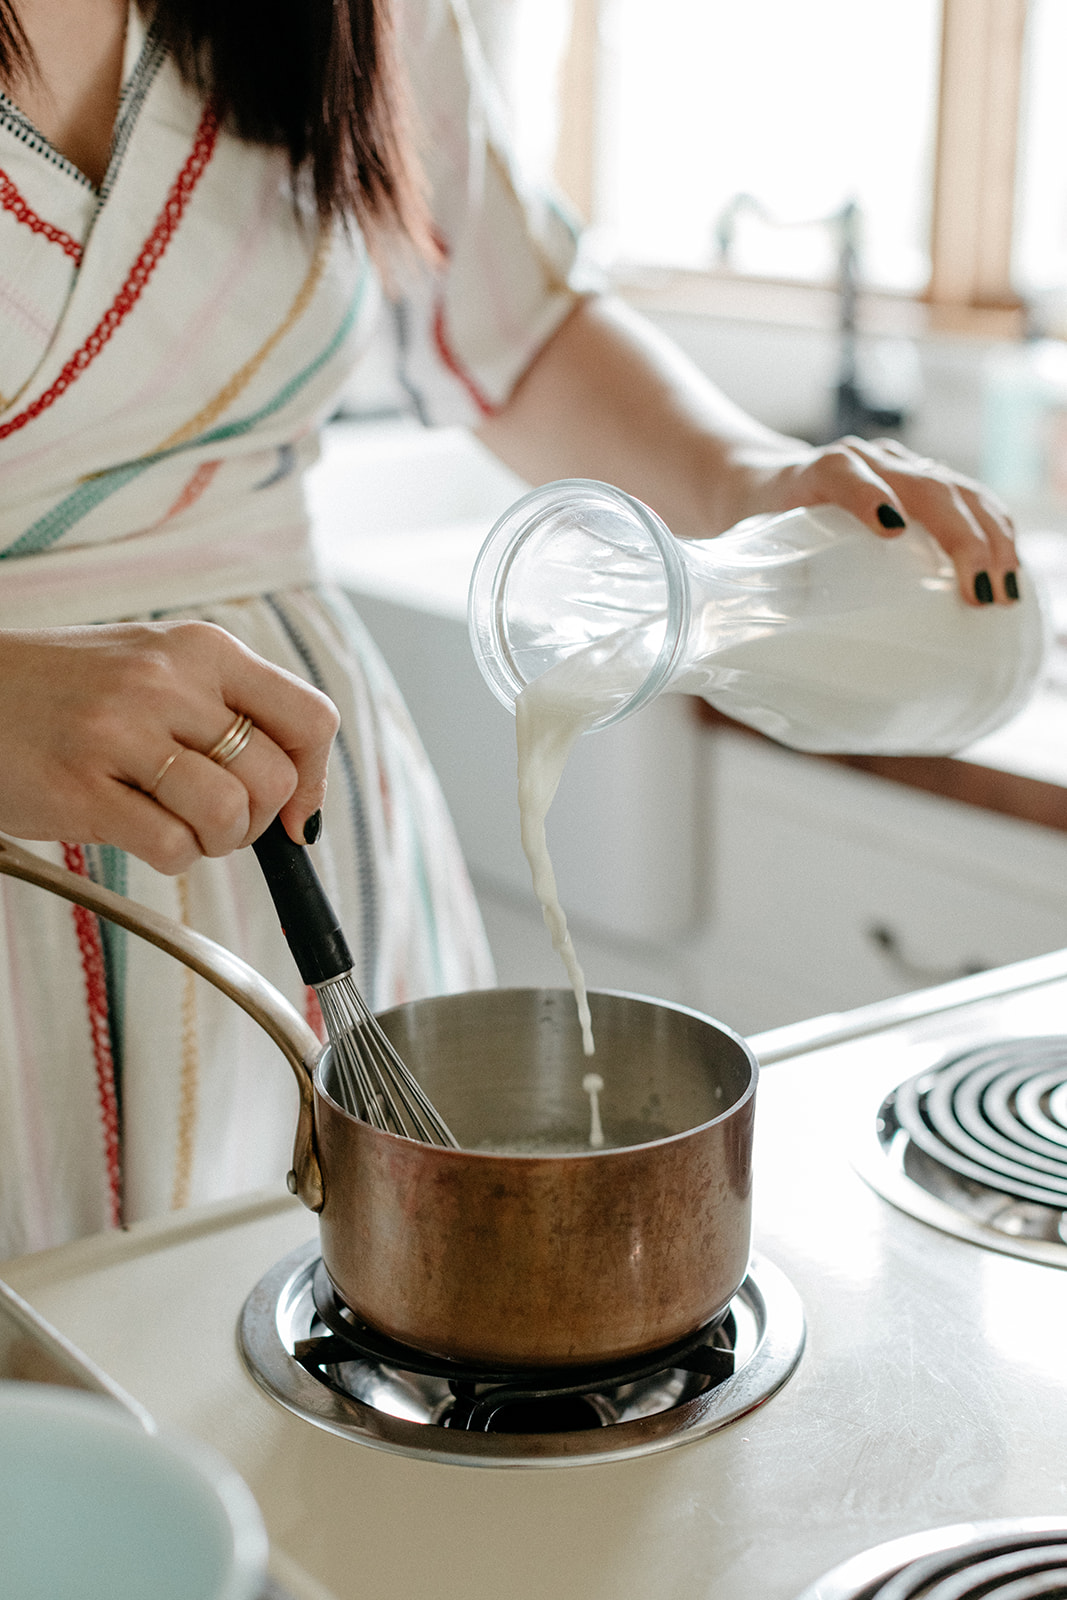
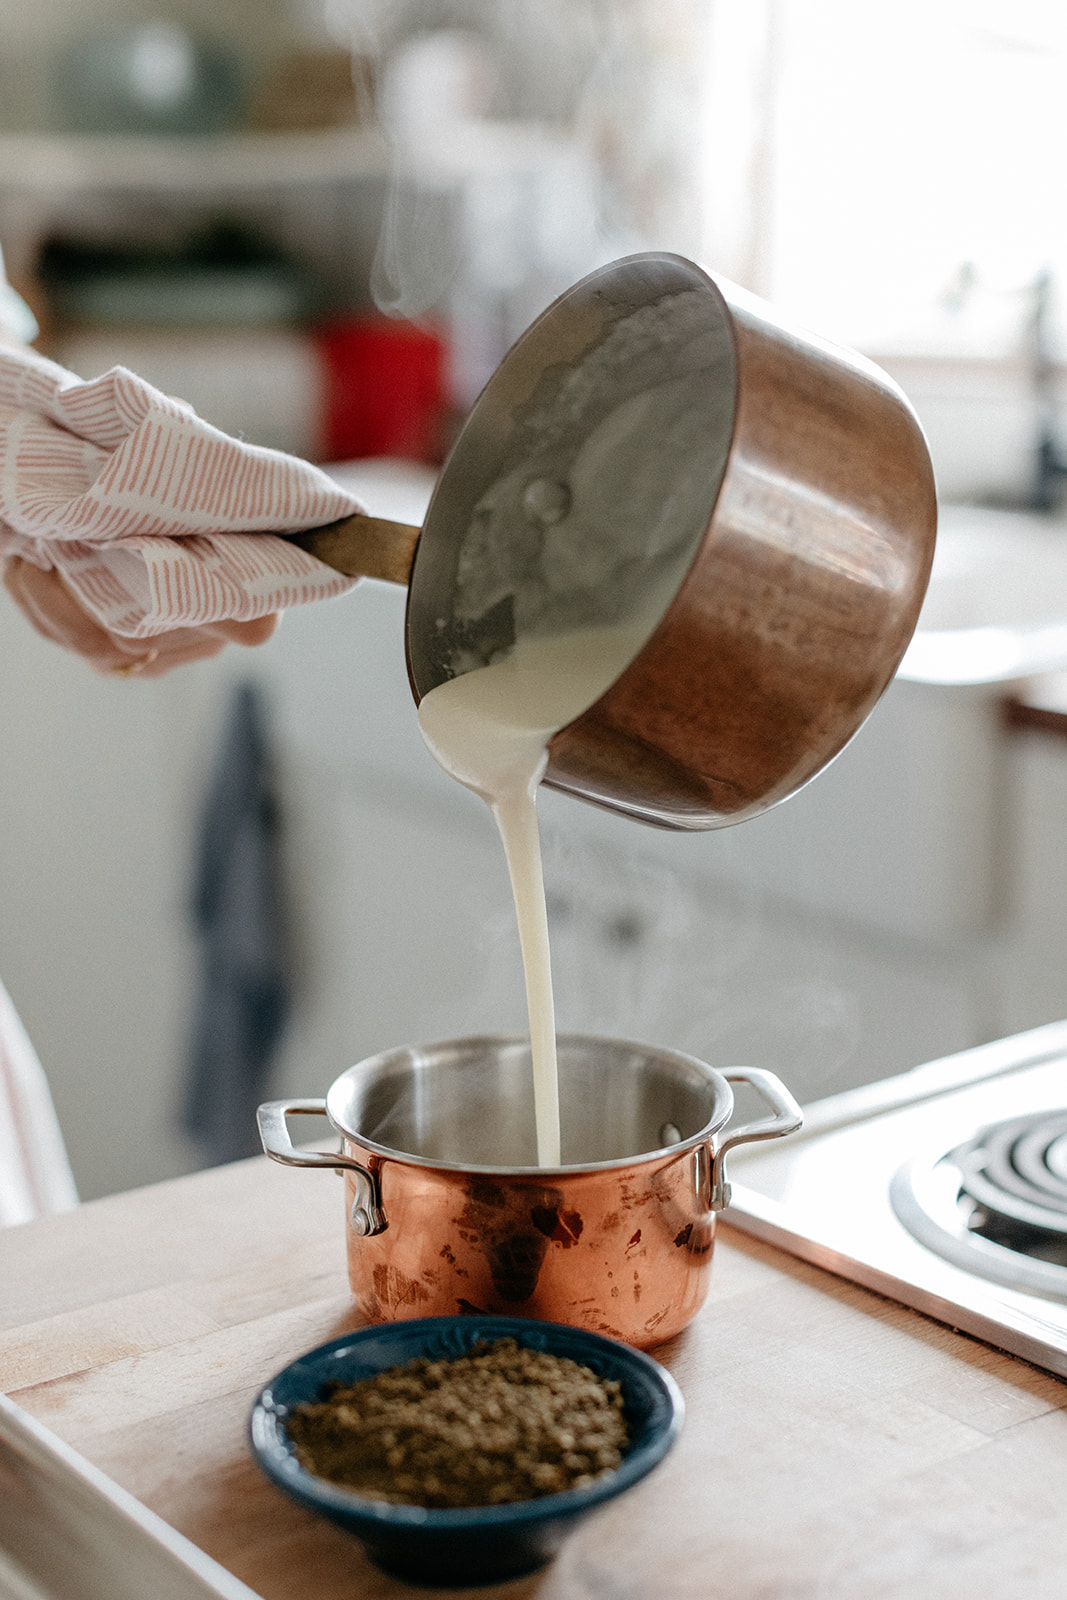
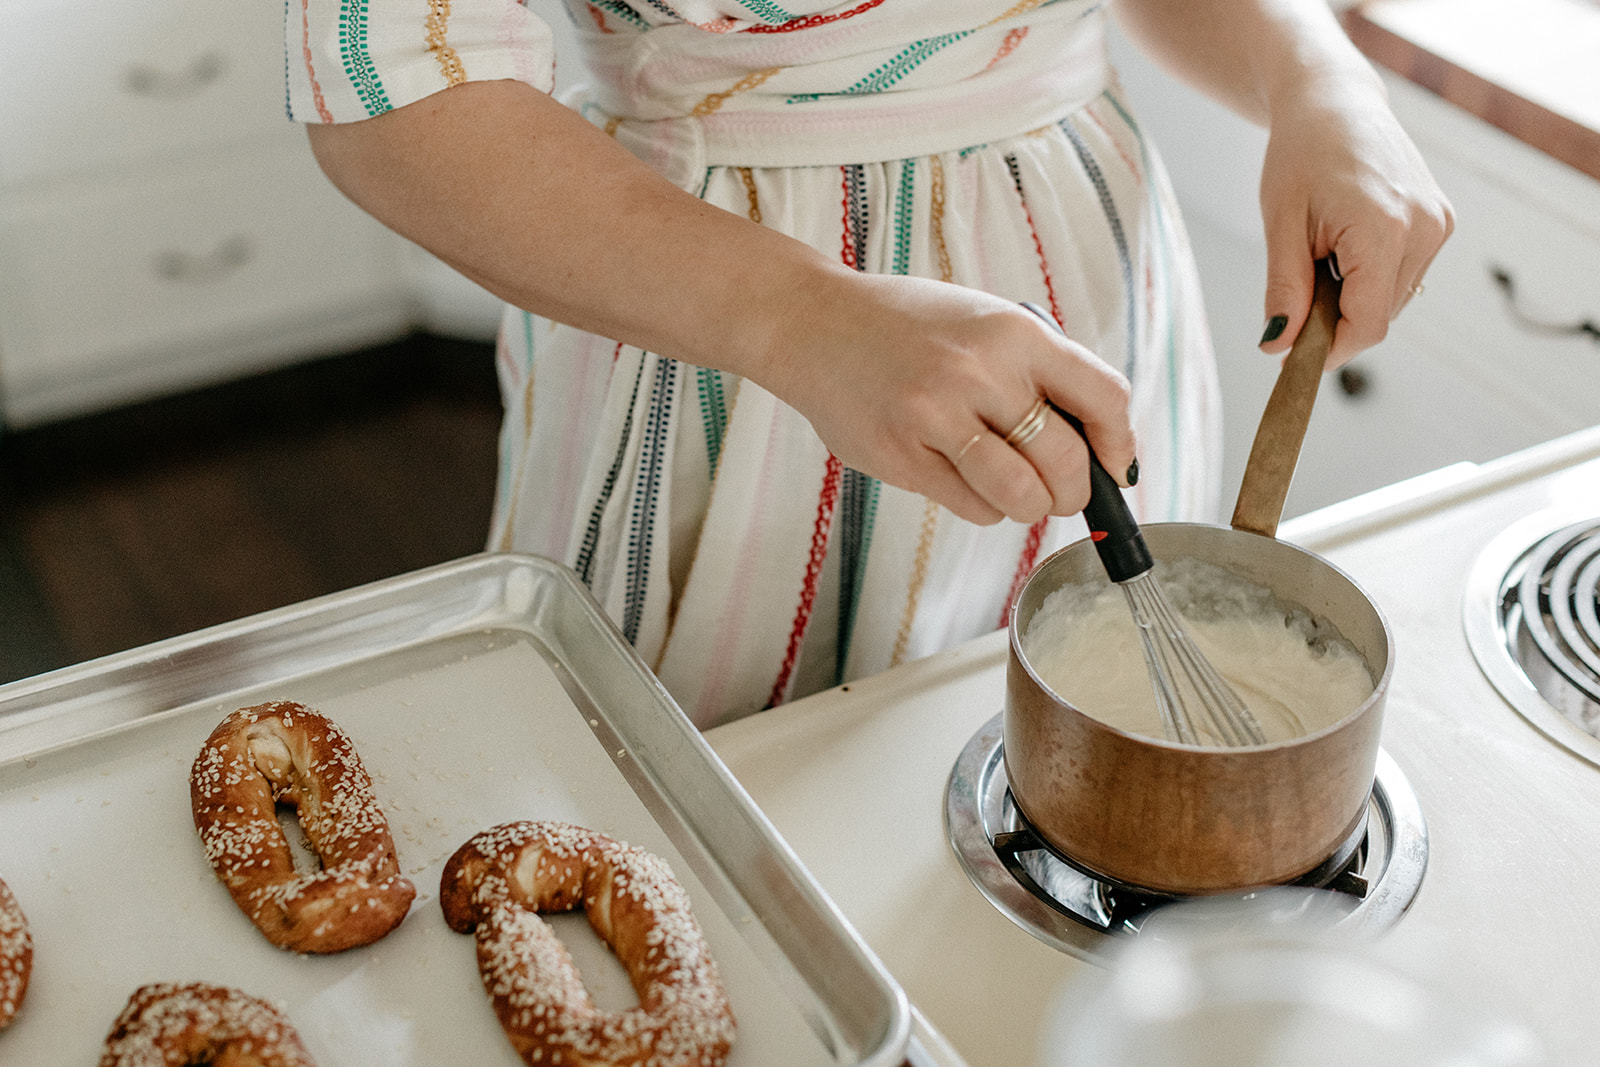
For the za’atar mozzarella sauce: In a saucepan, melt the butter over medium heat. Whisk in the flour and cook for another minute. Add half of the milk and whisk until thickened and then add the other half, continuing to whisk until thickened. Add the mozzarella and whisk until melted. Season to taste with salt, pepper, and spicy stuff, if using. Transfer to a serving bowl, top with za’atar and serve.
Leftovers can be stored in an airtight container in the fridge and then reheated in a saucepan or microwave. Stir in an extra splash of milk, if desired, to thin it out.
-yeh!
I’m so pleased to have partnered with milk life, on this recipe! Dairy milk always played a starring role in my favorite back to school moments! Bernie and I already obviously have a special bond when it comes to food (we just started introducing solids and she loves watching me cook!) – and I know as she gets older and goes to school, the role that food plays in how we connect together will only continue to grow.
photos by chantell and brett quernemoen.


![IG_Story_1080x1920[2].jpg](https://images.squarespace-cdn.com/content/v1/515ecaf0e4b0875140cb8775/1529419018979-VR6FV7NTV4G7GEYGMFU4/IG_Story_1080x1920%5B2%5D.jpg)


