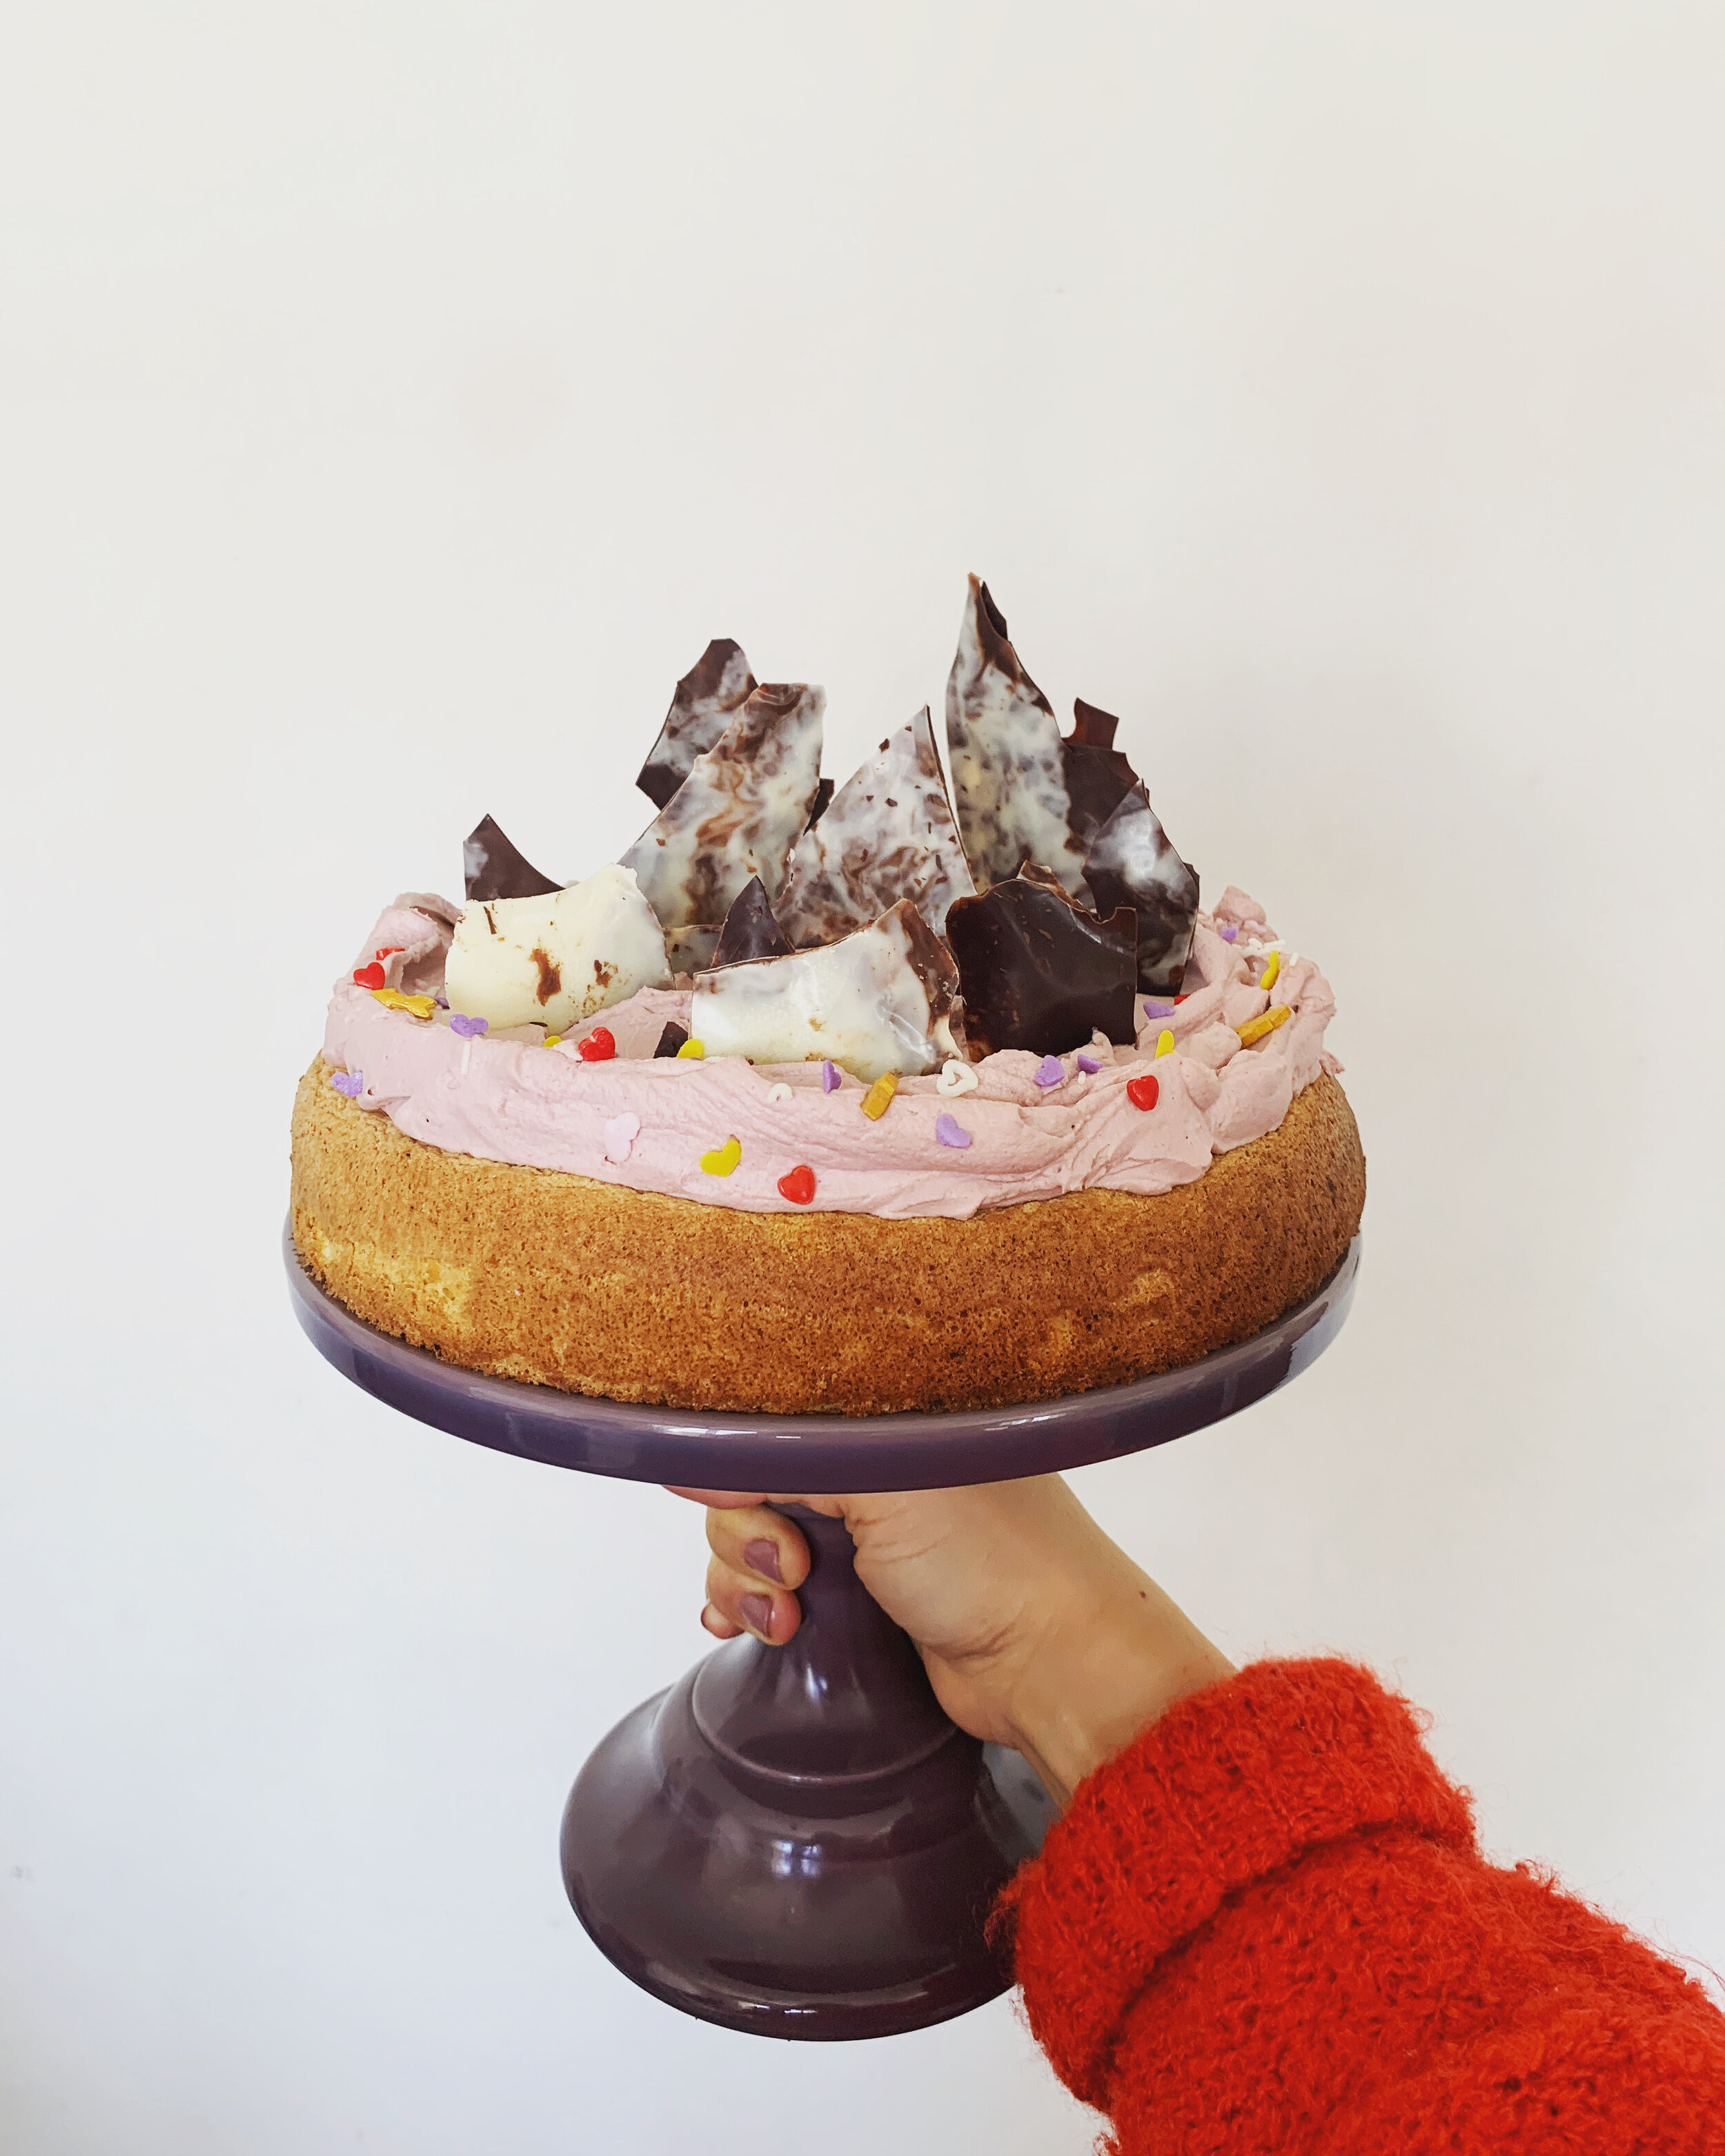
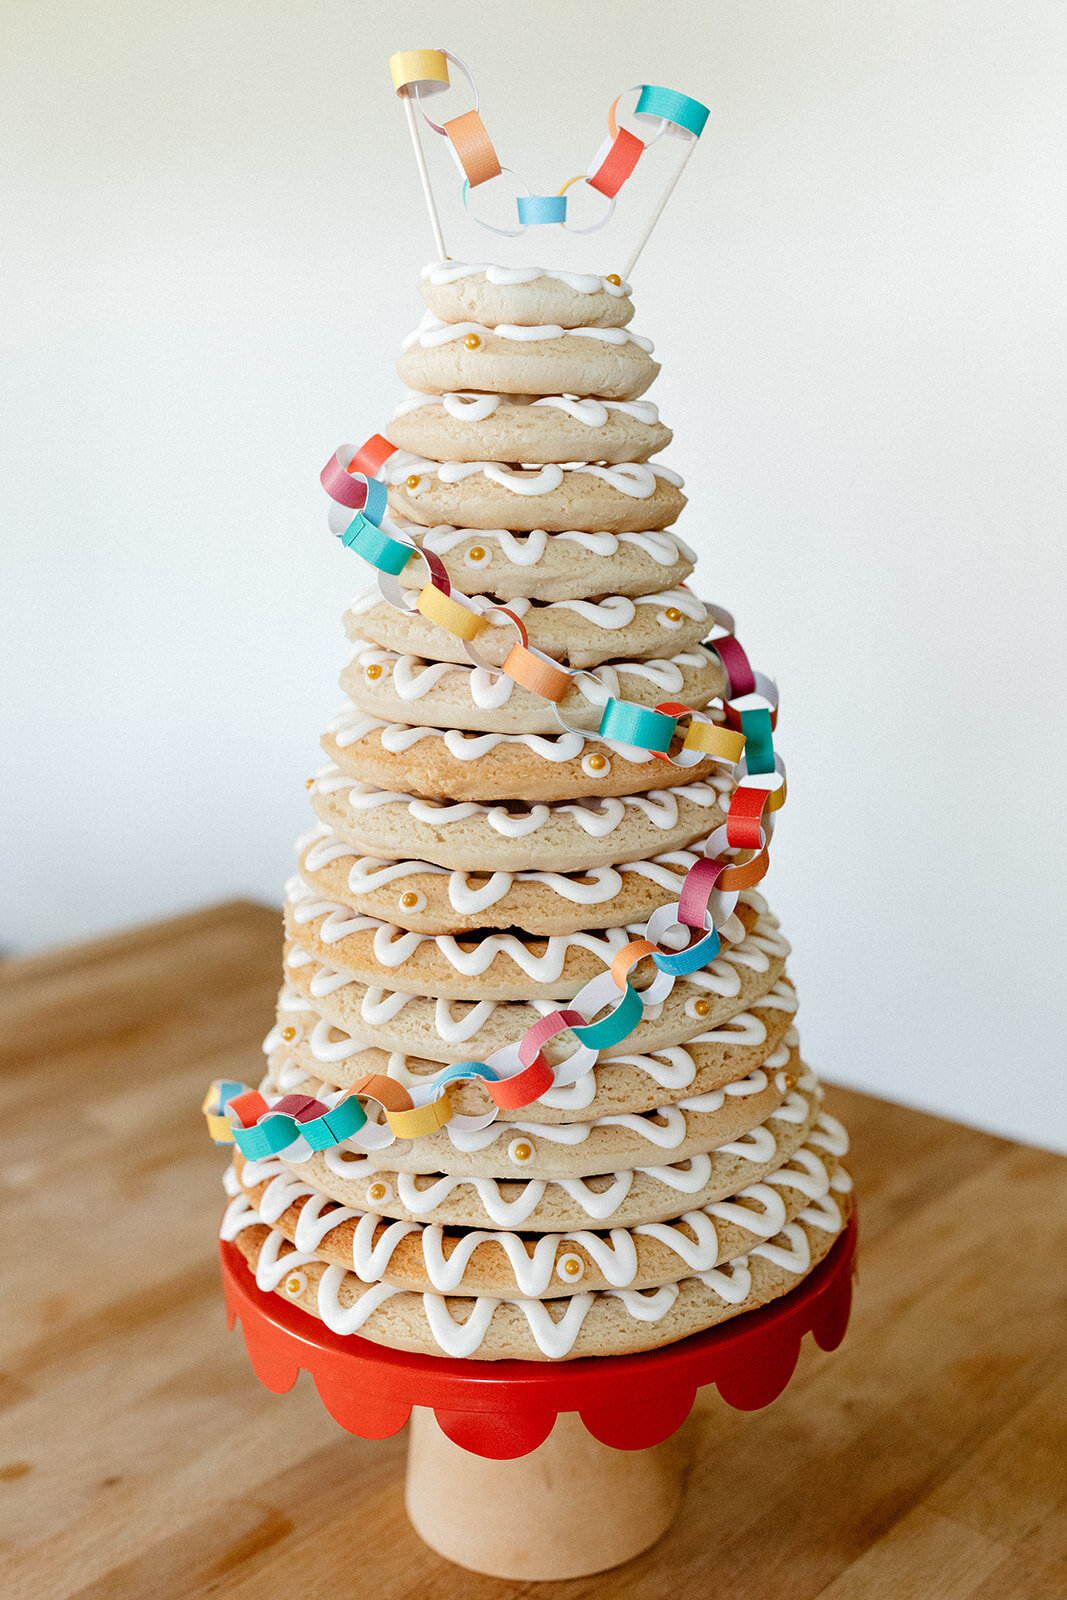
birthday battenberg

hello, hi! how are you doing? are you enjoying this weather? can you believe that it is... summer kind of?? bernie and i have been lapping up the sun like thirsty puppies. nearly every afternoon, we pack a little bag of water, bamba or freeze-dried berries, sunscreen, books, and toys, and bring it out to a blanket on our lawn where we bask and play and listen to the sound of music. sometimes my phone doesn't get very good reception however so instead of julie andrews serenading us it becomes me squeaking out i-am-16-going-on-17-doo-doo-dee-doo-dee-doo because i don't know the words and the whole time i have to ignore the vision in my head of john mulaney doing the creepy version on SNL. it's really awful when we have to resort to me singing, i can’t wait for the future when cell phone reception is better. regardless, these pre-mosquito days are idyllic. bernie is in this painfully perfect sweet spot where she has learned not to put everything in her mouth (dirt, bugs, the cold noodles leftover in the grass from her sensory play weeks ago) and she can't yet walk or run very fast so i don't have to chase after her worried that she's going to run into the construction hole in our yard (more on that eventually…!). we can just sit contentedly on the blanket with crayons or balls for hours and i love it.

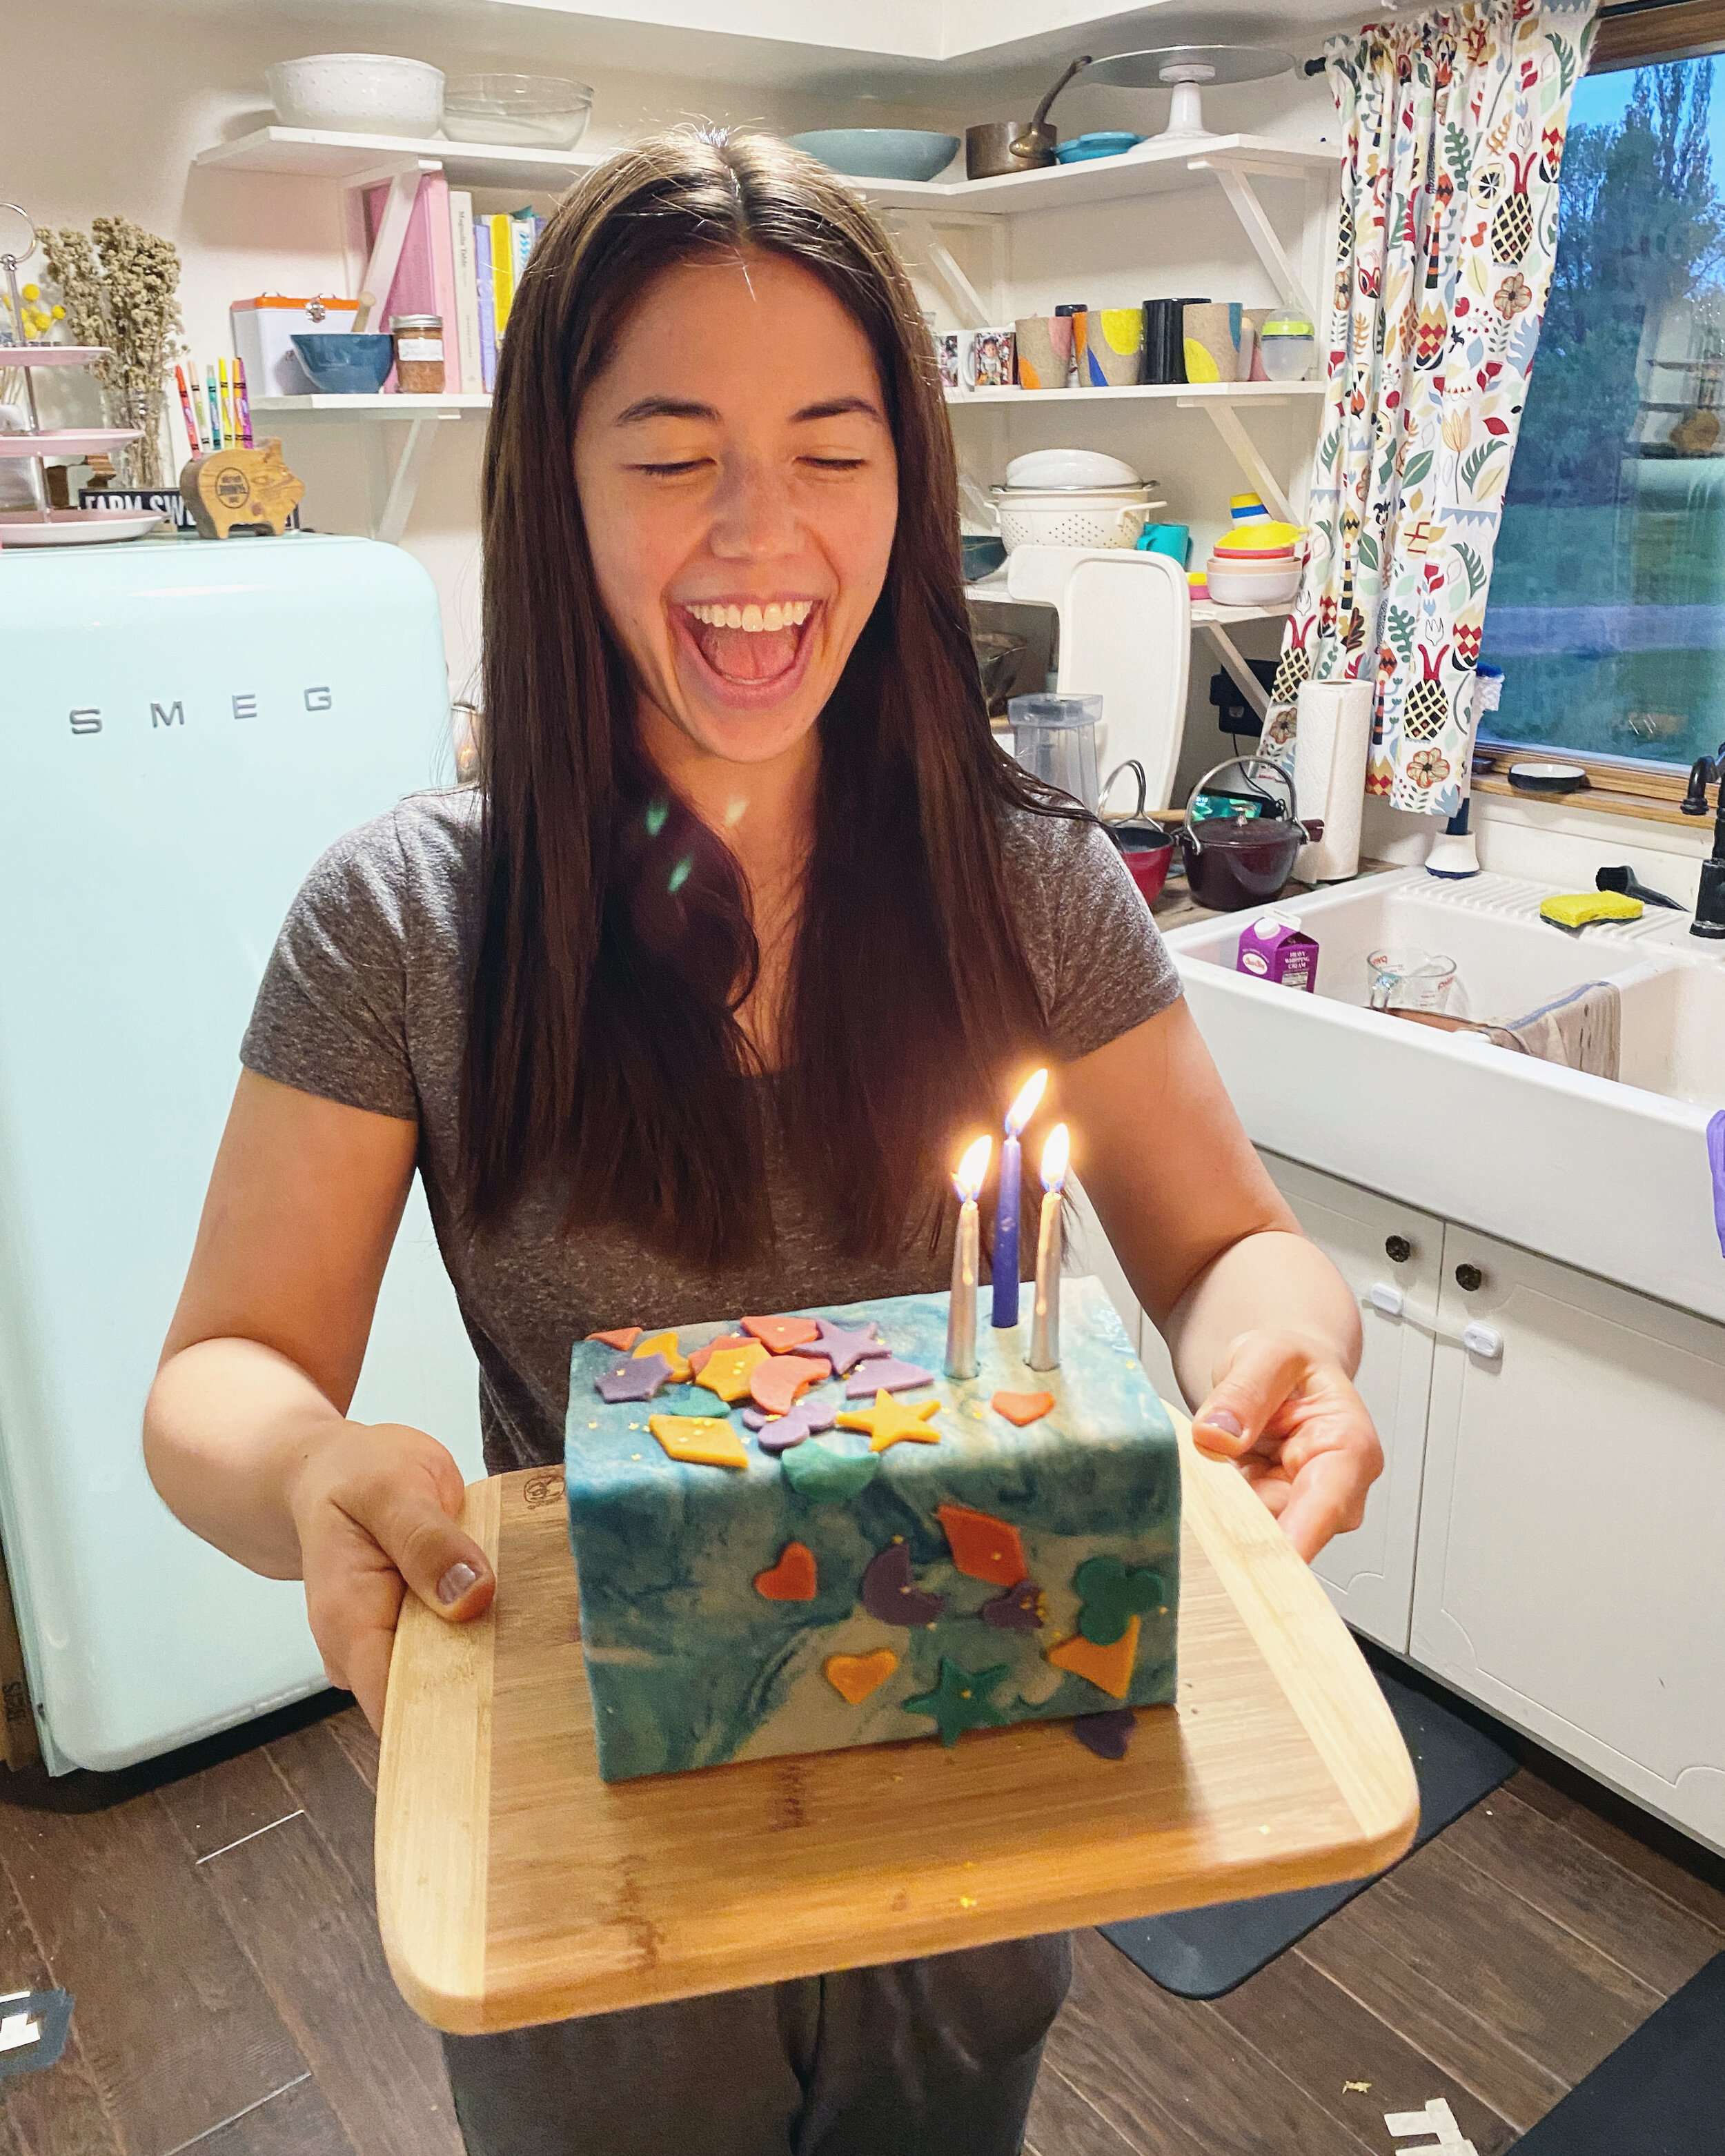
so that's what we did on my birthday last friday! nick was planting sugar beets and bernie and i spent the day outside. we blew up her new kiddie pool and tested out what it would be like to sit in it (it was still a little chilly for water) and zoomed with all of our people. we had homemade egg mcmuffins, as is tradition on my birthday, and sausagey pizza for dinner. after bernie went to bed, i zoom aperol spritz’d with rob and brian and then watched center stage. center stage is SO GOOD. 

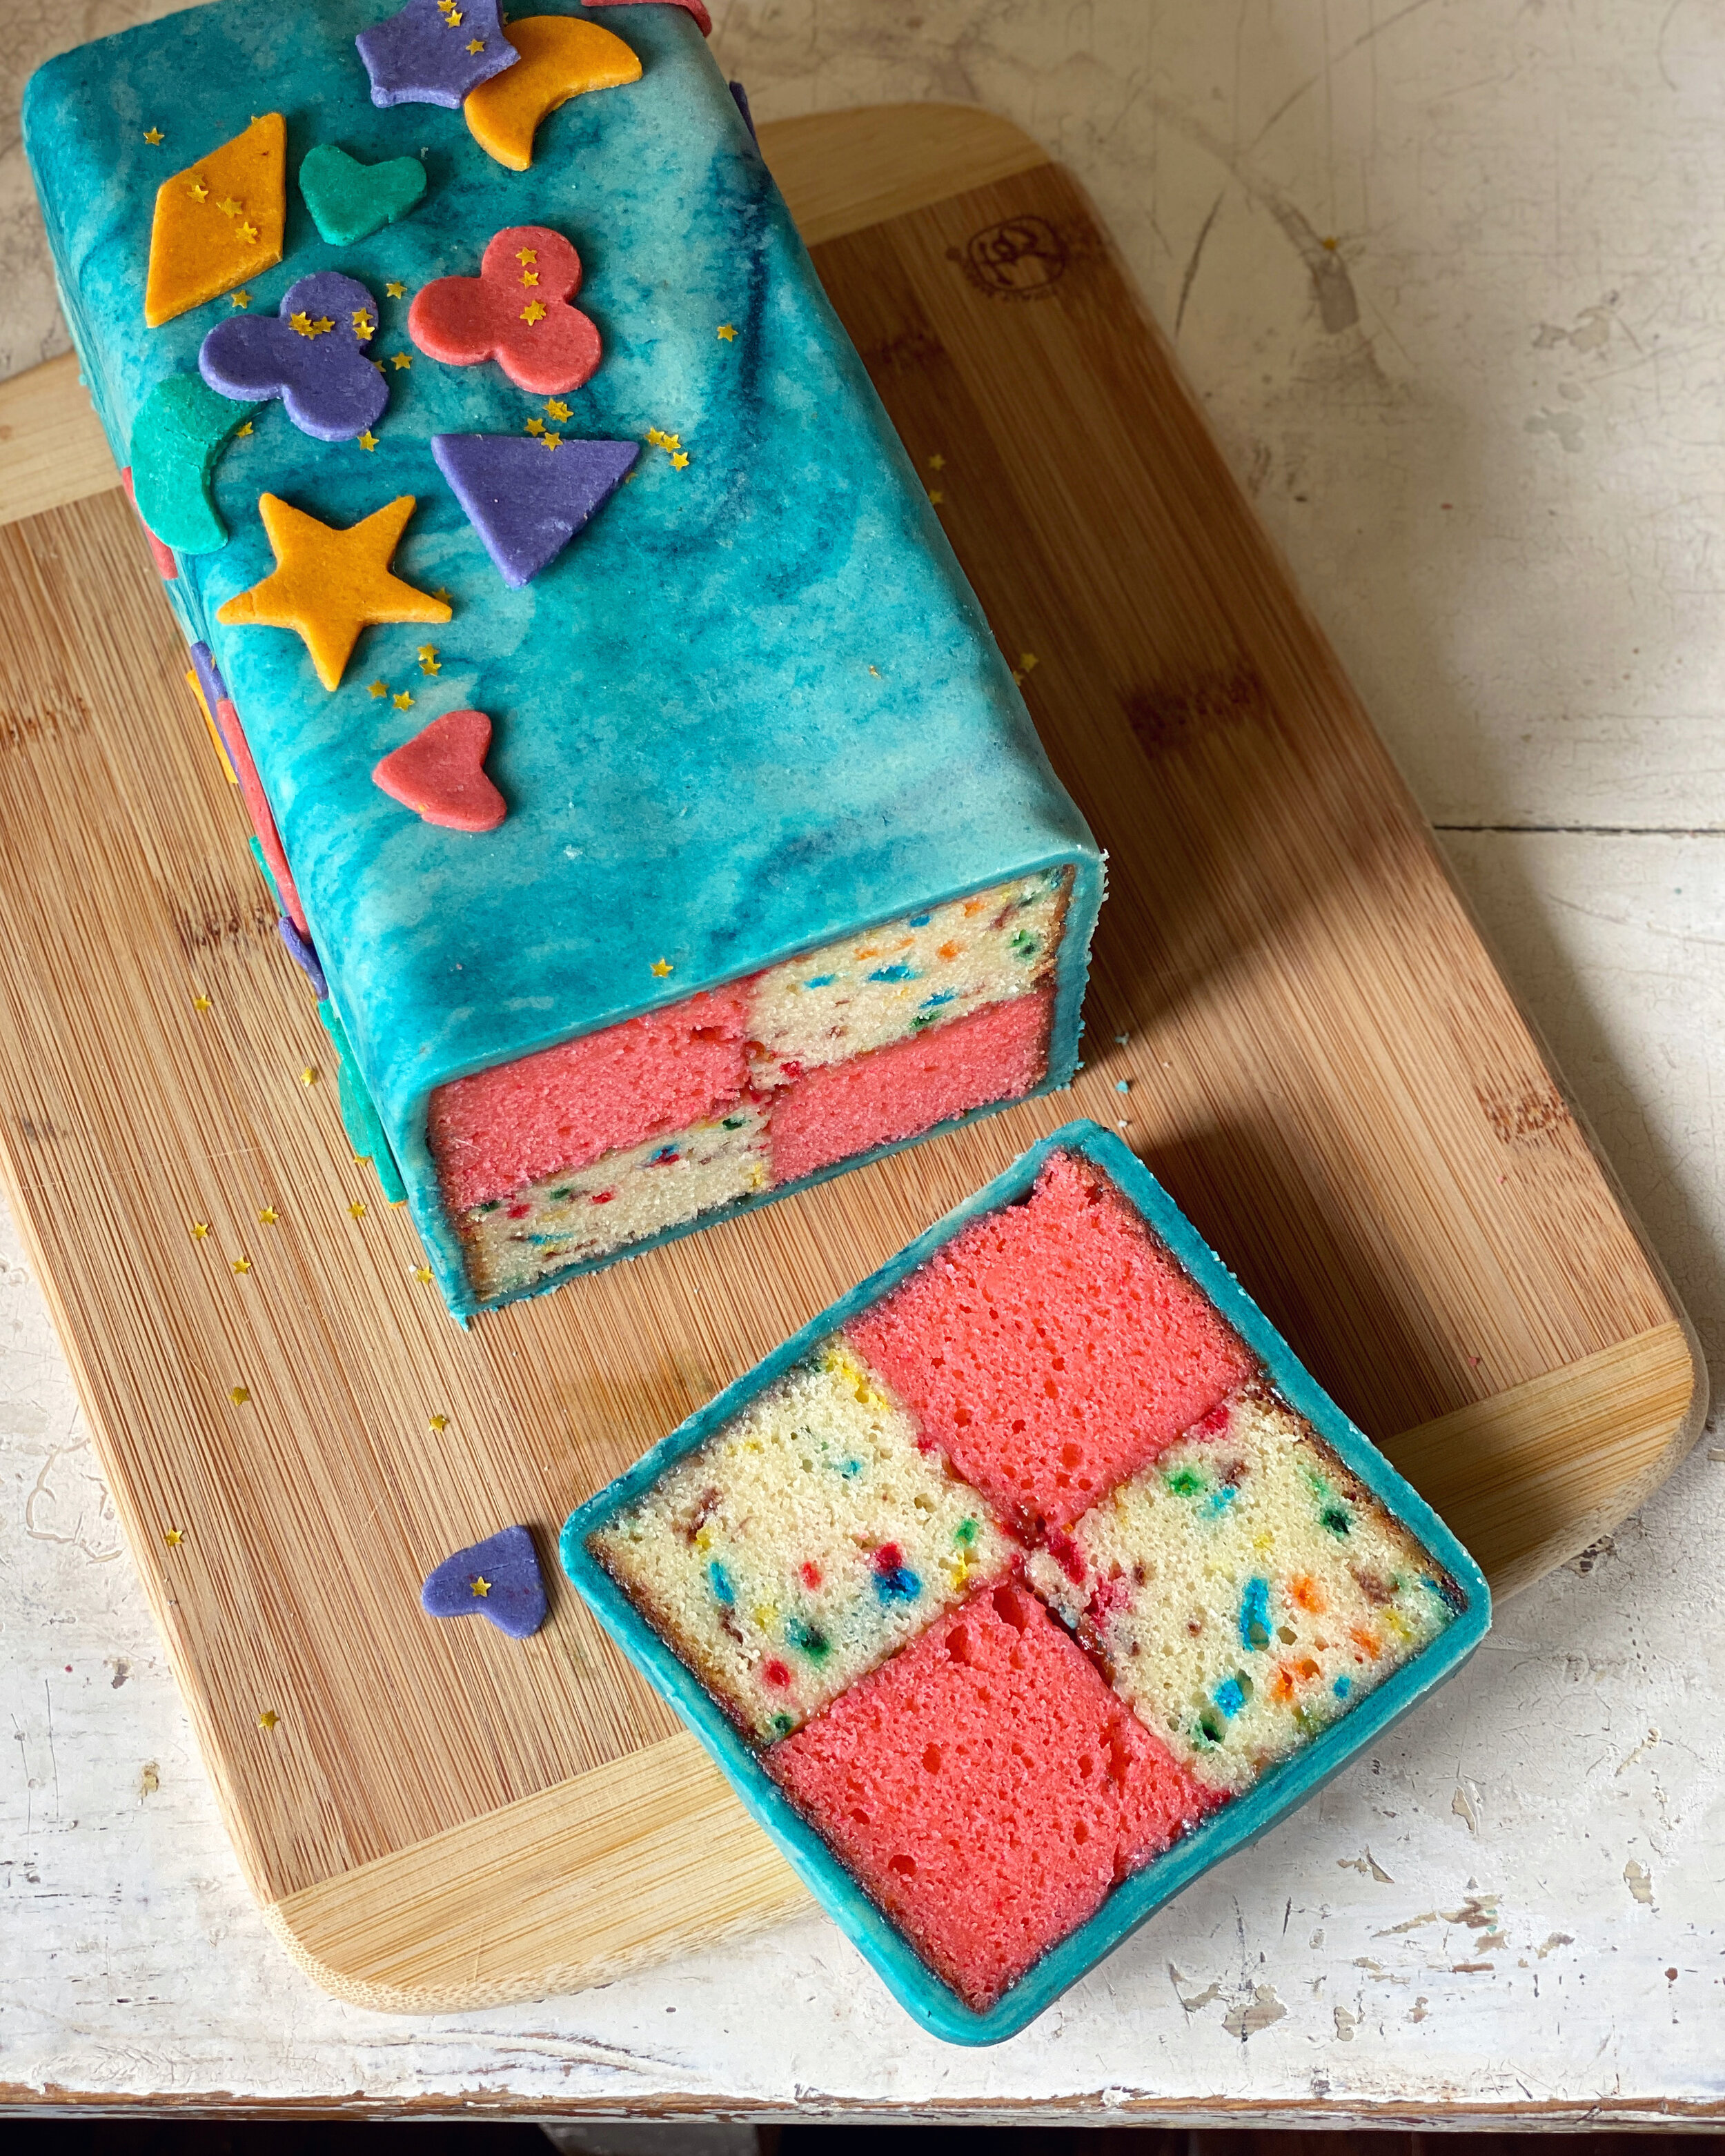
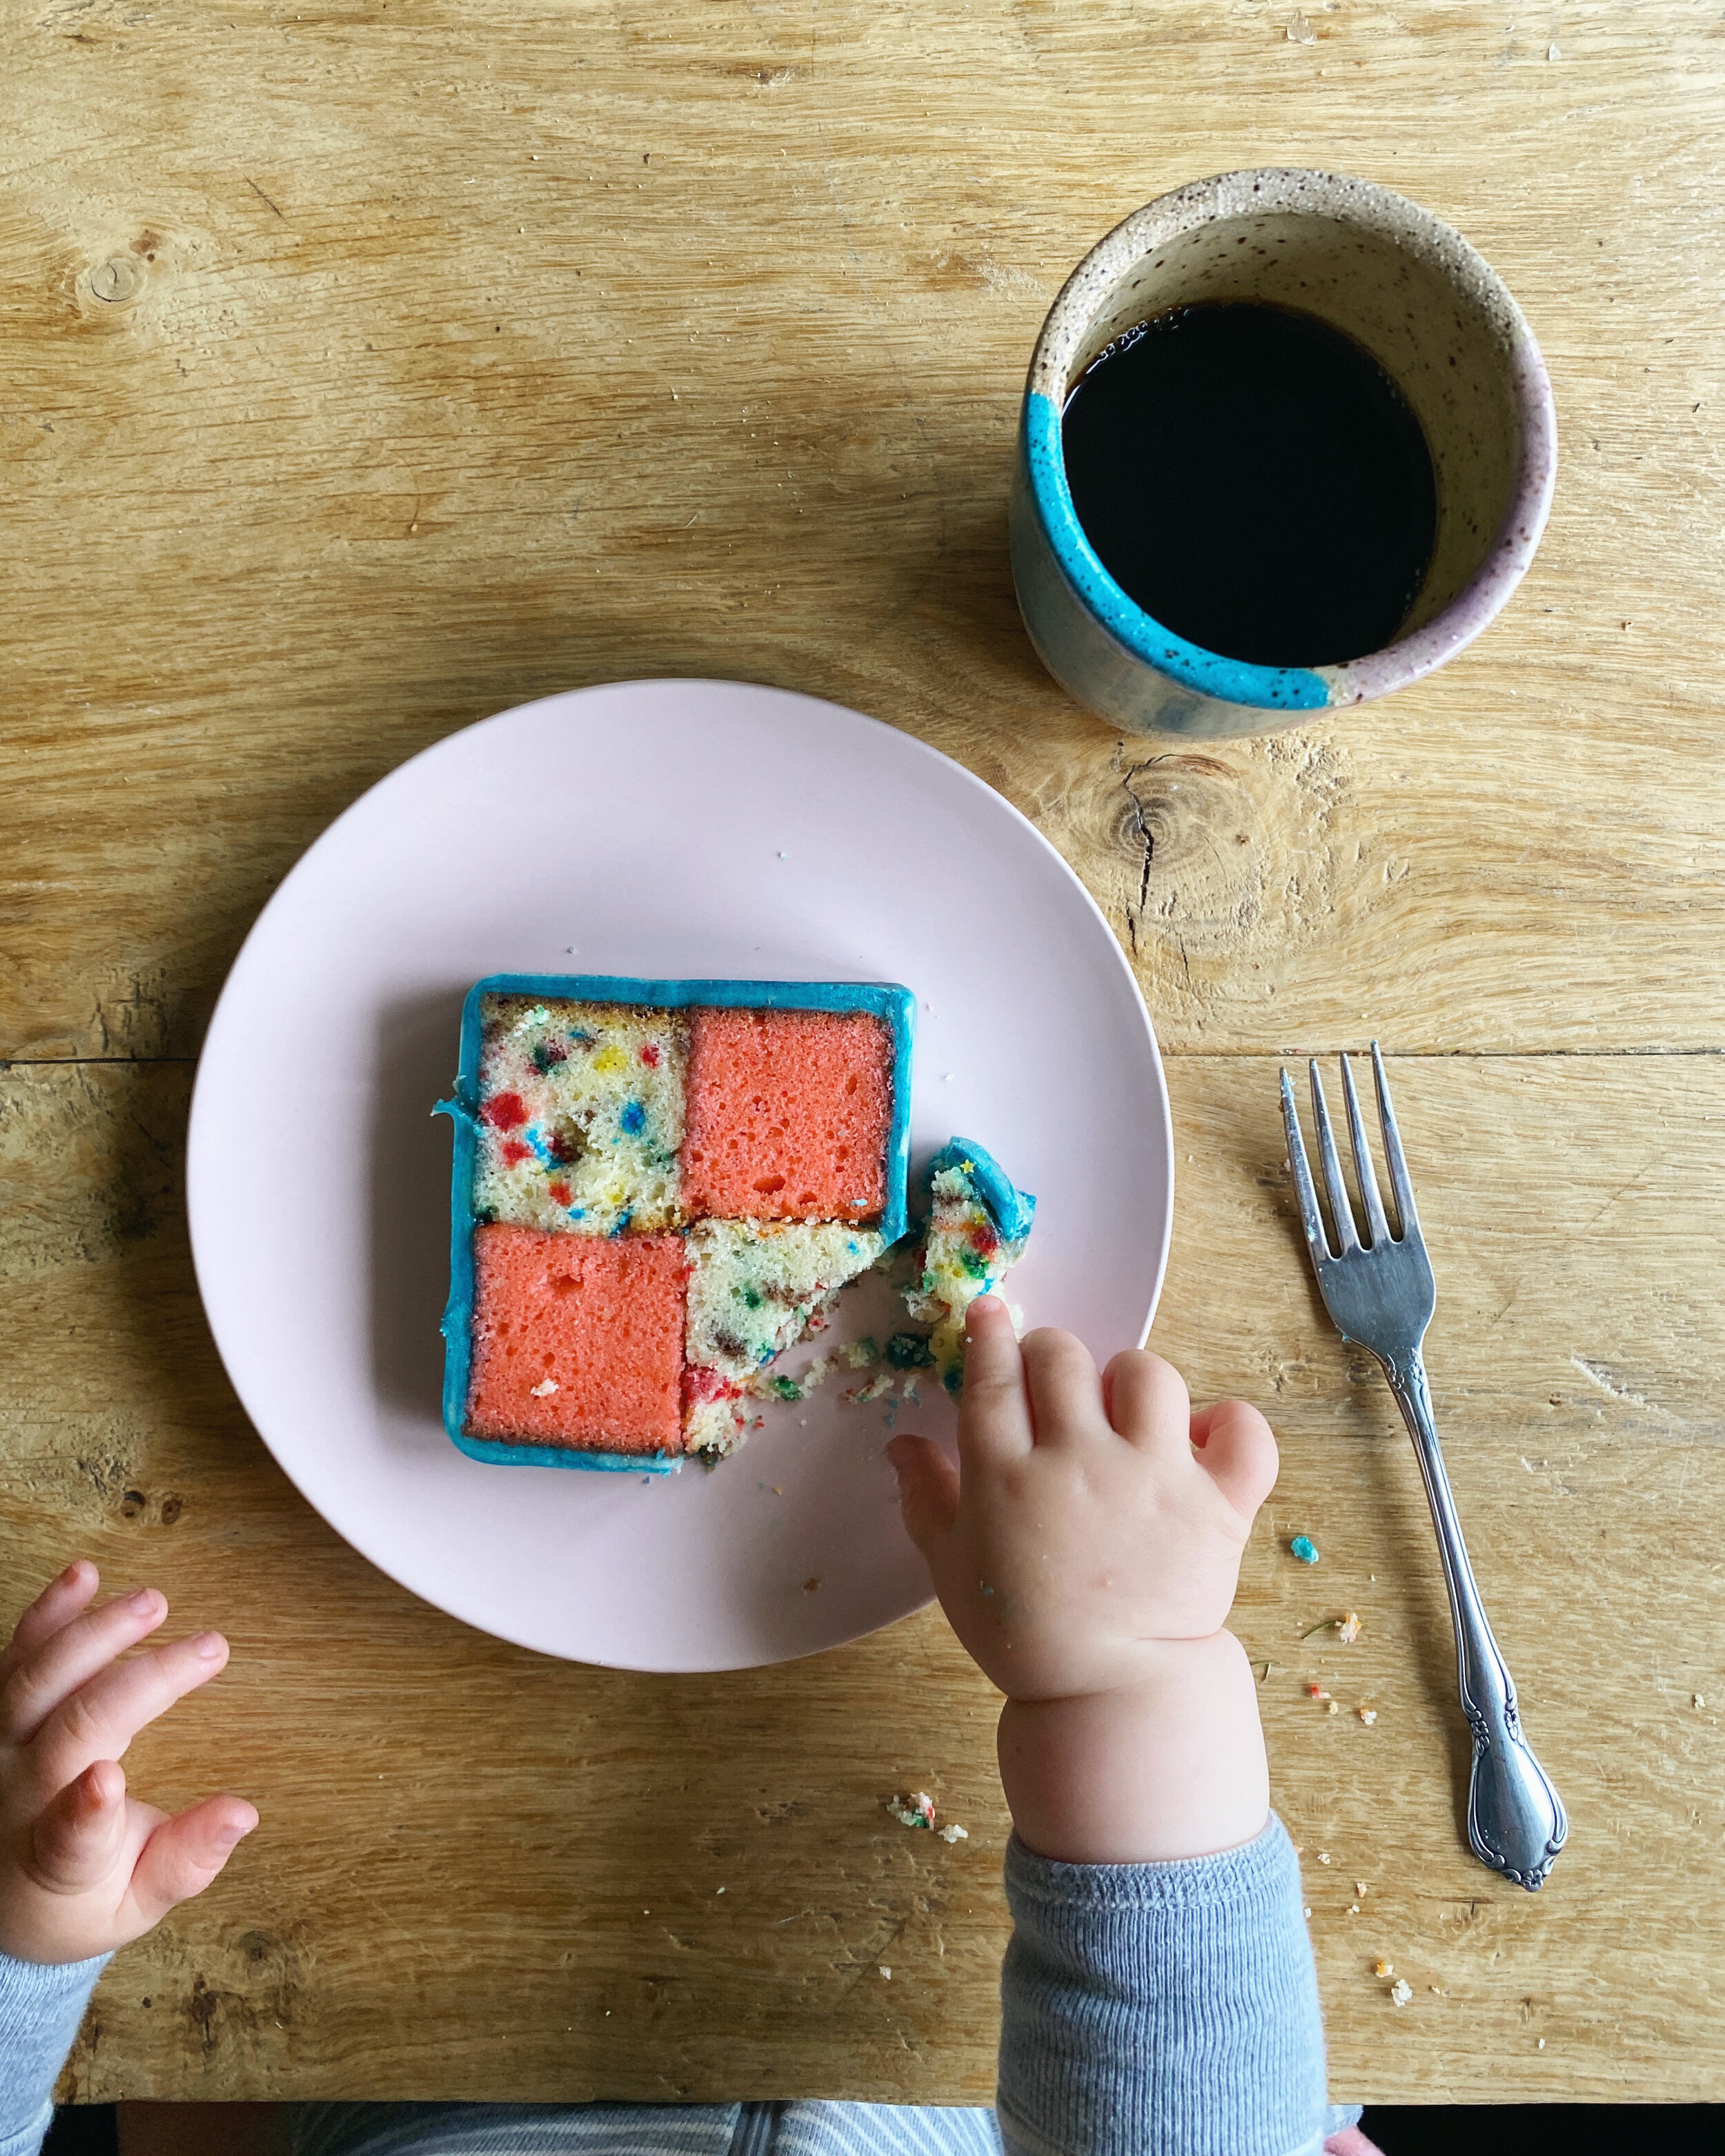
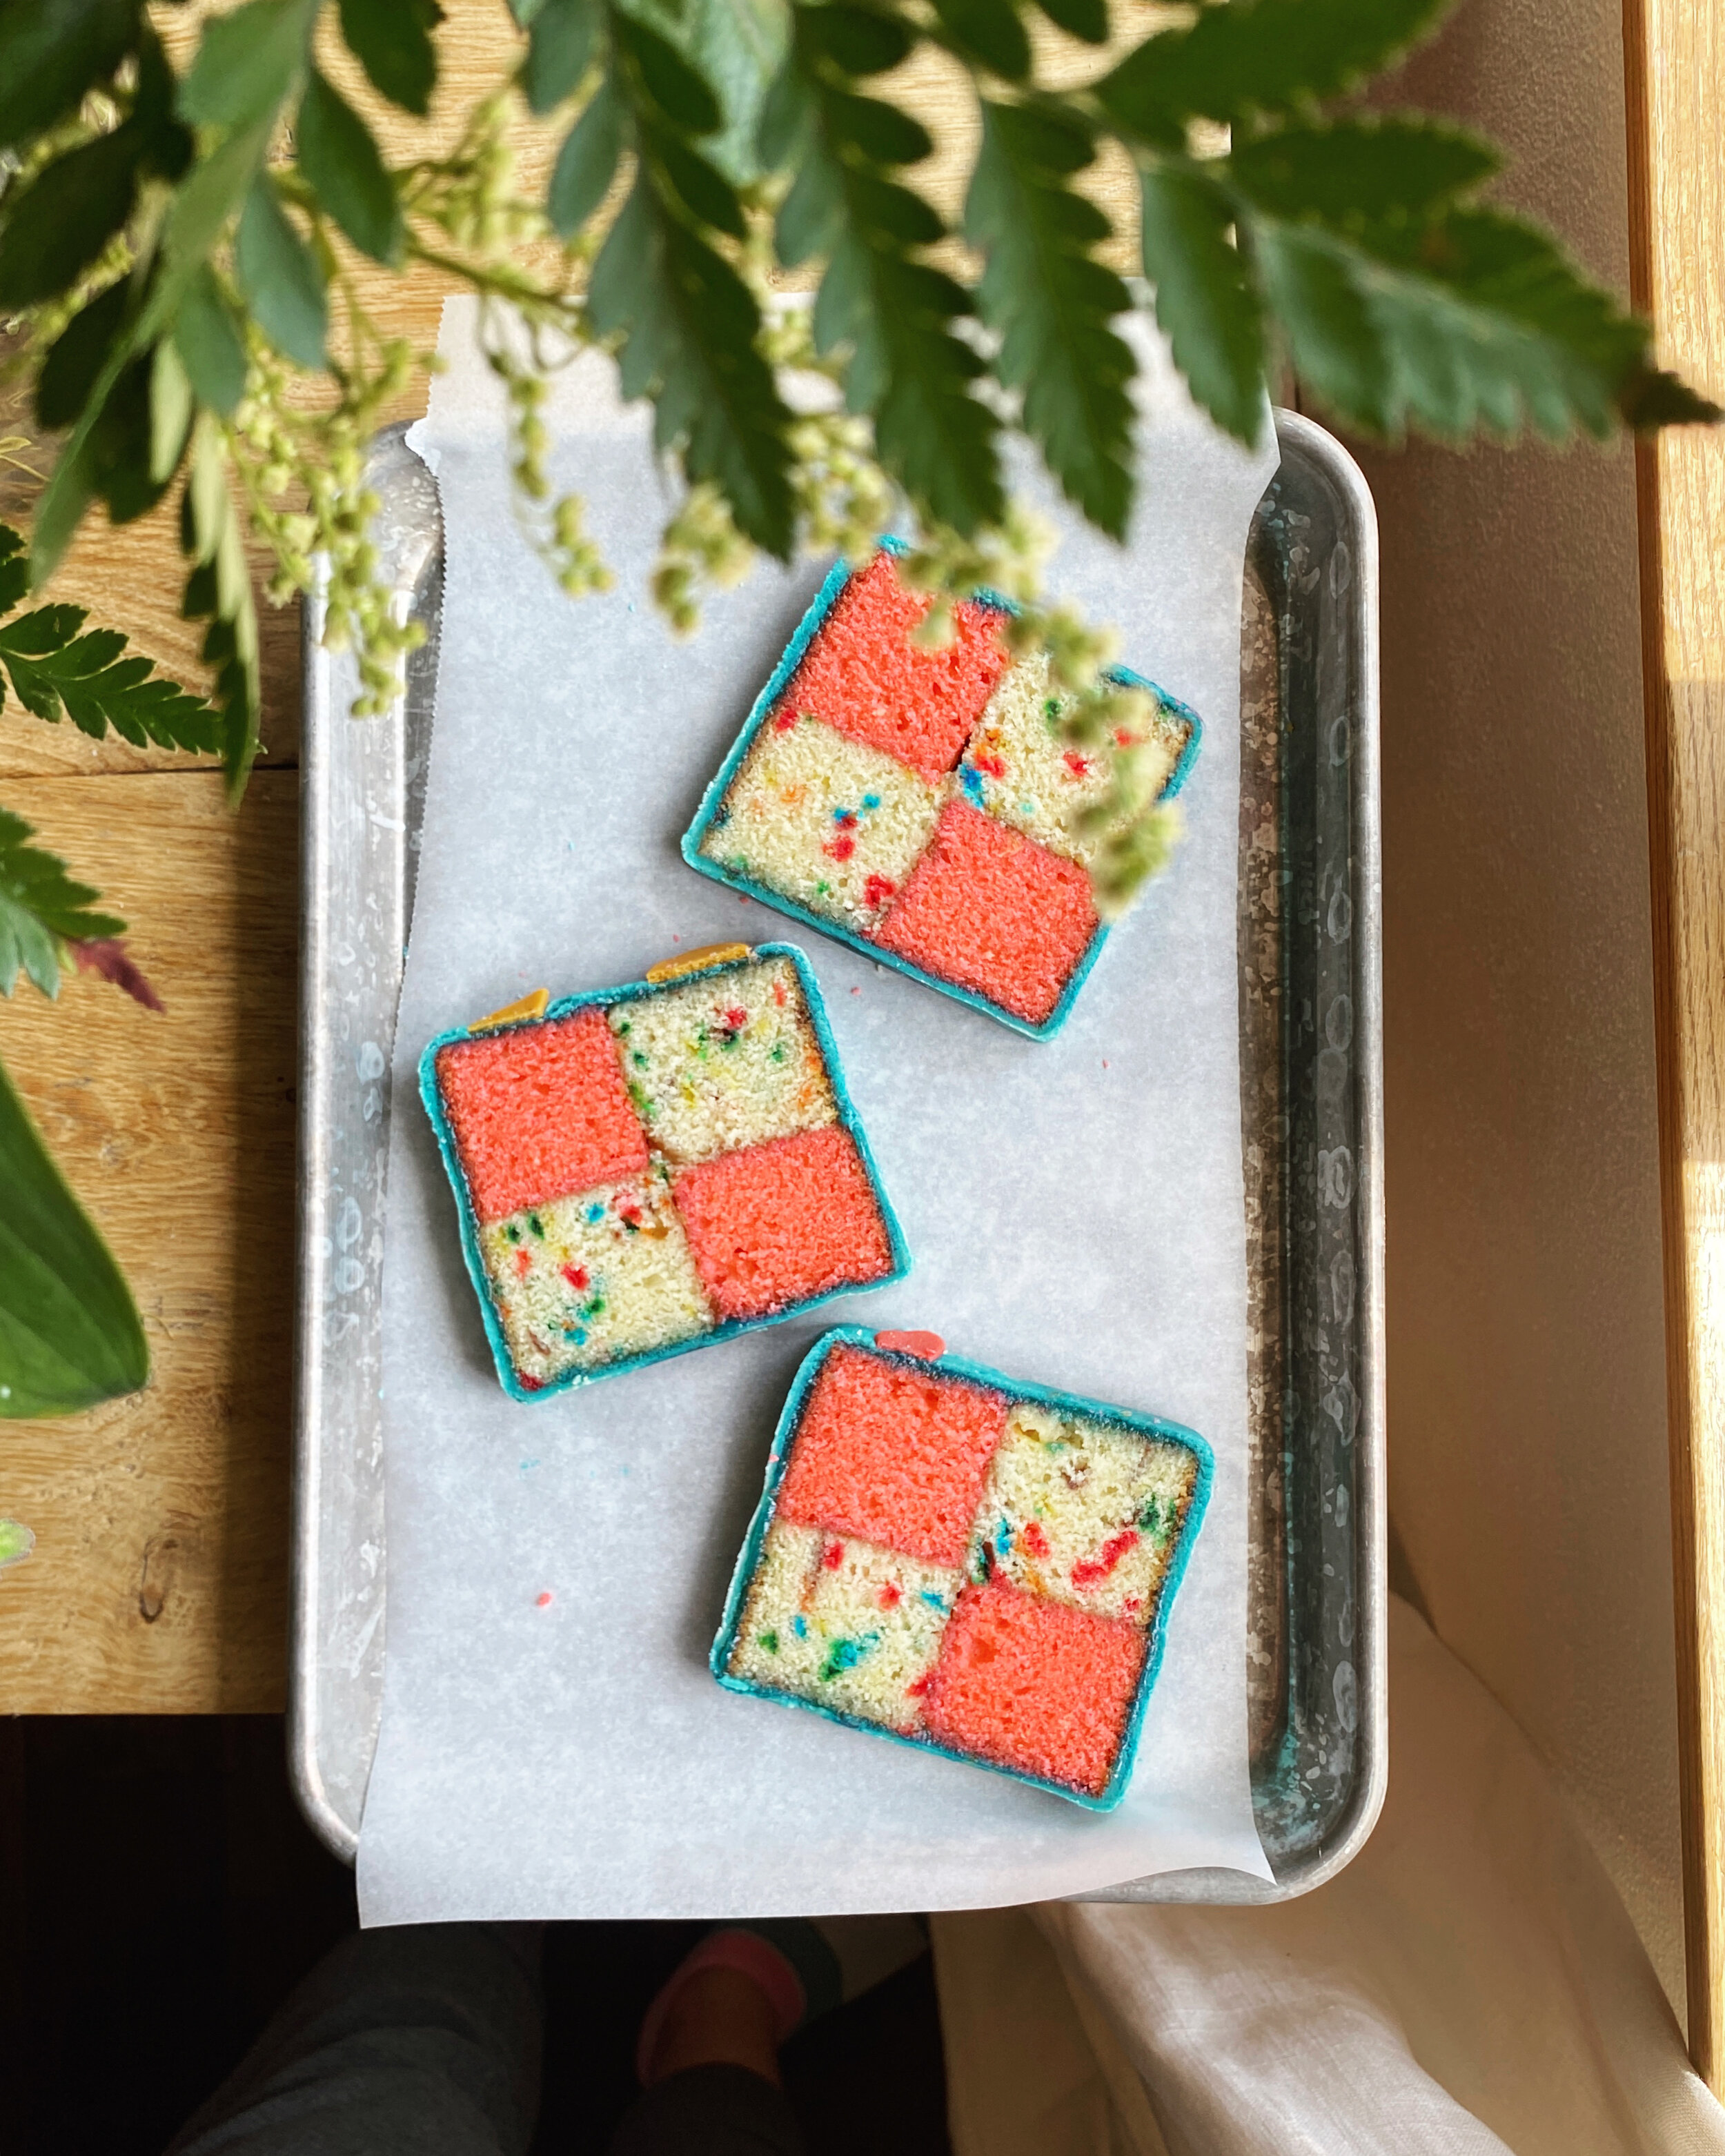
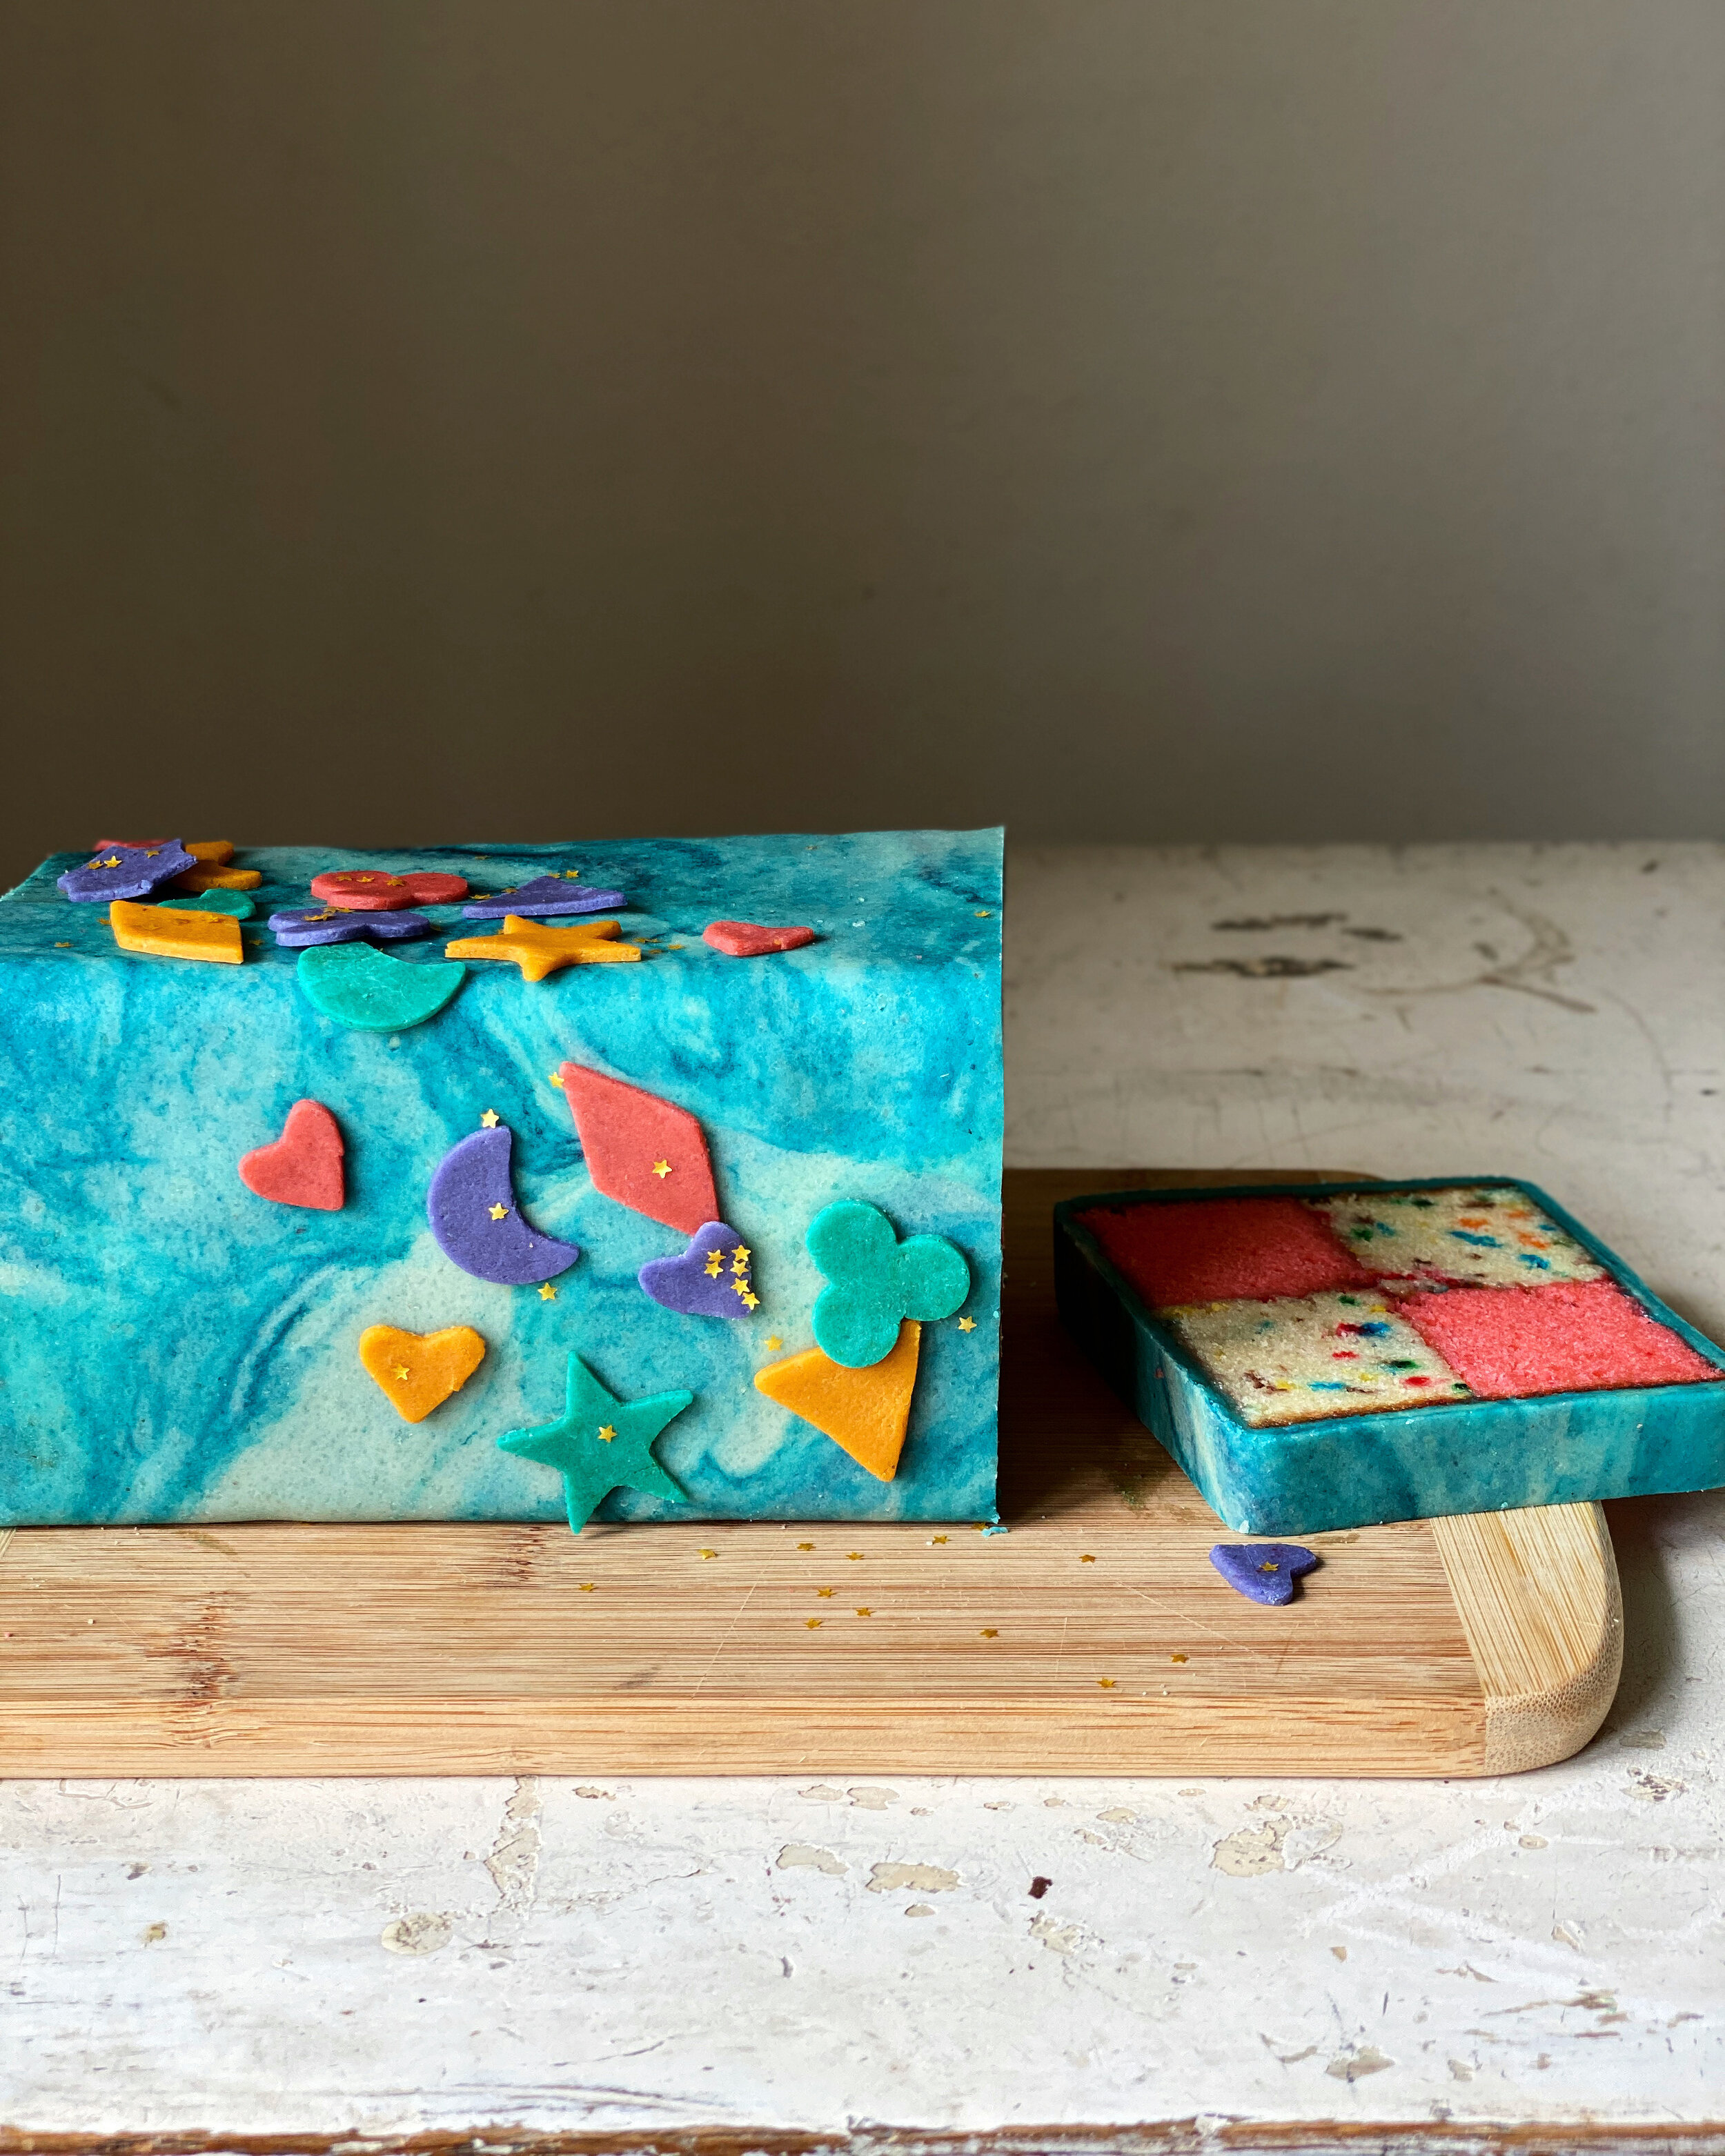
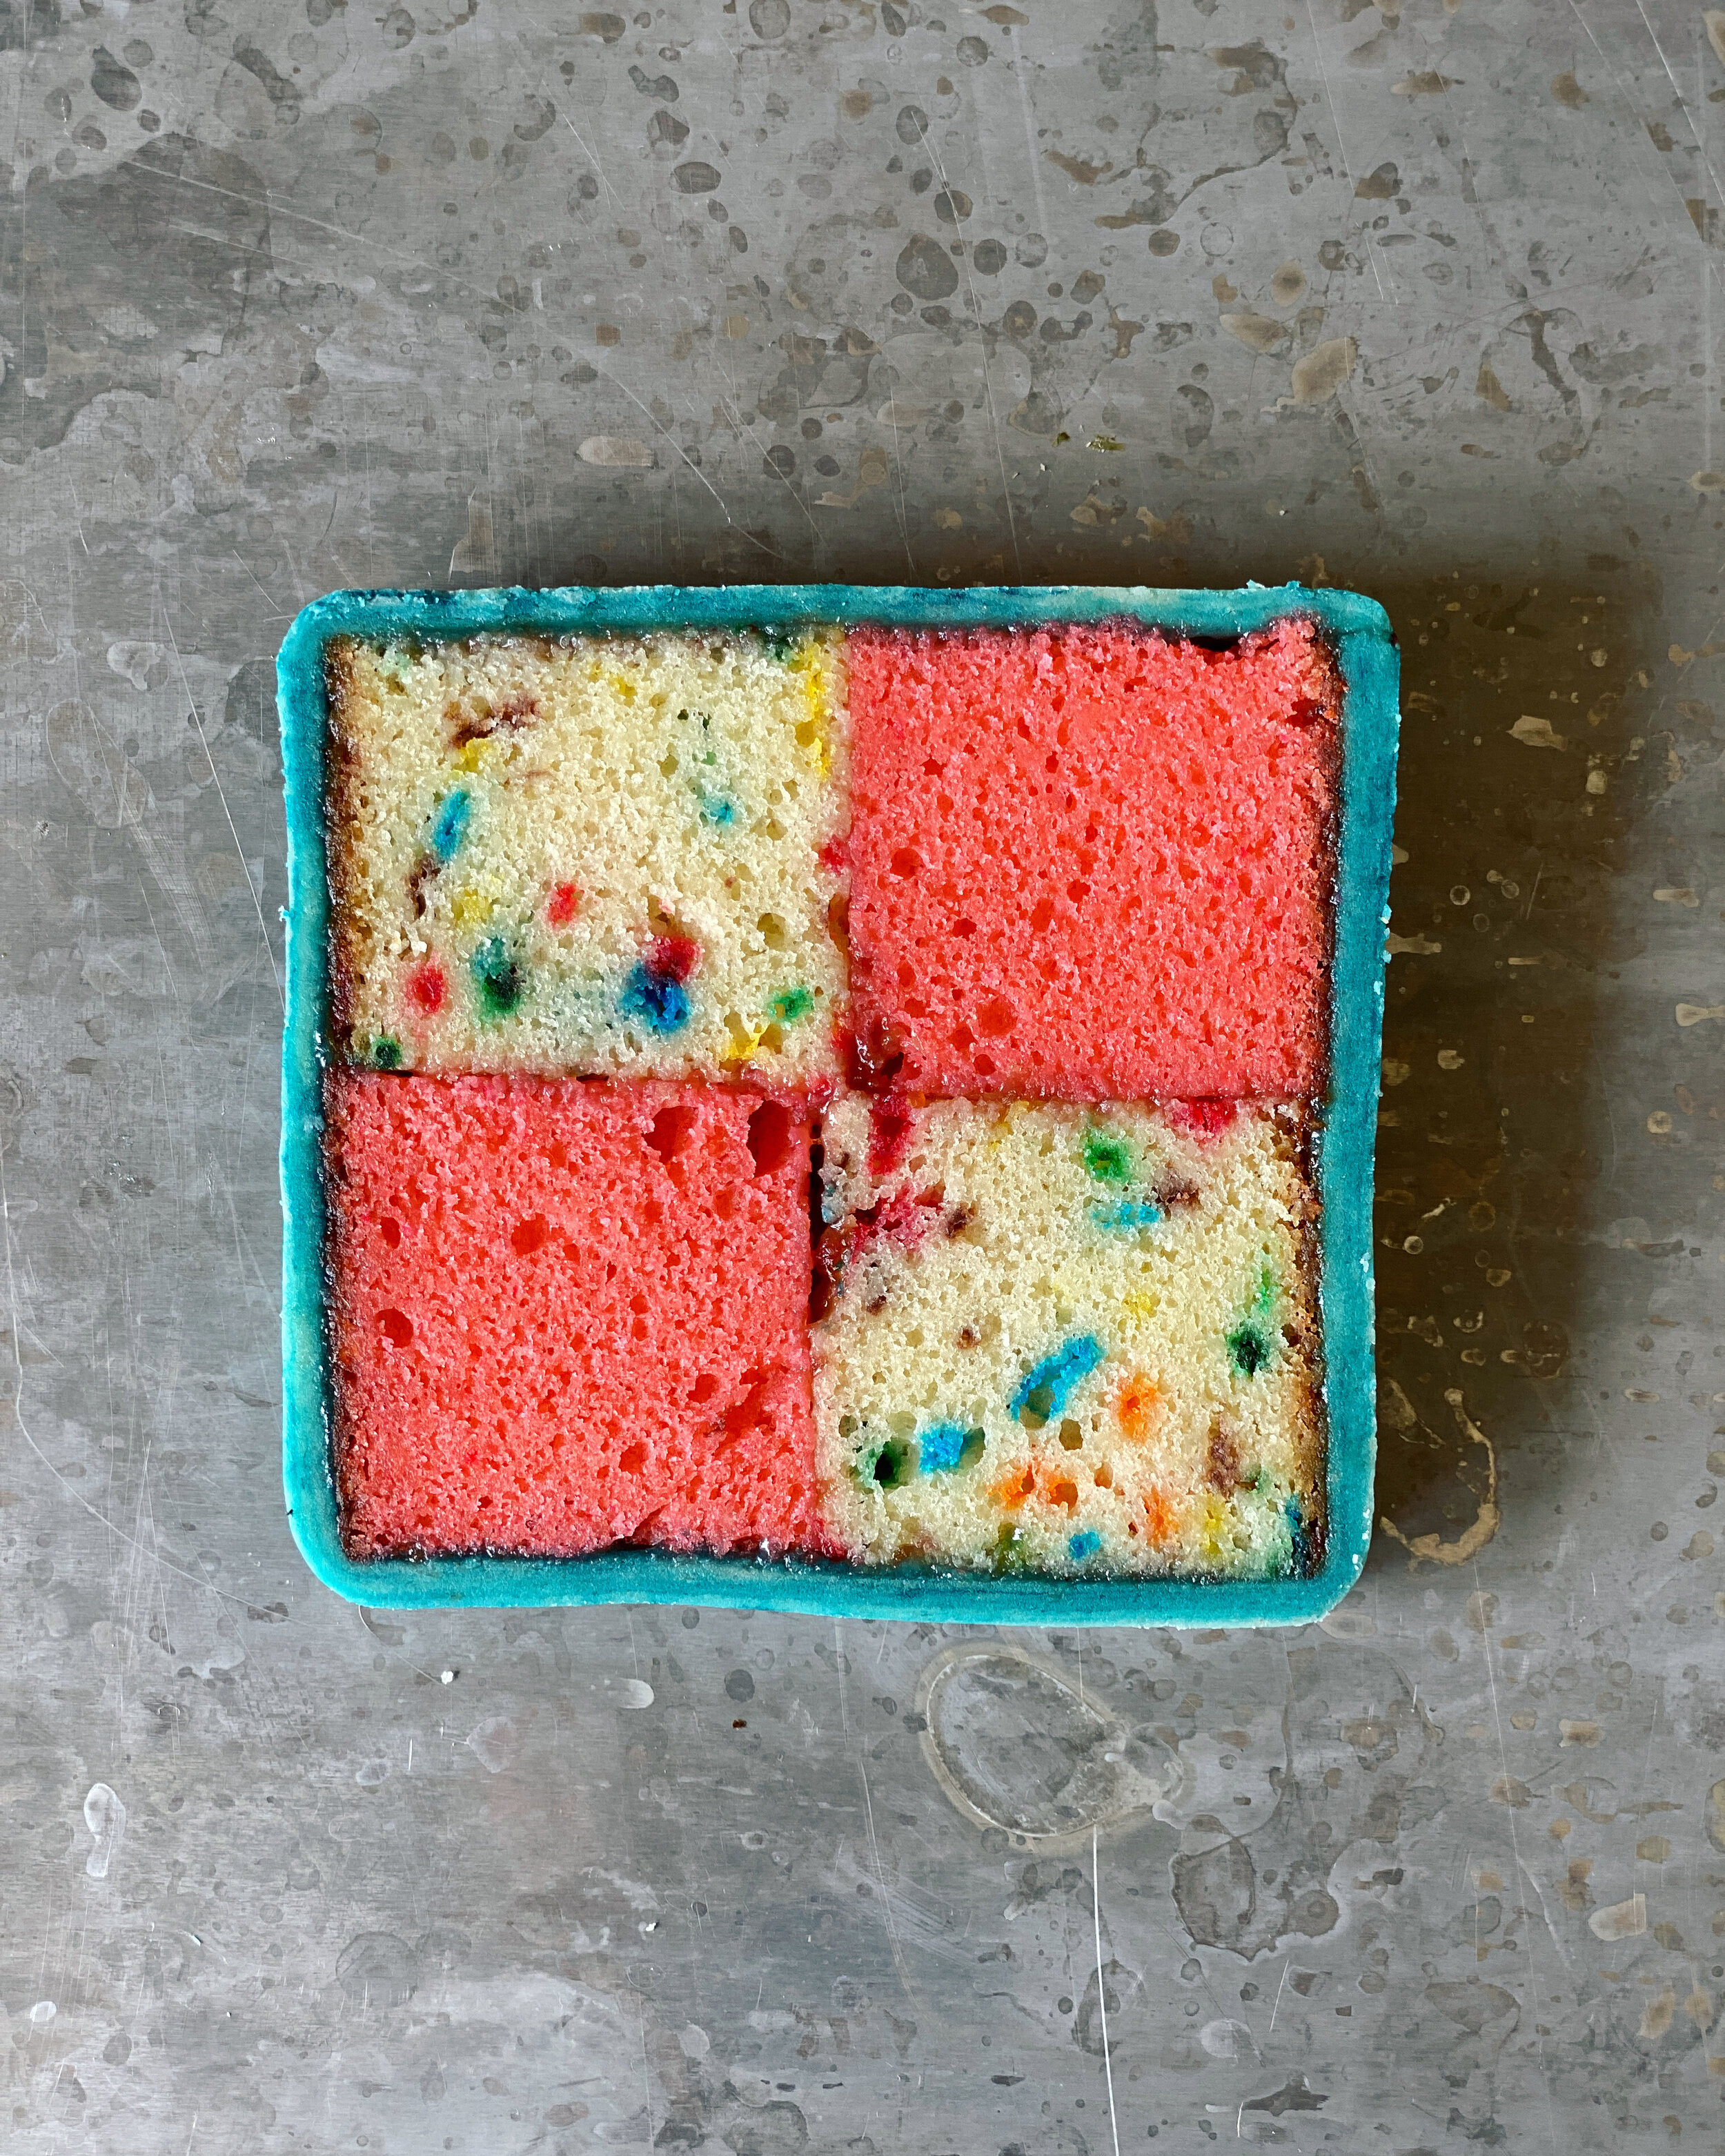
for my birthday cake this year, i decided to make a battenberg cake! 1) because it’s been a long time since the last time i made a battenberg, 2) it's fun, and 3) it's a great cake for a tiny party of three because it's small yet festive. it also lasts for a good few days so you can chip away at it without feeling the rush to gobble it up, and the fact that it has no frosting gives it this sense of snackiness which lends a tiny bit more legitimacy to the urge you'll have when you’re passing through the kitchen and just want to shave off one bite. 

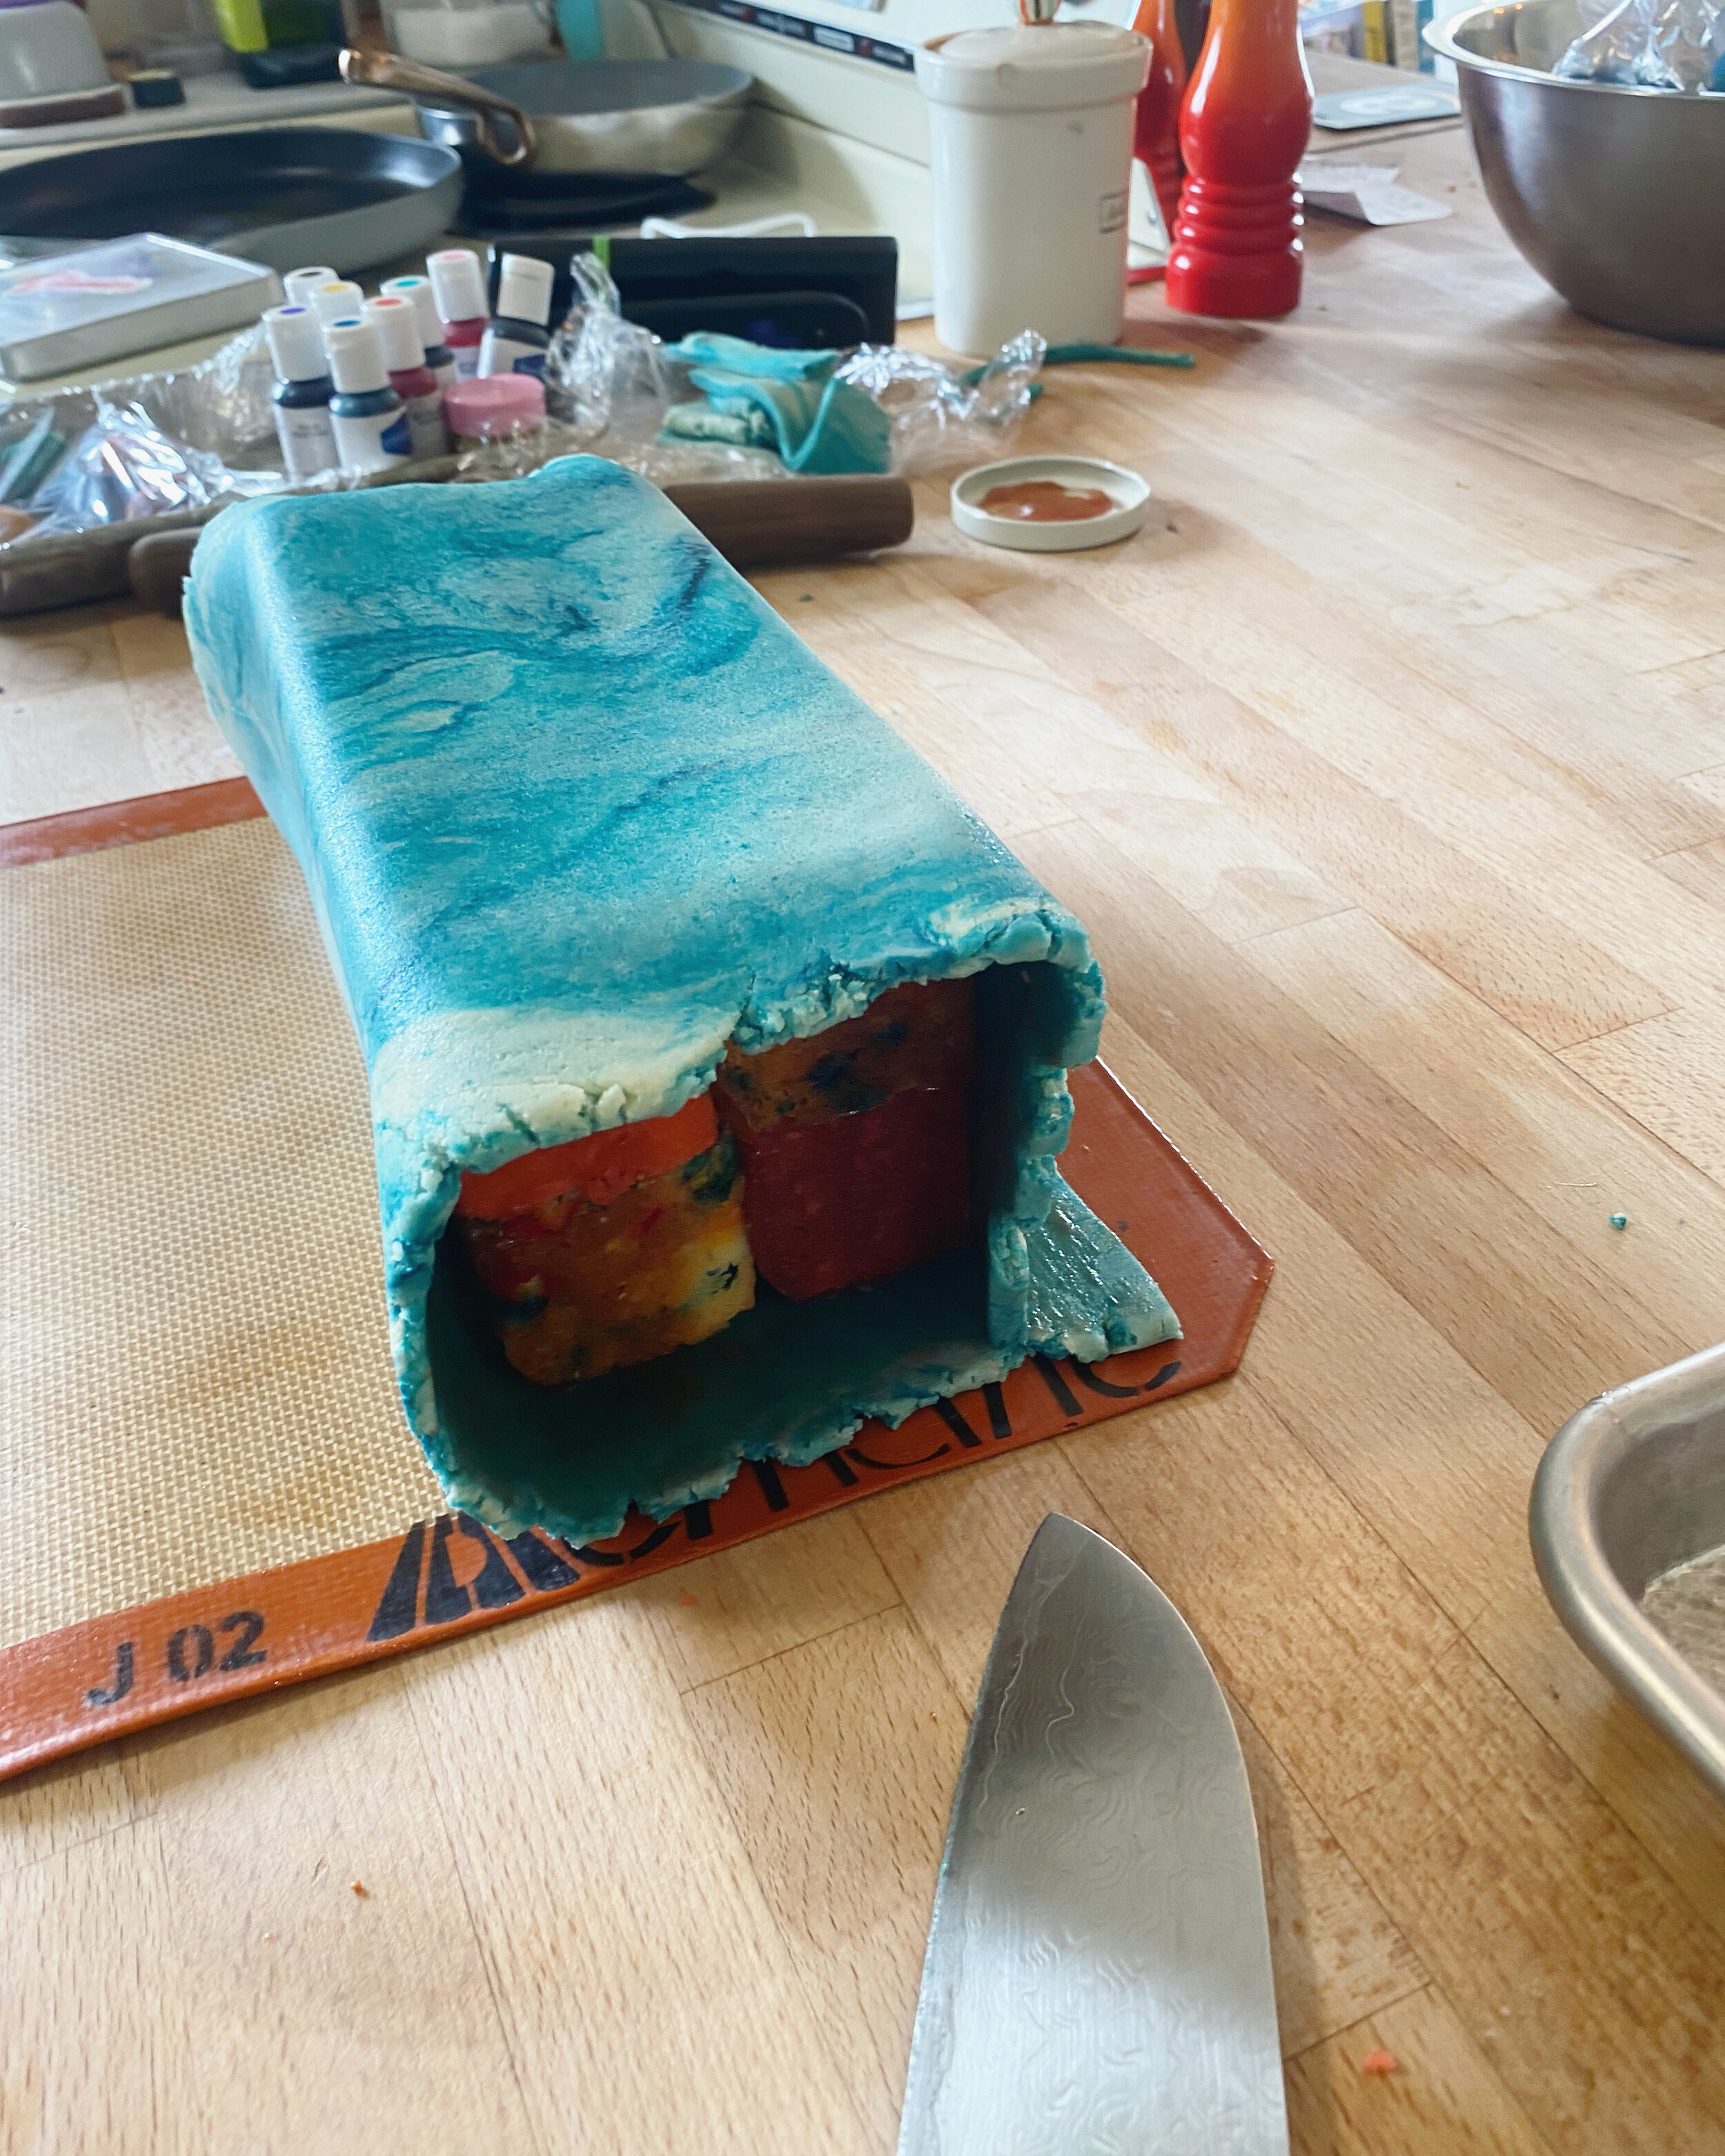
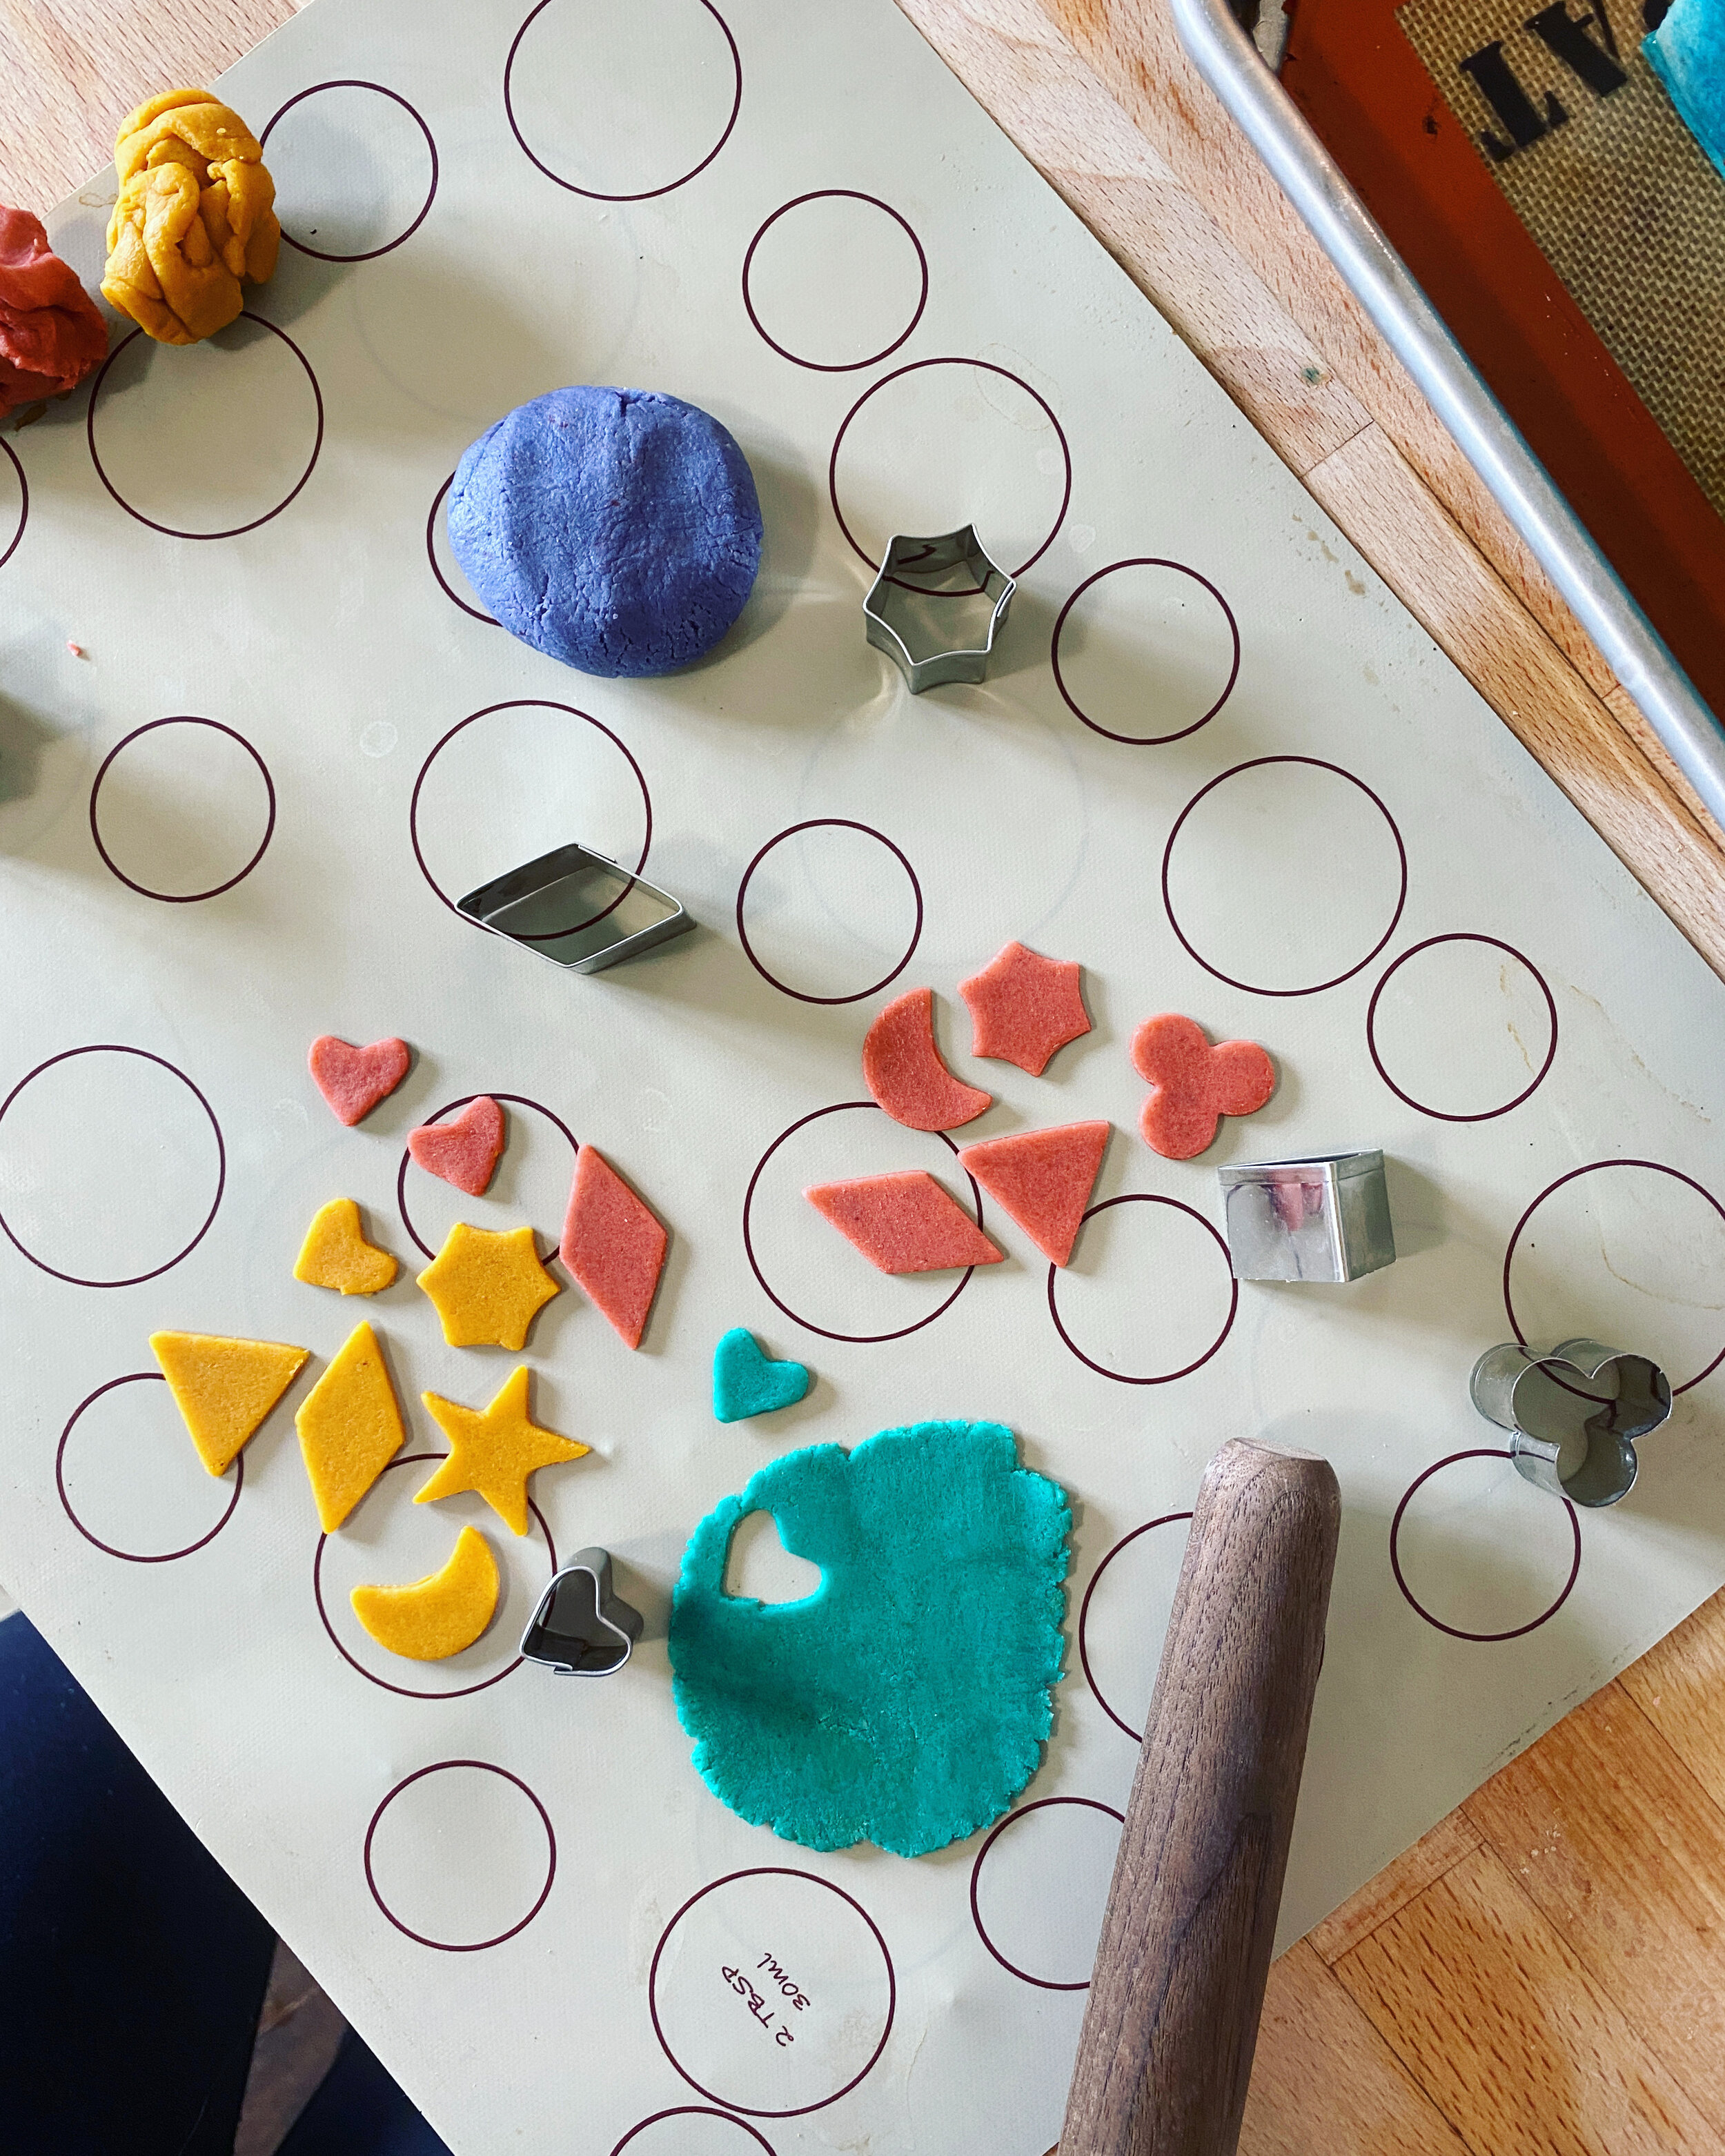
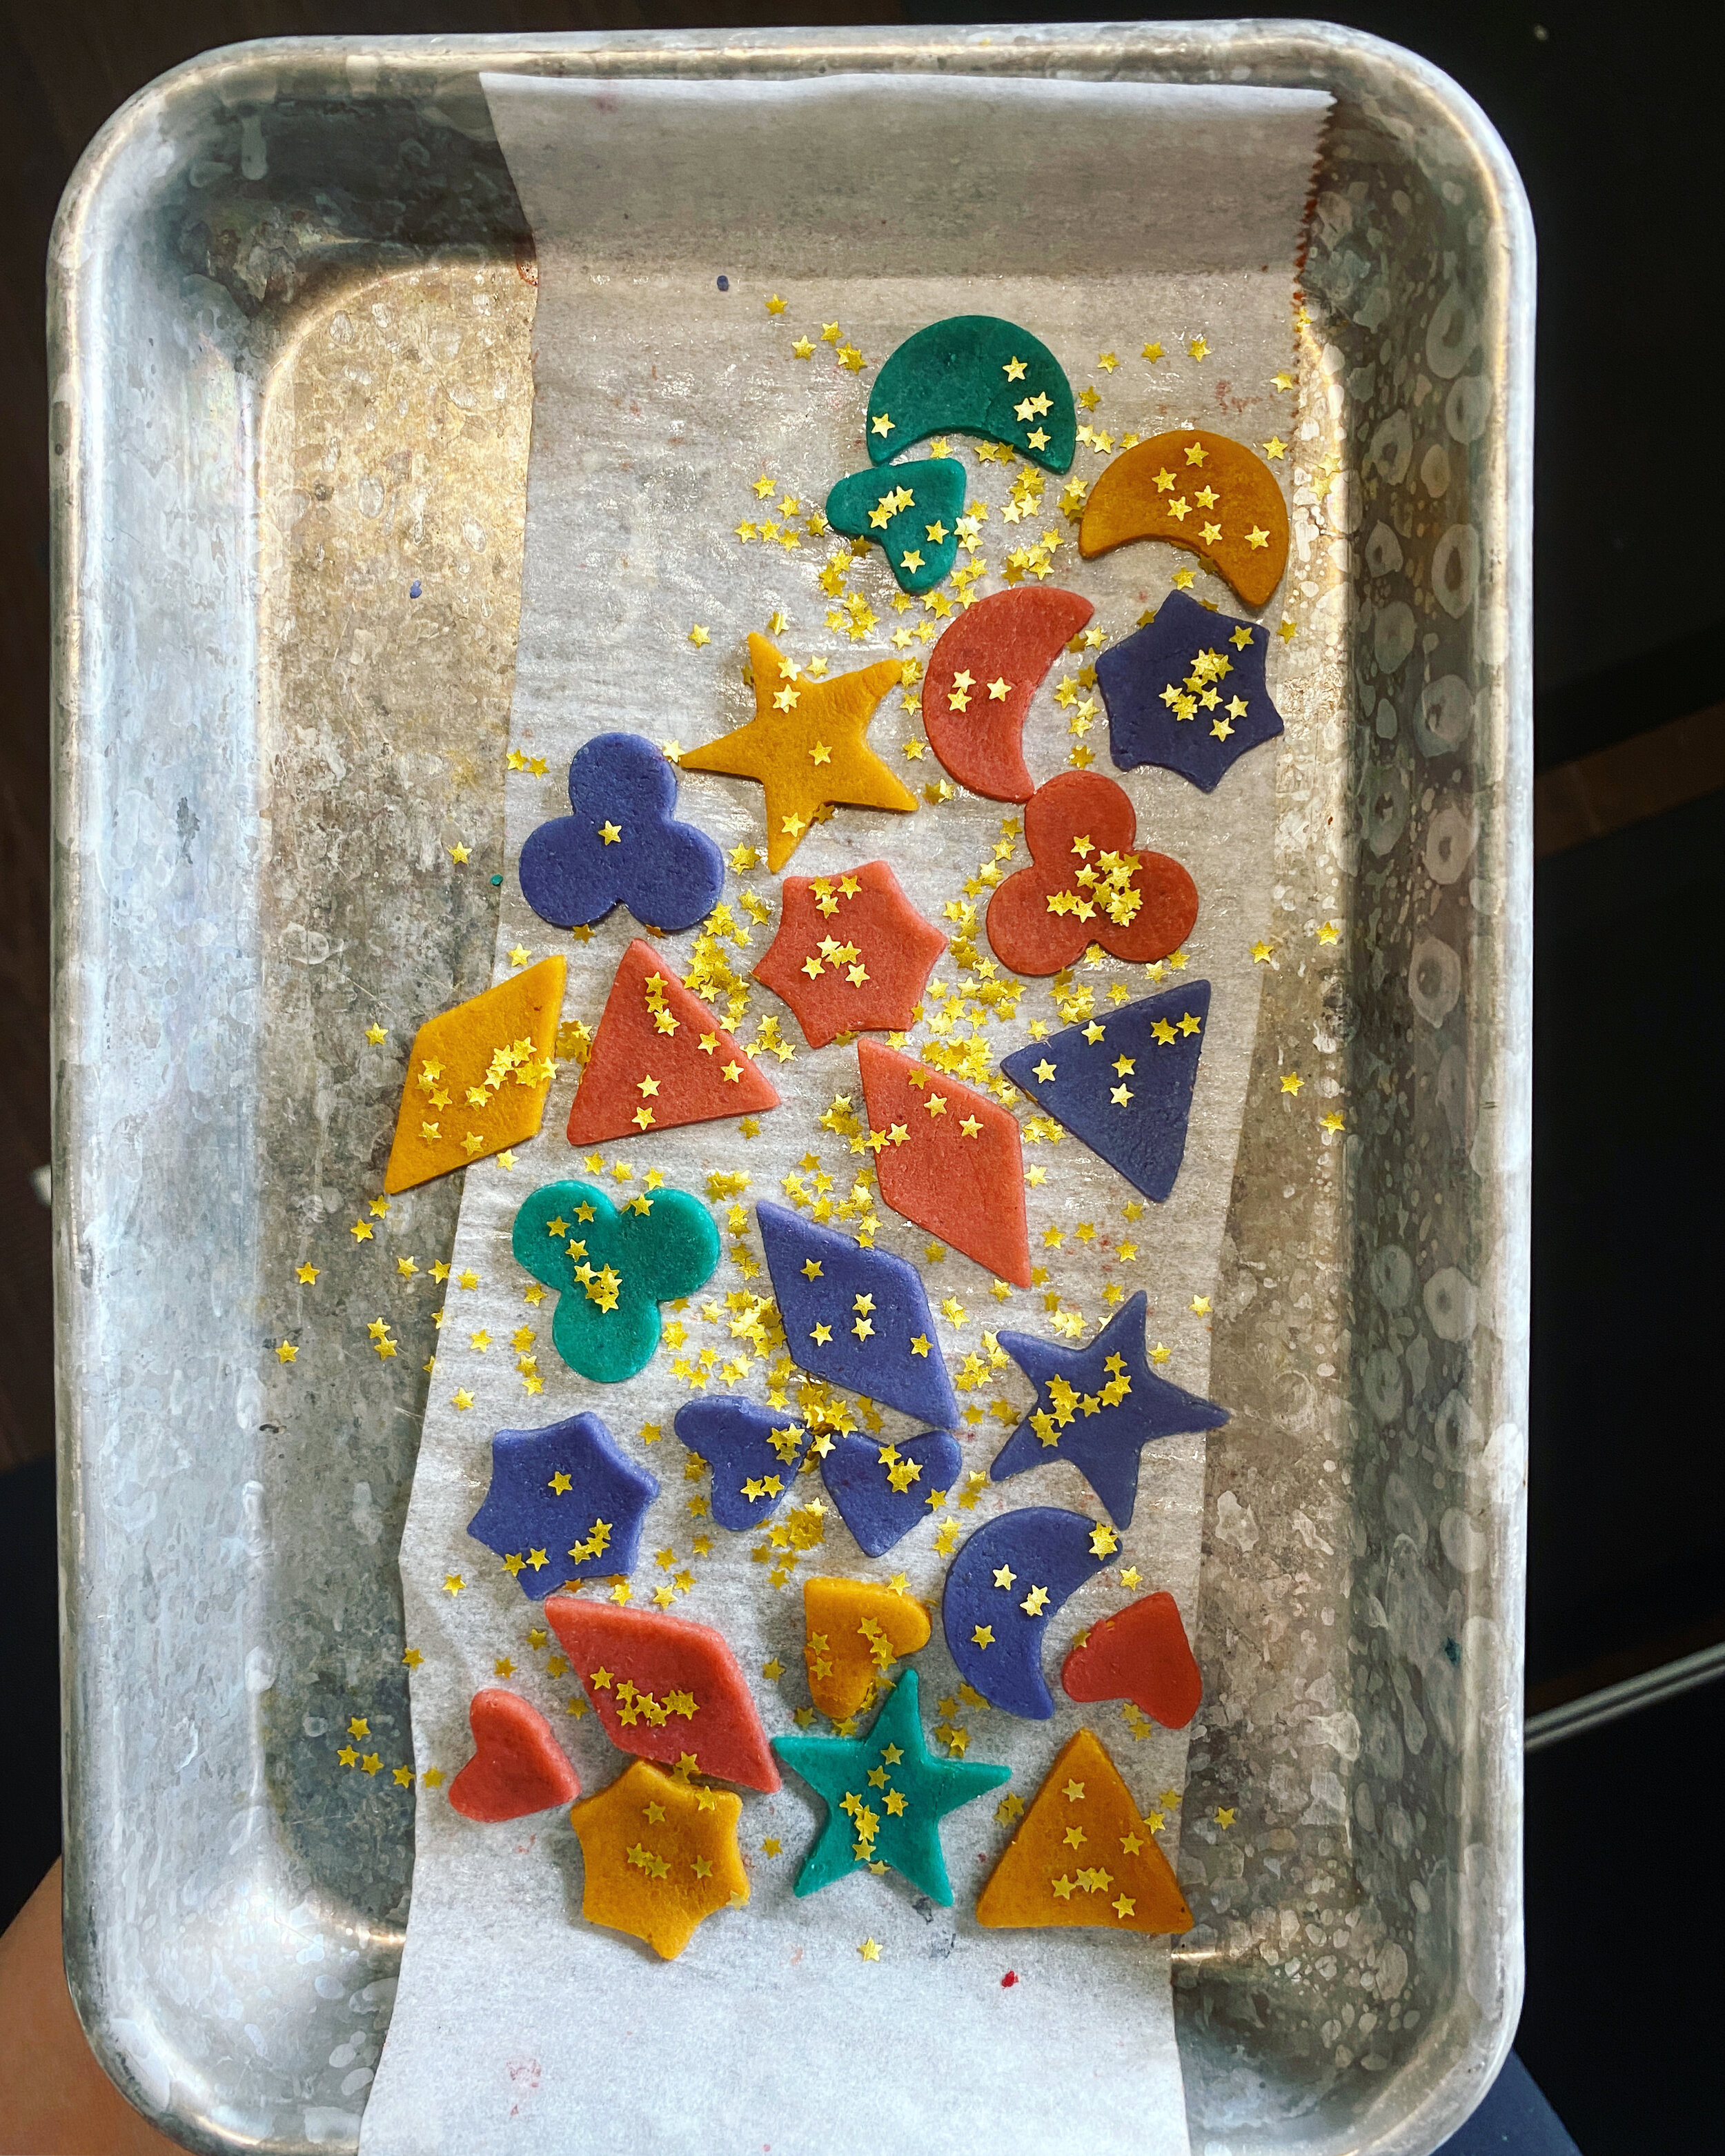
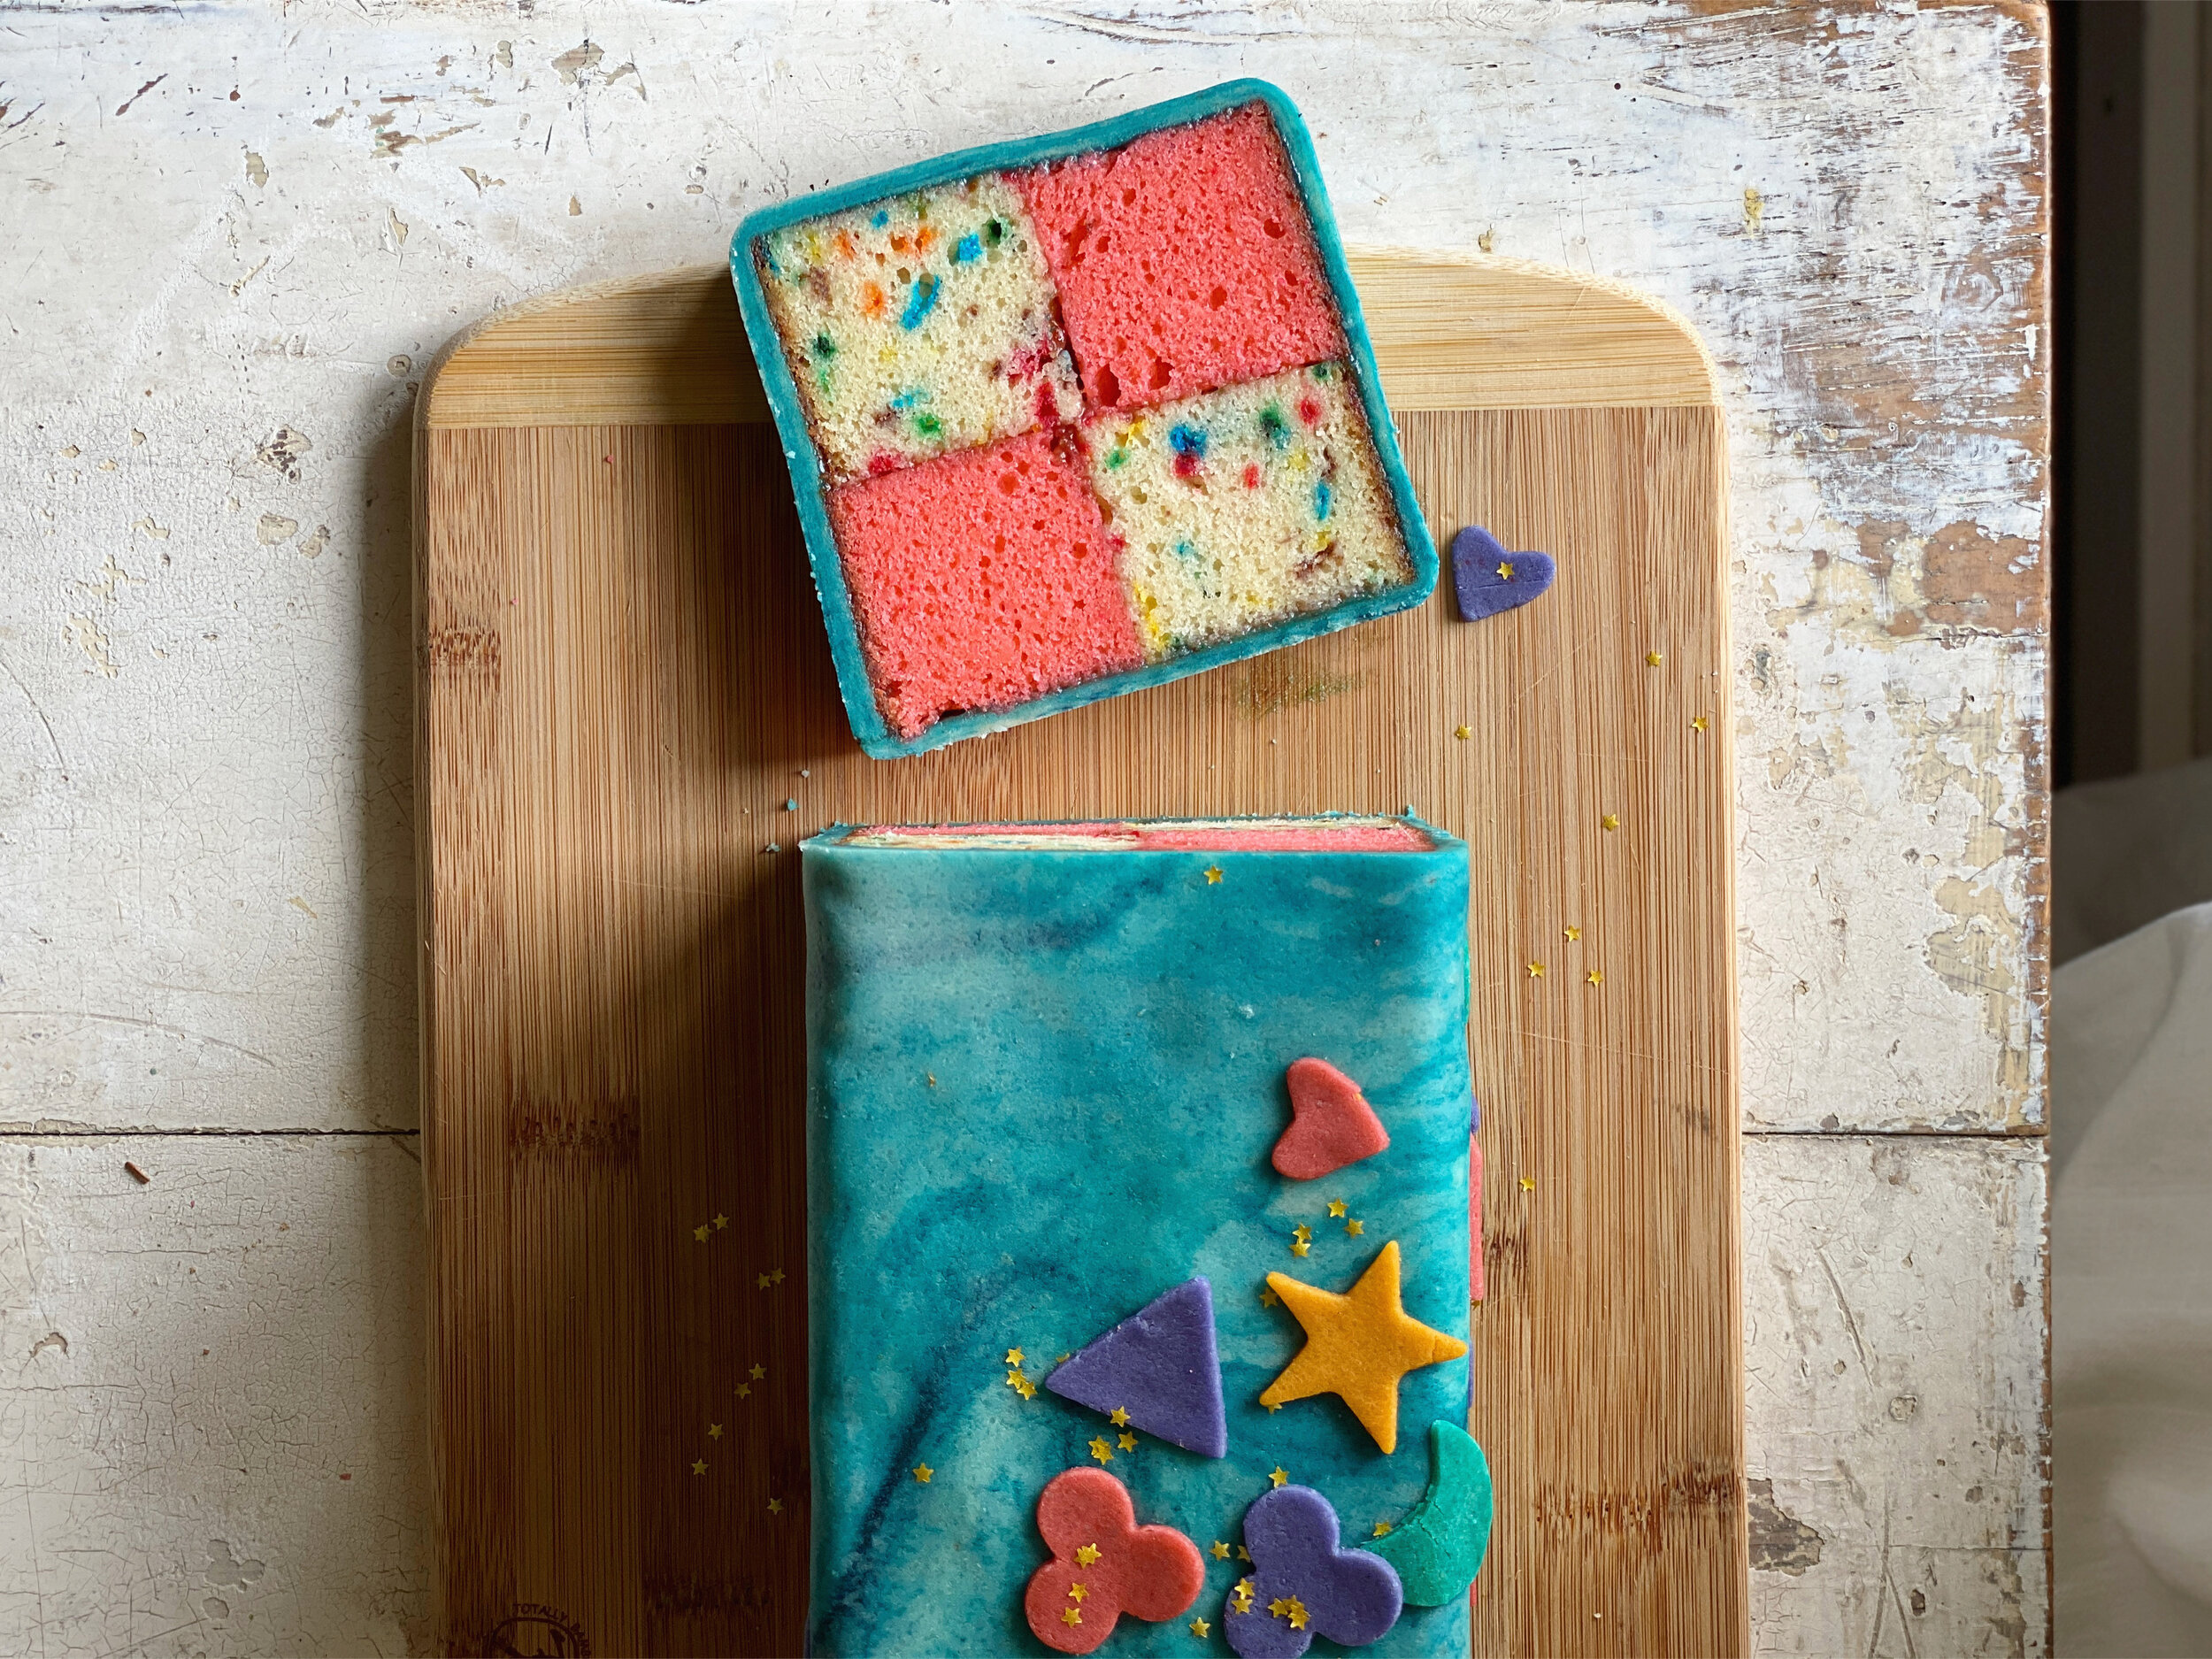
the cake itself is dense and delicious, with a hint of rose. as with most of my butter-based cakes, i added a little coconut oil to ensure that this cake has no choice but to be moist. you can use unrefined to add some coconut flavor, but i chose to go with refined so that it wouldn't interfere with the power couple of marzipan and rose. for the jam, i used an amazing strawberry rhubarb kumquat situation that my aunt gifted me from sqirl. design wise, my laziness to fully knead the food coloring into the marzipan made it look like my tie dye sweats that i wear every day so i just went with it! then i cut out marzipan "stickers" using tiny cookie cutters and smooshed them right on. 

my biggest battenberg tips are: roll the marzipan out on a silicone mat! you don’t get the scrunchy lines in it like you would if it was on parchment and you don't get it messy with powdered sugar (which is fine for the interior surface of the marzipan but on the outside it’s not a great look). also, let the cakes cool completely before trimming them so you can get the cleanest edges, and use a very sharp knife (i’ve been loving this knife for this). once the cakes are trimmed, you can definitely stick them in the freezer, wrapped in plastic, for up to a few weeks until you're ready to decorate (or up to a few months if you also wrap in foil). once you decorate, let the cake come to room temp before serving!

happy battenberg-ing, everyone!


Birthday Battenberg

Makes 1 loaf cake

Ingredients

Cake:

2 2/3 c (347g) all-purpose flour

2 1/4 tsp baking powder

1 tsp kosher salt

1 c (240g) heavy cream

1/4 c (60g) sour cream

3/4 c (169g) unsalted butter, softened

6 tb (75g) refined coconut oil

1 1/2 c (300g) sugar

3 large eggs

2 tsp vanilla extract

2 tsp rosewater

3 tb (36g) rainbow sprinkles (classic cylinders are ideal, not nonpareils)

Pink food coloring


Assembly:

14 oz marzipan, plus more for decorations as desired

Food coloring

Powdered sugar, for dusting

6 tb (120g) jam

Clues:

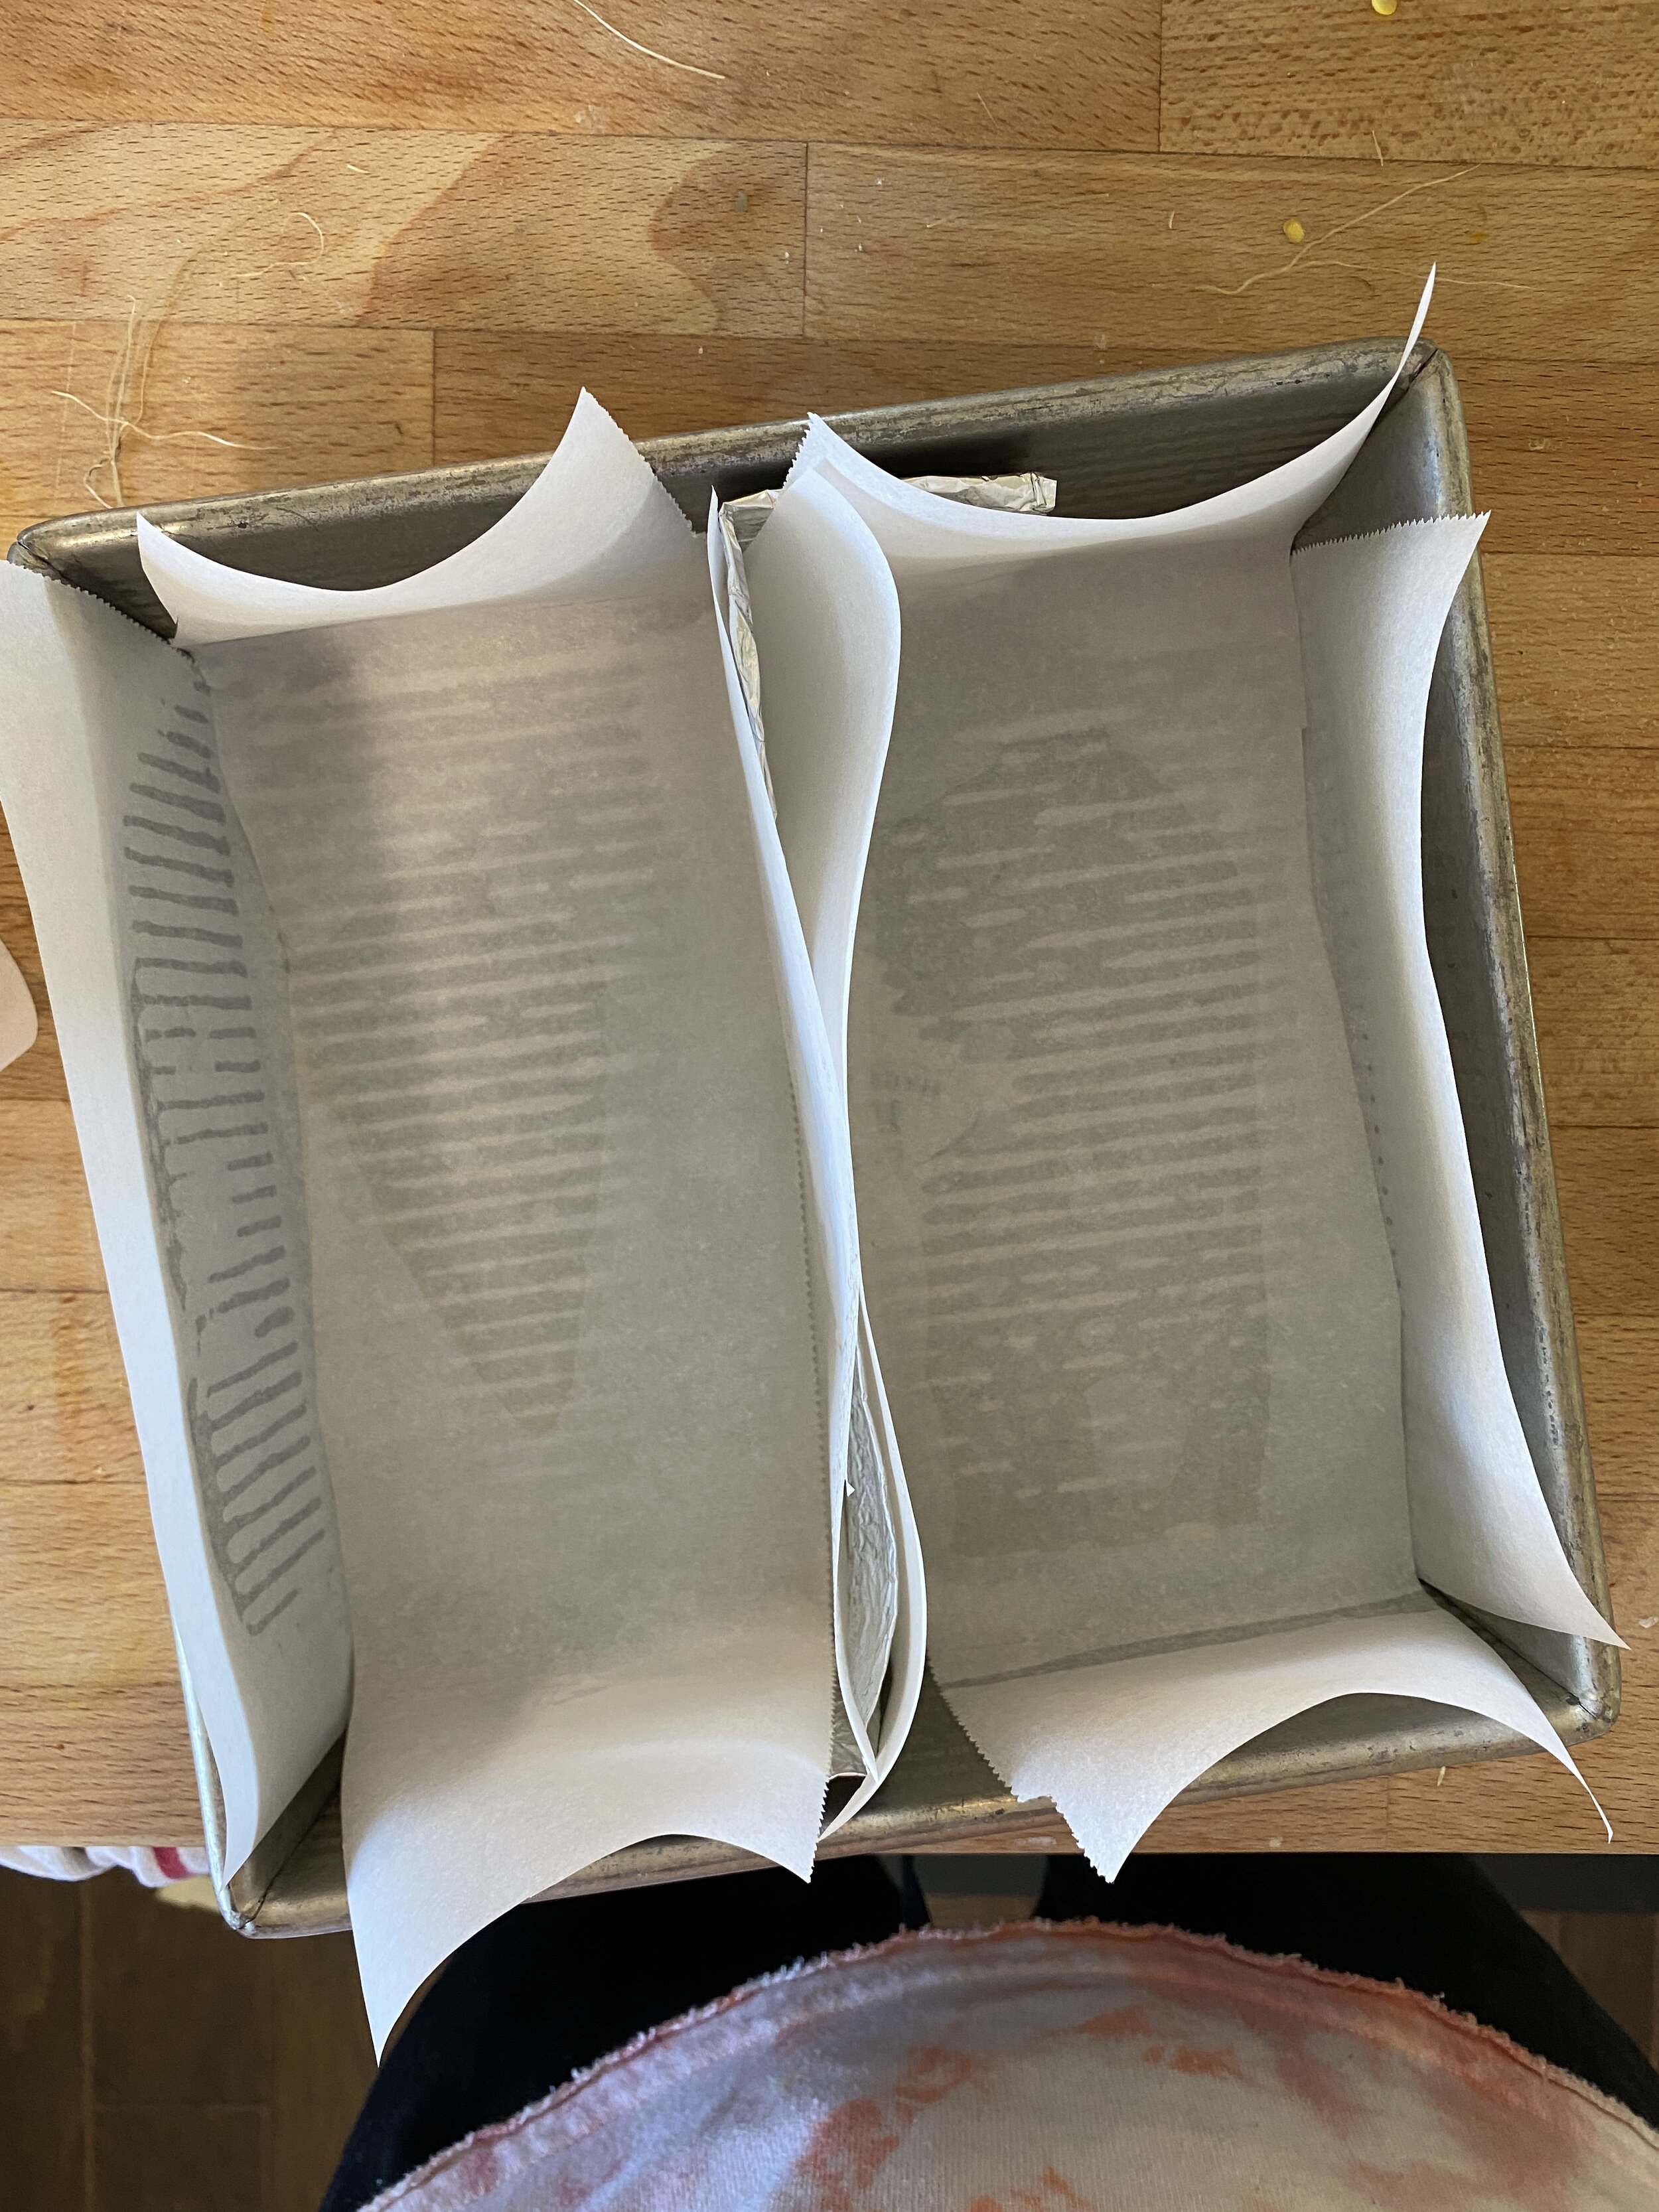
preheat the oven to 350ºf. turn an 8” square baking pan into a battenberg pan: first, fold a long piece of foil onto itself a couple of times to a create a foil barrier to divide your pan in half, making sure that the barrier is at least the height of the pan or even a little more. then spray the pan and each side of the foil with cooking spray (to help the parchment stick) and line each half of the pan with two overlapping pieces of parchment paper, one going widthwise and one going lengthwise, with enough parchment paper to come all the way up the sides and then some. get your scissors out and trim the parchment so that it lays nicely and doesn’t curl around the corners and make you go crazy. sorry, i know this is a lot of parchment paper (i reuse parchment all the time!). ok, set this aside.

in a medium bowl, sift together the flour and baking powder, and then lightly stir in the salt and set aside. in a large measuring cup, whisk together the heavy cream and sour cream and set aside. 

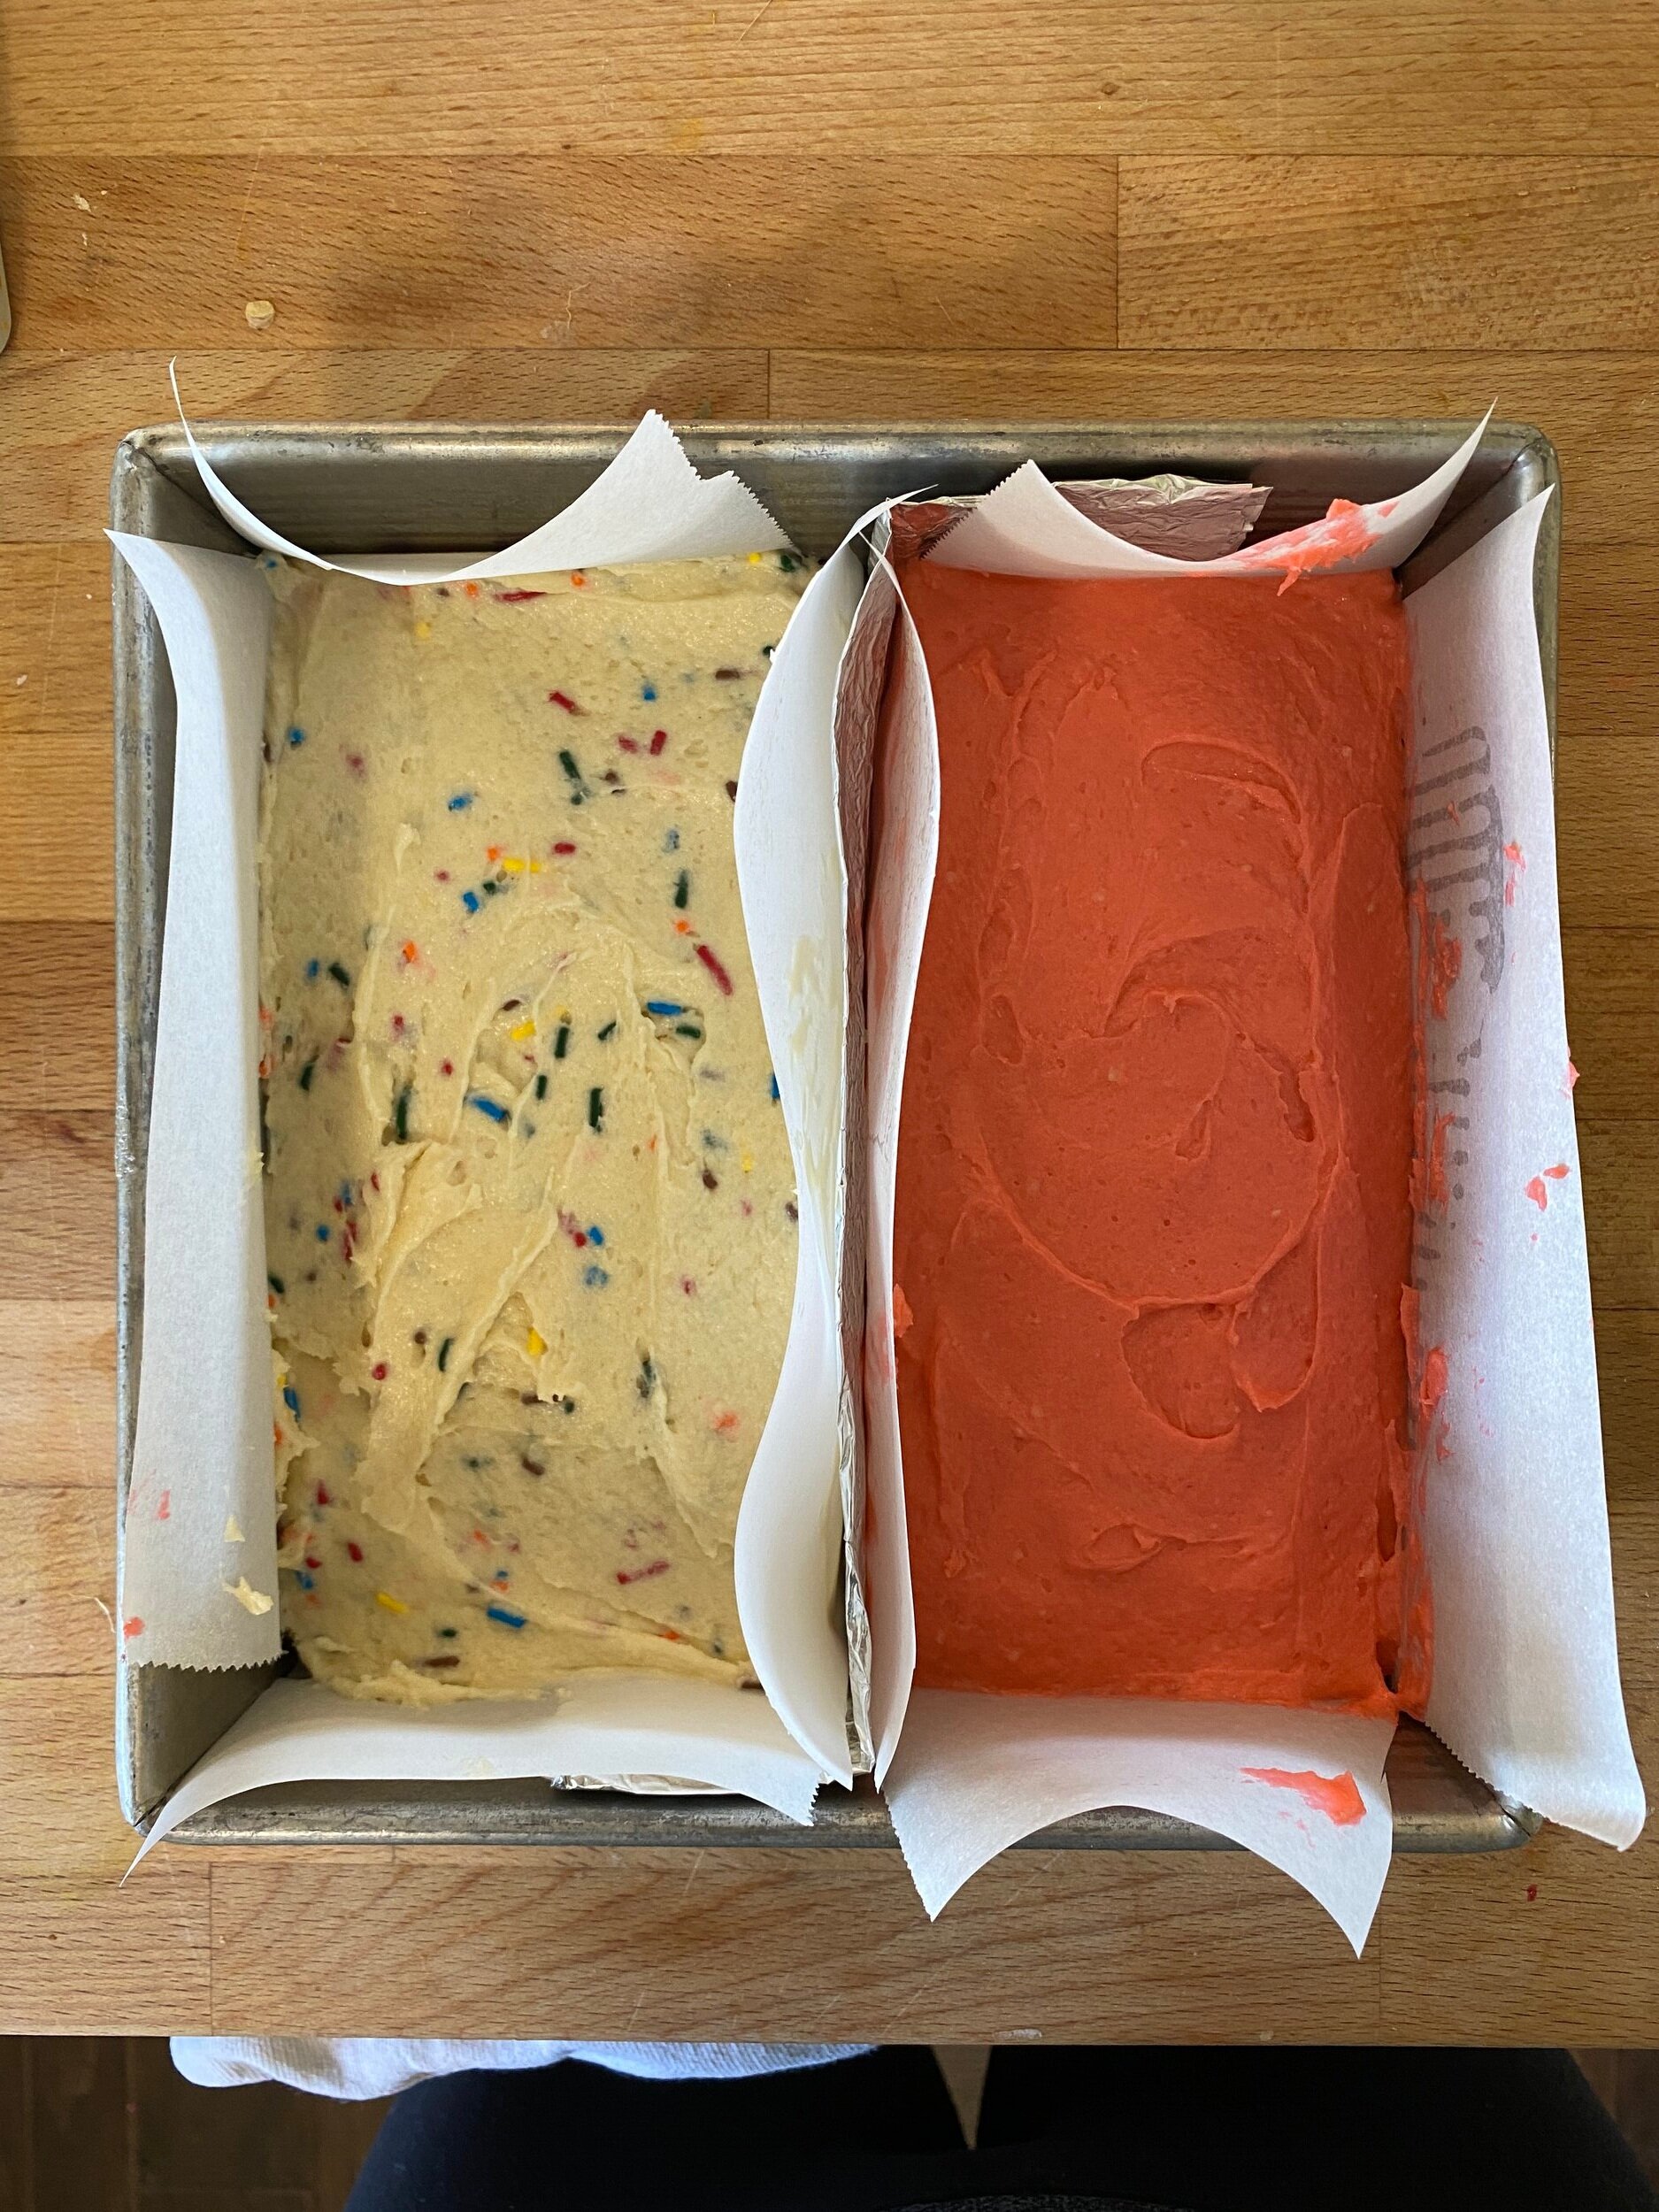
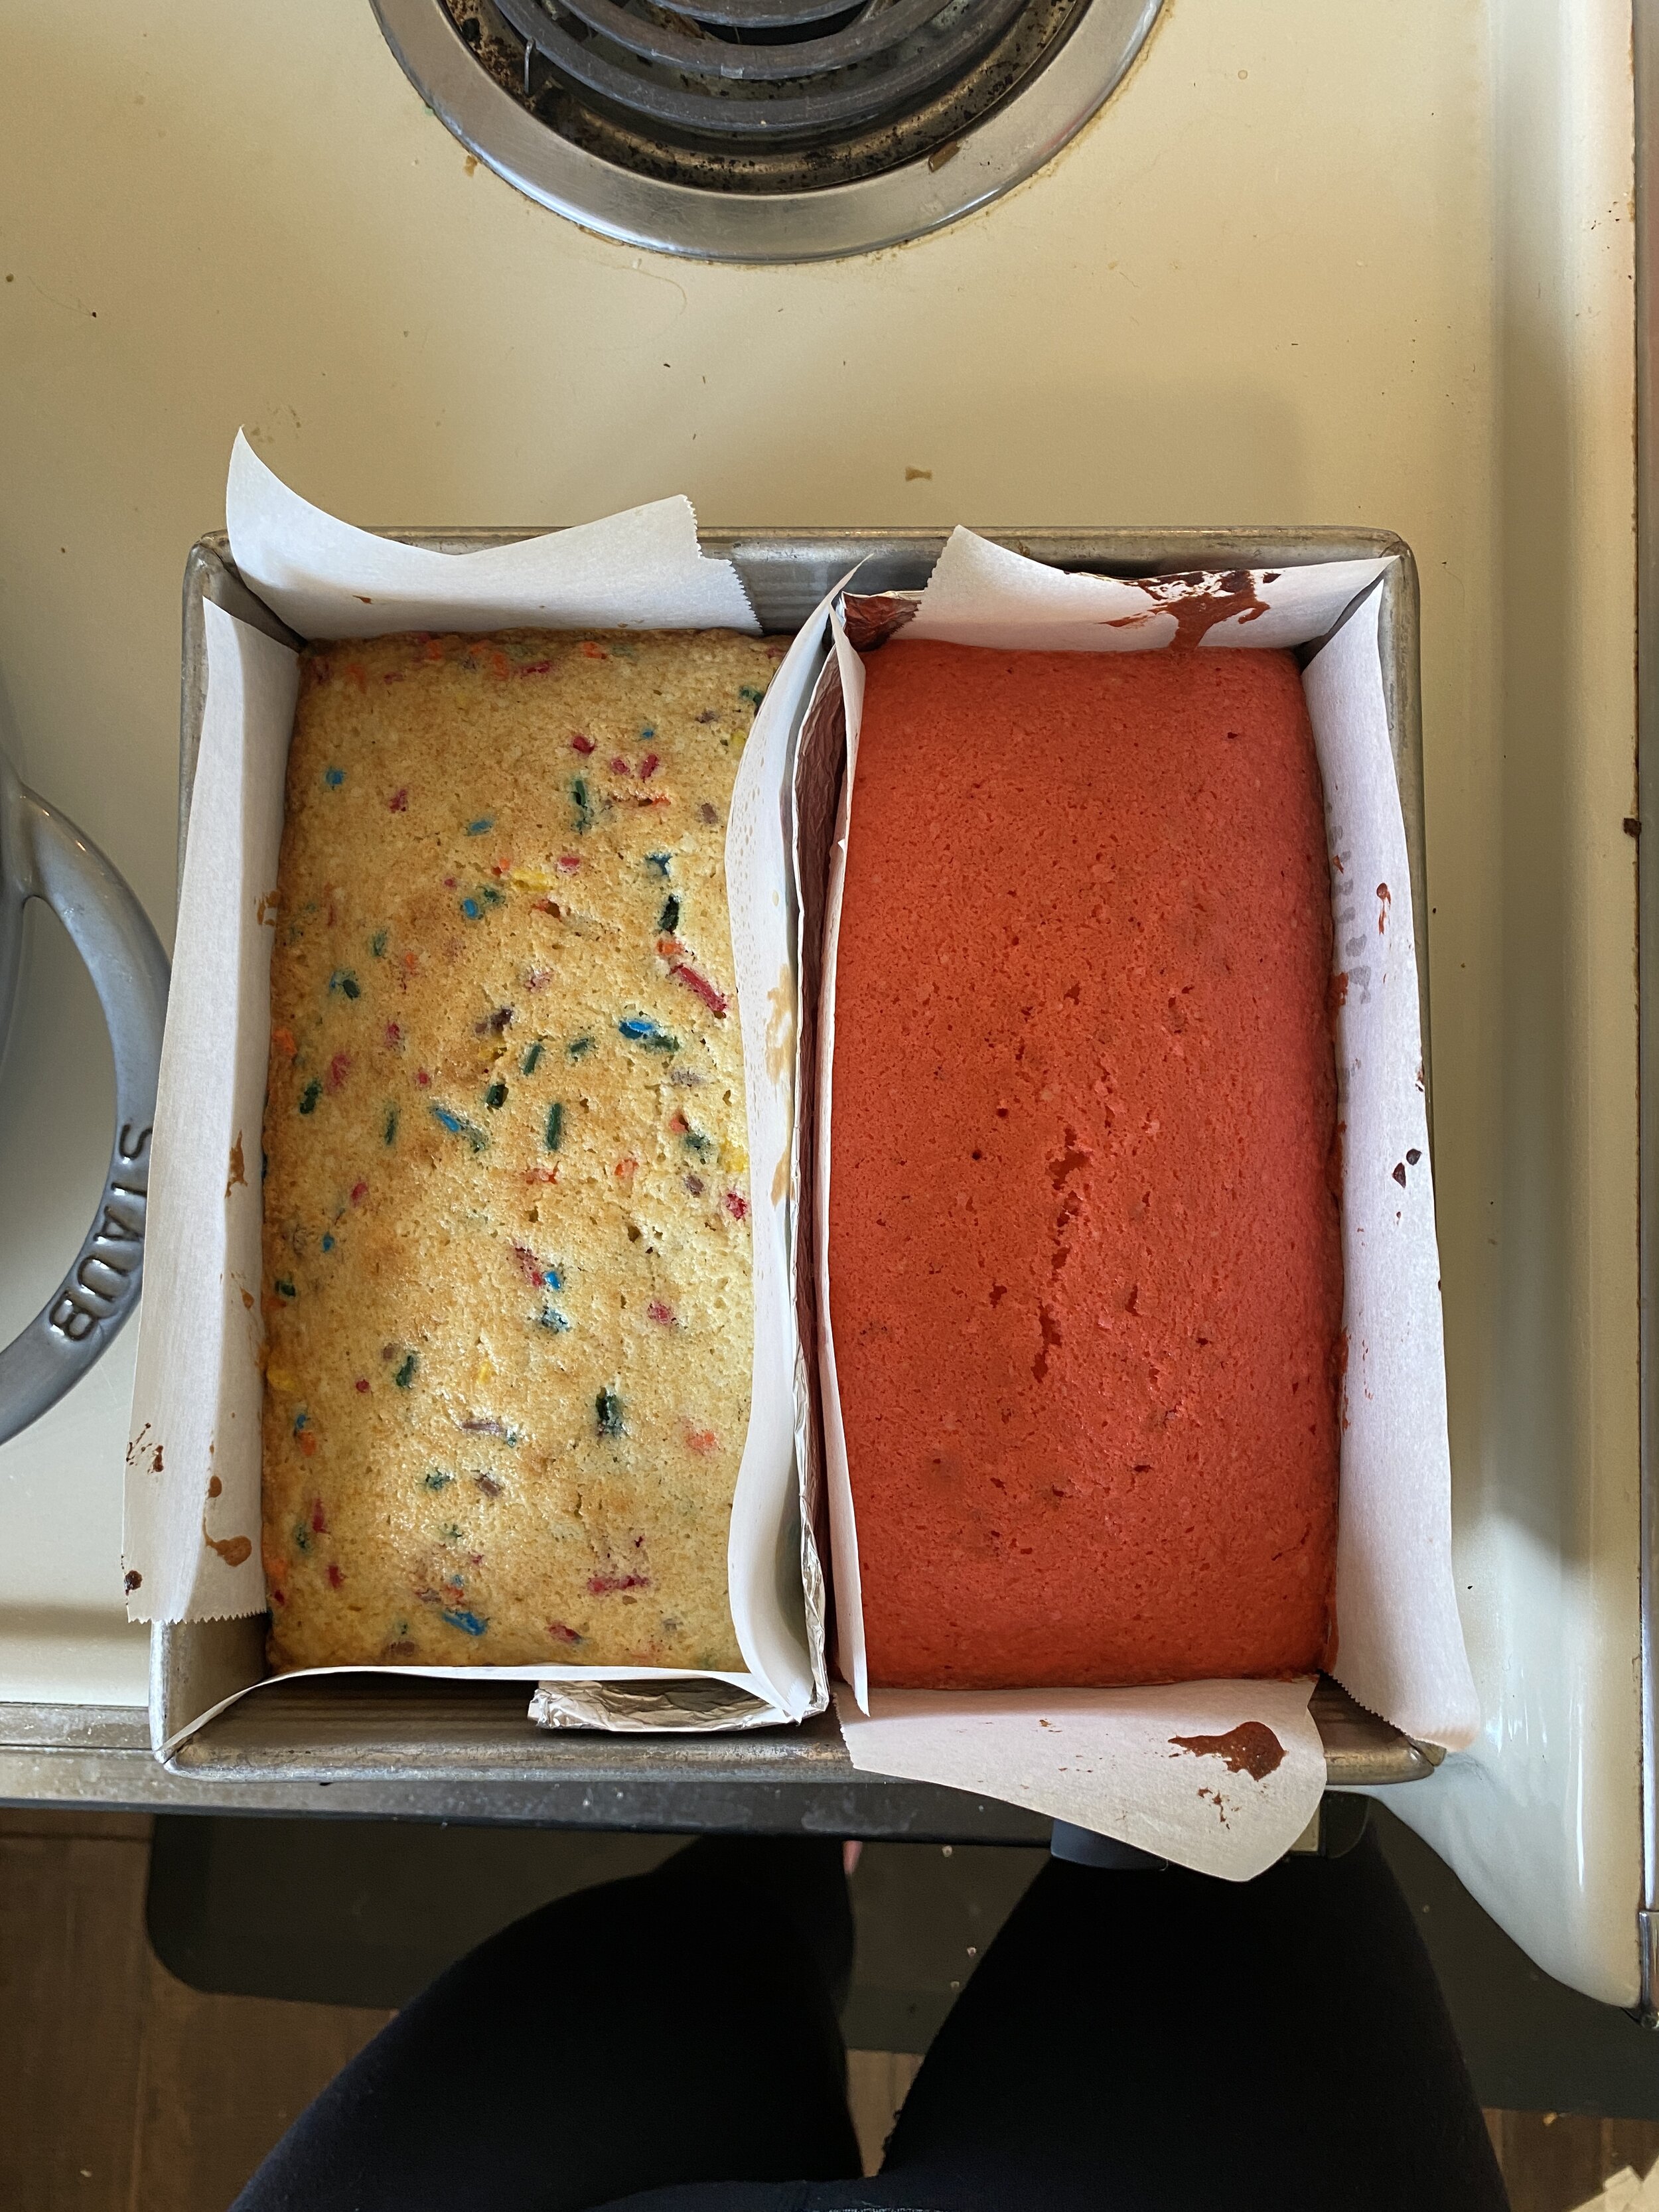
in a stand mixer fitted with a paddle, cream together the butter, coconut oil, and sugar on medium high for 3-4 minutes, until light and fluffy. add the eggs, one at a time, beating well after each and periodically scraping the sides of the bowl with a rubber spatula. add the vanilla and rosewater and mix to combine. reduce the mixer to medium low and add the dry mixture and cream mixture in 3 alternating additions, mixing until 80% combined. divide the mixture in half. in the first half, fold in the sprinkles as you mix until the batter is combined. pour into one side of the pan and use a small offset spatula or a spoon to carefully spread it out evenly. in the second half of the batter, add a few drops of pink food coloring and fold it in as you mix until the batter is combined. pour into the other side of the pan and use a small offset spatula or a spoon to carefully spread it out evenly. bake until the tops of the cakes are browned and a toothpick inserted into the center comes out with a few crumbs on it; begin checking for doneness at 45 minutes. let cool in the pans for 10 minutes and then use the parchment wings to left them out of the pans and onto a wire rack to cool completely. 

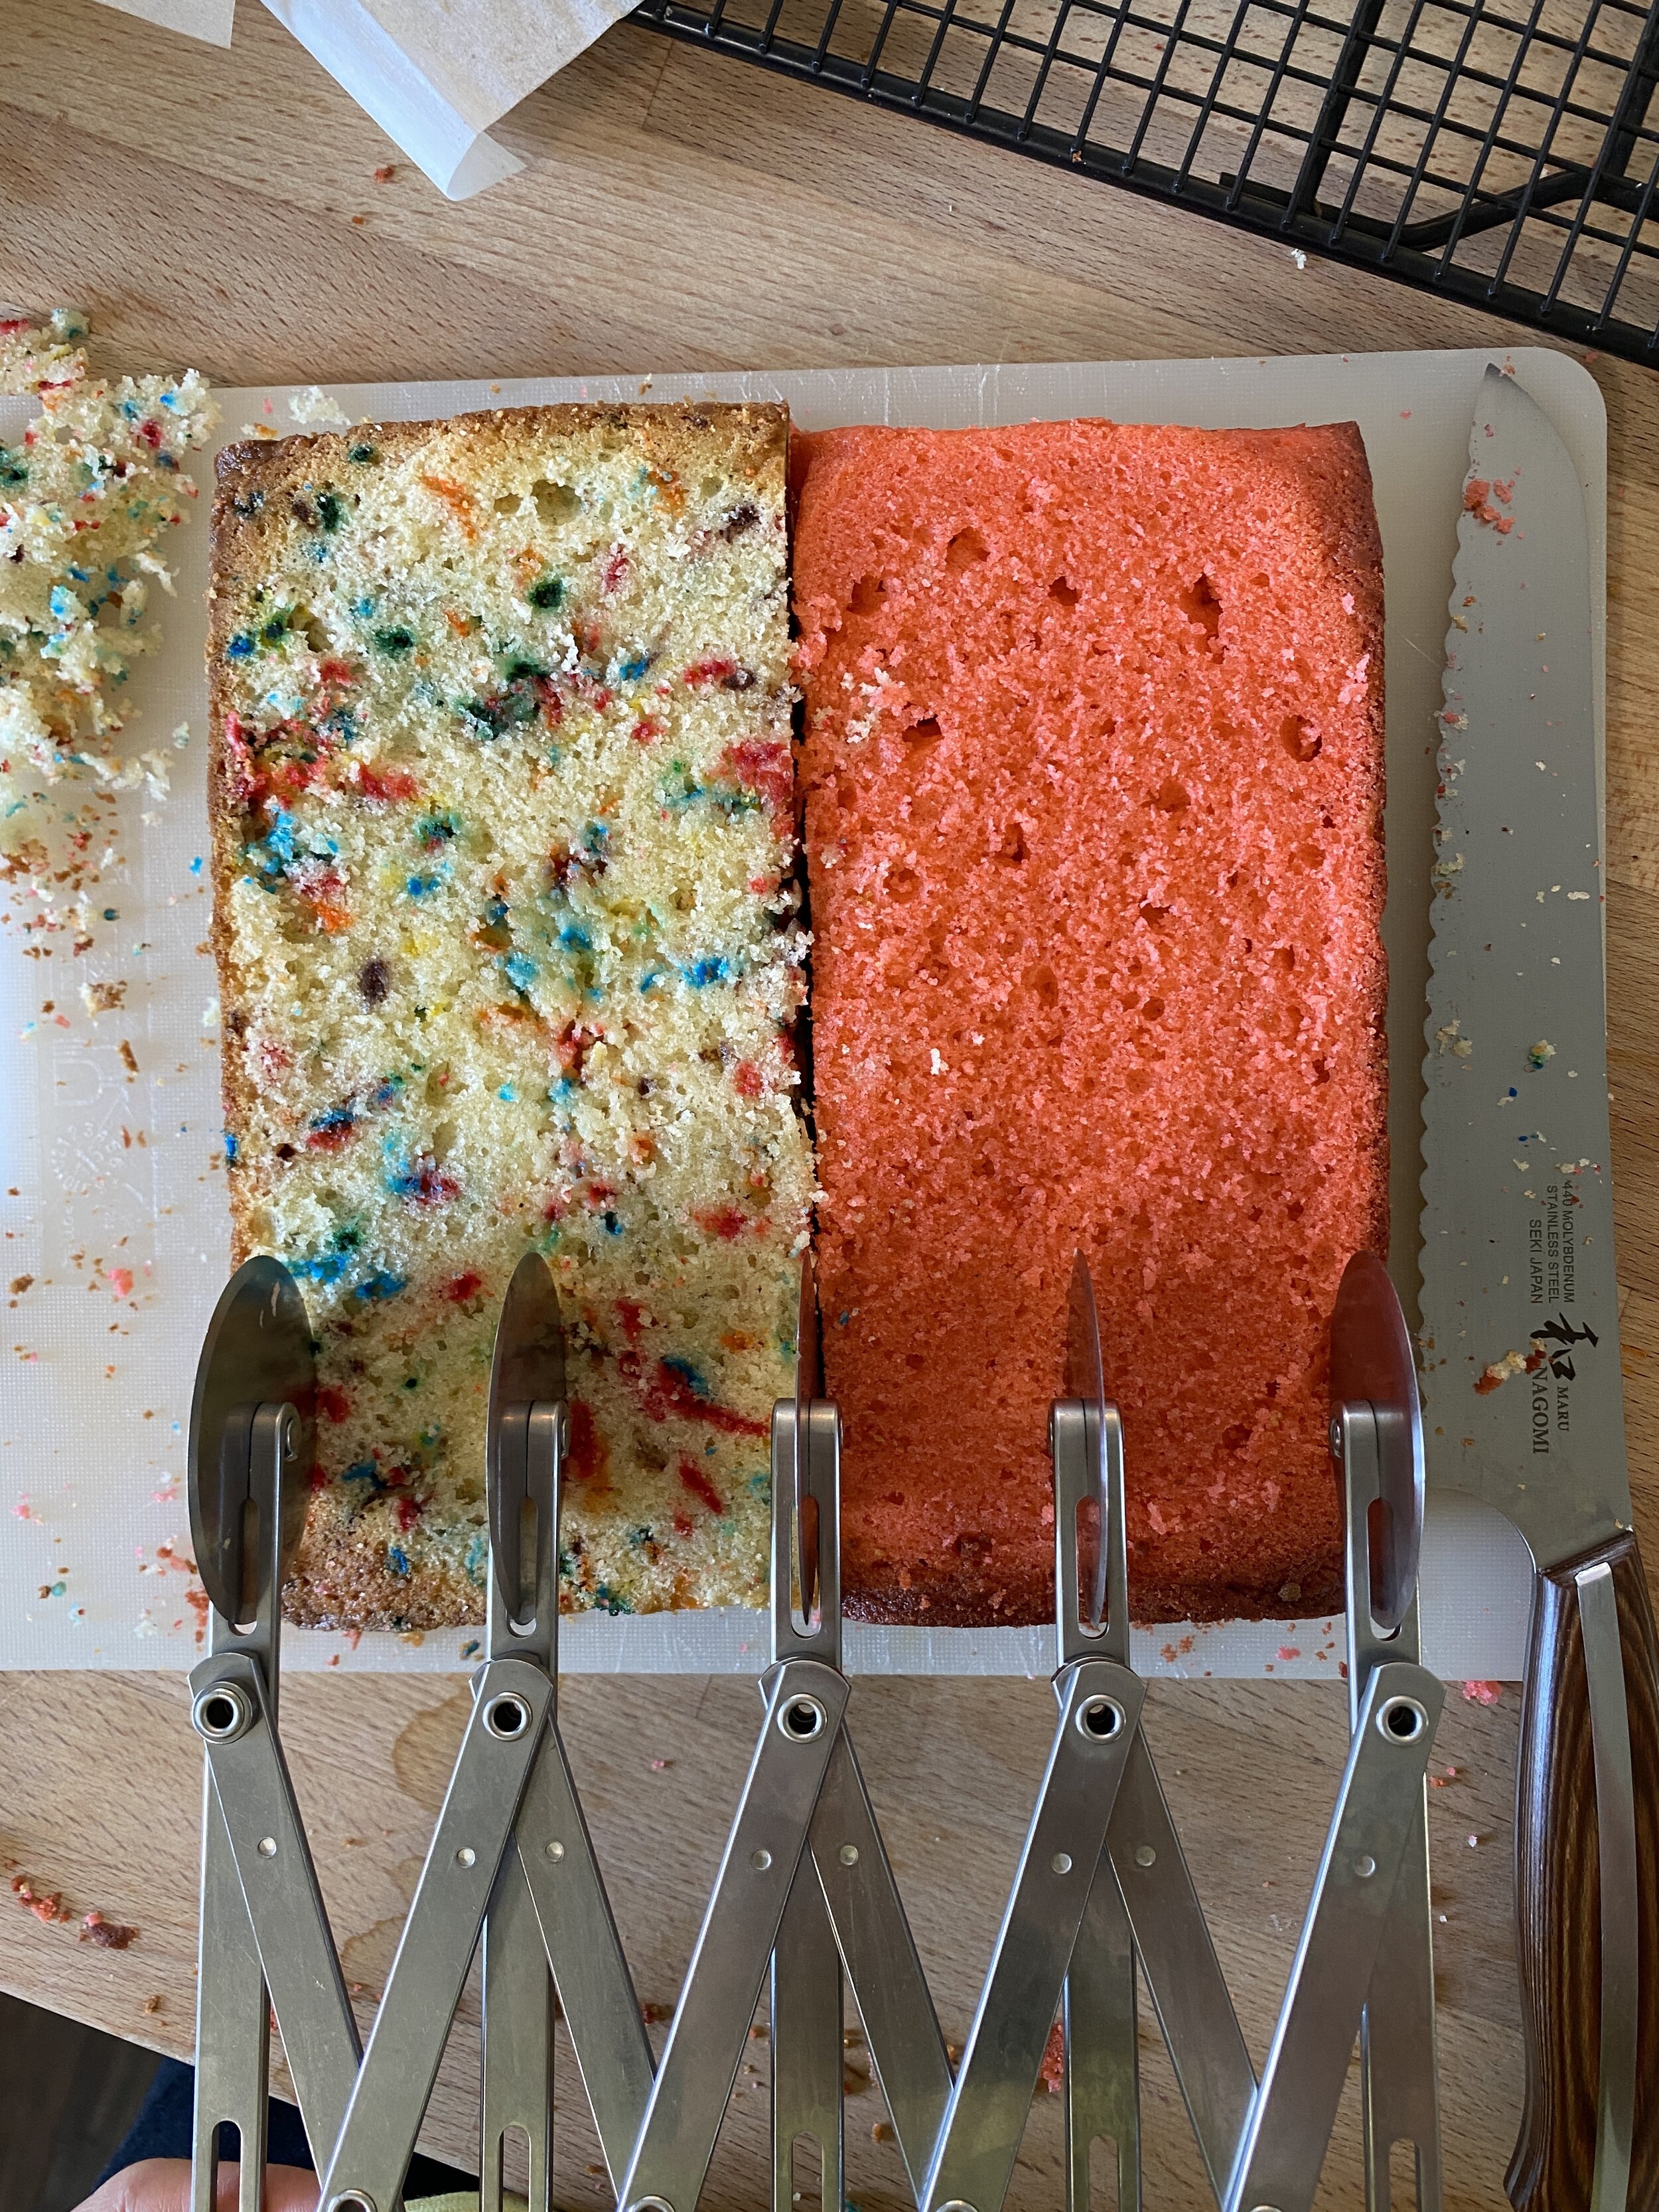
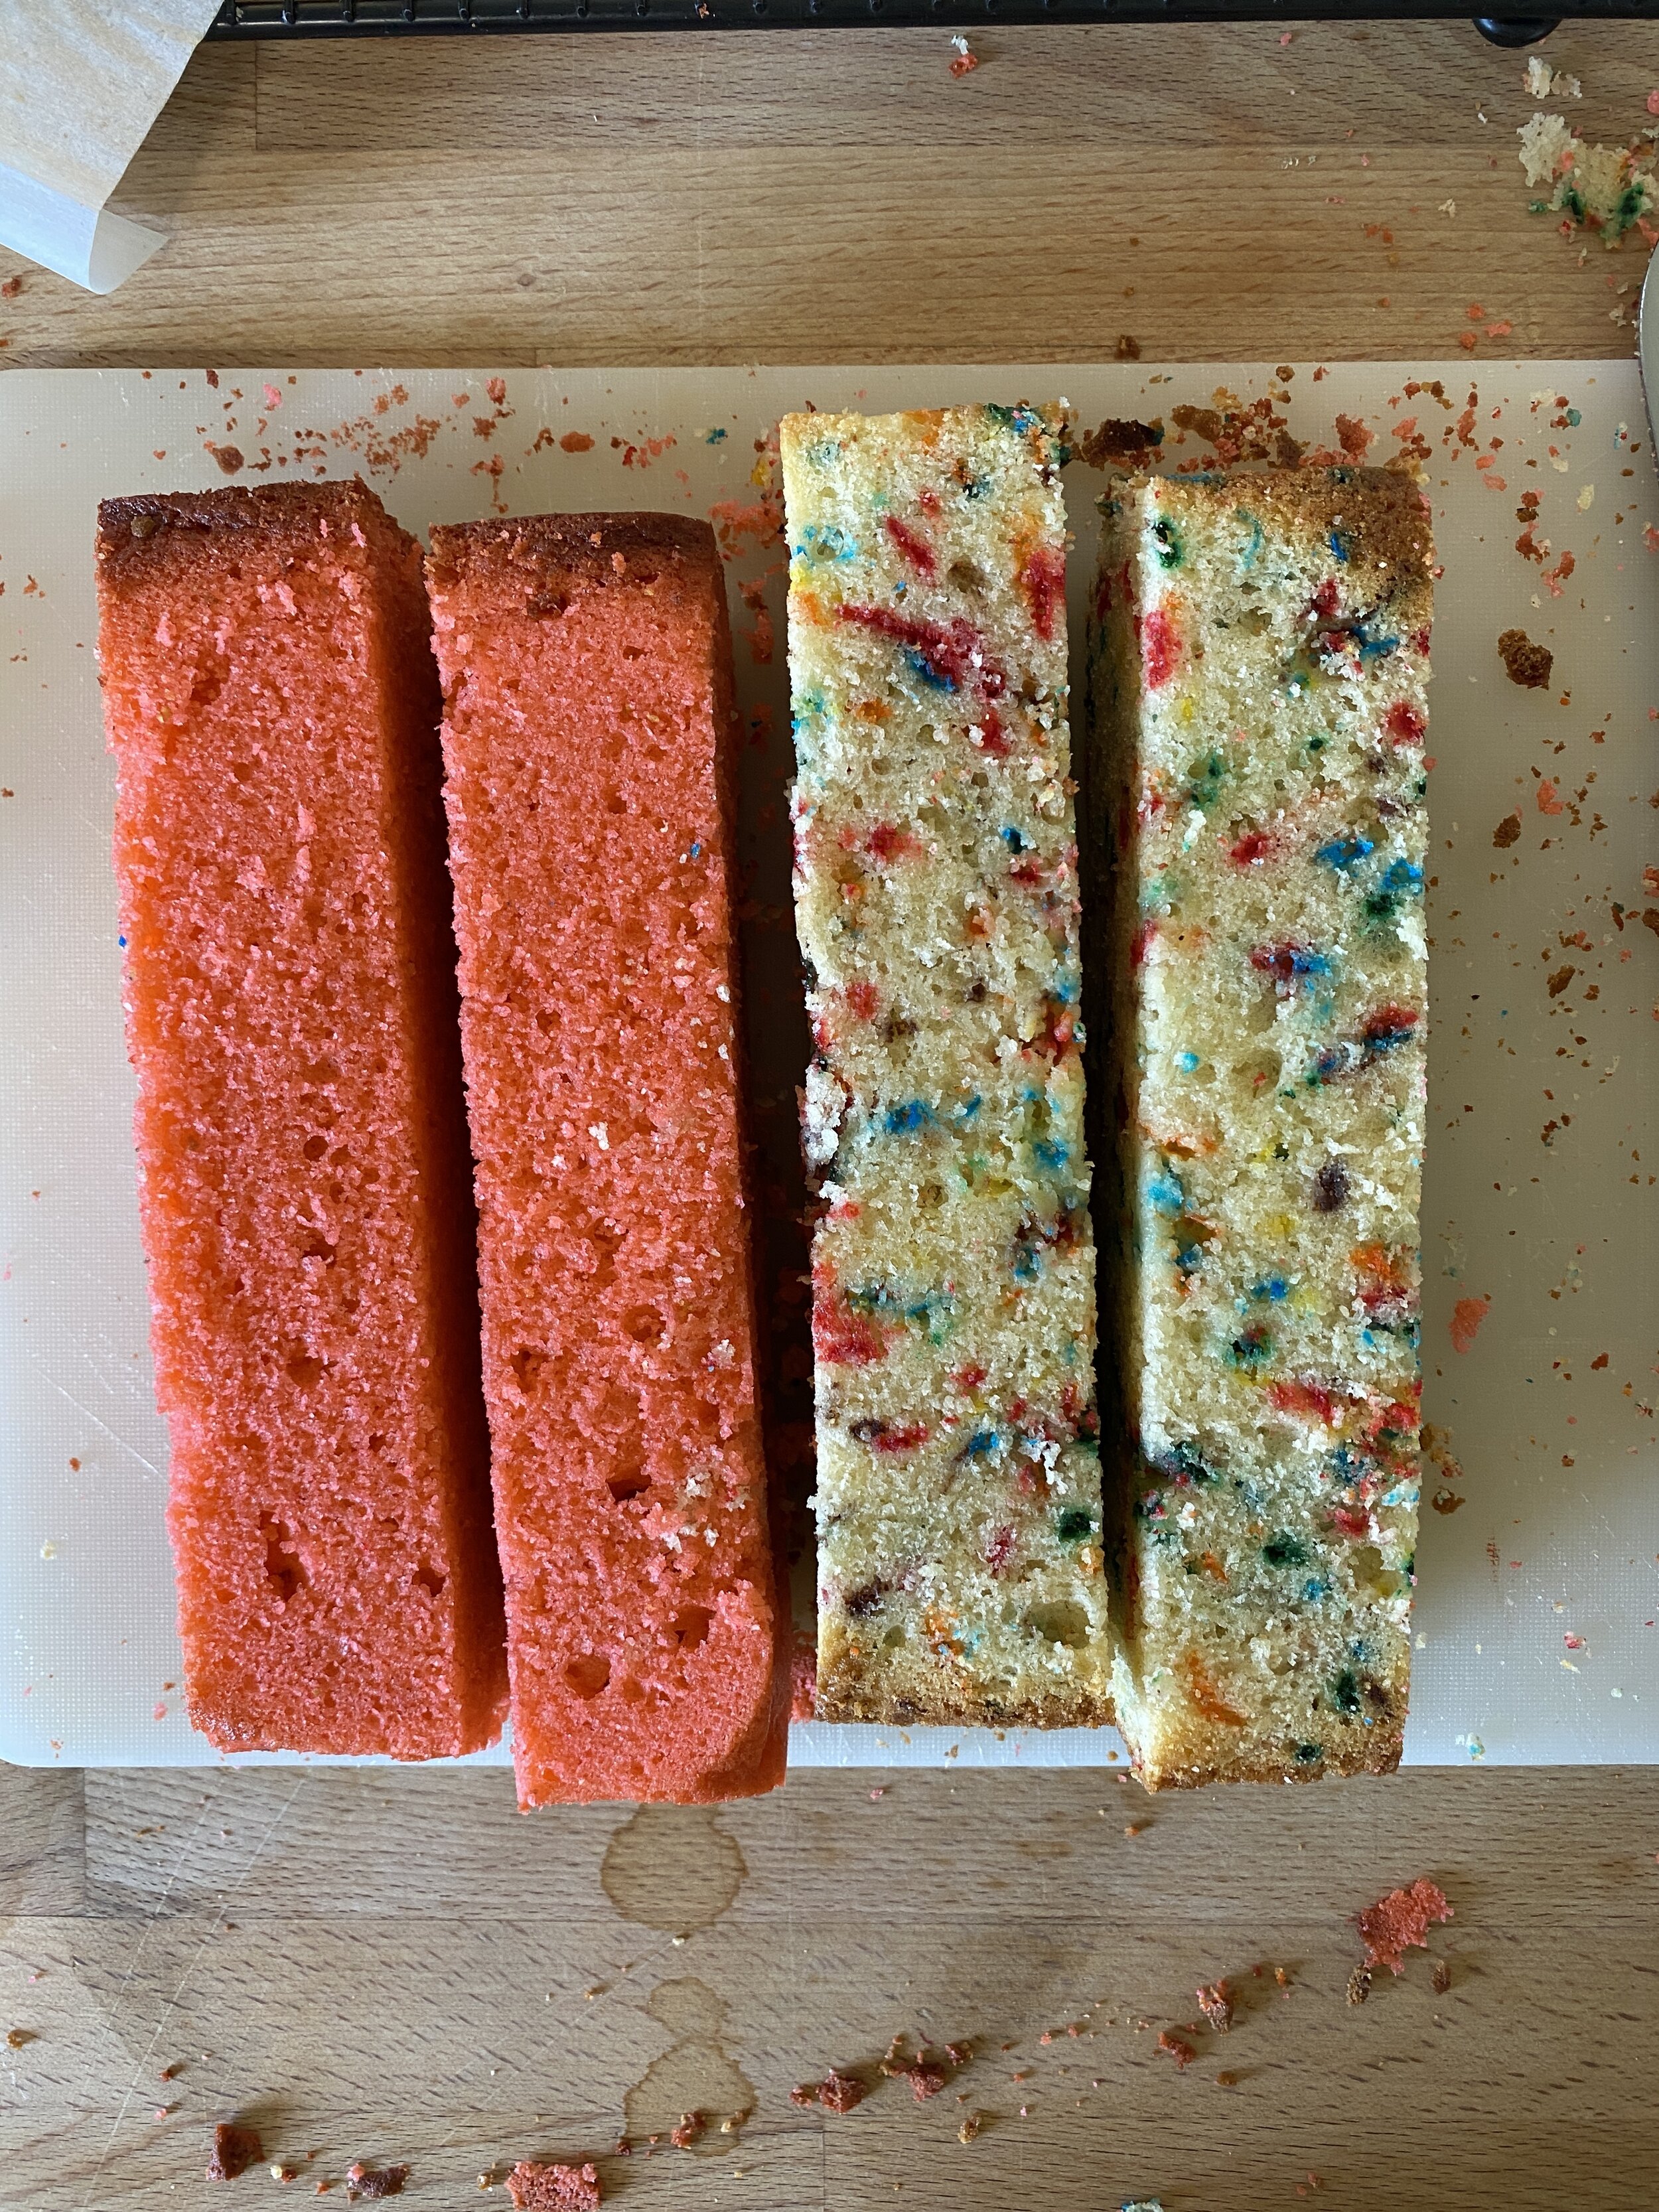
once the cakes are cooled, level them and trim off the sides if they're uneven. cut into 4 equal rectangles that are as wide as they are thick (measure the thickness of the cake once it’s leveled and then turn your ruler 90º to measure that same amount on top of the cake and score with an accordion pastry cutter). enjoy a bite of cake scraps and set these aside.

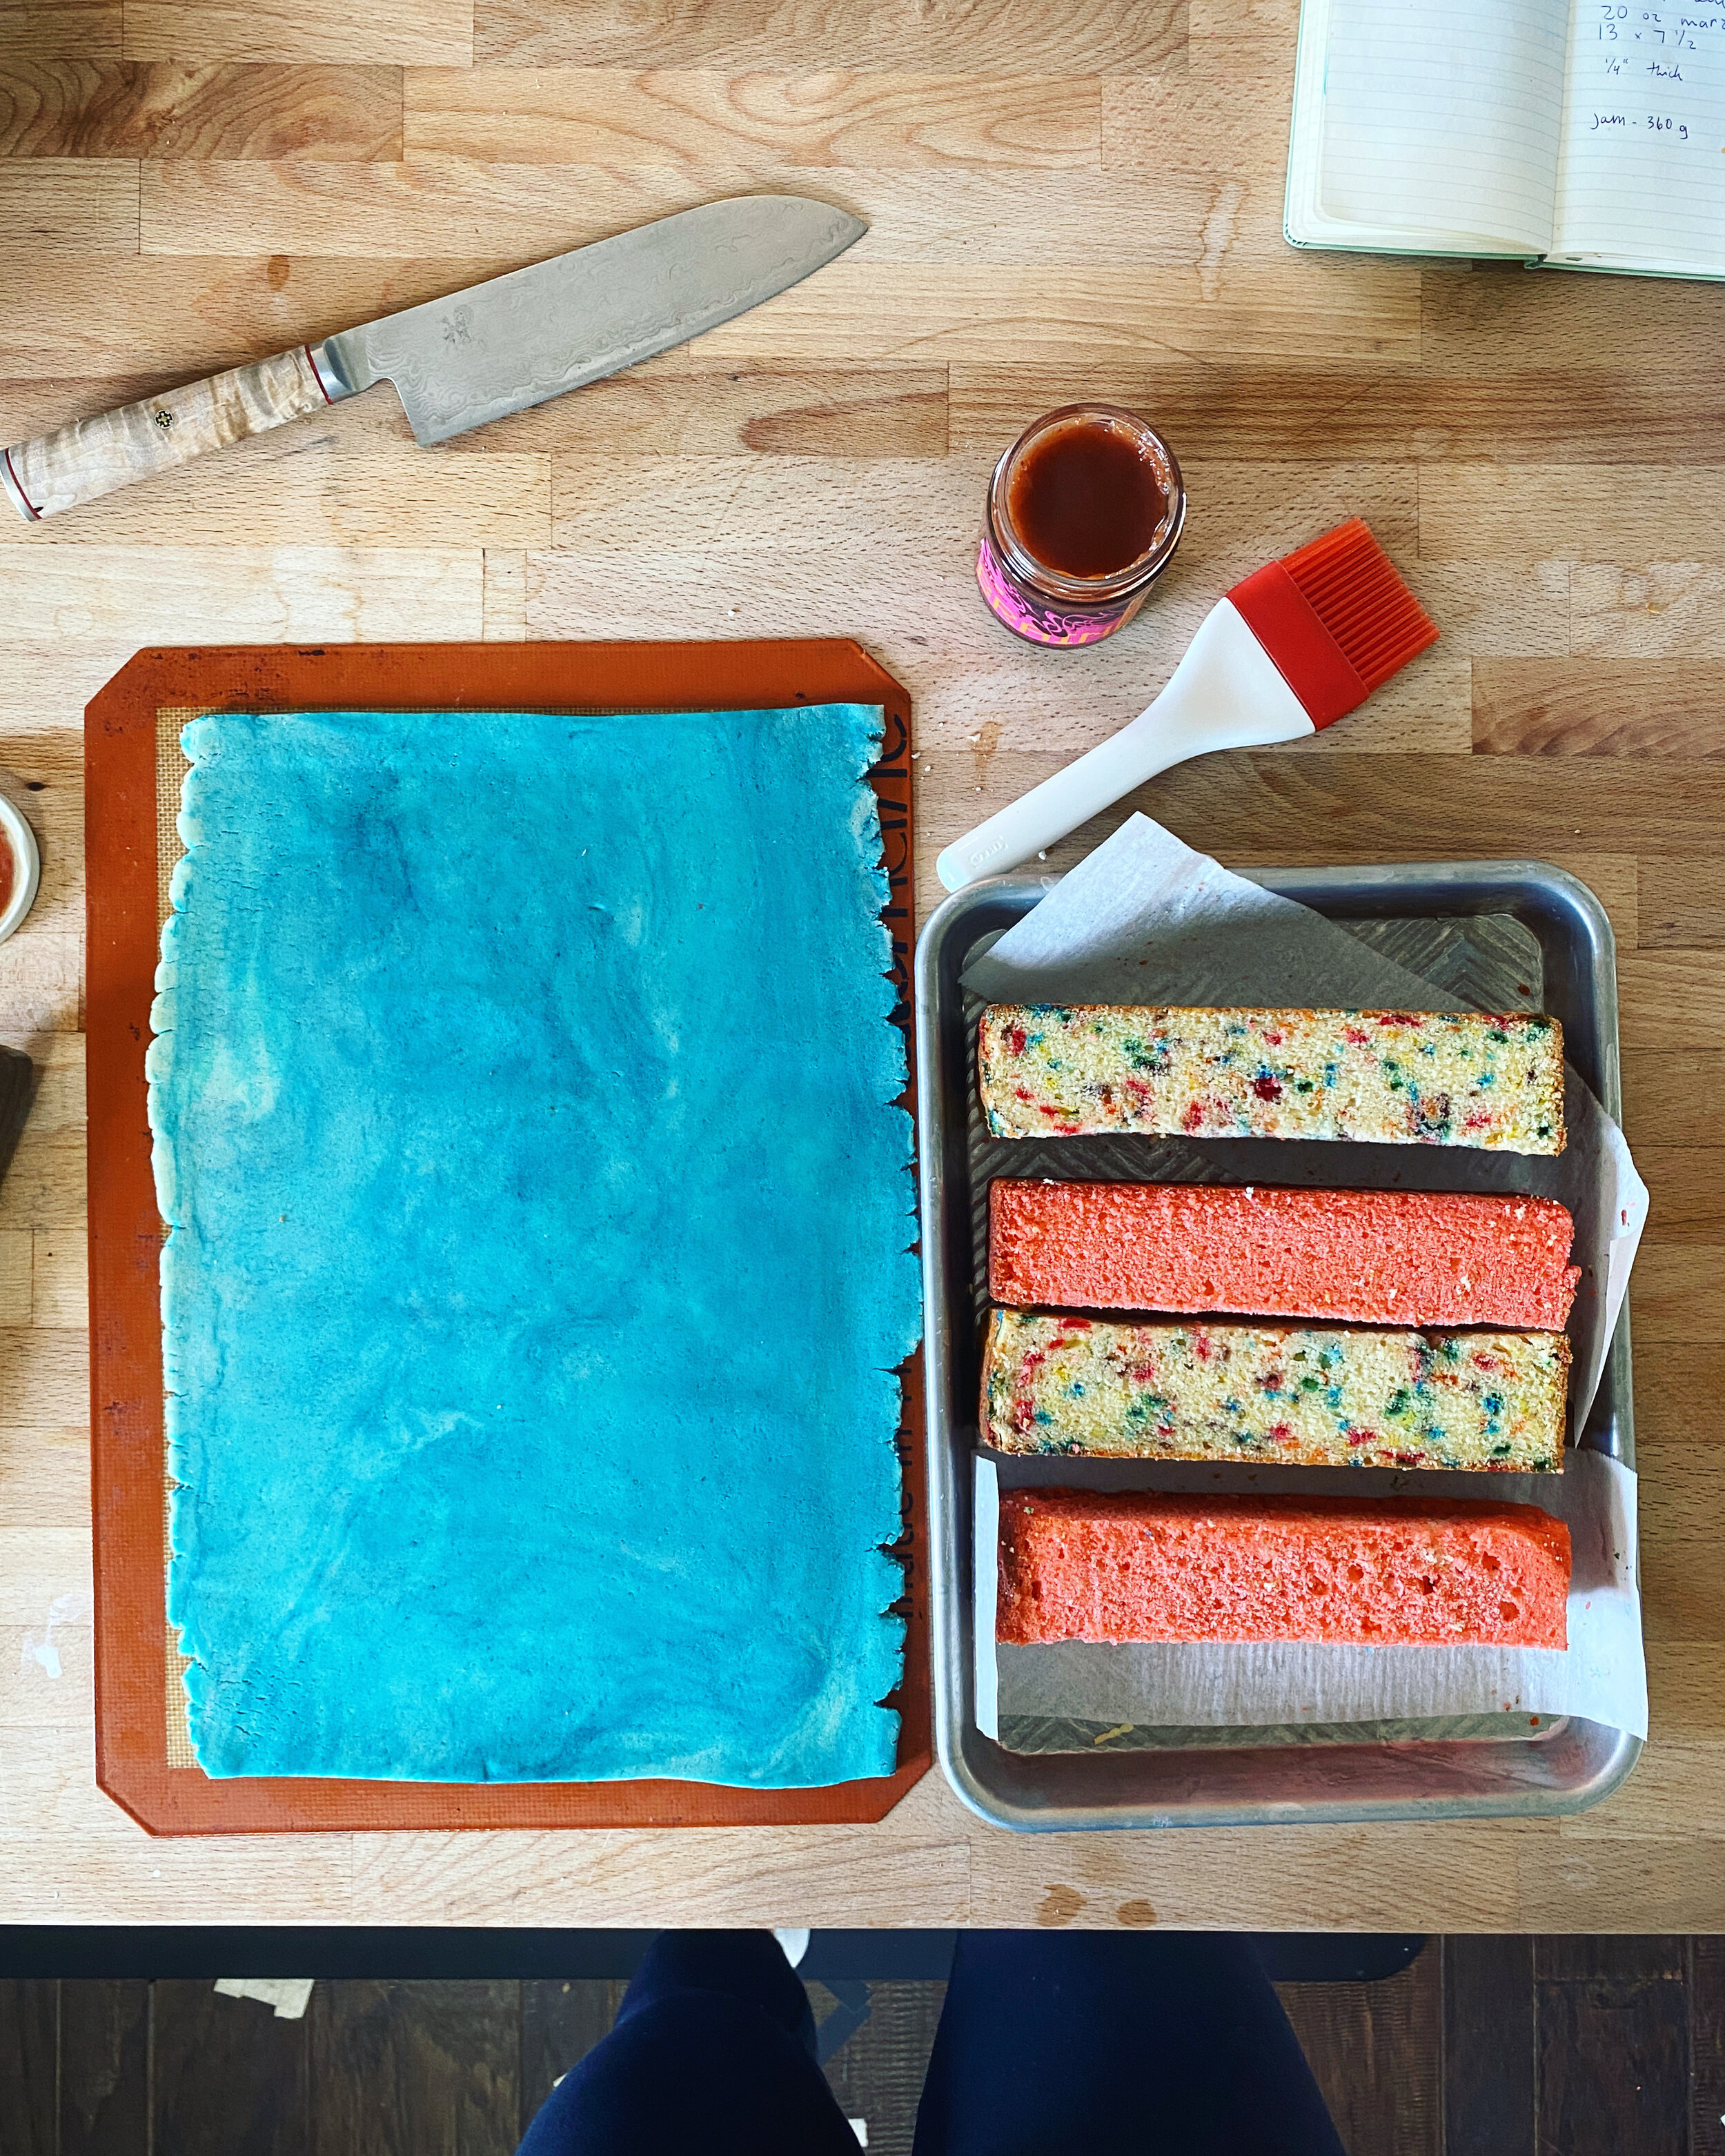
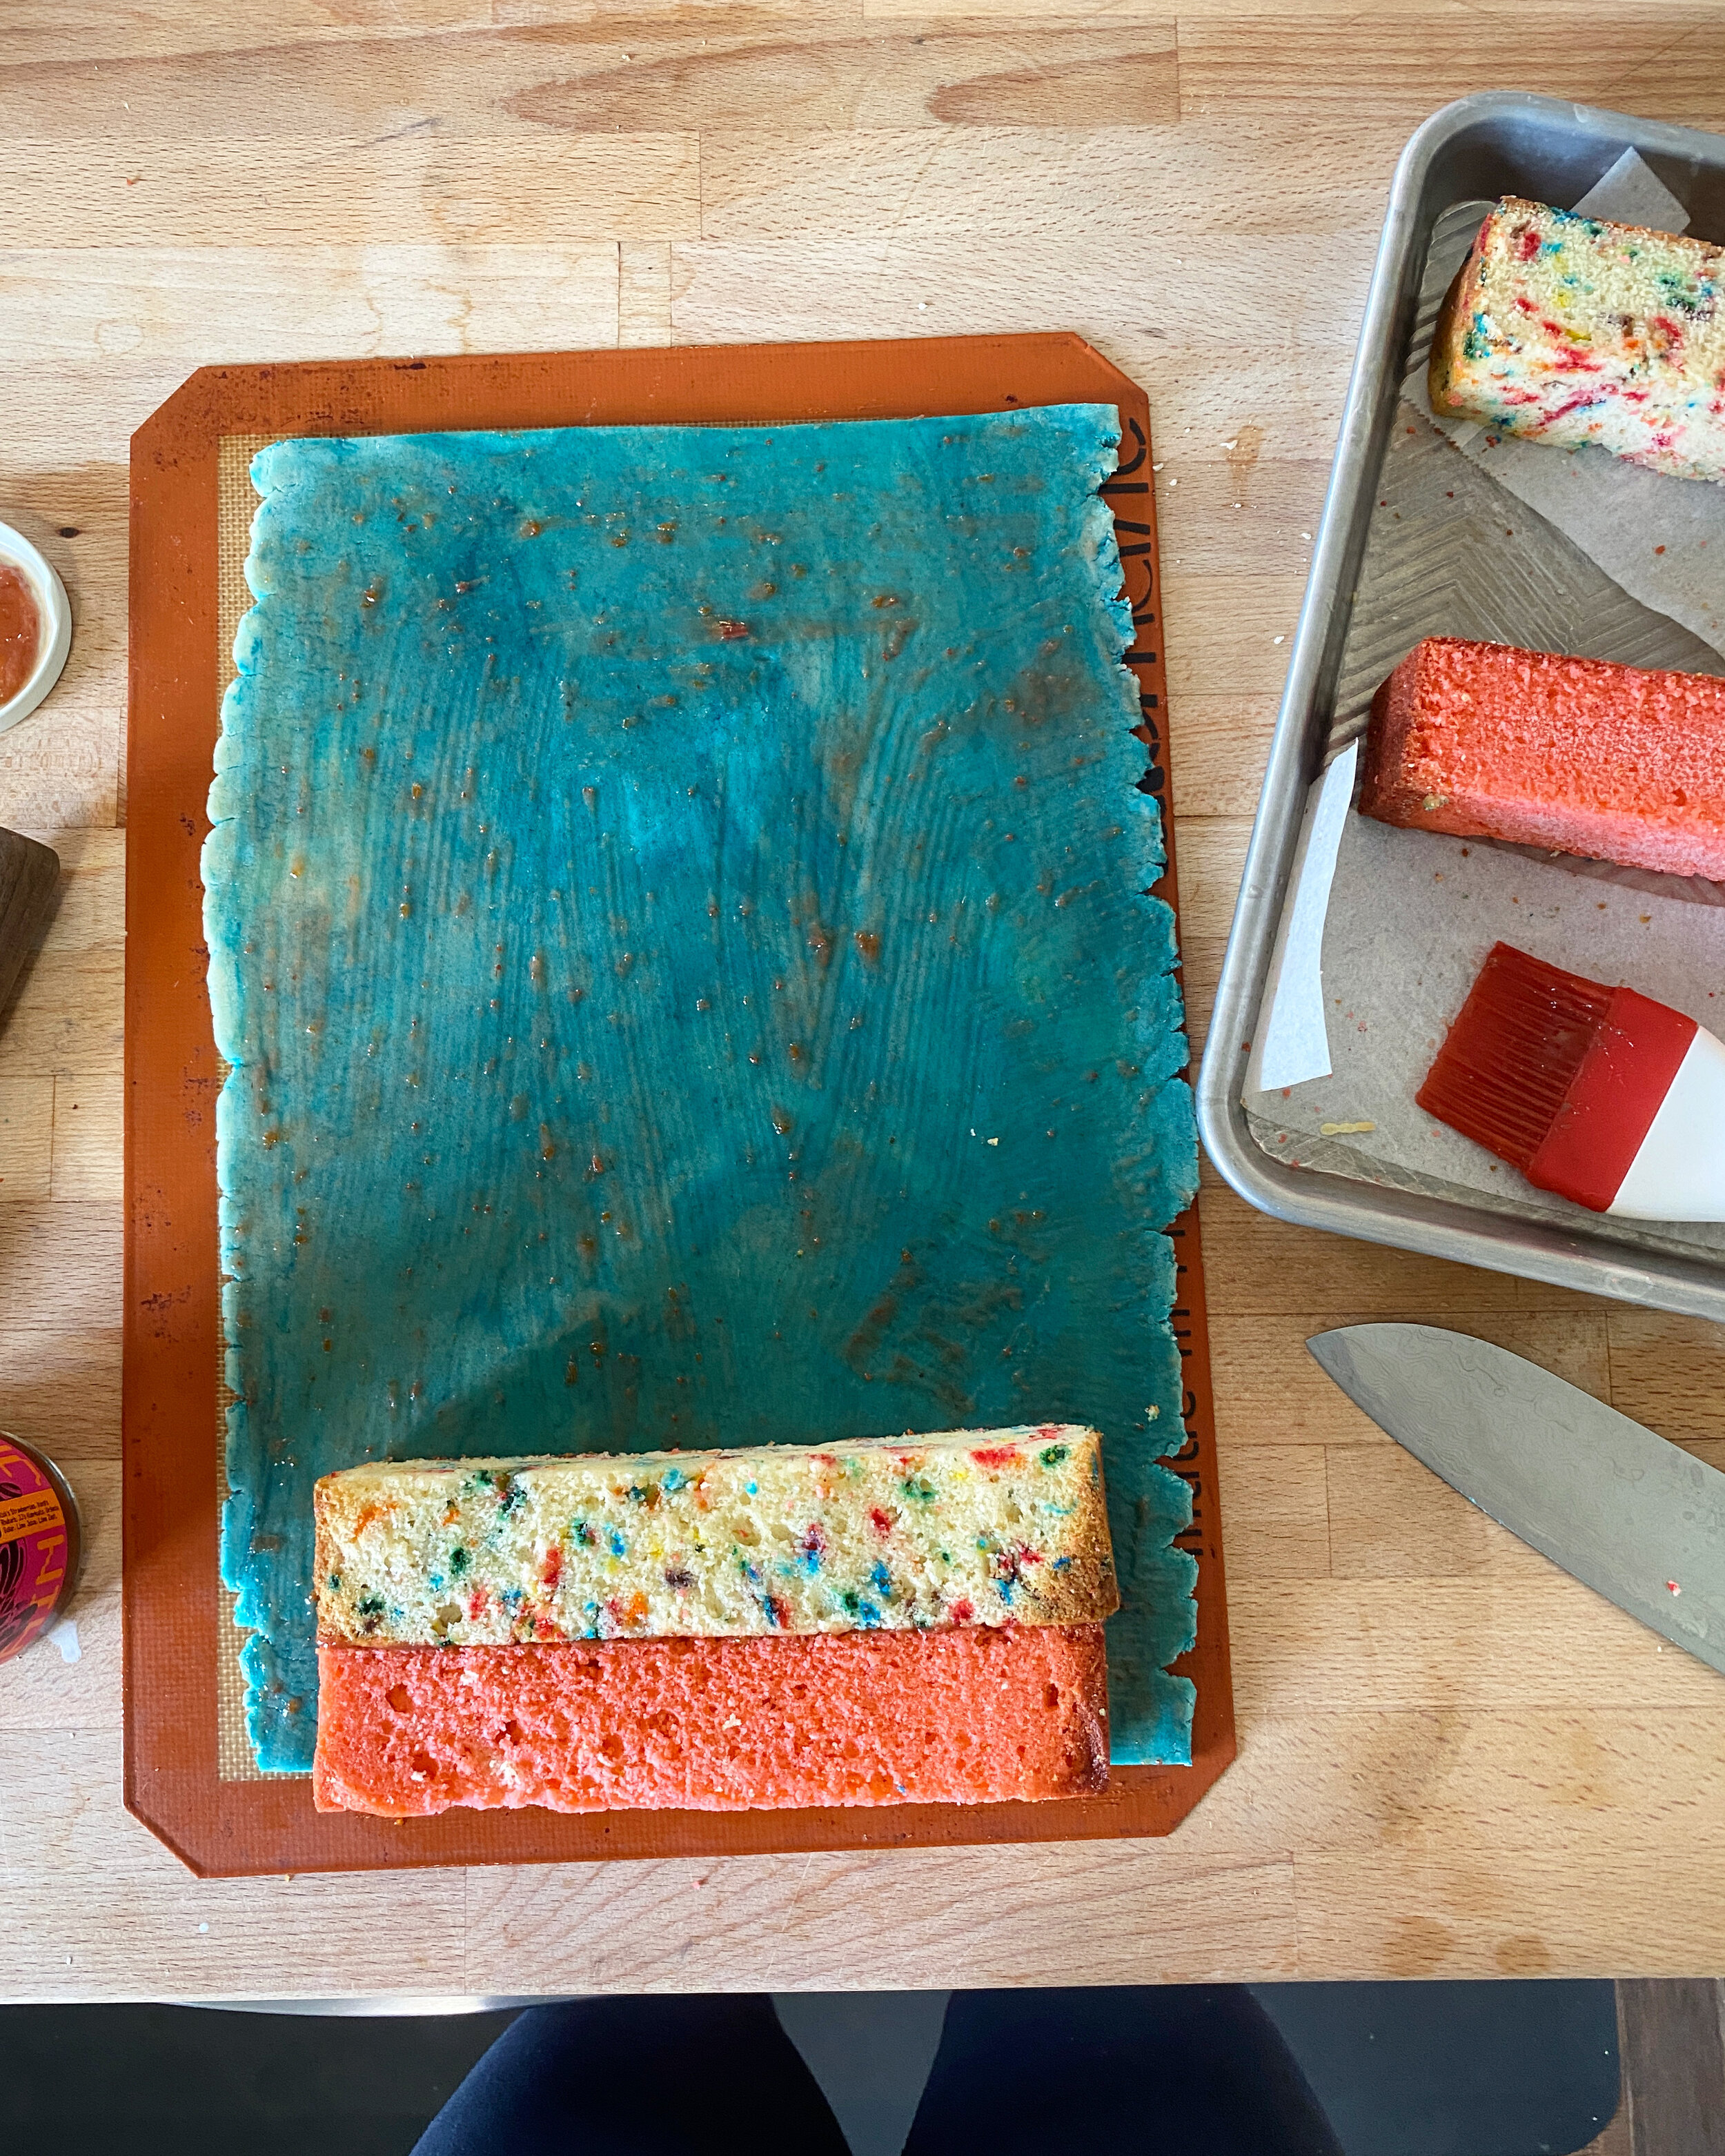
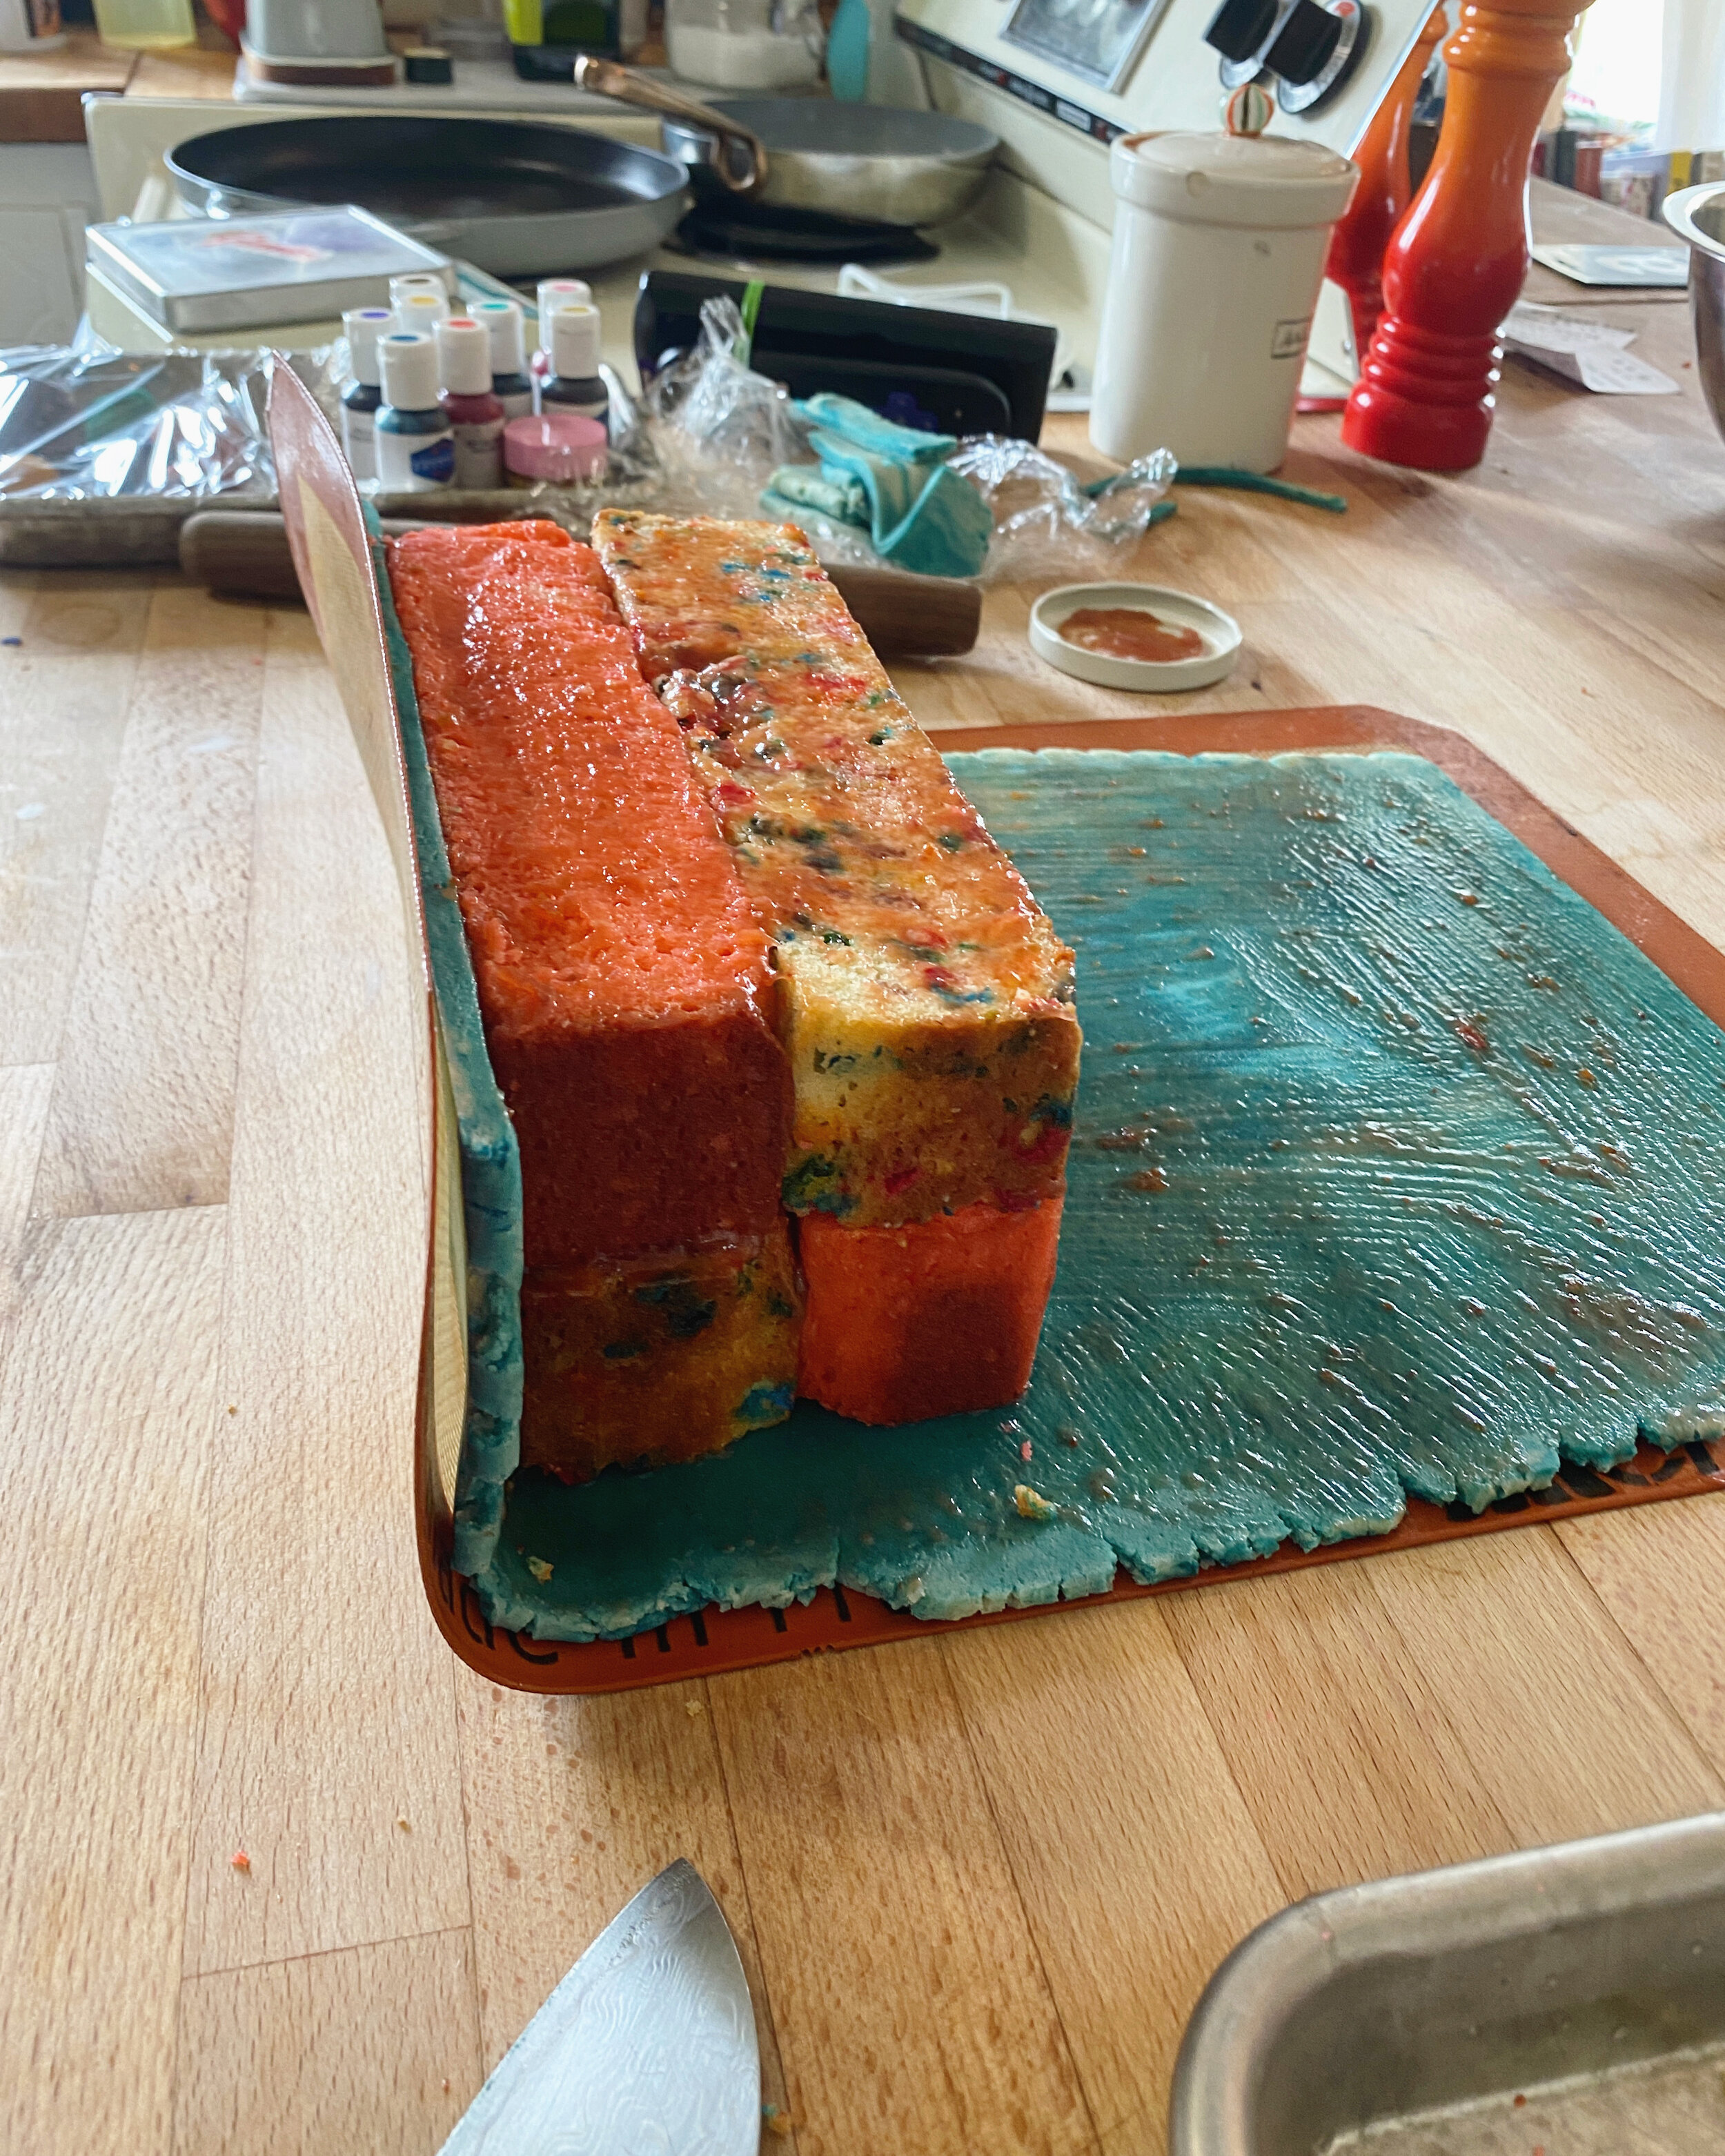
knead the marzipan with food coloring to get your desired color, dusting with powdered sugar if it gets too sticky. on a silicone mat (or a big piece of parchment or a counter dusted with powdered sugar, but i strongly recommend a silicone mat so that you don't get powdered sugar all over what will eventually become the outside surface of the marzipan) roll the marzipan out into a rectangle that's about 7 1/2” wide by about 13” long, dusting the top with powdered sugar as needed to prevent sticking. trim the edges so they’re straight. brush all over with a thin layer of jam and place a rectangle of pink cake at one end. brush the exposed surfaces with a thin layer of jam. squish a rectangle of sprinkle cake right next to it and brush the exposed surfaces with a layer of jam. stack the other two rectangles of cake on top, brushing with jam, to form a checkerboard pattern. carefully roll it onto its side, pressing the marzipan all over so that it sticks, and then continue to roll until the cake is covered. trim off any excess marzipan, wrap in firmly plastic wrap and let set in the fridge for a couple of hours. decorated with additional marzipan decorations and sprinkles as desired. let come to room temperature and enjoy!

this cake will last at room temperature, wrapped in plastic or in an airtight container for up to a week.


-yeh!
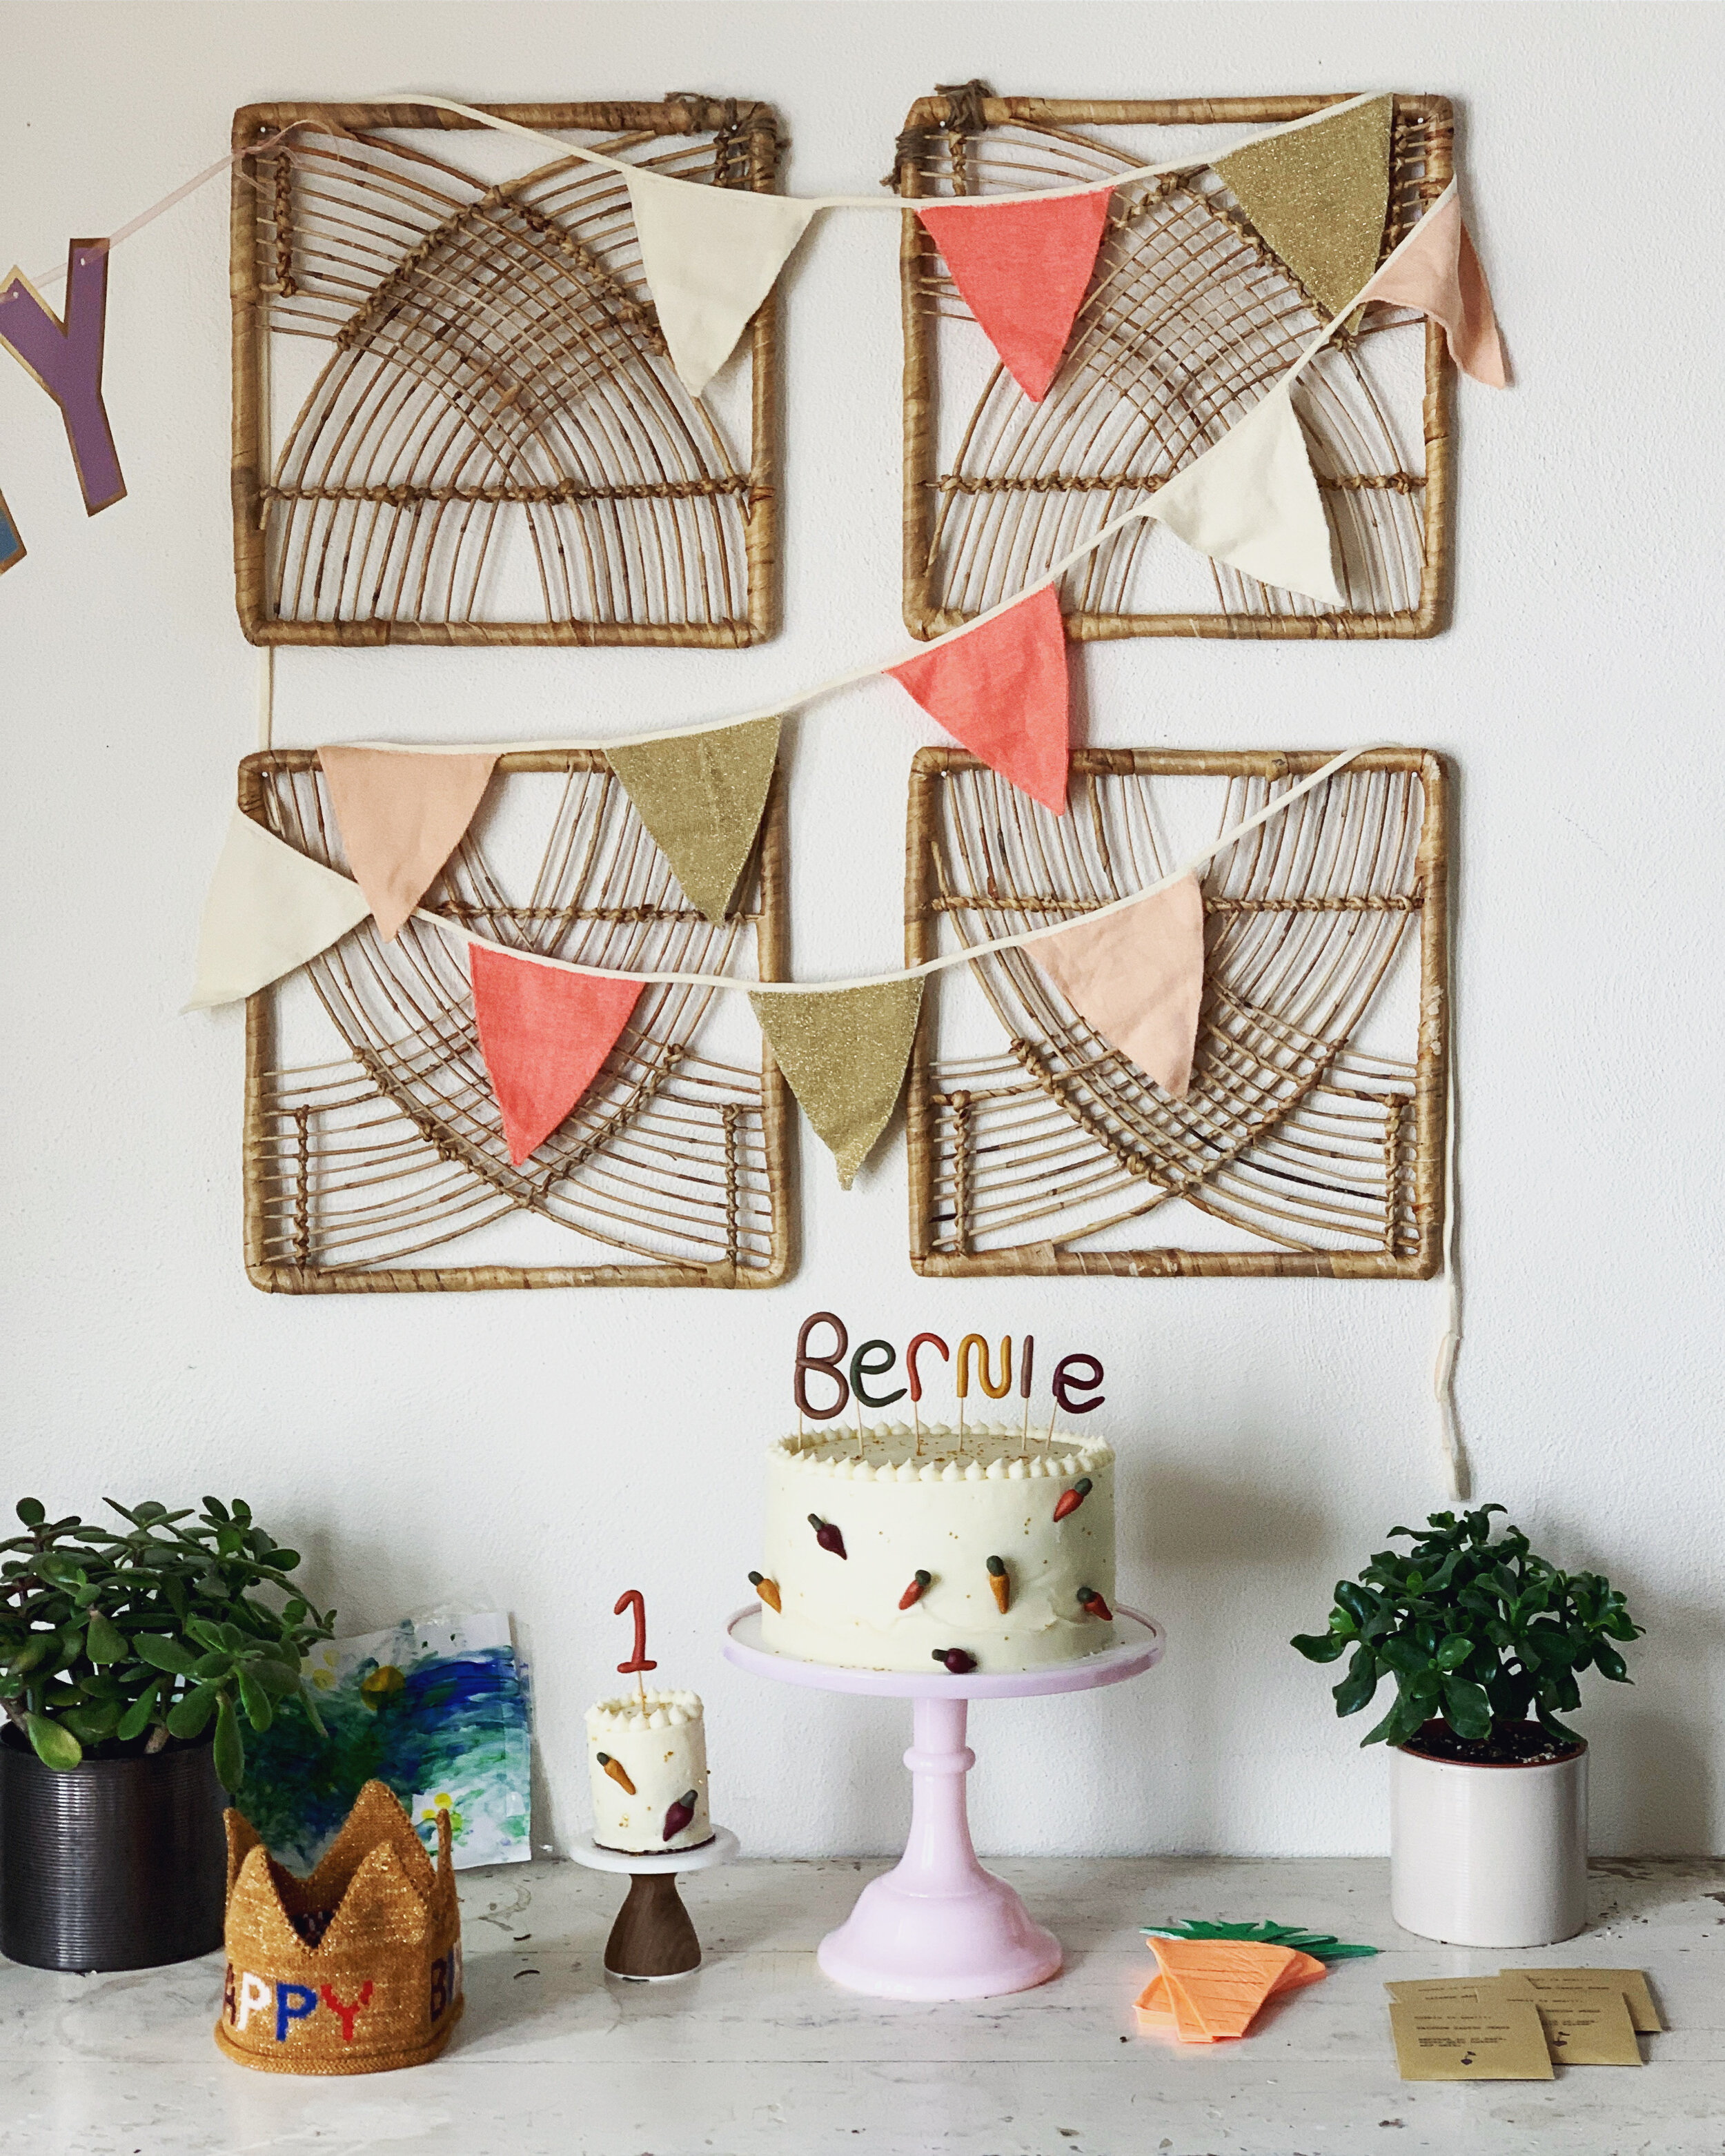
naturally colored rainbow cake + bernie is one!!

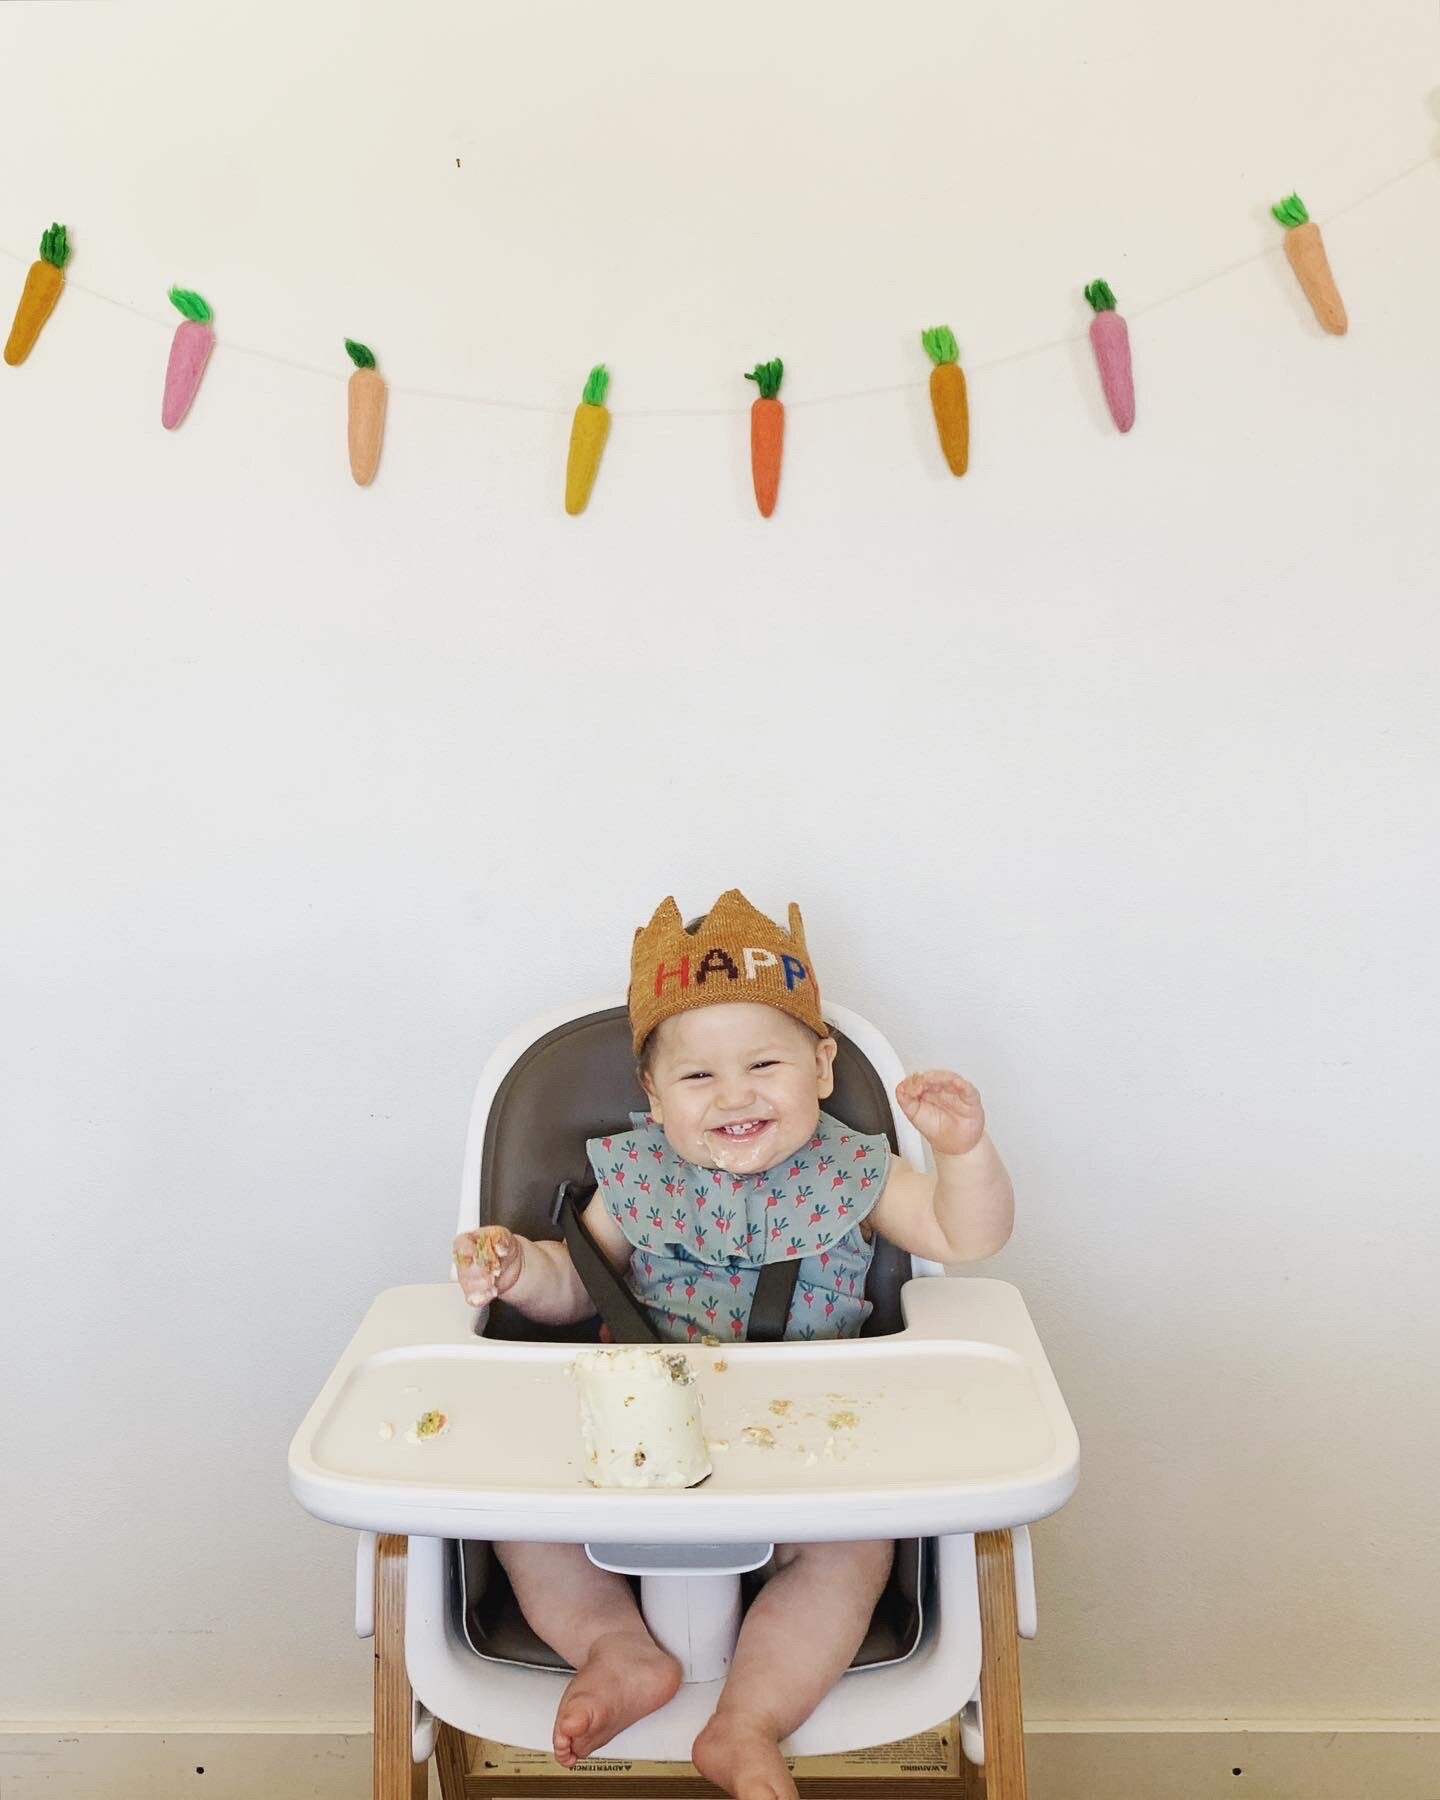
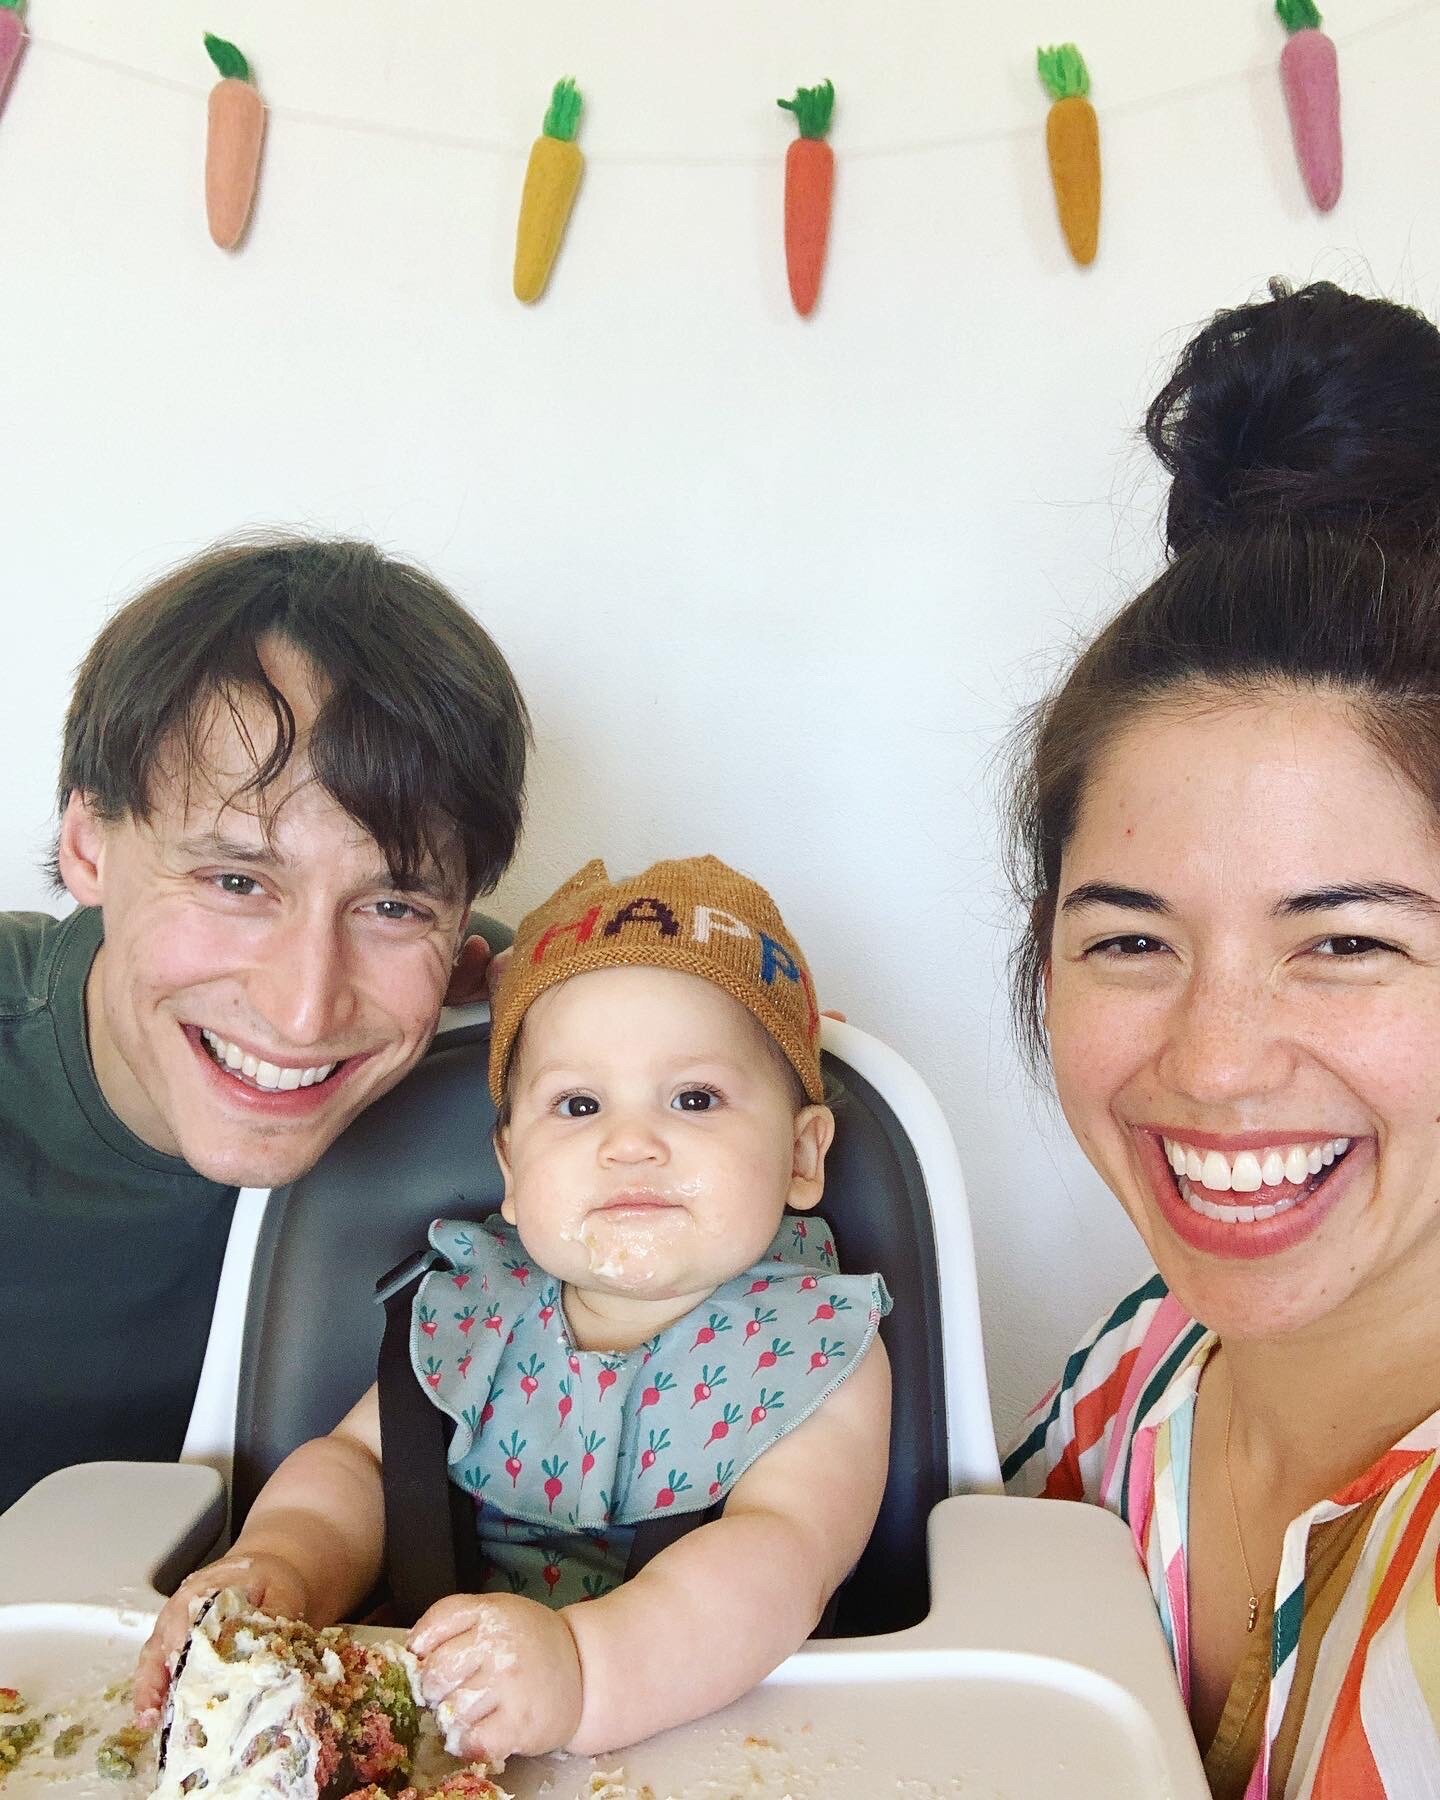
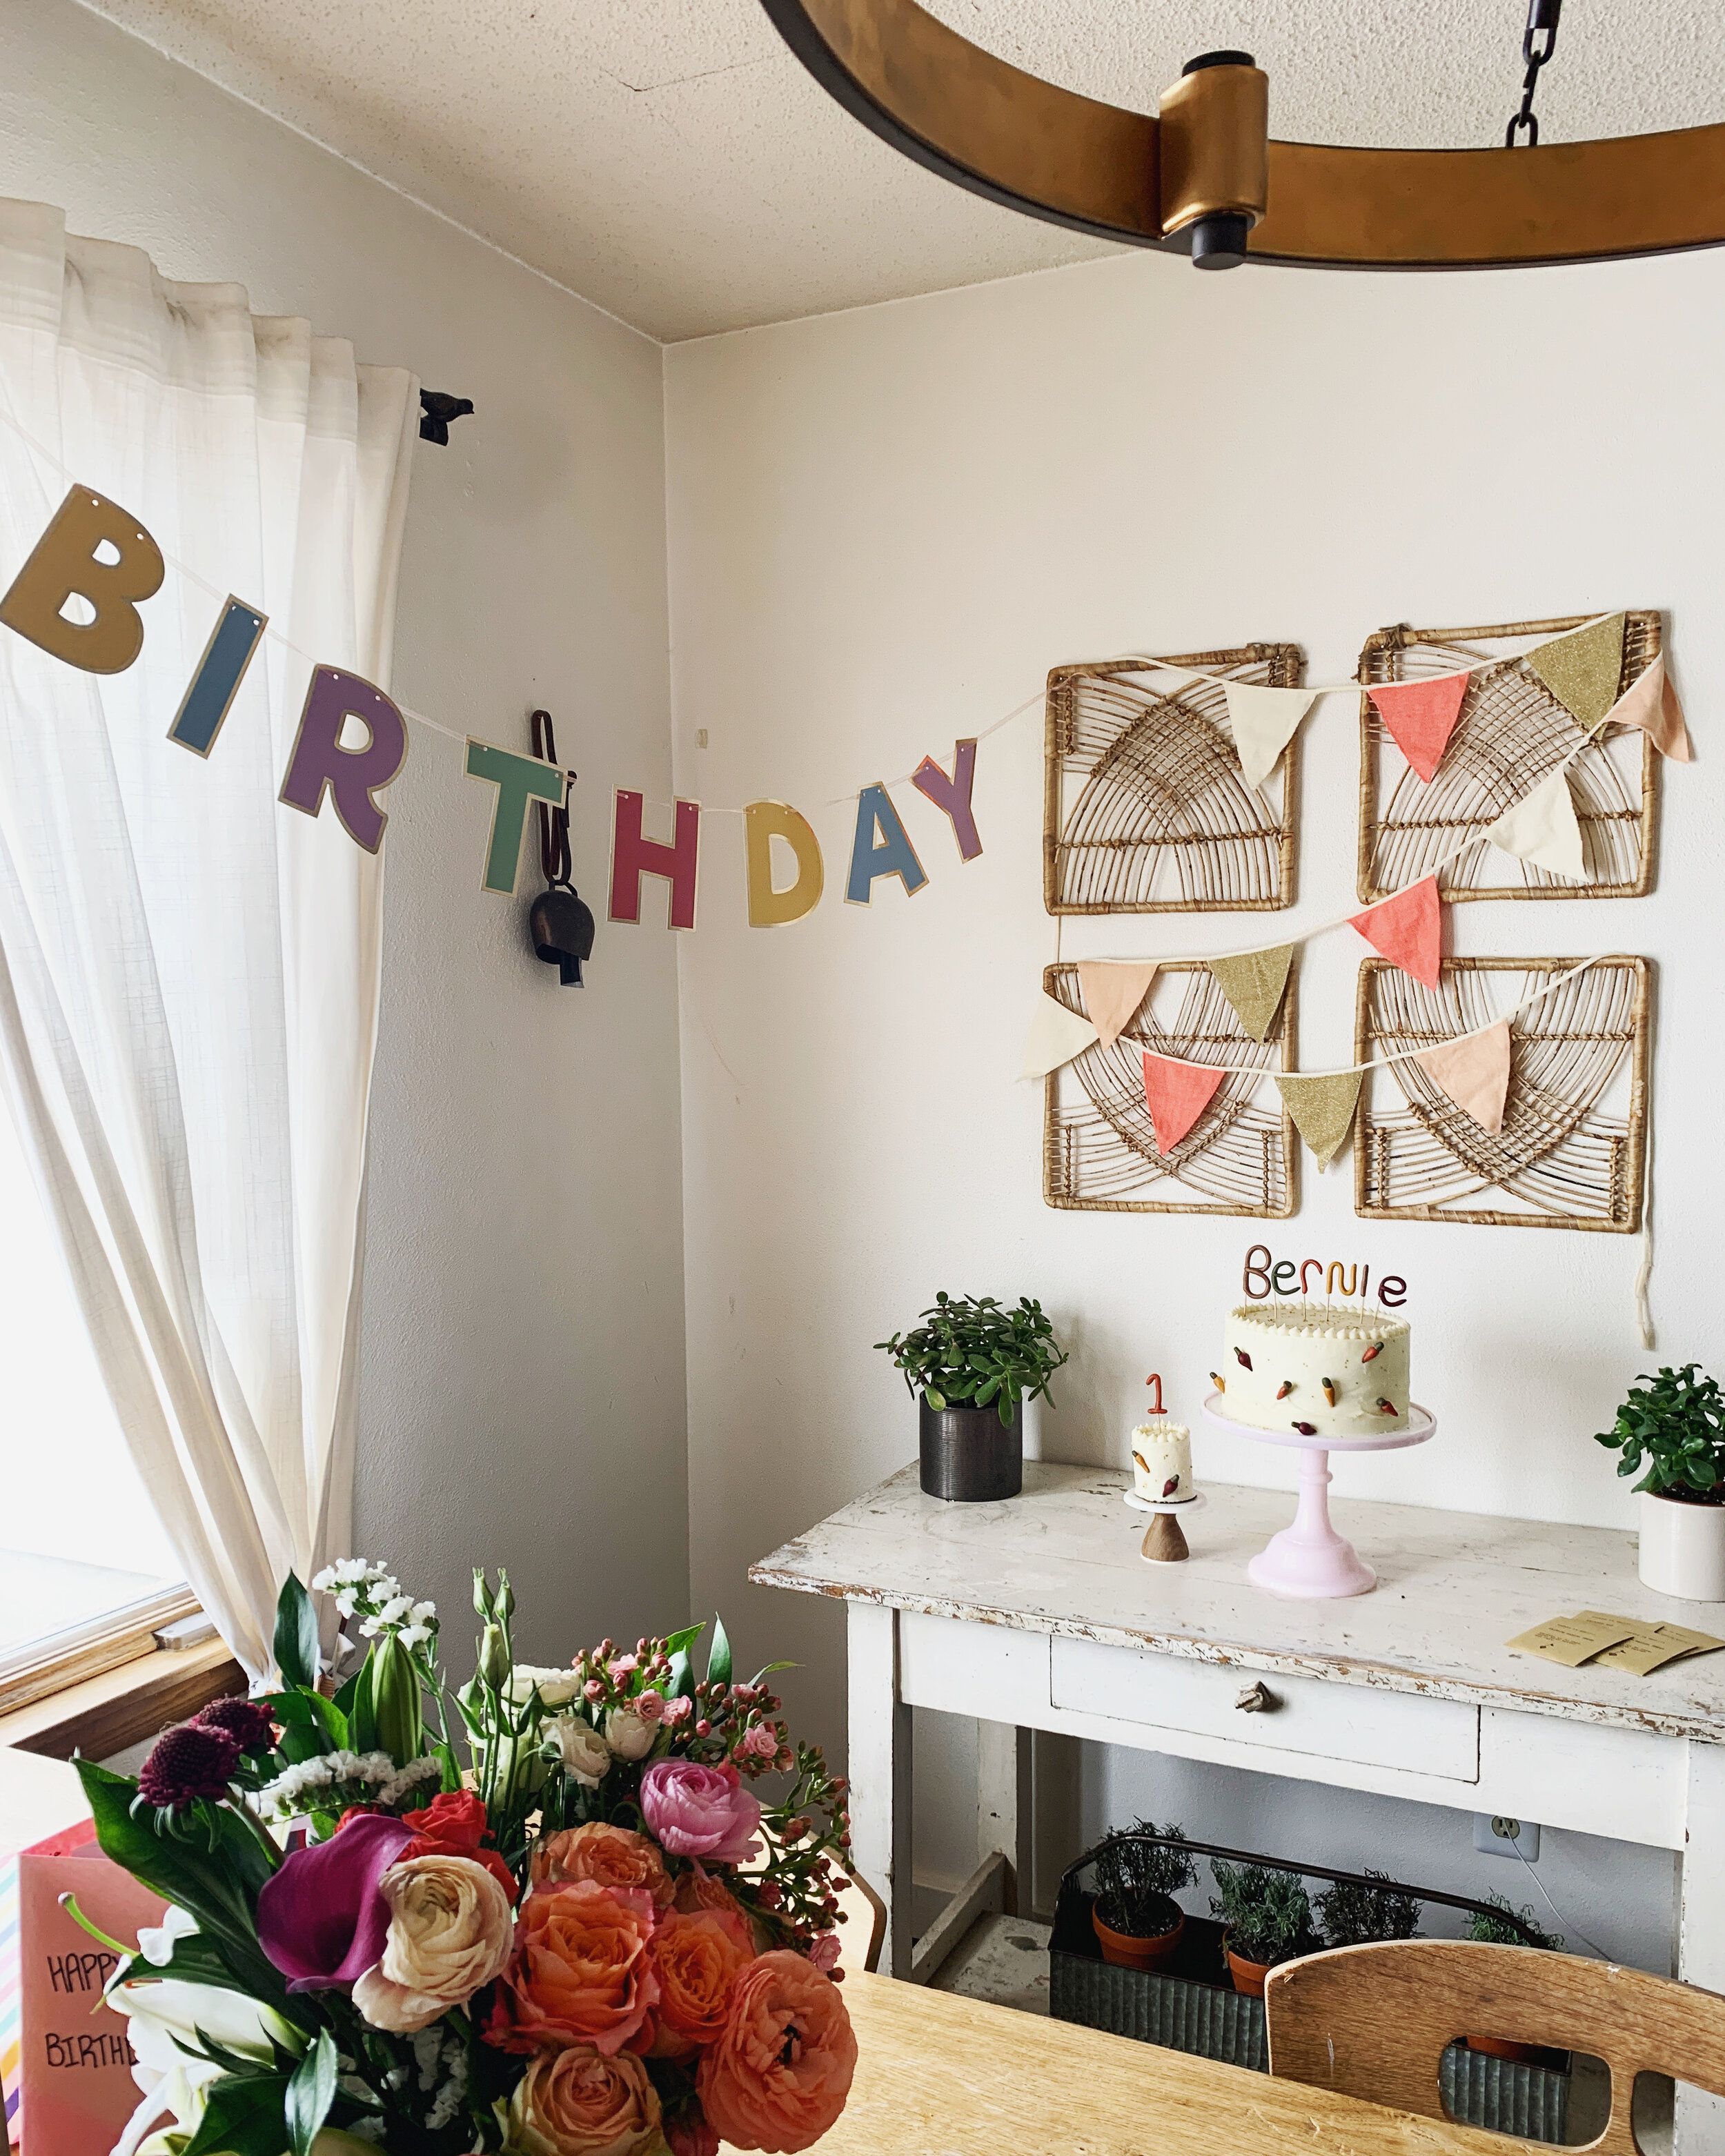
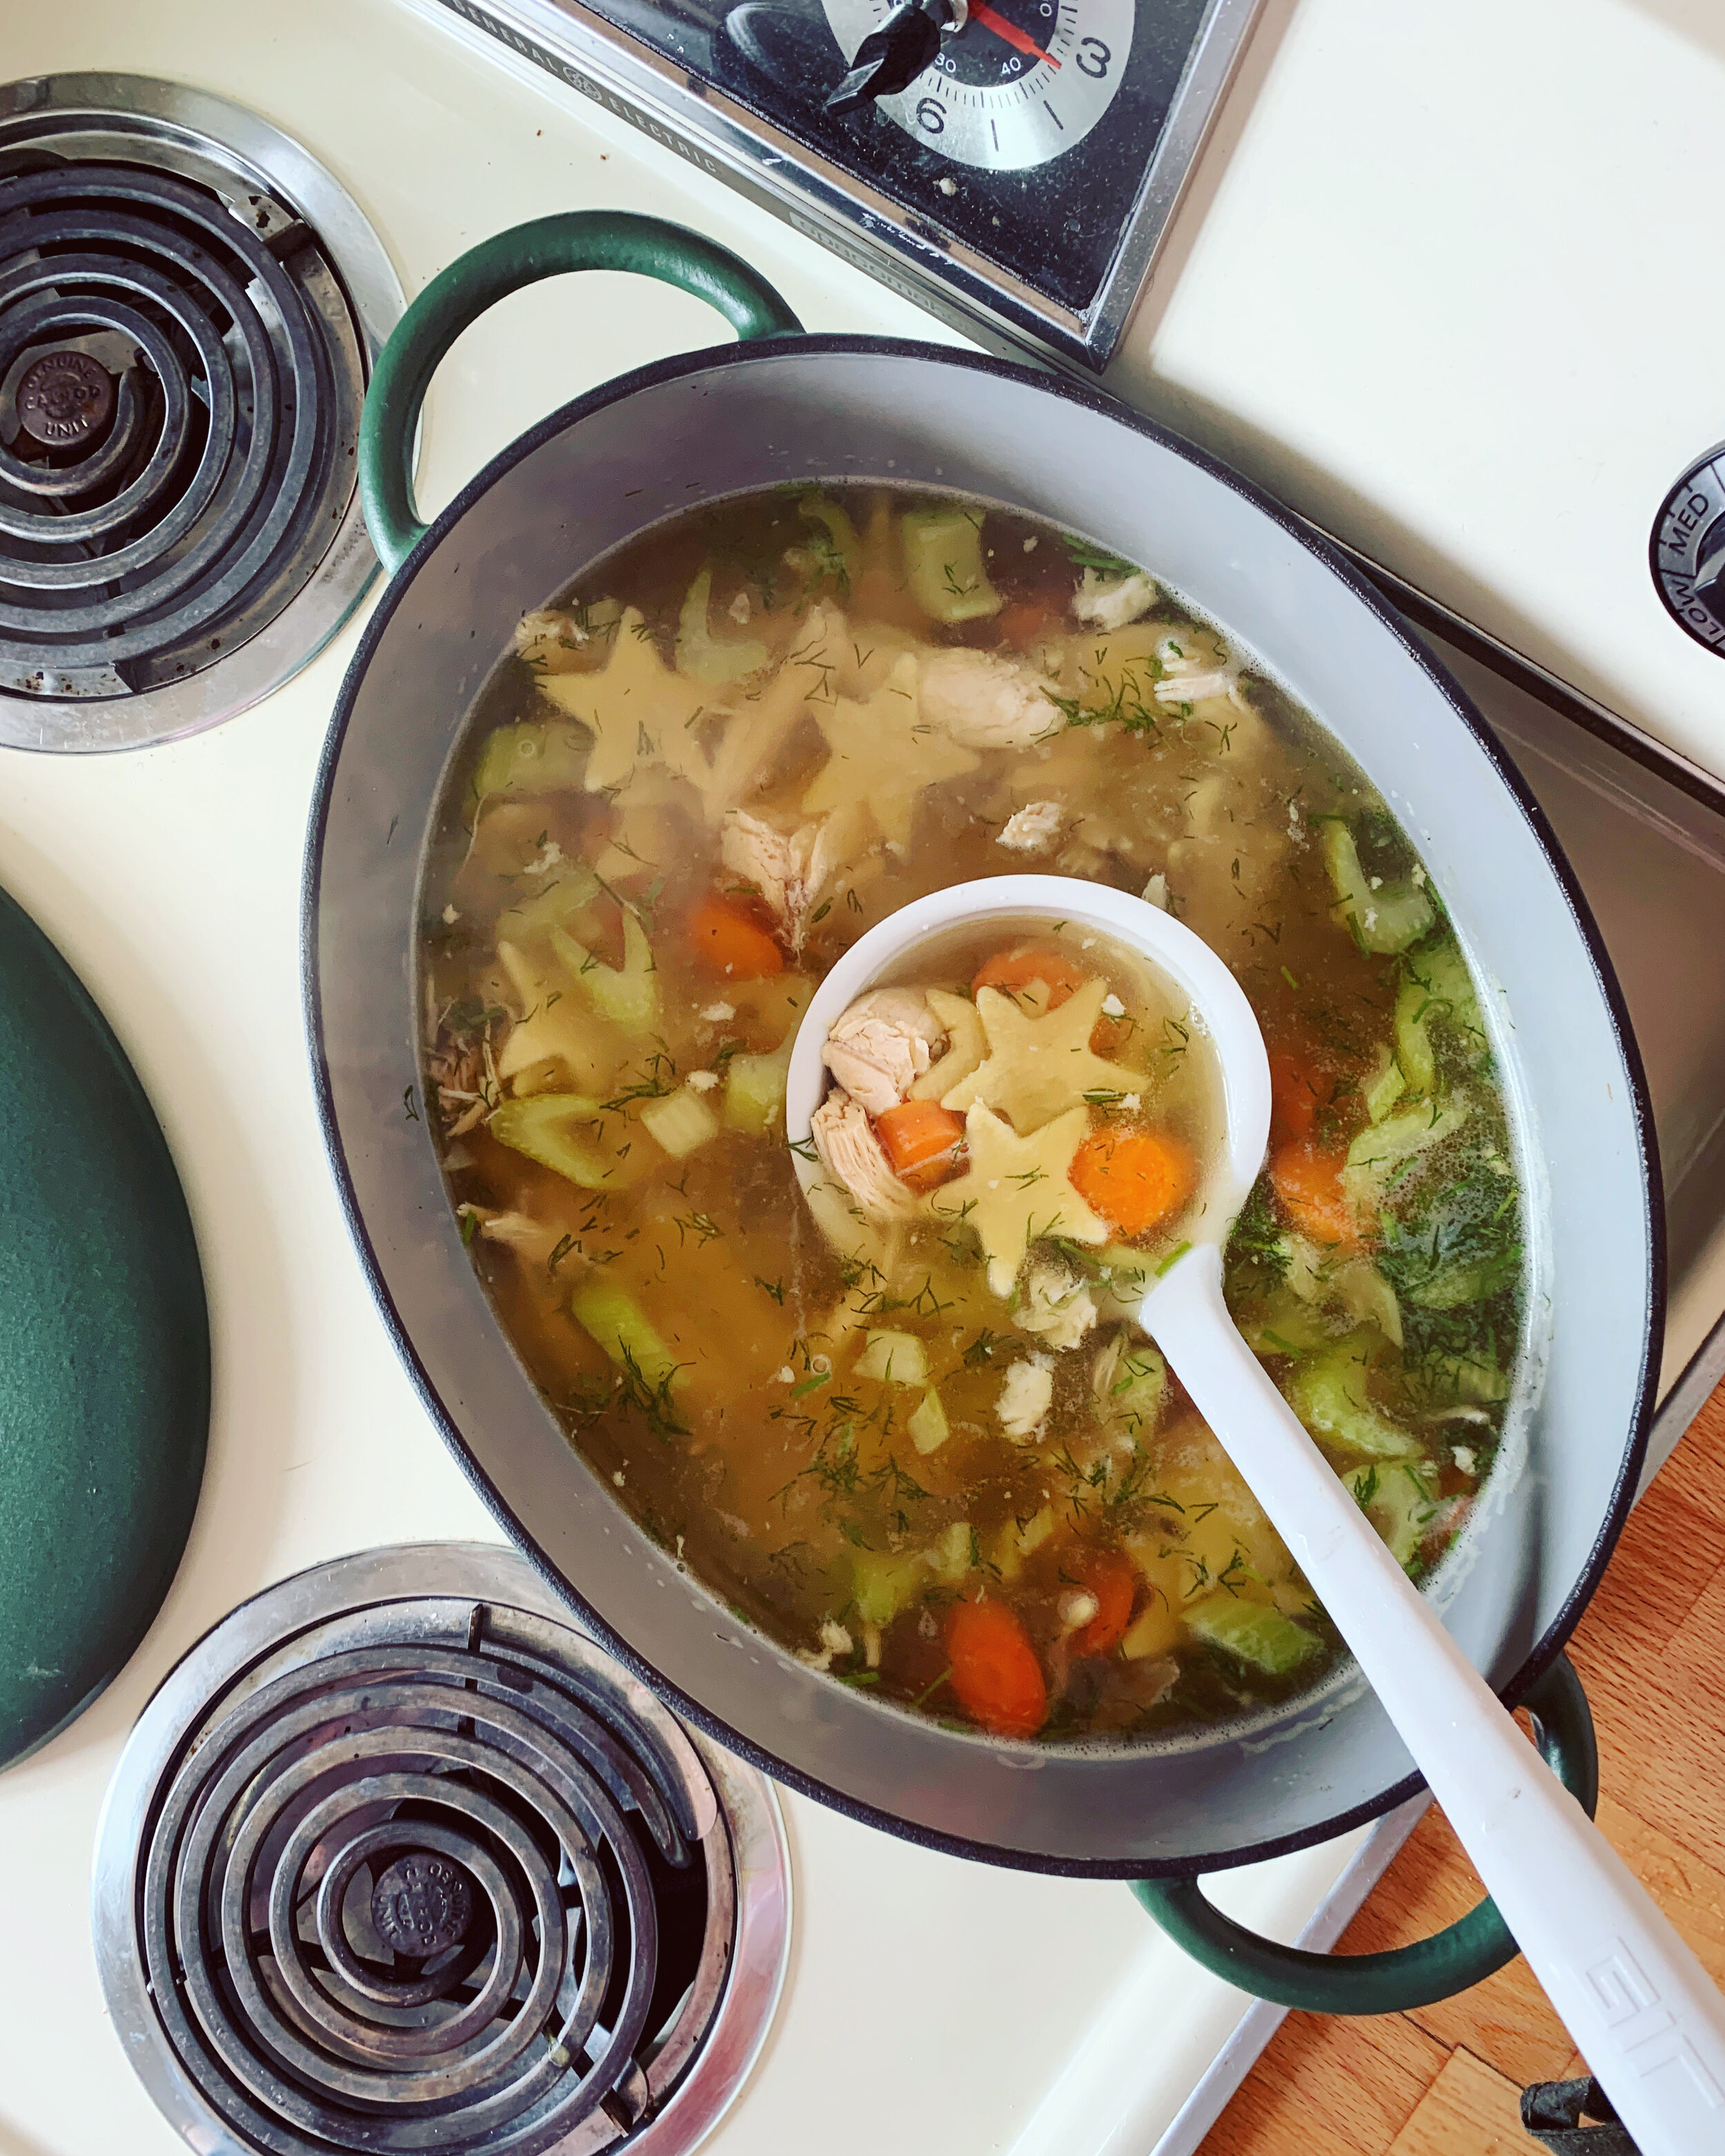
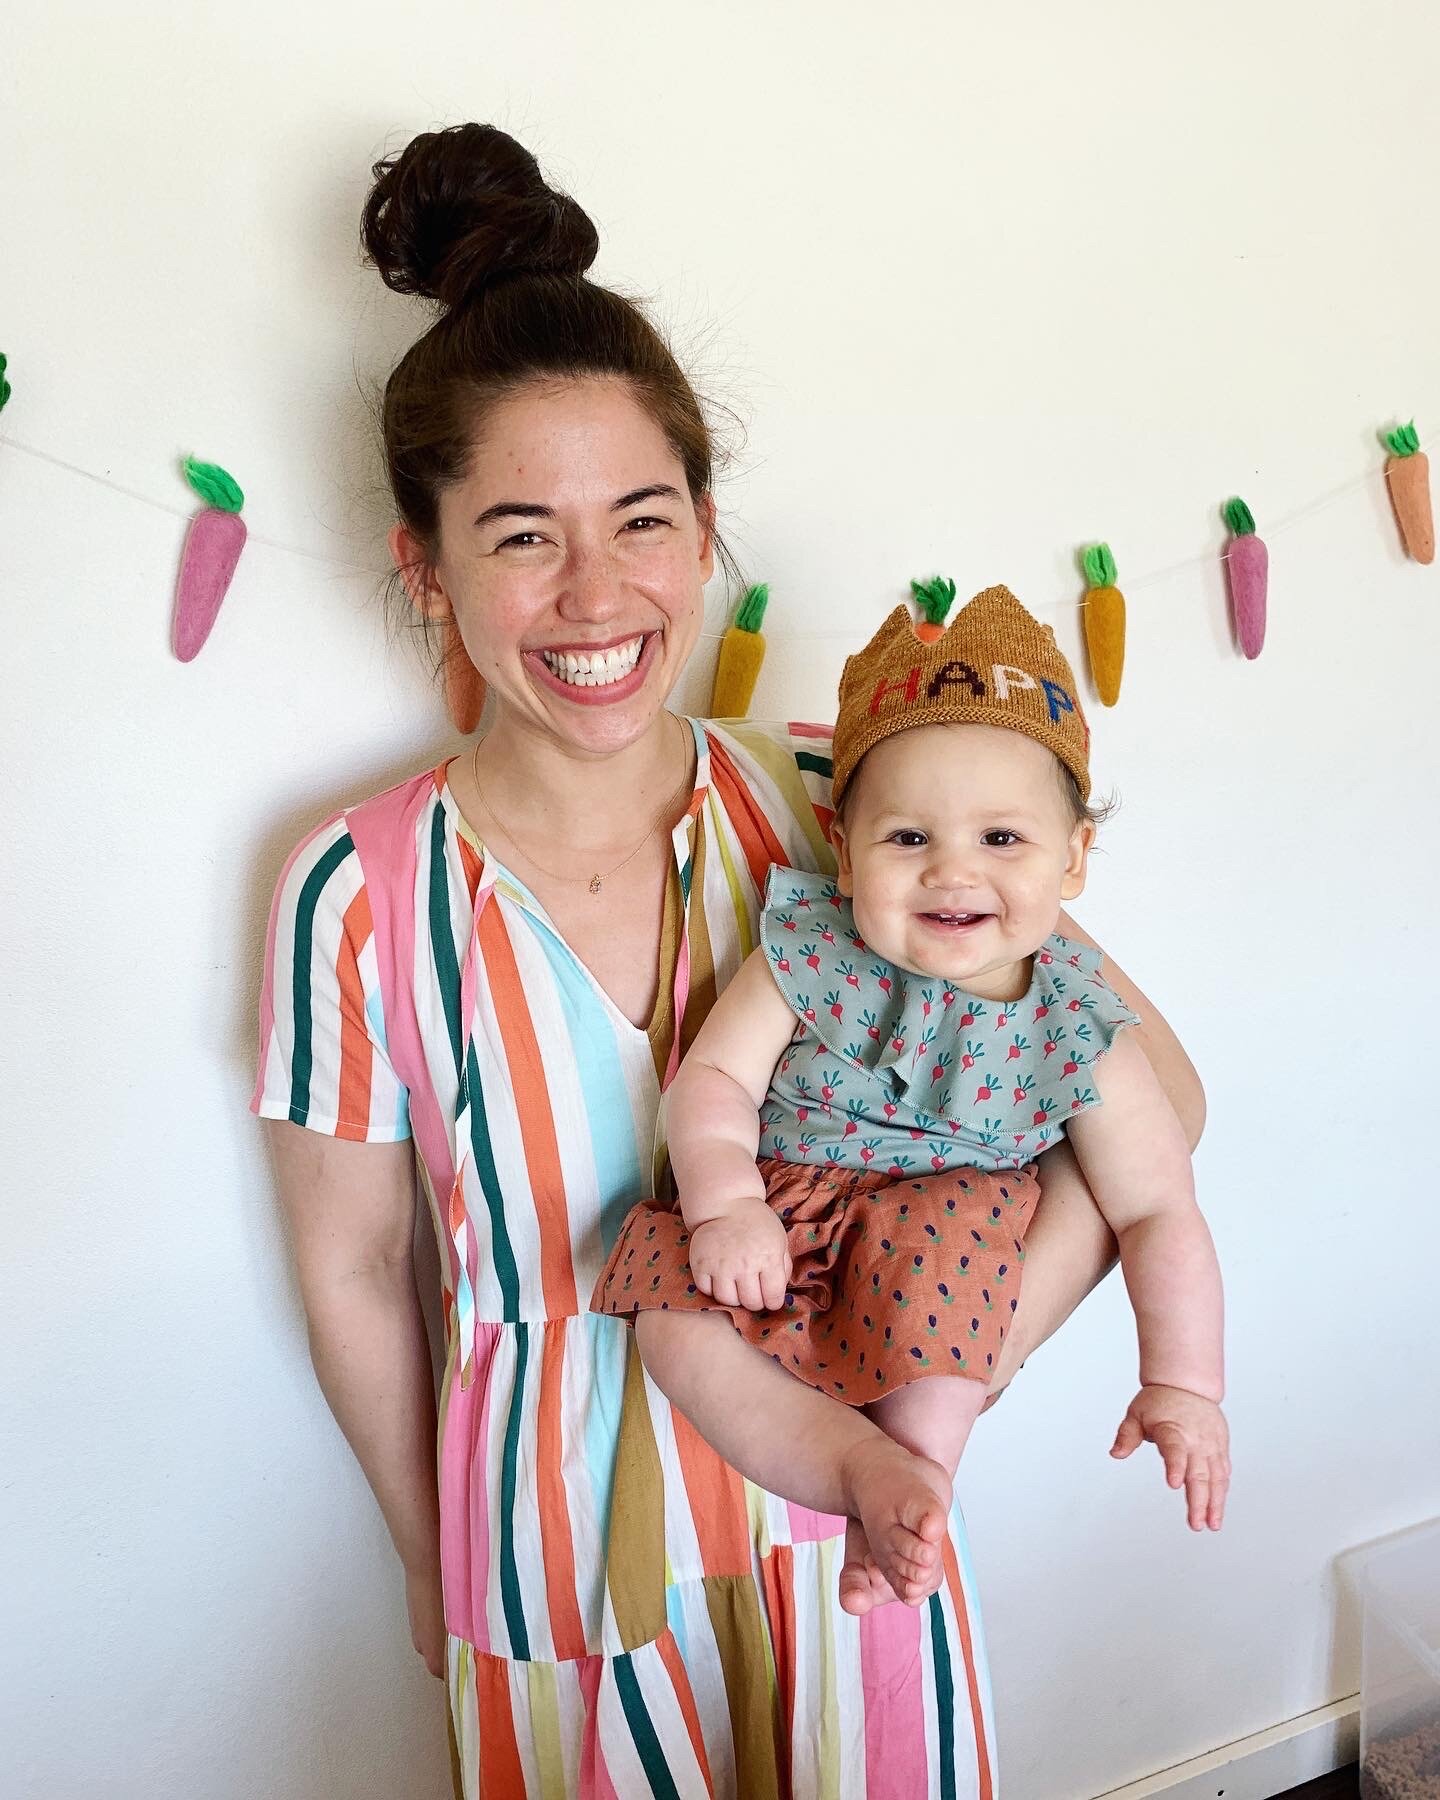
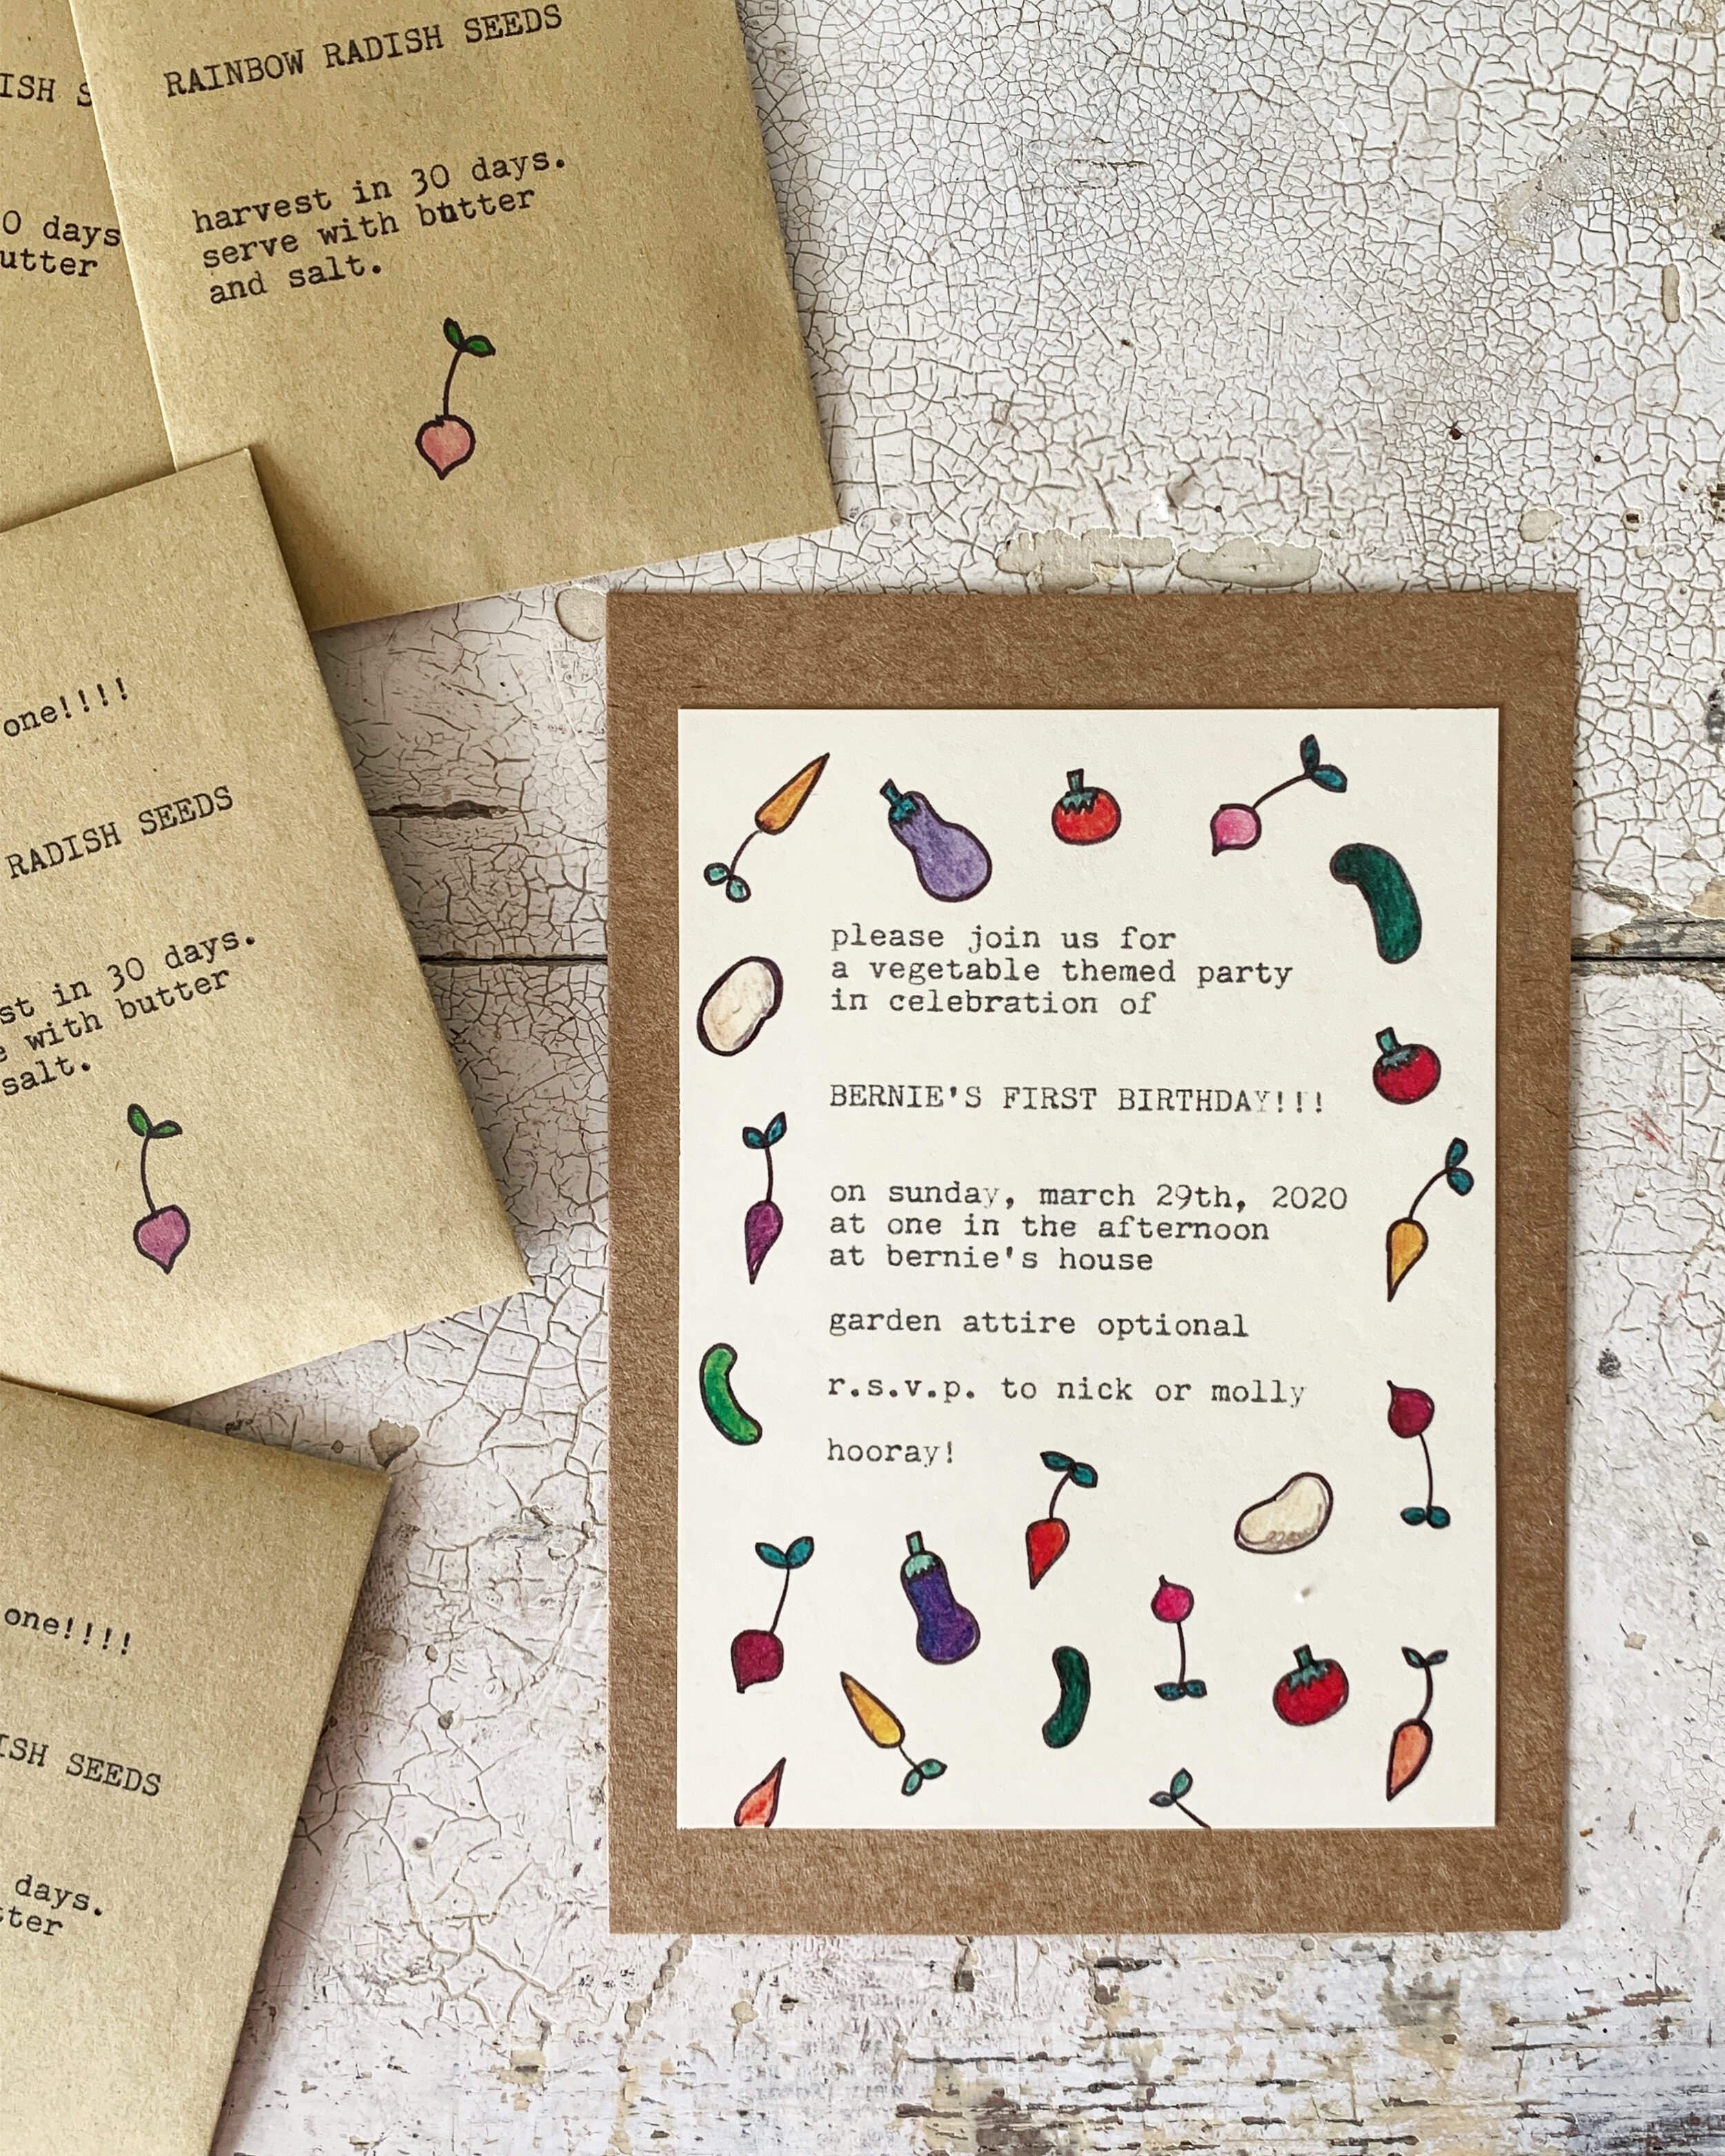
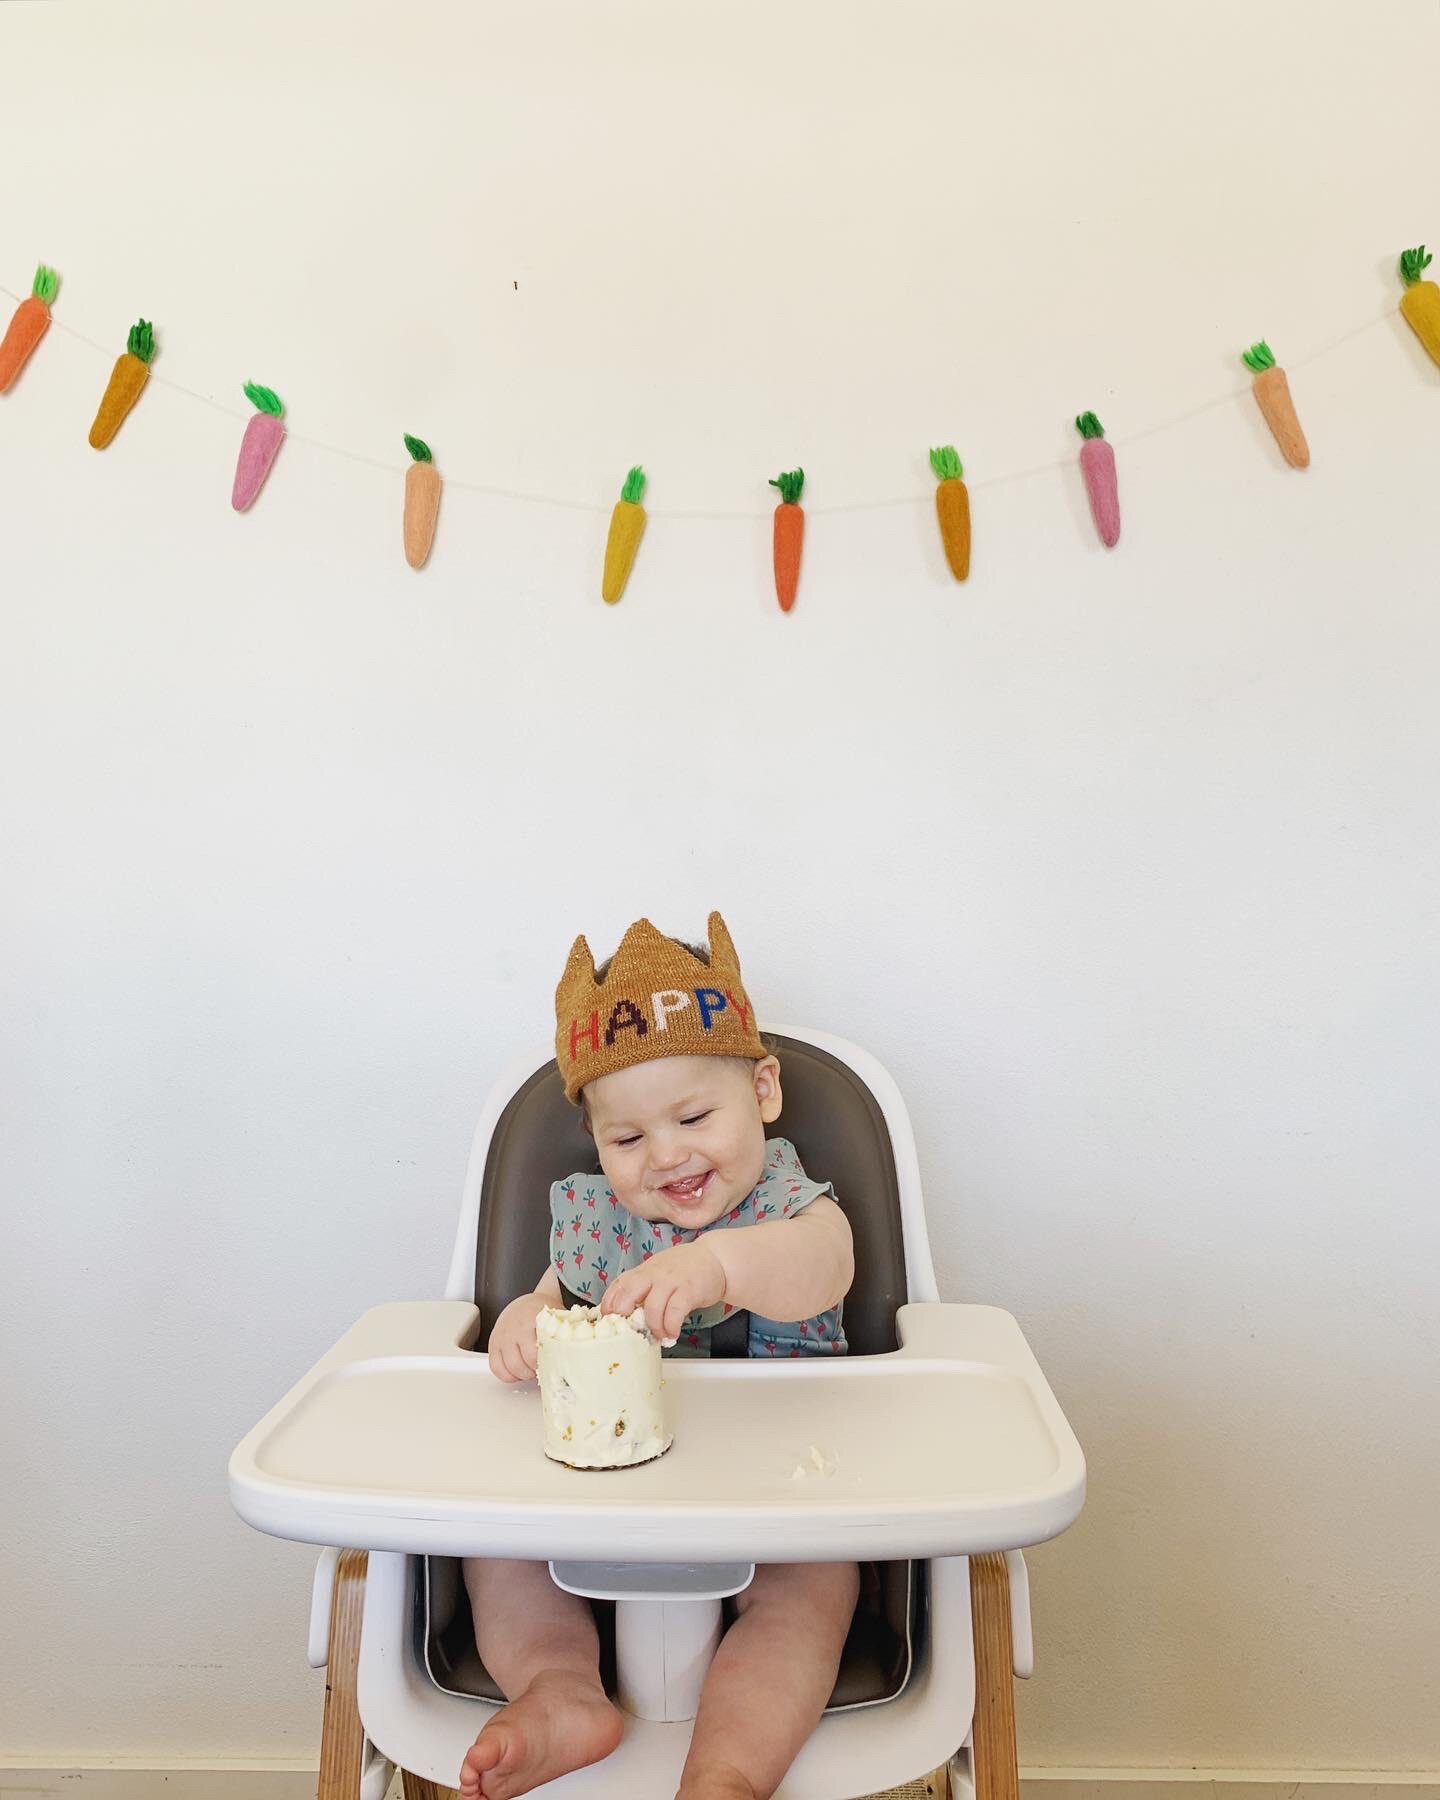
Bernie is ONE!! Yes, it went by so quickly! Yes, she gets more delicious every day!! Yes, I began planning her vegetable-themed birthday party more than six months ago and spent hours and hours searching for the perfect garlands and outfits, hand drawing her invitations, developing new recipes, sketching out her table scape, typewriter-ing the seed packet party favors, and scheduling the prep down to the minute. (And yes, in retrospect, I see what Nick meant when he said that I am… crazy…) And then yes, we had to cancel it ☹️! But!! Even though we missed our fronds and family dearly, it was truly a magical beautiful Bernie day and we loved every single moment of it. We had sprinkle pancakes and blueberries for breakfast, homemade chicken and stars soup for lunch, and turkey spinach meatballs with freshly made fettuccine for dinner. In between, we played in pools of Cheerios and visited the farm cats. And then we had cake! Obviously!

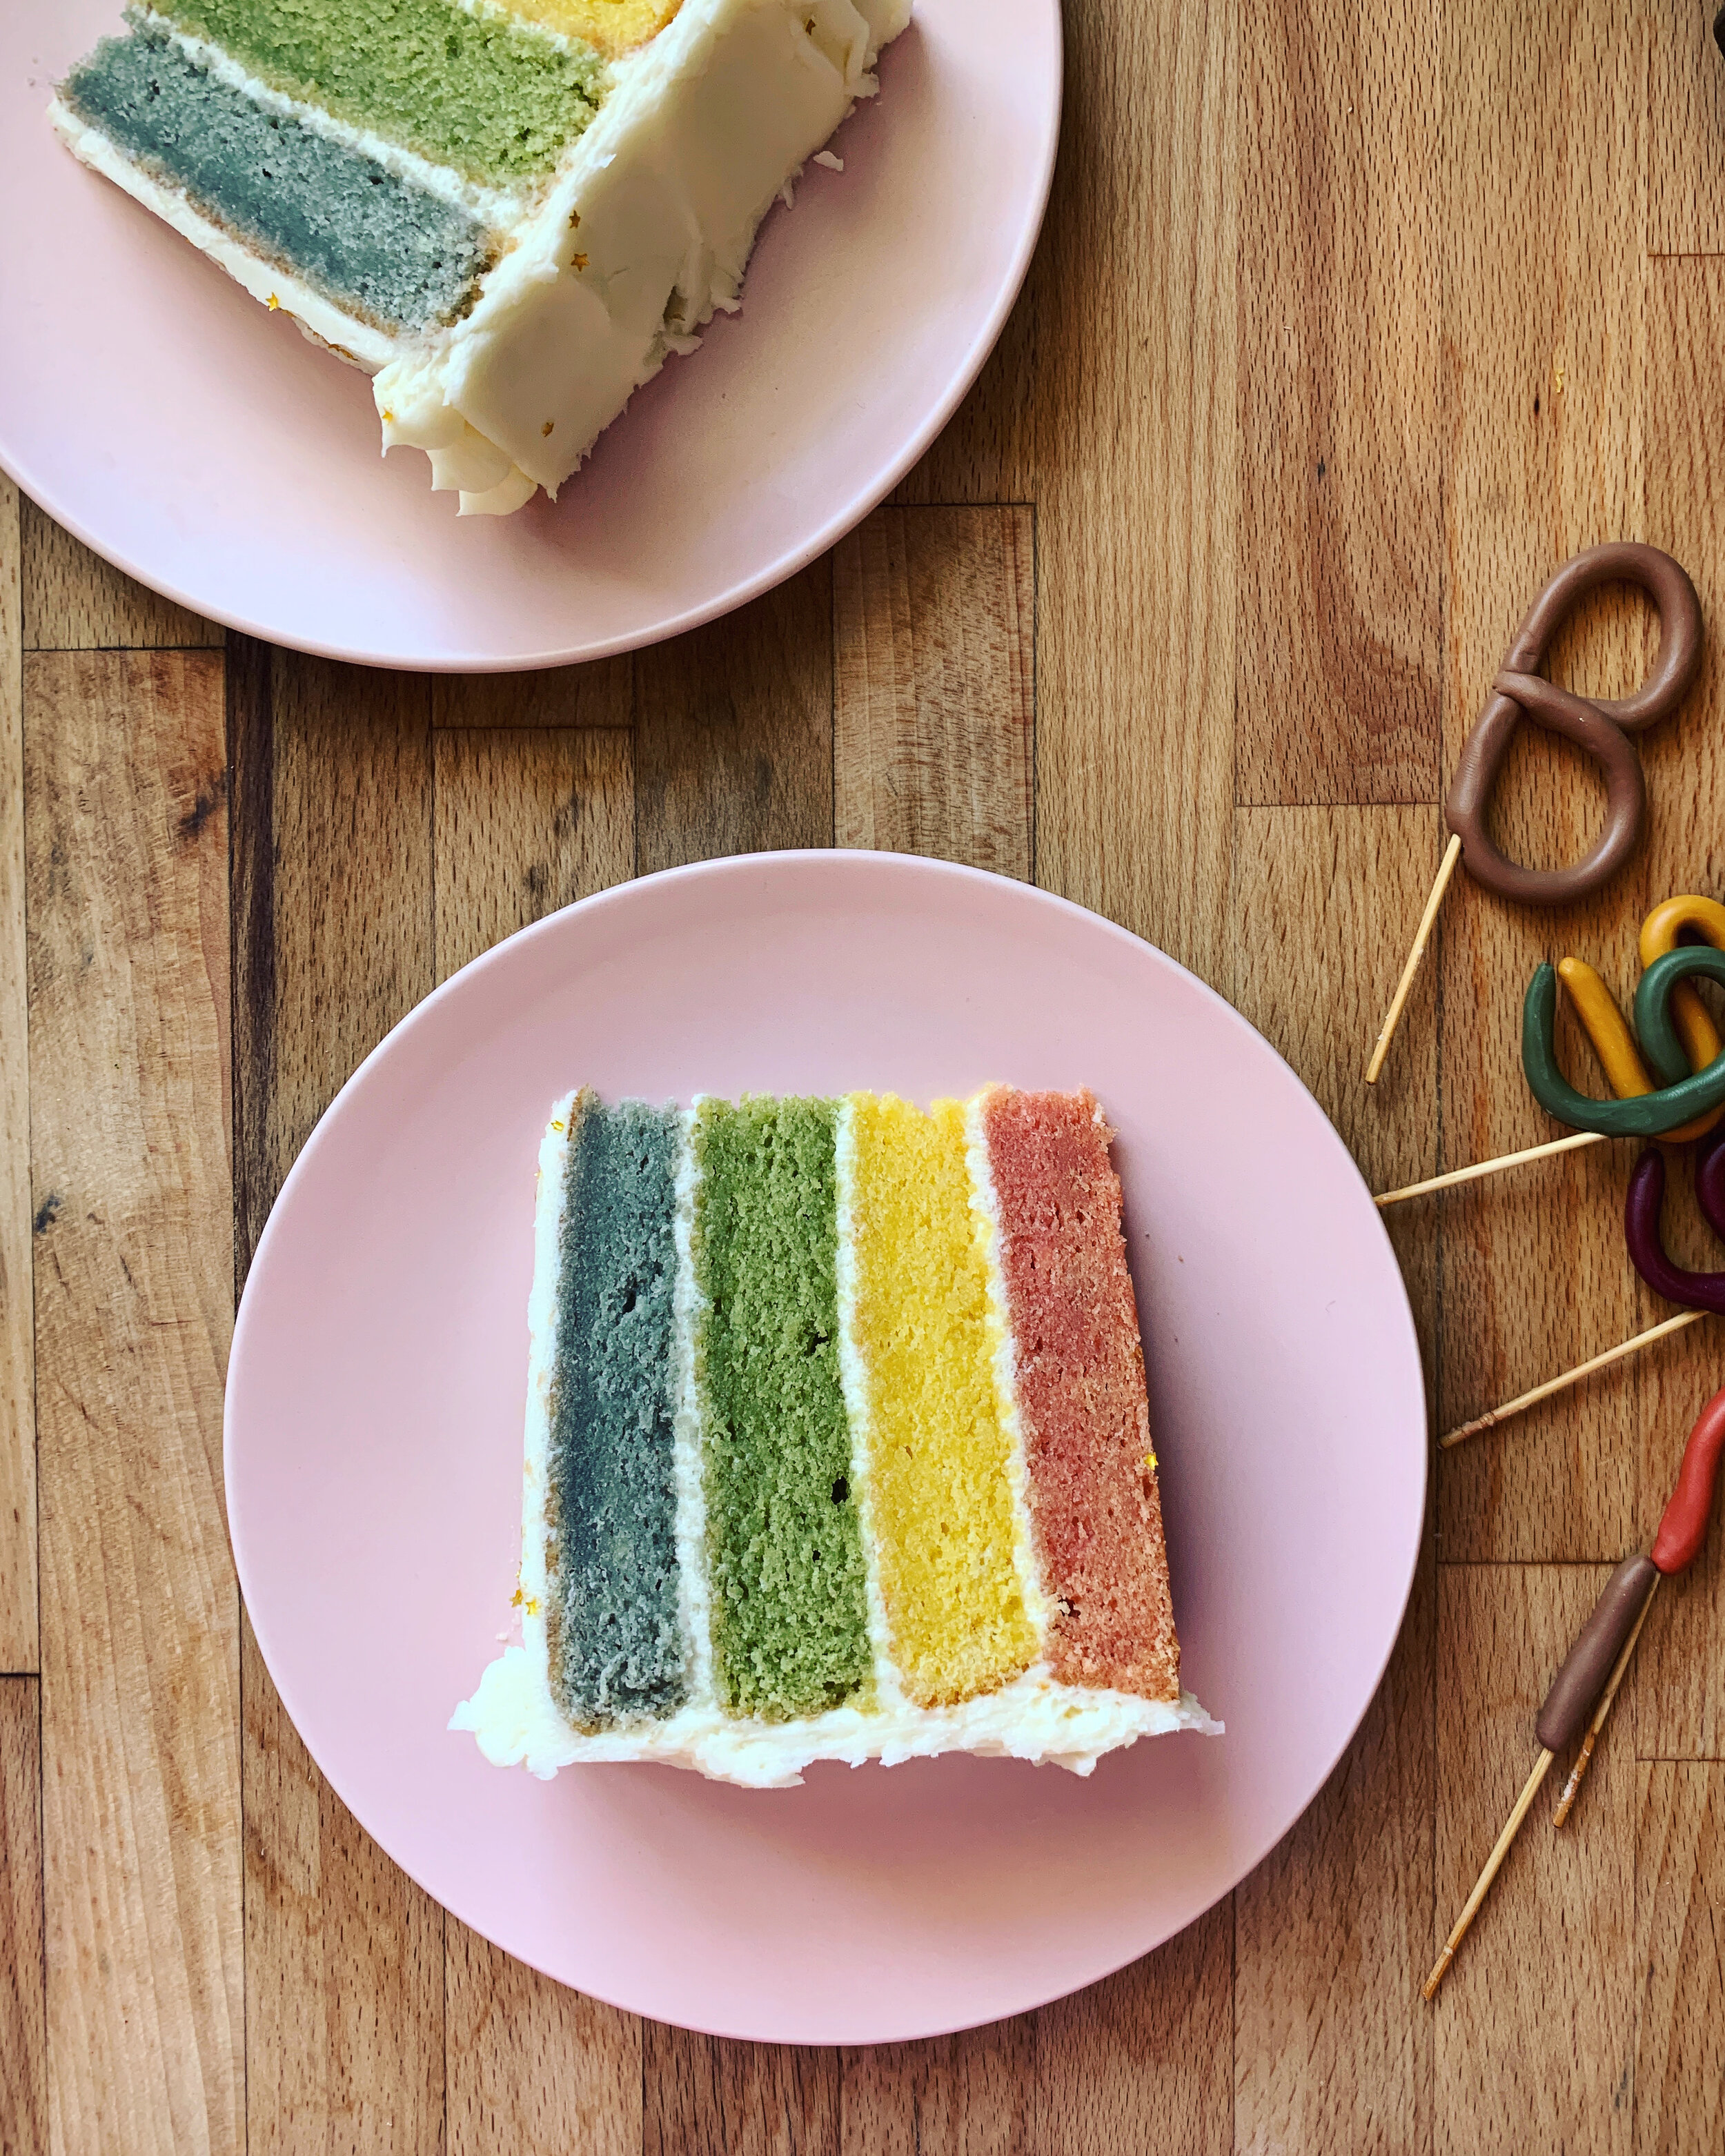
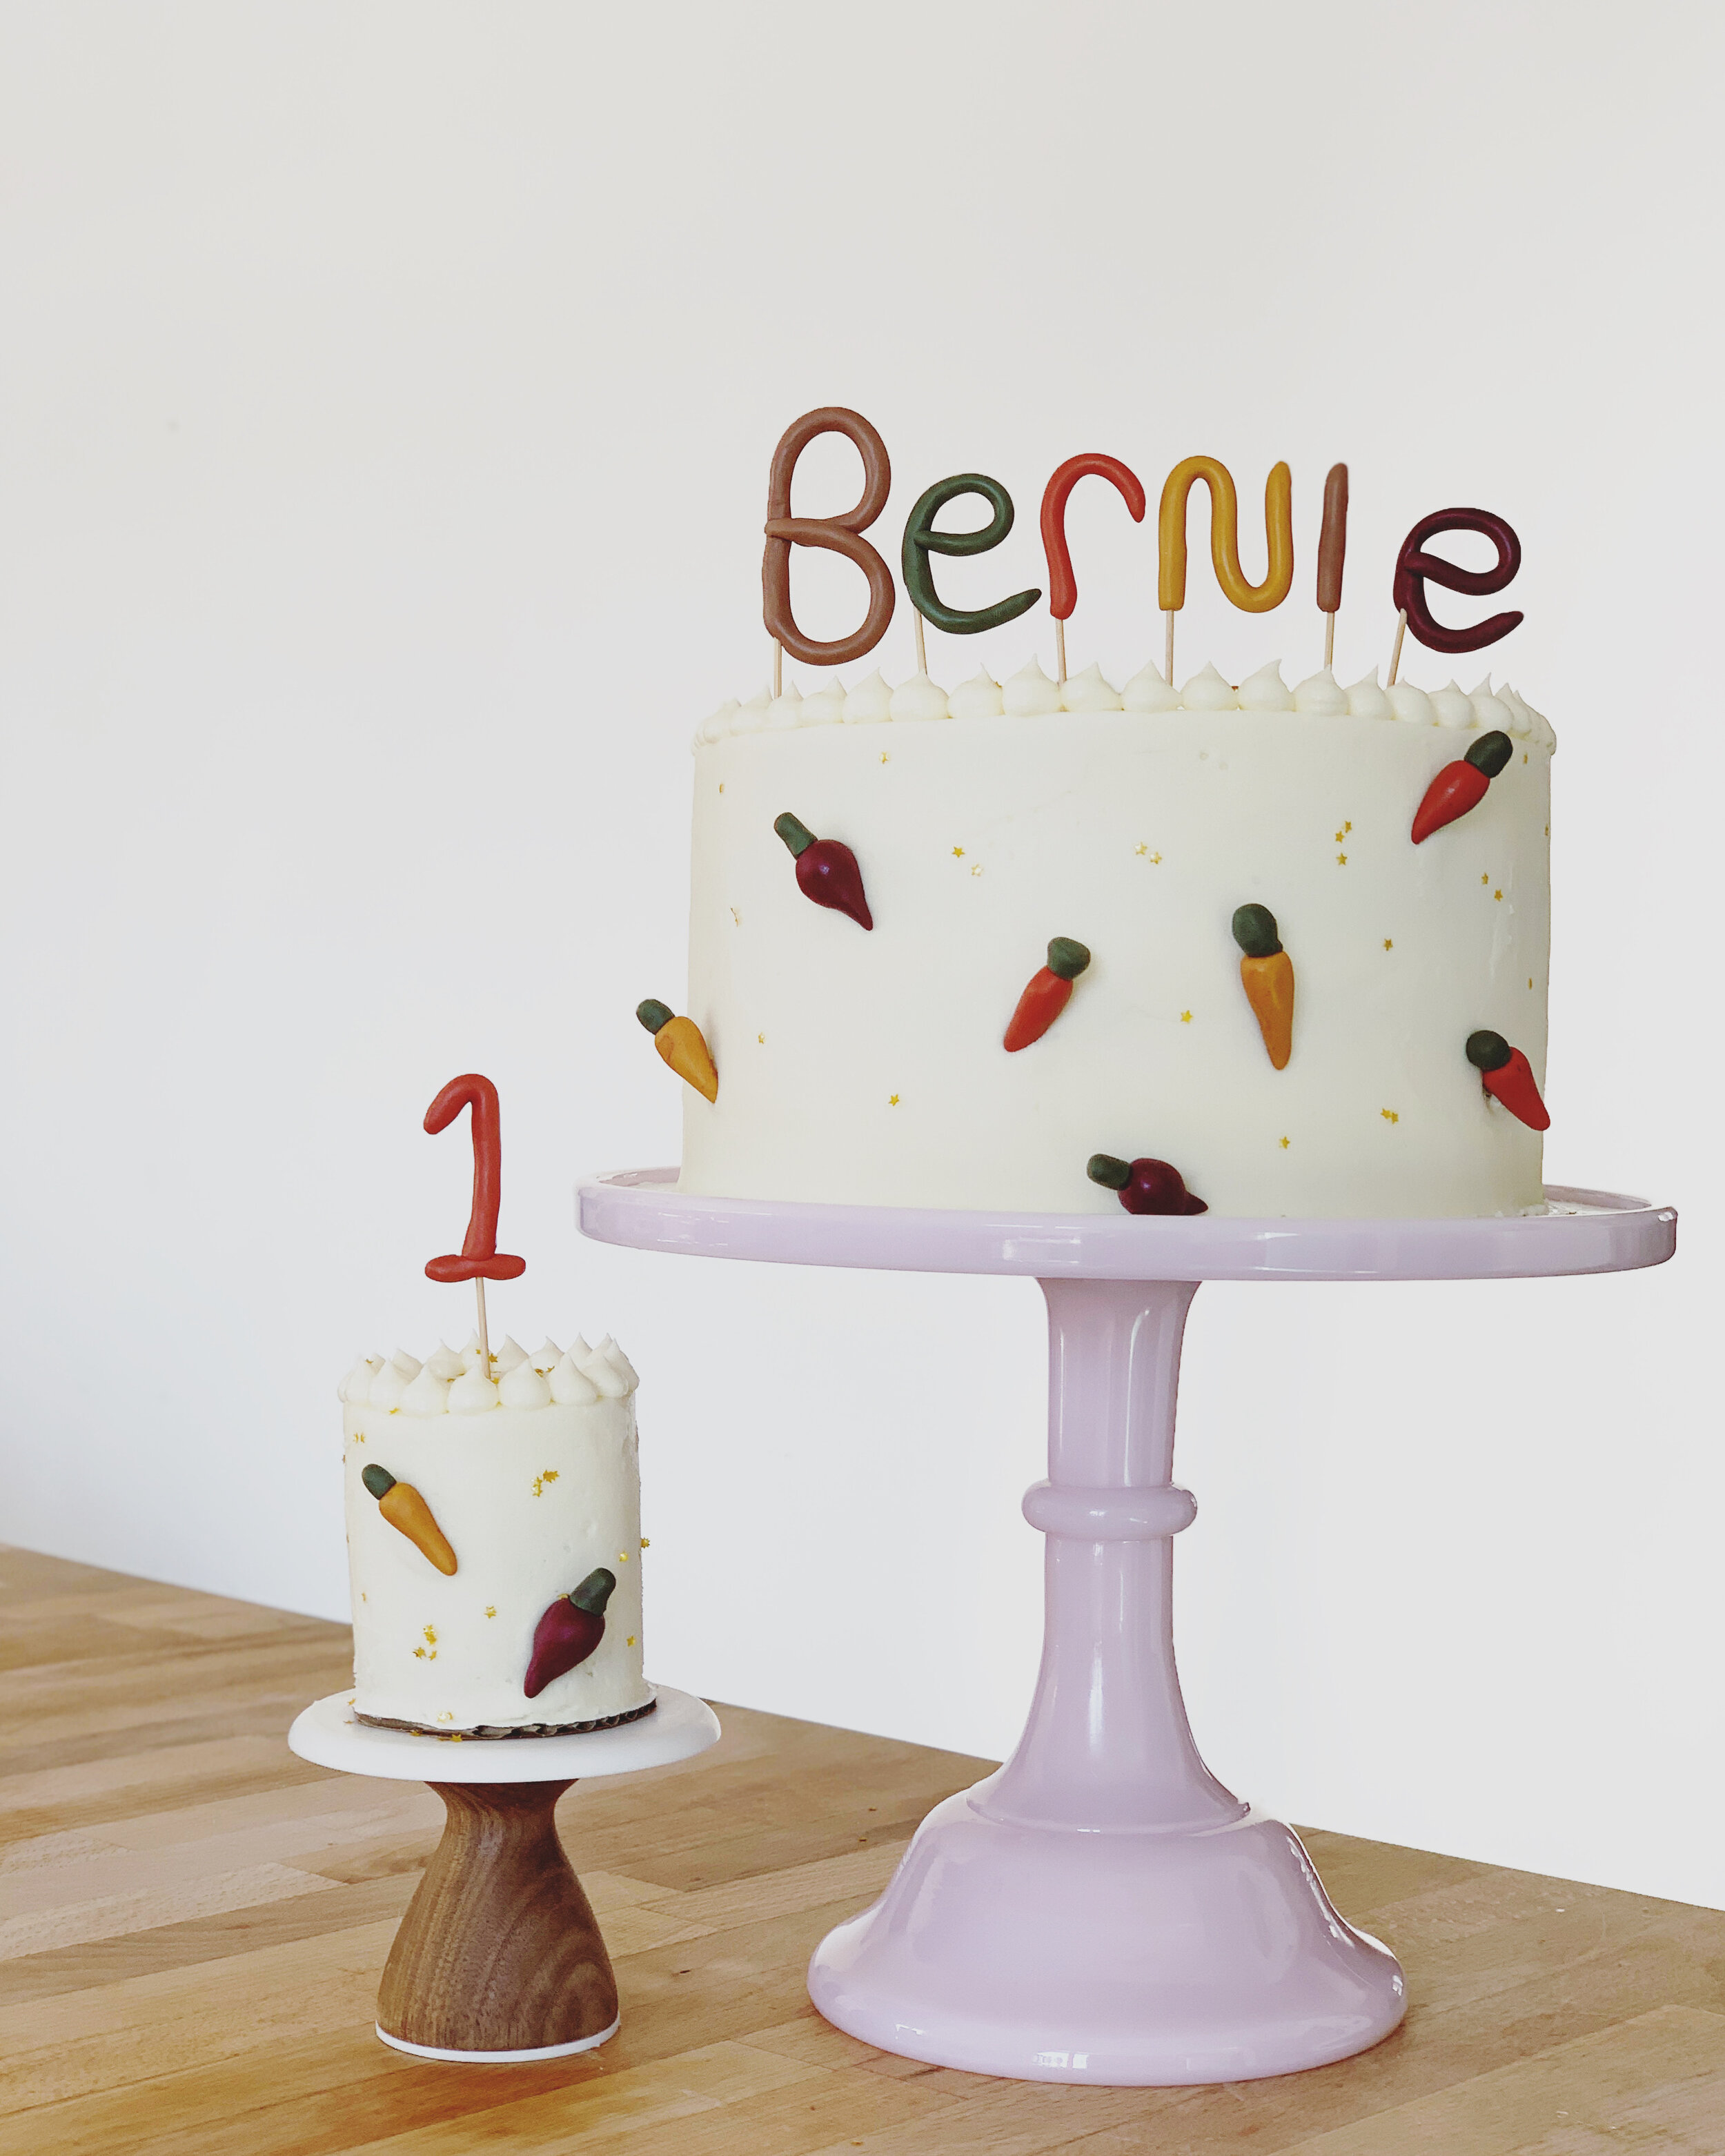
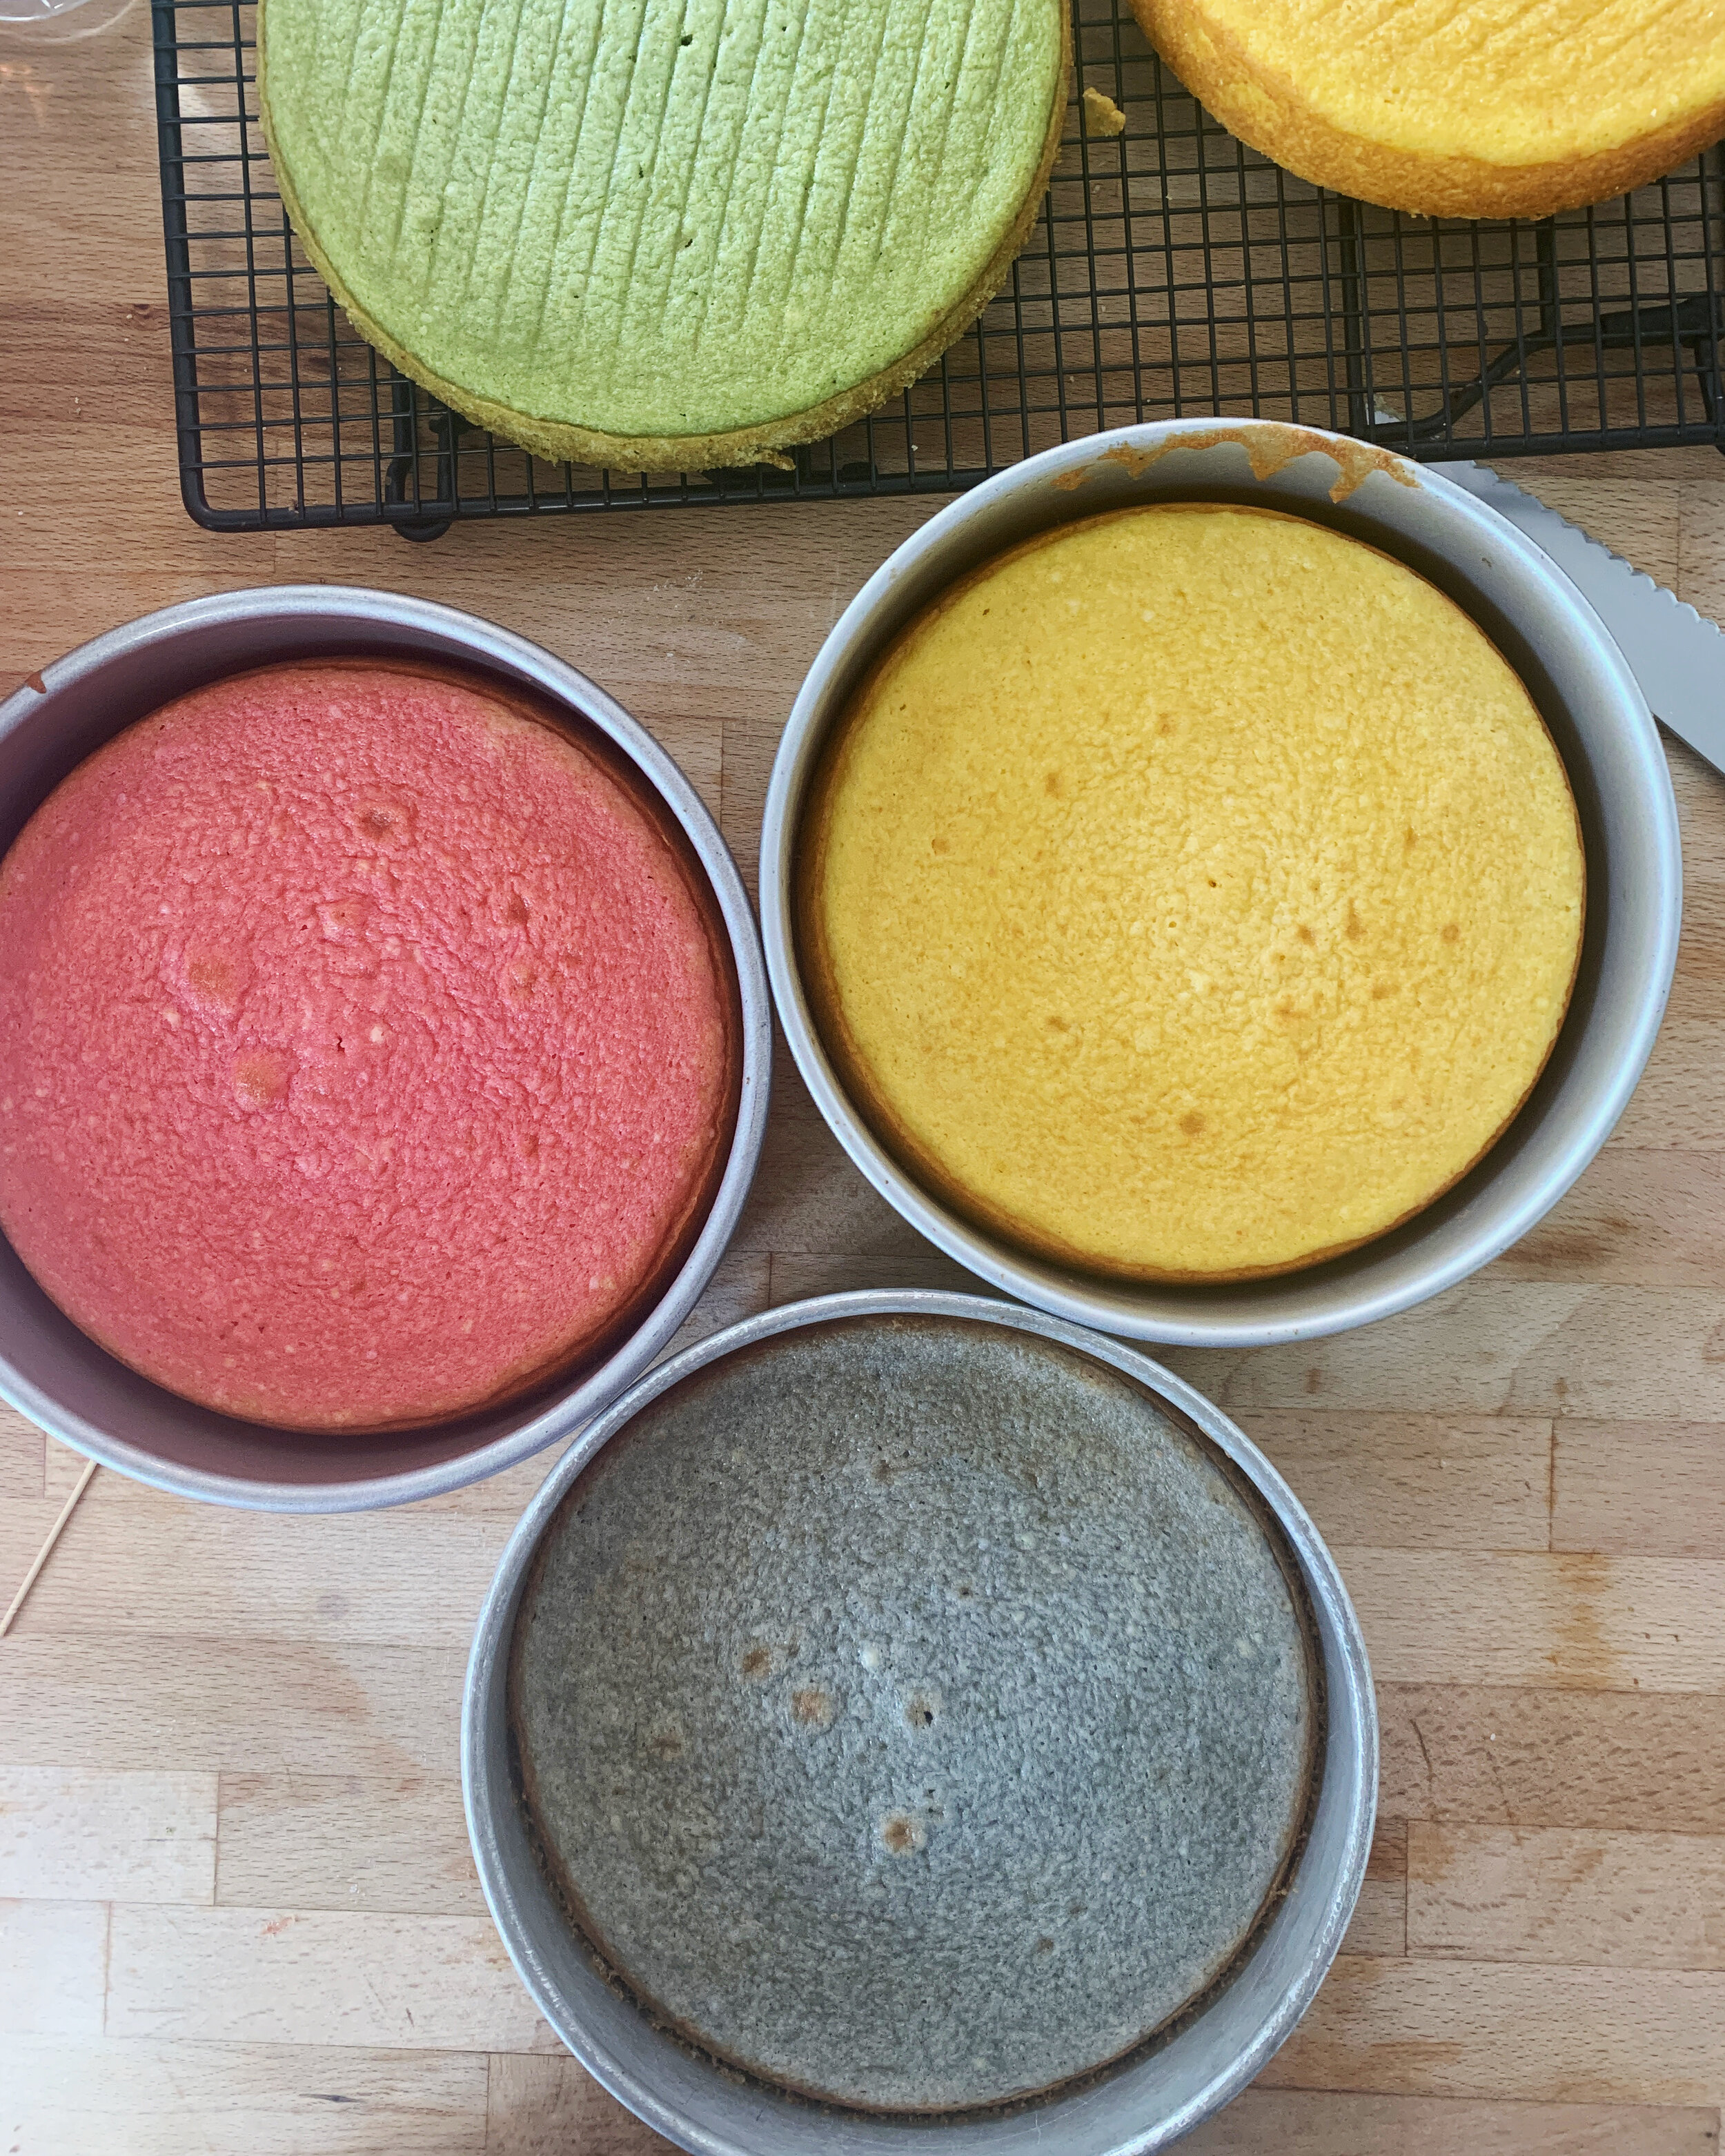
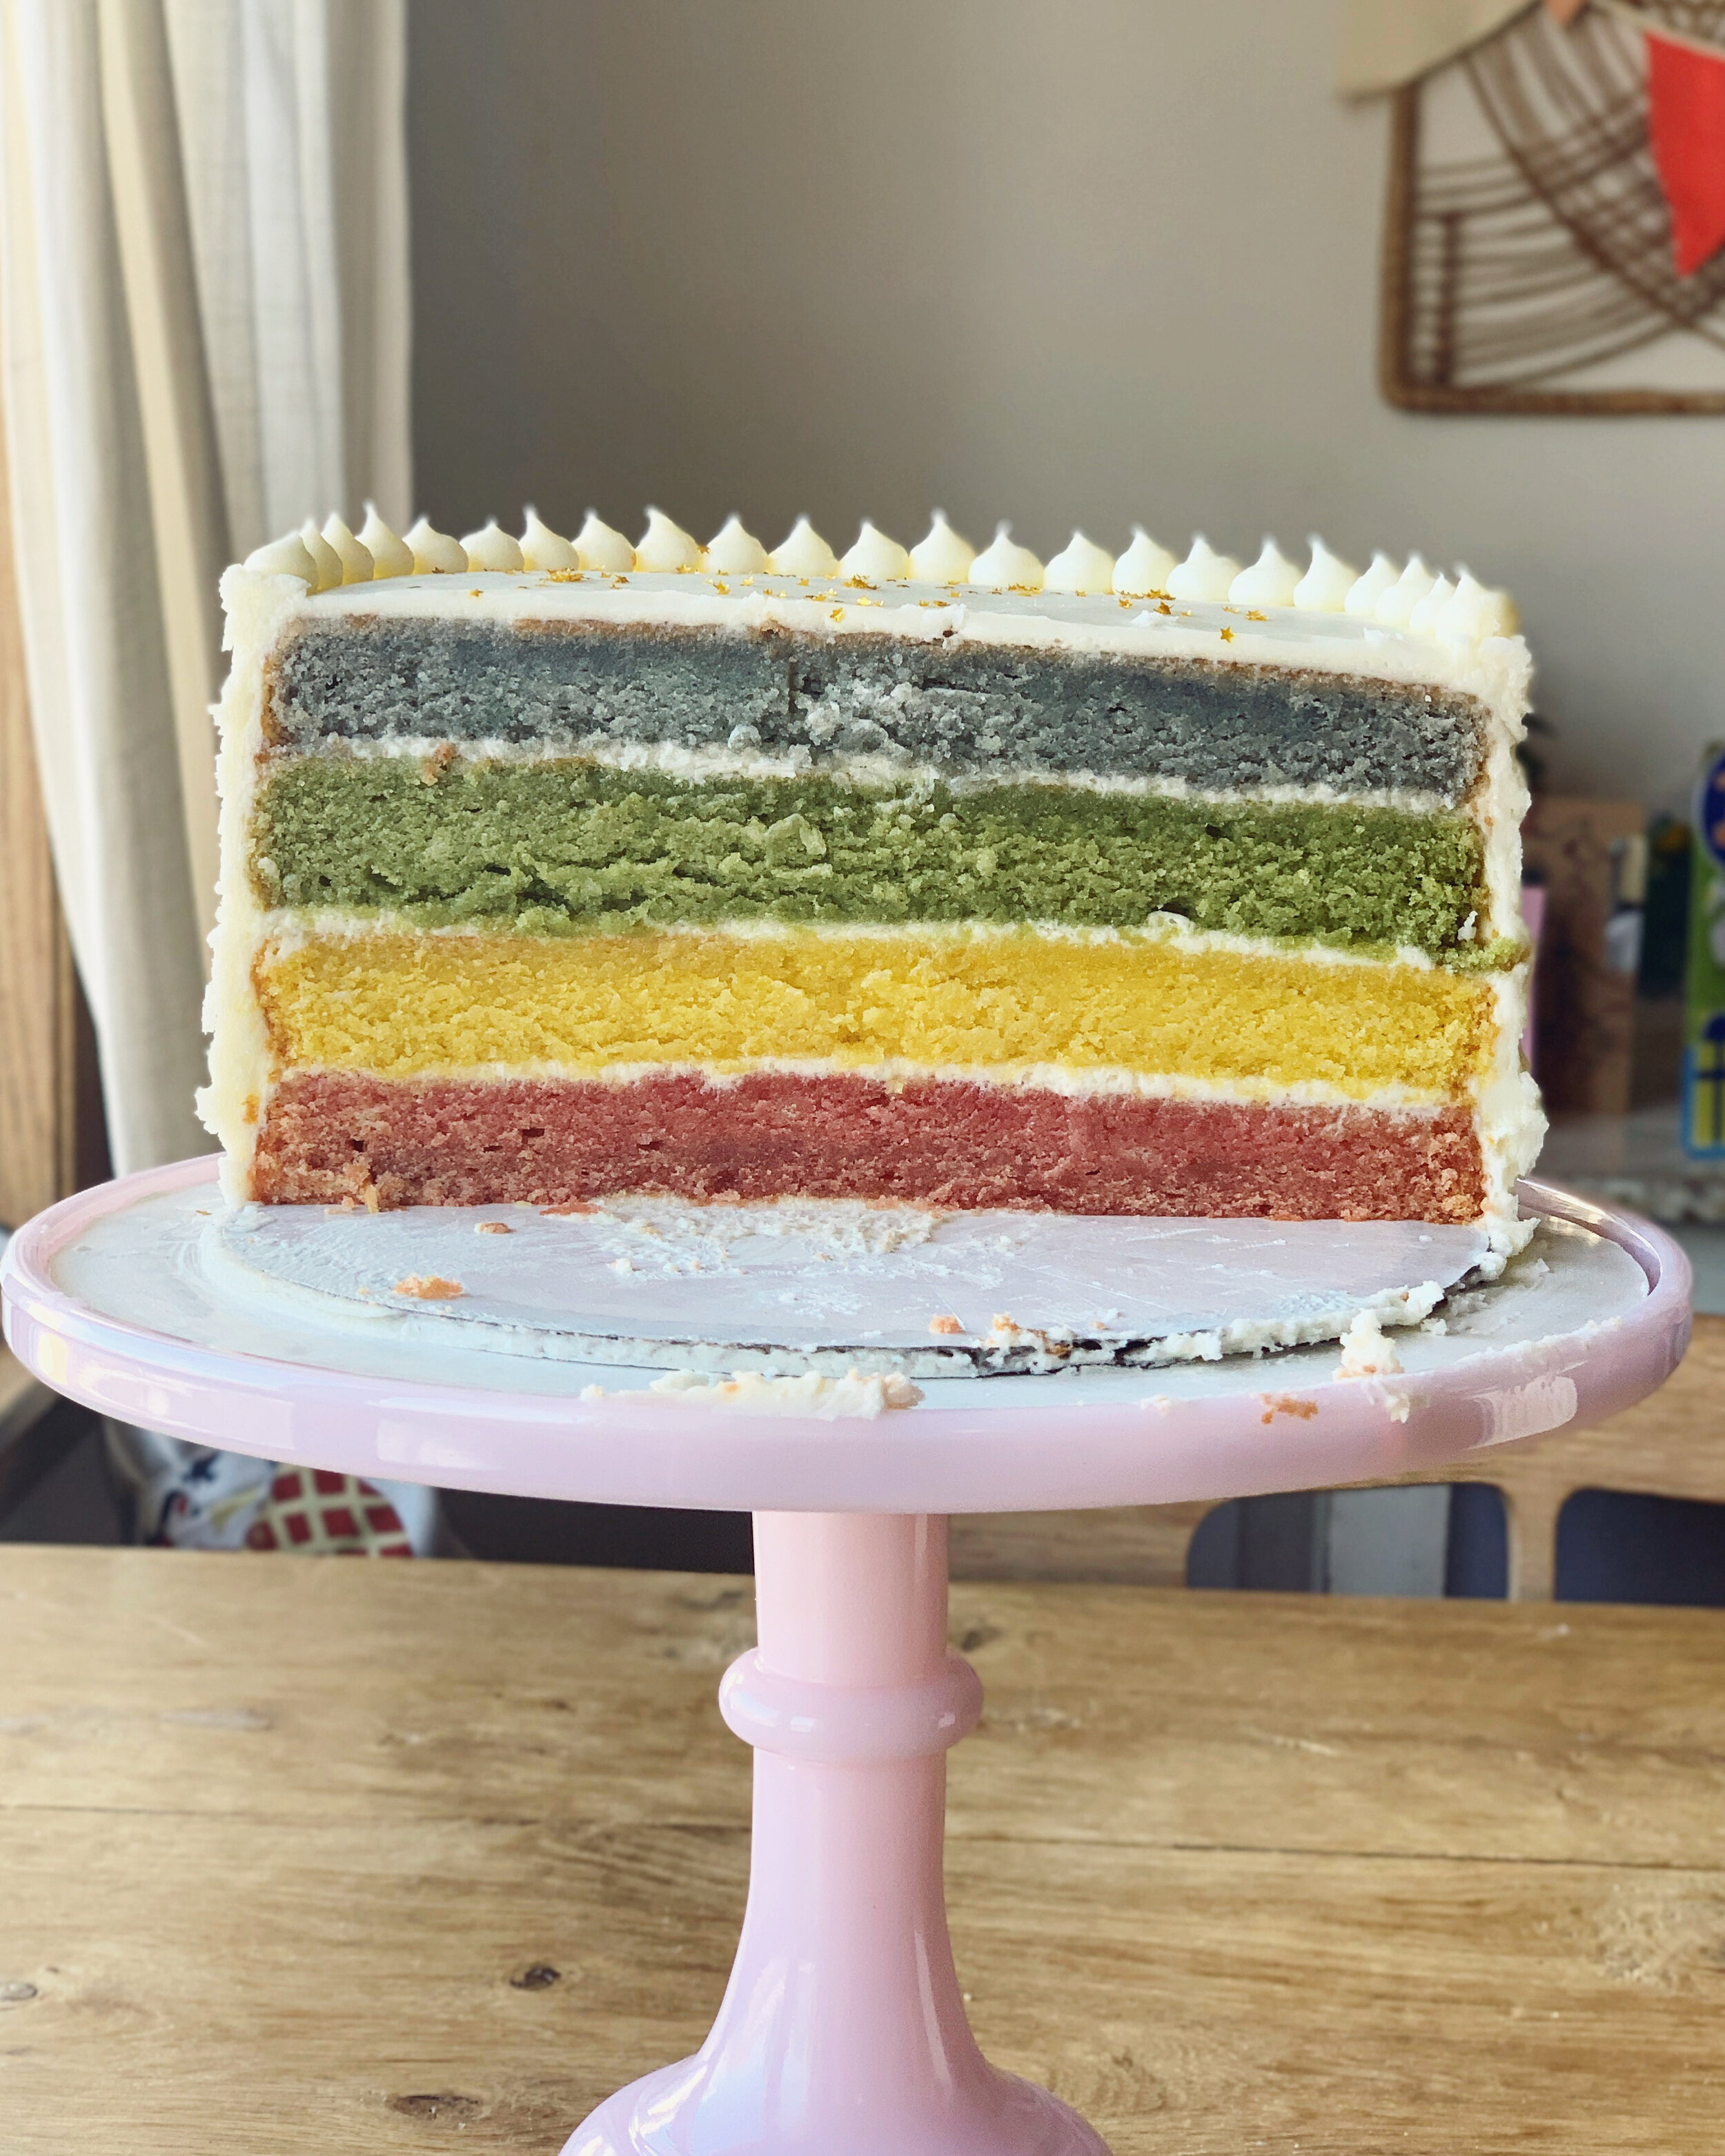
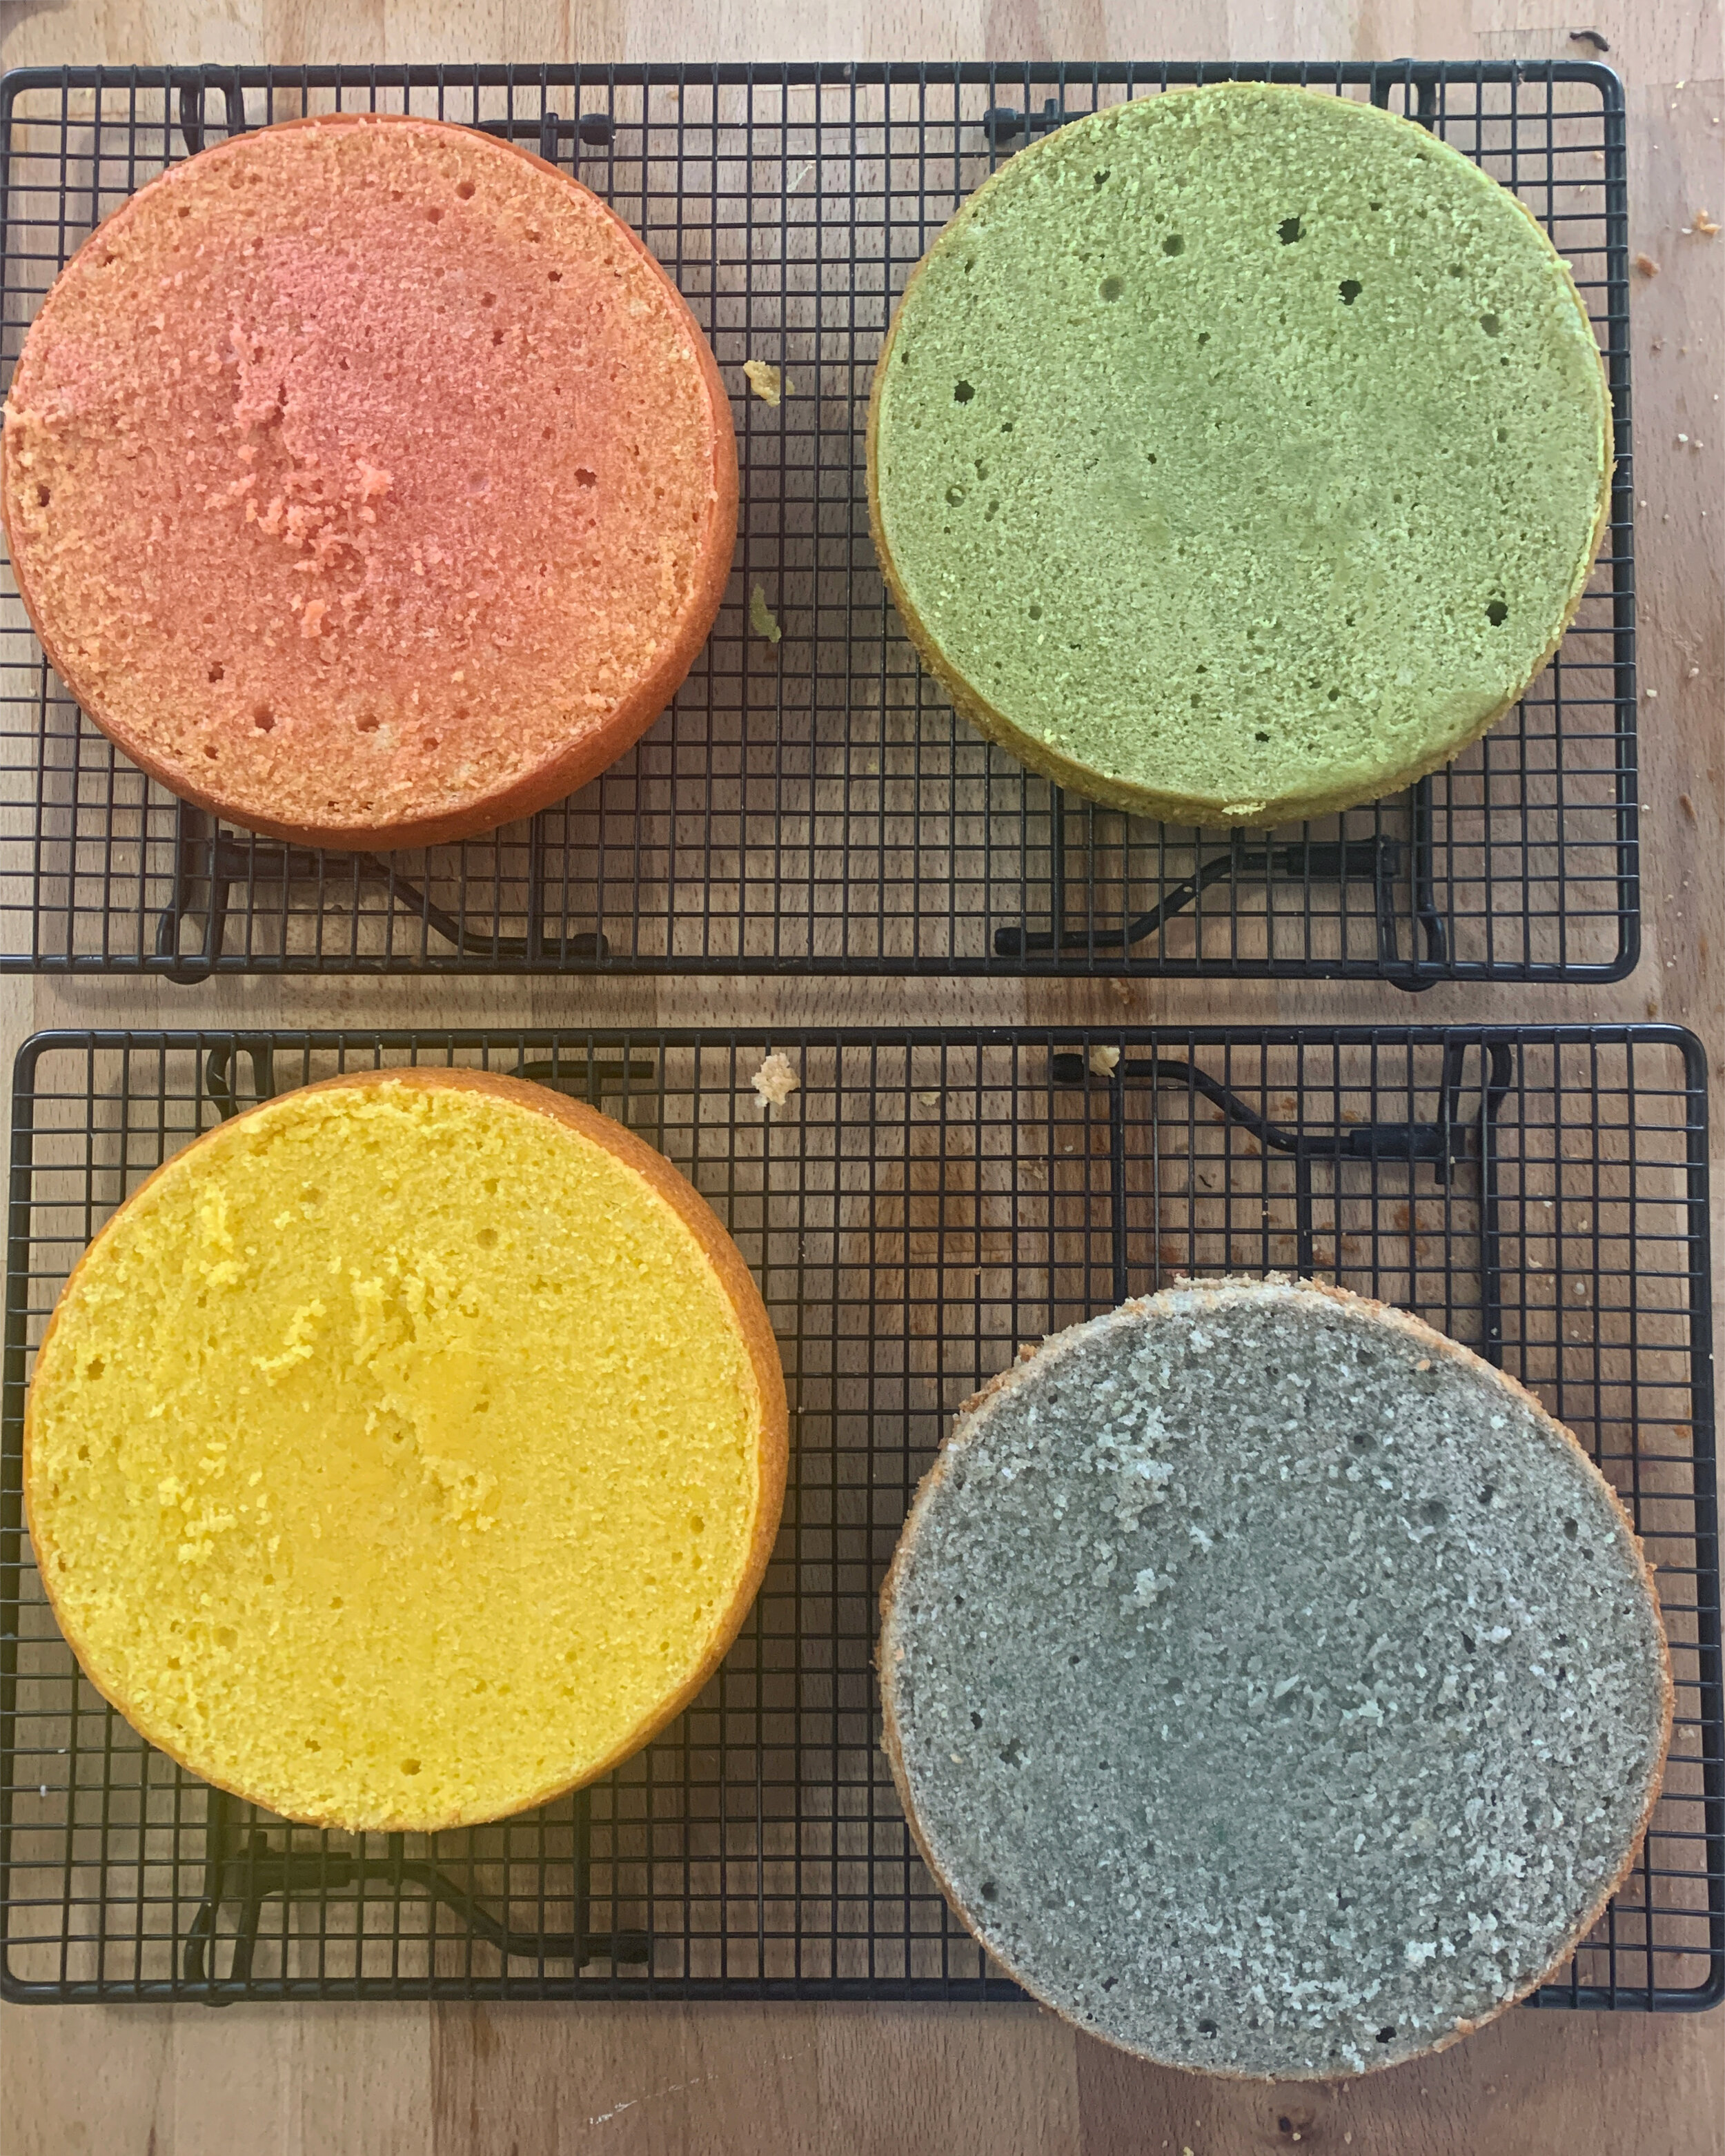
I am so pleased with how this naturally colored rainbow cake turned out. It took a bunch of experimenting and tweaking to get the shades to match and to figure out a method that wouldn’t require too much fussiness/juicing/boiling of beets/etc. I tried using turmeric but that was too bright, and I tried using a store-bought precooked beet but that wasn’t bright enough and just got messy. In the end, I went with a combination of store-bought carrot juice, store-bought beet juice, and a big bunch of fresh mint. The cake is based on my go-to vanilla butter cake that is so incredibly moist, dense, and delicious. It’s one of my proudest cakes! The flavor of the beets and the carrots is undetectable and the flavor of the fresh mint shines through just a wee bit, enough to lend its herby flavor but it’s far from overpowering. I went with a basic cream cheese frosting to add some nice tang and decorated with Fimo clay cake toppers.

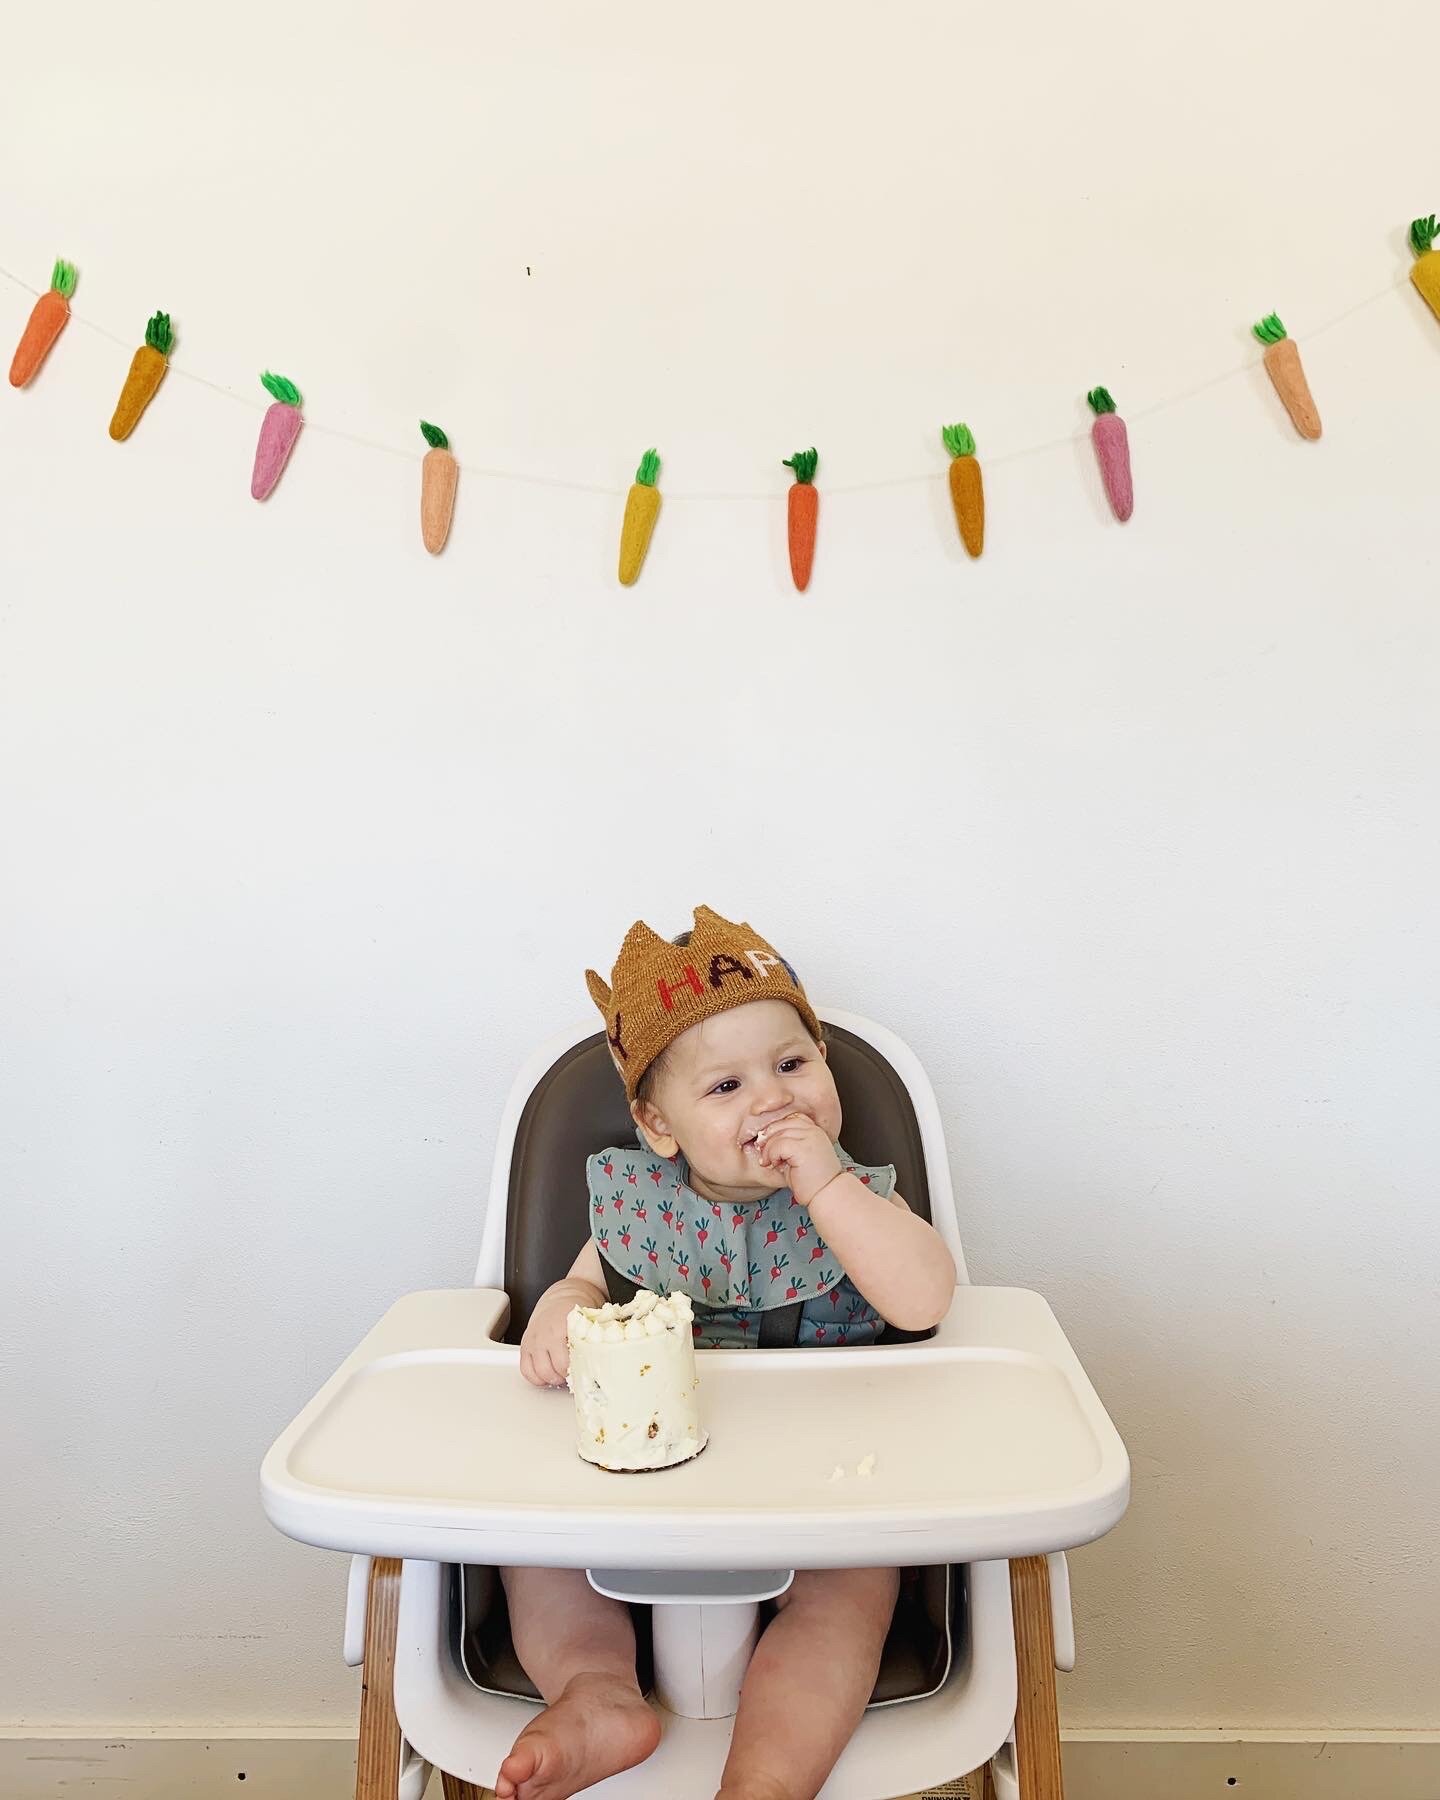
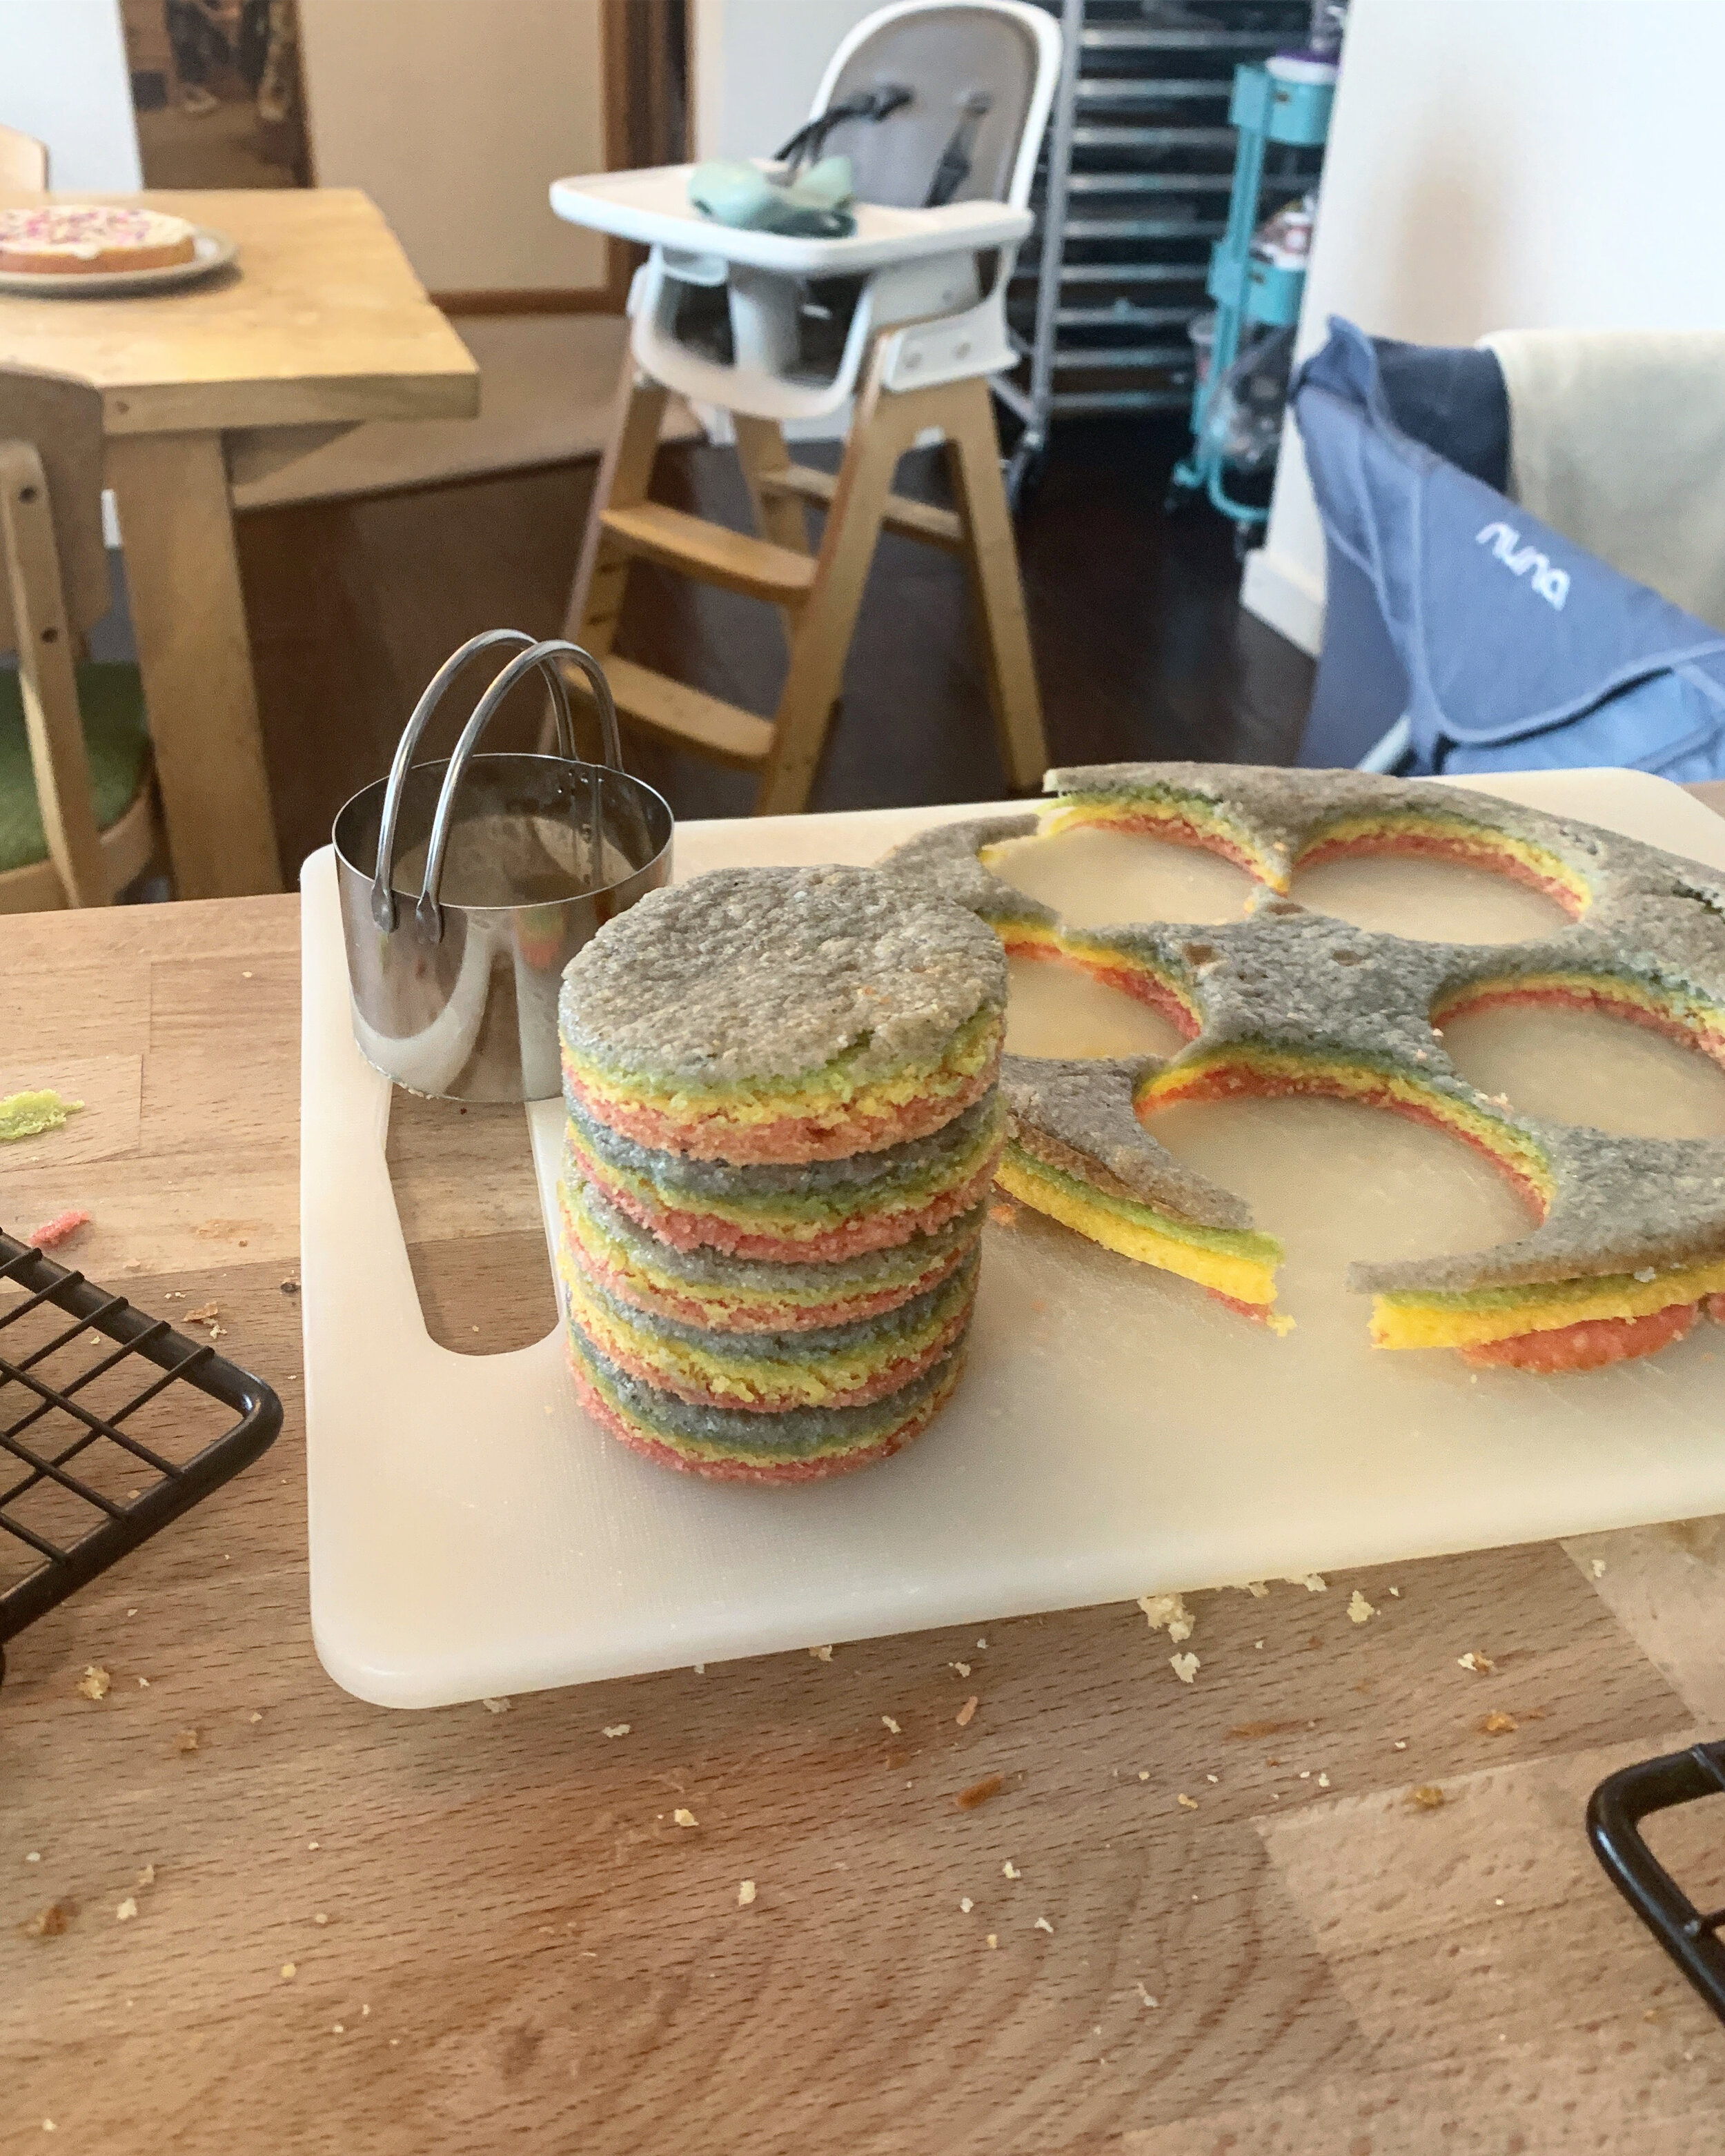
For Bernie’s mini cake, I stacked up the scraps that I cut off from leveling the layers and cut out tiny layers with a biscuit cutter. No separate cake pans necessary. I was so excited when I realized this would work! The cake is so moist that the scrap layers stuck together without a need for frosting between them. Bernie loved it! I took enough photos of her eating it to break my phone and she didn’t even make a huge mess which makes me think that one day she’ll make a great cook that will be good at the whole clean-as-you-go thing. 

Weeks ago, I baked the cake layers, let them cool, formed Bernie’s mini cake, wrapped everything in plastic wrap and froze them so that I could have one more thing checked off my to-do list for the party. It also made frosting them, especially the mini cake, way way easier. I always like to frost frozen cakes (and then allow to sit at room temperature for a few hours or overnight before serving). 

Important note about the layers! This cake was originally supposed to be three layers (pink, yellow, and green) but I added a blue layer at the last minute because we were going to be expecting more guests than my usual three-layer cake serves and also because I needed to test two of the layers again so figured I’d experiment with a blue layer for the third. The blue layer is not a part of the recipe below but if you’d like to make a blue layer, simply use the same method as the green layer but sub out the mint for wild blueberries (I used frozen). You’ll have to either add another third batch of batter (using a scale and weighted measurements will help with this and ugh sorry about the 1/3 of an egg thing!) or replace one of the other colors with the blue. I’m sorry for any confusion that this causes!!


Naturally Colored Rainbow Cake

Makes one 3-layer 8” cake (and a mini cake!)

Ingredients

3 1/2 c (450g) all-purpose flour

1 tb baking powder

1 1/2 tsp kosher salt

1 c (225g) unsalted butter, room temperature

1/2 c (112g) refined coconut oil, room temperature

2 1/4 c (450g) sugar

4 large eggs, room temperature

1 tb vanilla bean paste or extract

1/2 c (120g) sour cream, room temperature

1 c (236g) whole milk, divided

1/4 c carrot juice

1/4 c beet juice (storebought is fine, the one I get has a little lemon juice added and that’s ok)

1/4 c firmly packed fresh mint leaves


Frosting:

1 c** (225g) good quality unsalted butter, room temperature

8 oz (224g) cream cheese, room temperature

4 c** (480g) powdered sugar

1/8 tsp kosher salt

1 1/2 tsp vanilla bean paste or extract

3 tb** (45g) heavy cream

**if you’re making a mini cake, I recommend adding another 1/2 c of butter, 1 c of sugar, and 1 tb of heavy cream to the frosting in order to have enough!

Clues

To make the cake layers: preheat the oven to 350ºf. Grease and line the bottoms of three 8” cake pans with parchment and set aside. (For a 4-layer cake, which is the one on the pictures, please see my note above!)

In a large bowl, sift together the flour and baking powder, and then lightly stir in the salt and set aside.

In a stand mixer fitted with a paddle attachment, cream together the butter, coconut oil, and sugar on medium high for 3-4 minutes, until light and fluffy. Add the eggs, one at a time, beating well after each. Reduce the mixer to low and add the vanilla and sour cream. Gradually add the dry mixture and mix until about 80% combined (you’re going to continue to mix once you add the coloring so only partially mixing at this stage prevents over mixing the batter). Divide the batter evenly into 3 bowls (using a scale helps with this!). In the first bowl, add 1/4 cup of milk and the carrot juice and fold together until smooth and just combined. In the second bowl, add 1/4 cup of milk and the beet juice and fold together until smooth and just combined. In a blender, blend together the mint leaves with the remaining 1/2 cup of milk until very smooth. Add this to the third bowl and fold together until smooth and just combined. Transfer the batters to the cake pans and spread them out evenly. 

Bake until the edges of the cakes are lightly browned and a toothpick inserted into the center comes out with a few crumbs on it; begin checking for doneness at 30 minutes and try your darnedest not to let it over bake. Let in the pans for 10 minutes and then transfer to a wire rack to cool completely. 

To make the buttercream: 

In a stand mixer fitted with a paddle attachment, beat together the butter and cream cheese until creamy. Gradually add the powdered sugar, and then mix in the salt, vanilla, and heavy cream. Mix until creamy.

To frost the cake, level the top of the layers and then stack them up with a layer of frosting in between. (The cakes bake up generally pretty flat so there won’t actually be that much to level off.) Frost all over and decorate as desired.

To make a mini cake, stack the leveled scraps of cake up, give them a good firm pat so they stick, and cut out four 2 1/2 inch circles with a biscuit cutter. Don’t worry if some of the scraps tear, the cake is moist enough that when you stack up the scraps, they’ll all smoosh together. Stack them on top of each other and, if you have the time, wrap the cake tightly in plastic wrap and freeze for a few hours or even a few weeks. This will make frosting this tiny cake way easier! Frost while frozen and let come to room temp before serving.

This cake is super moist that you could definitely decorate the day before serving. Let it sit at room temperature overnight.


-yeh!
rhubarb cake!

It is my birthday! And also Doug’s and the eve of my Dad’s and the dawn after Stefani’s. And maybe also yours??? Happy birthday to all of us! It’s a great day to turn 29. 28 was honestly starting to feel a little stale, although it was a great year! It had a solid ratio of time spent doing things I love (making cake! traveling about! sitting on the couch with Eggboy watching tv eating dinner with my favorite spoon!) to things I don’t love (brushing my hair! cleaning the fridge!) so I’ll try to keep that going. Overall I think one big takeaway from this year was that I learned to like doing healthy things more, like drinking green juice and being up to date on my dentist visits. Kind of vanilla, right?!? My 22-year-old self would have felt so ashamed that this was my big birthday takeaway but well here it is. It’s probably just that my older wiser brain can now see further into the future and know more easily when something that feels fun at the time, like putting too much mayonnaise on my french fries, isn’t going to feel good in my belly after an hour. Which doesn’t mean I don’t do that anymore I just do it less. 

So with that I’d like to announce a temporary hold on my birthday breakfast sandwich tradition, for I will be having a green juice. And then I’ll be working out, and then getting a massage with the strongest masseuse in town, then I’m going to lunch at the museum cafe, and then I’m going to sit down with my favorite cookbooks and plan really awesome dinners for the rest of the week until dinner time when I’m going to make chèvre chaud salads for Eggboy and me. A salad! For my birthday dinner! I barely recognize myself. I’ve just been craving it soo hard since Paris (omg cannot wait to tell you about Paris) and fried cheese on a salad is my favorite form of balance. 

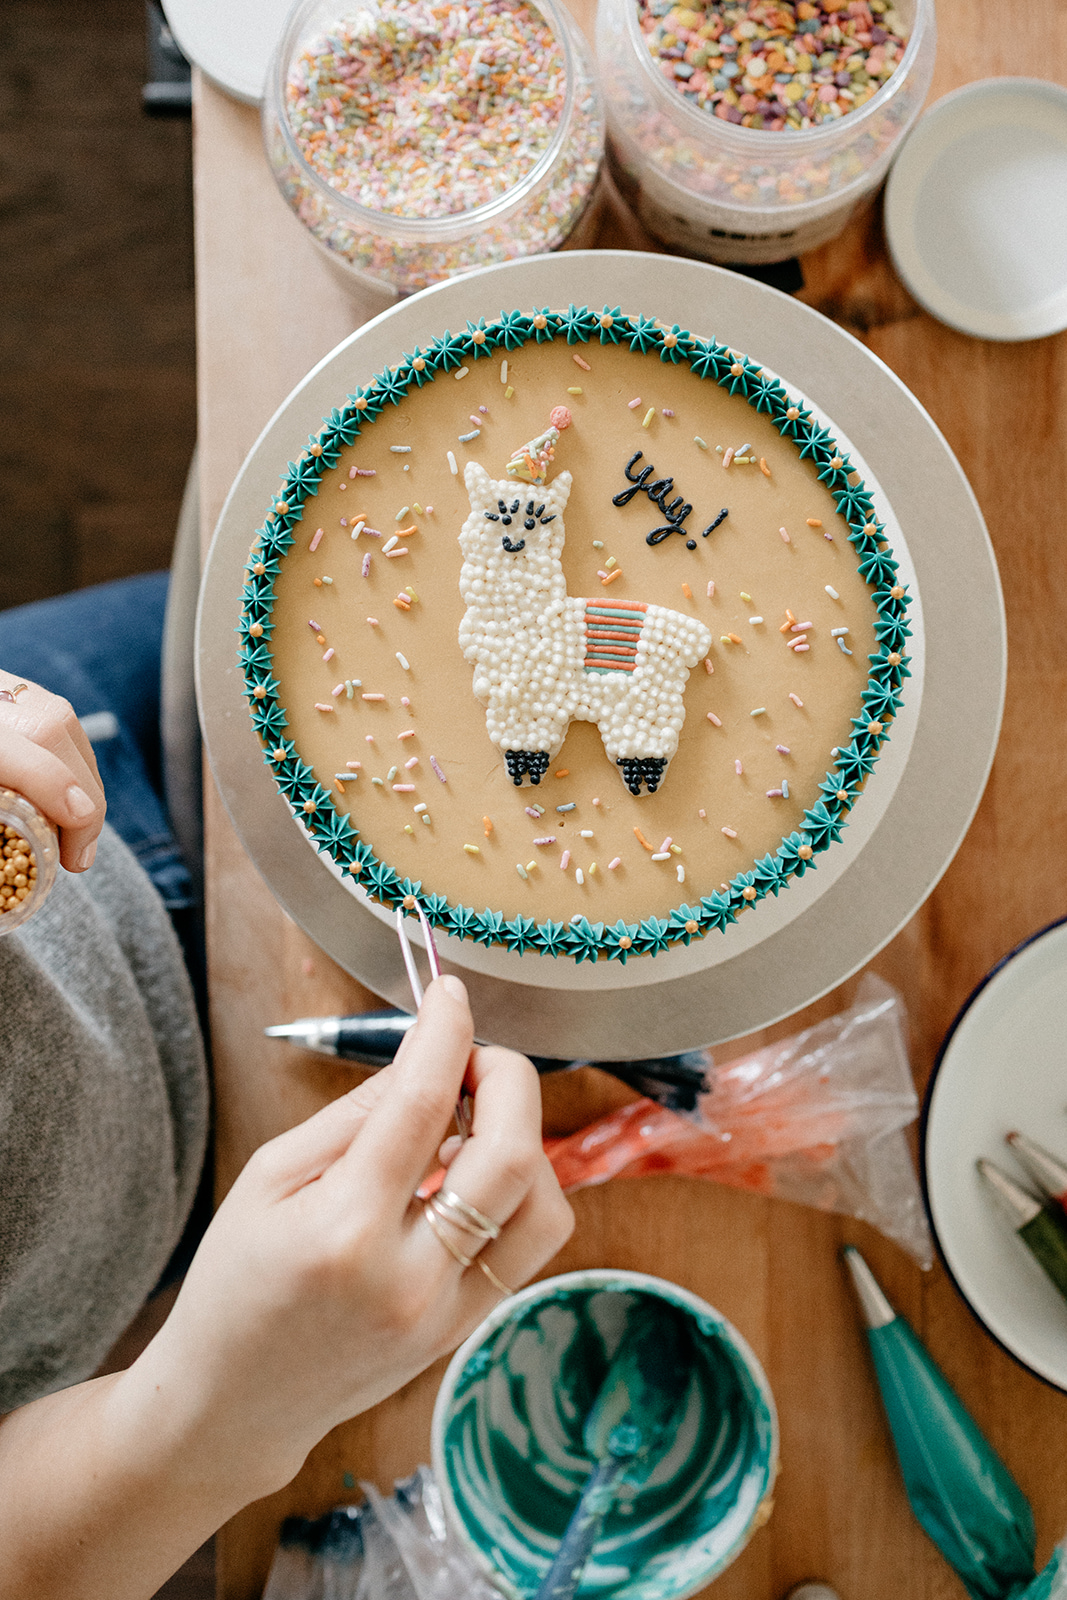
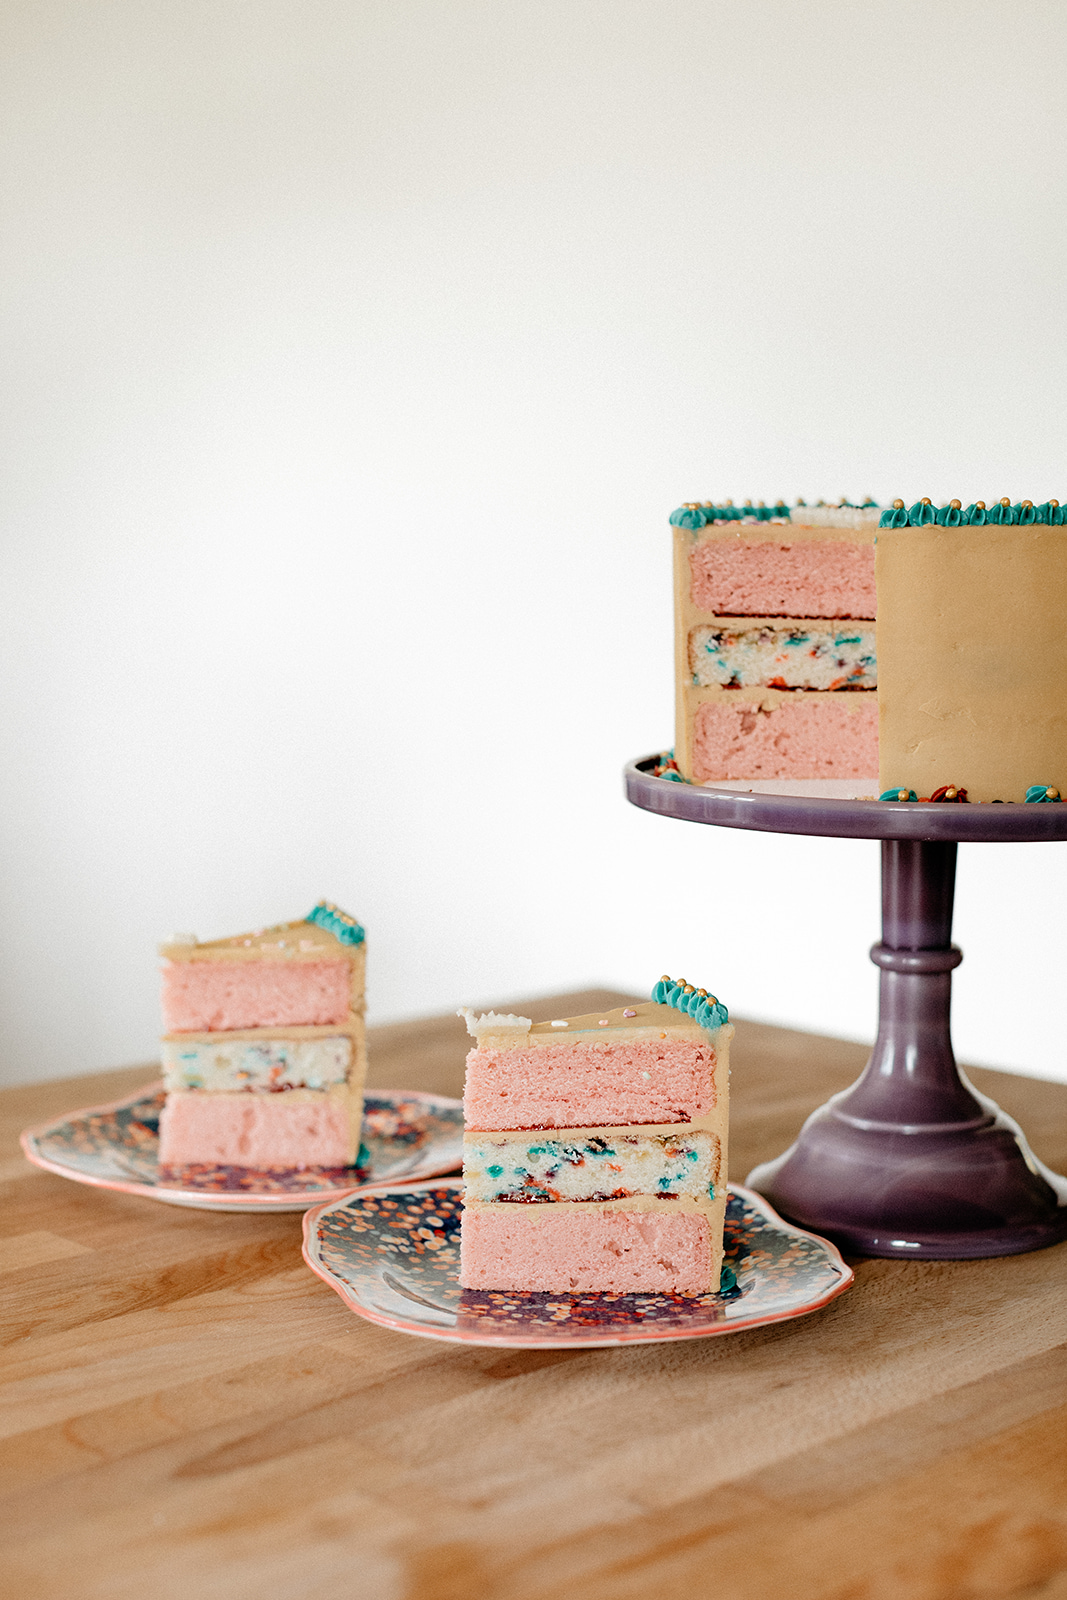
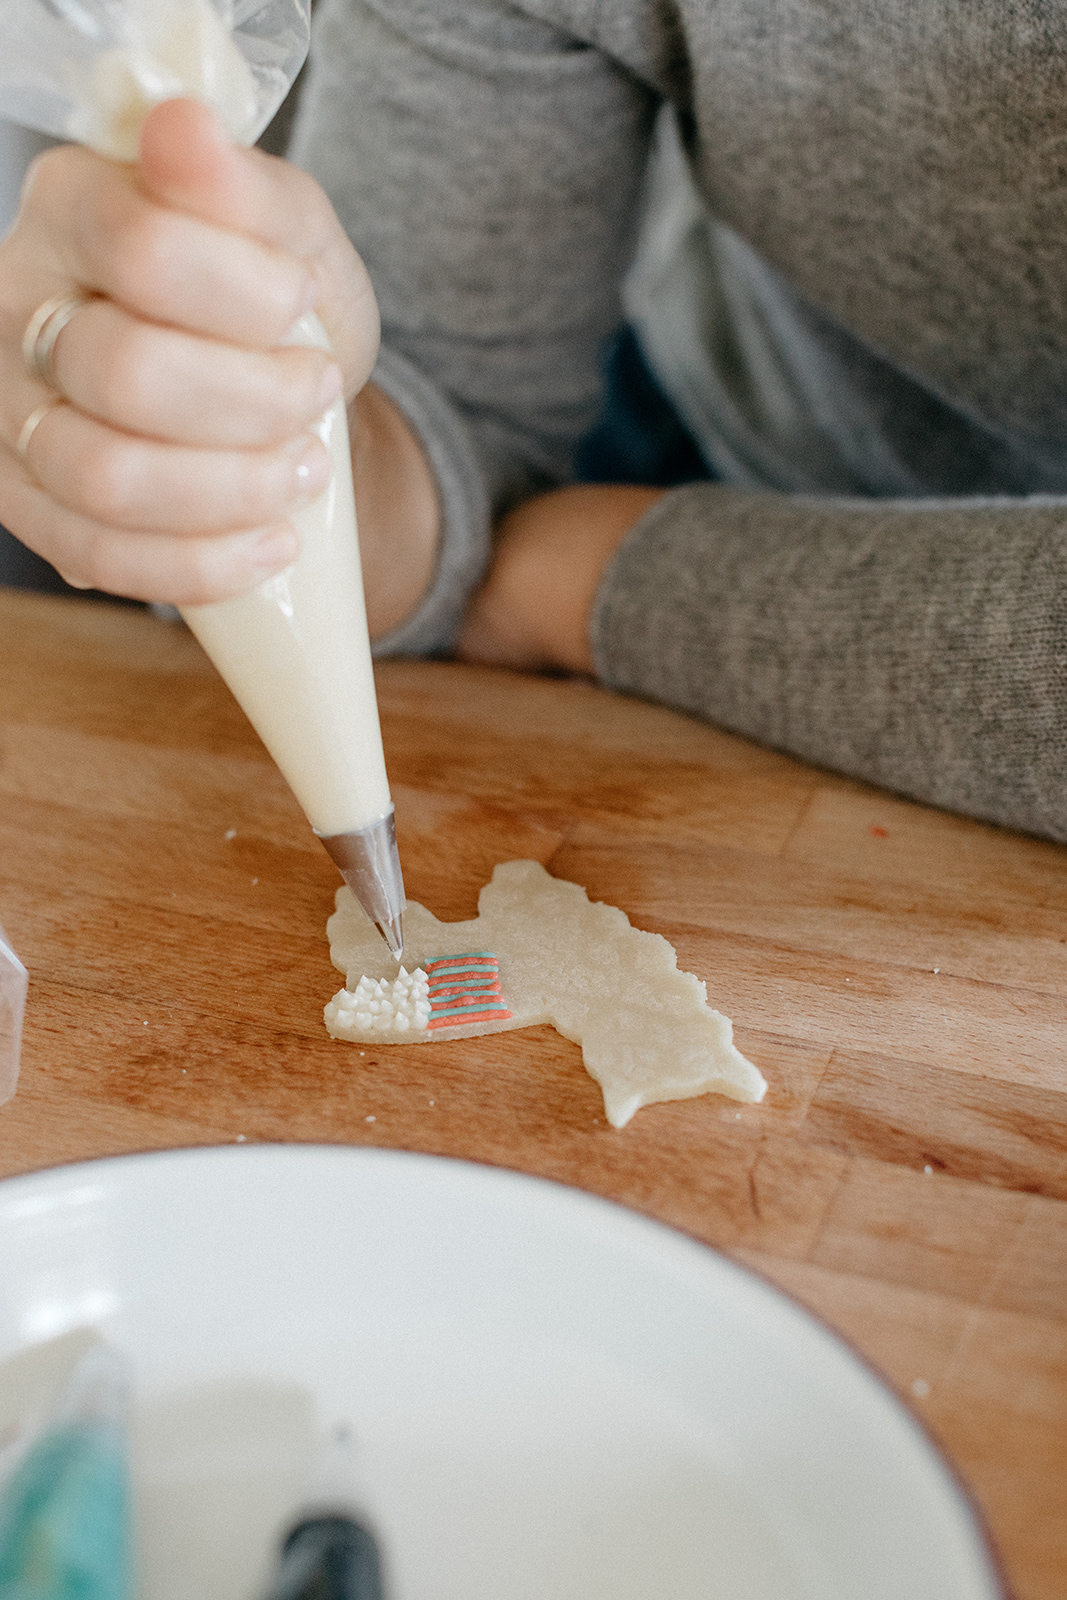
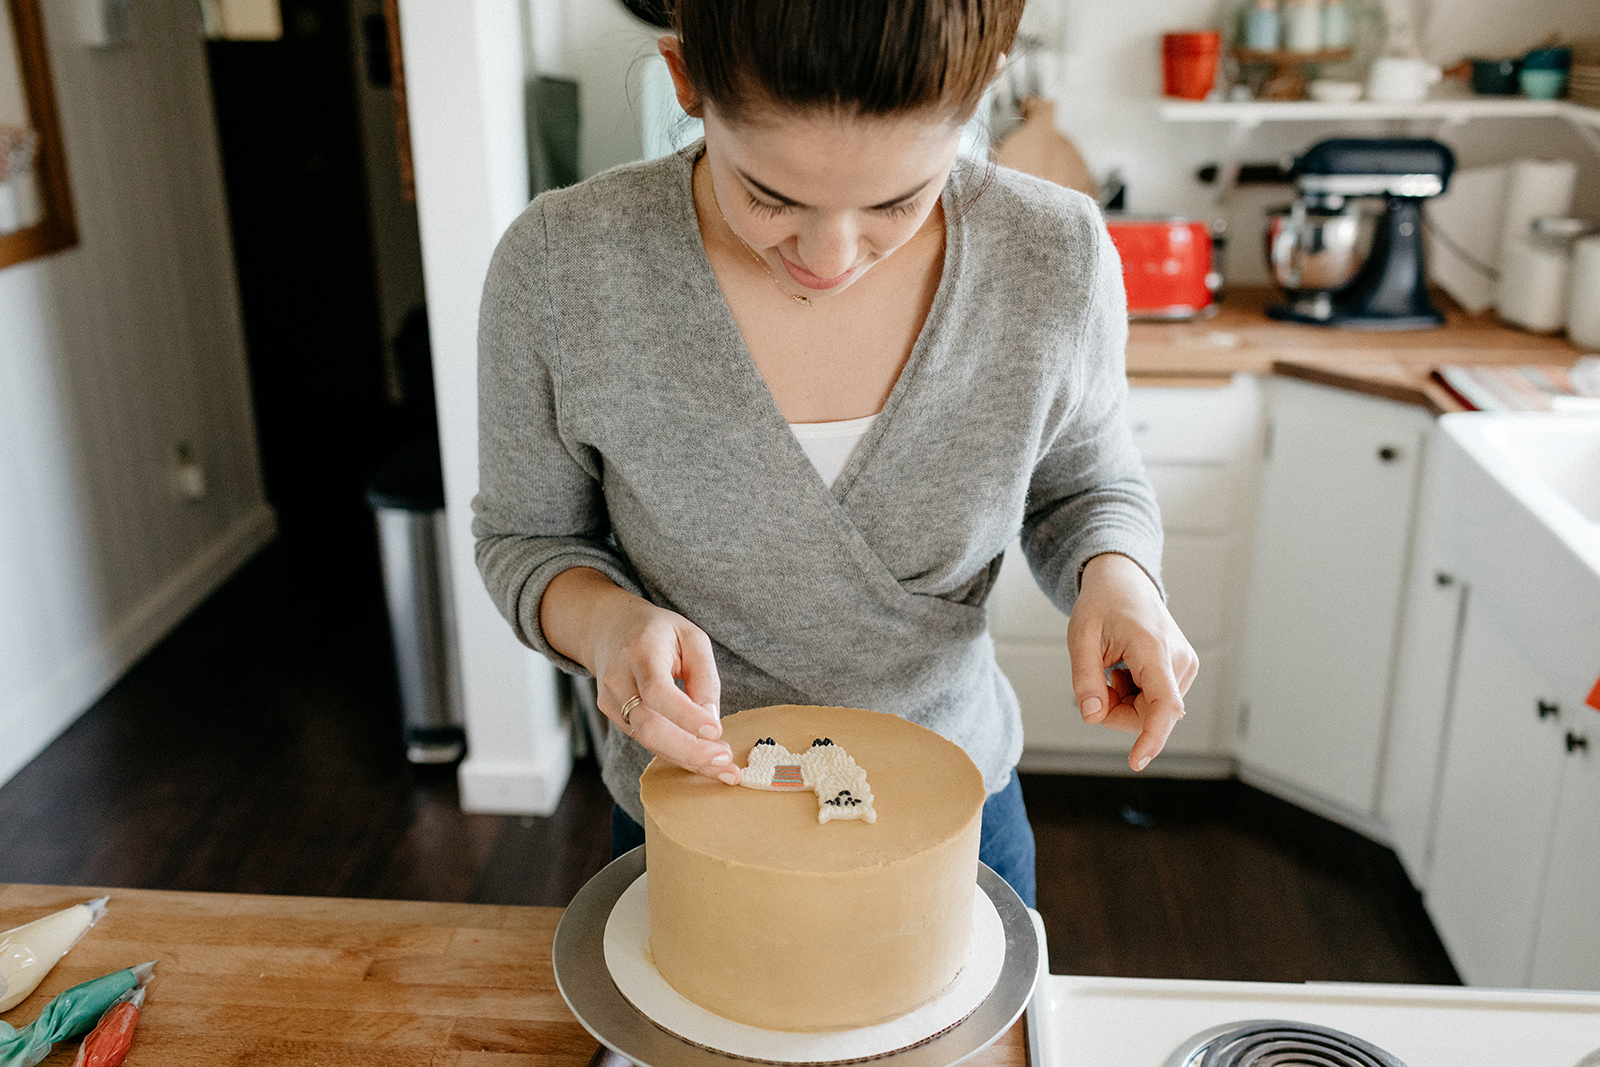
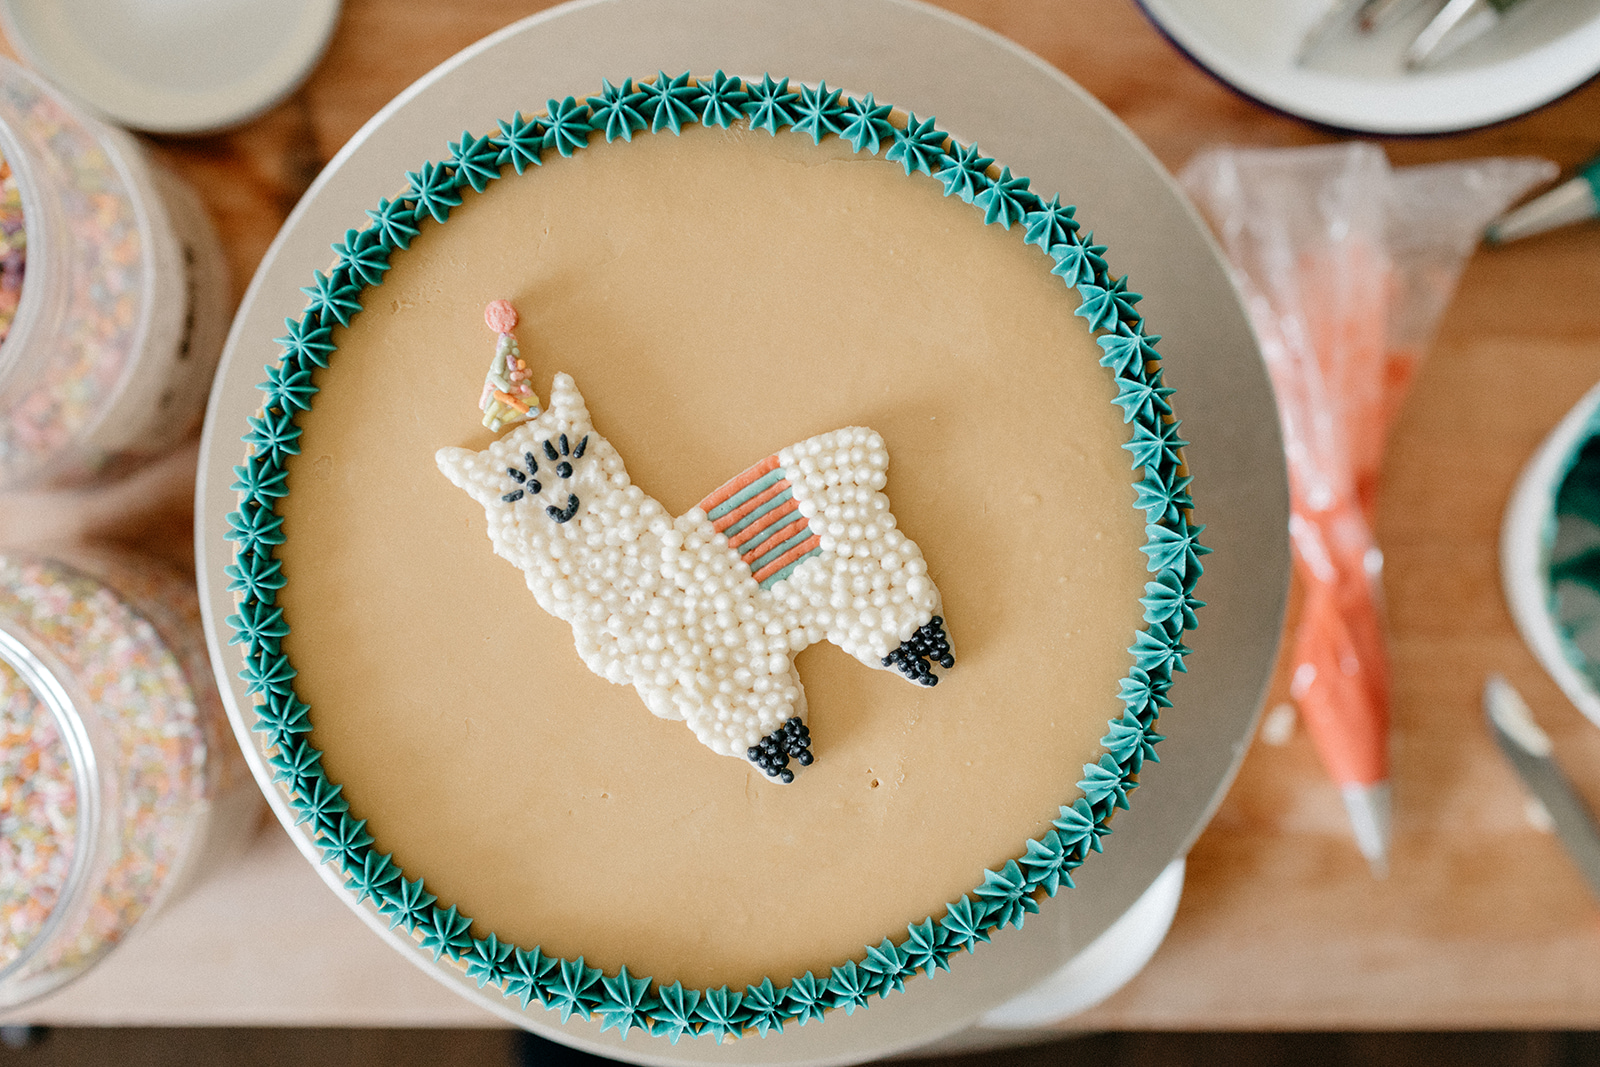
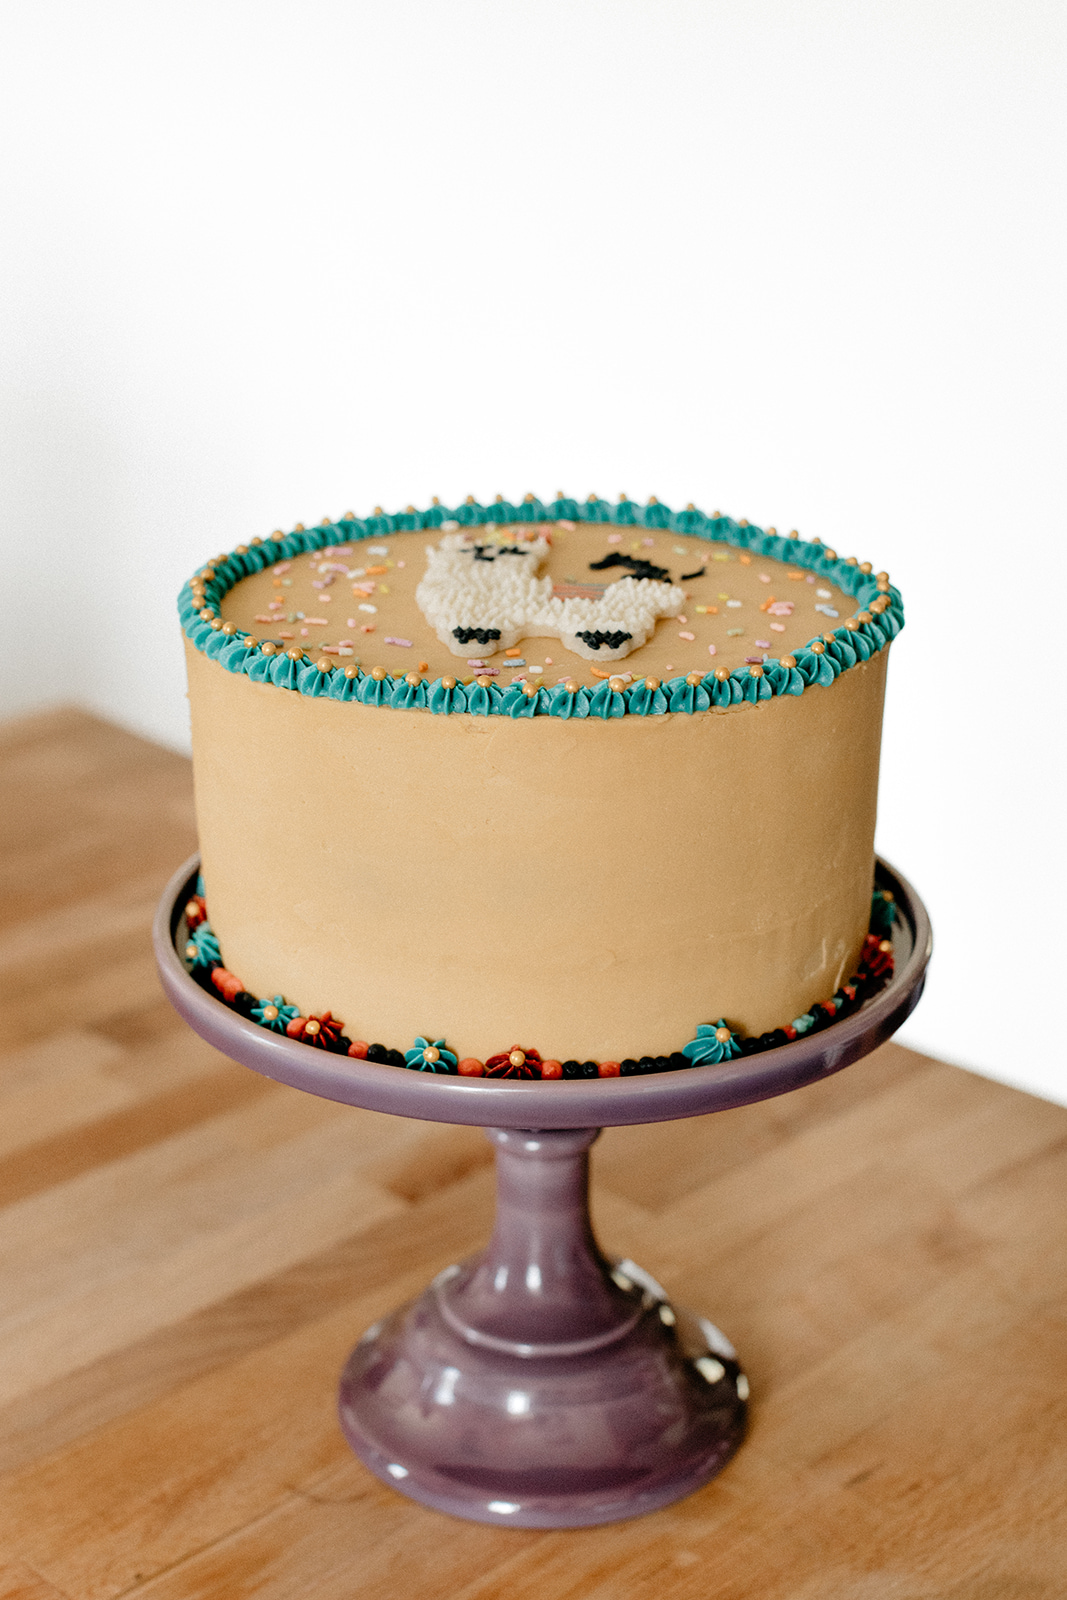
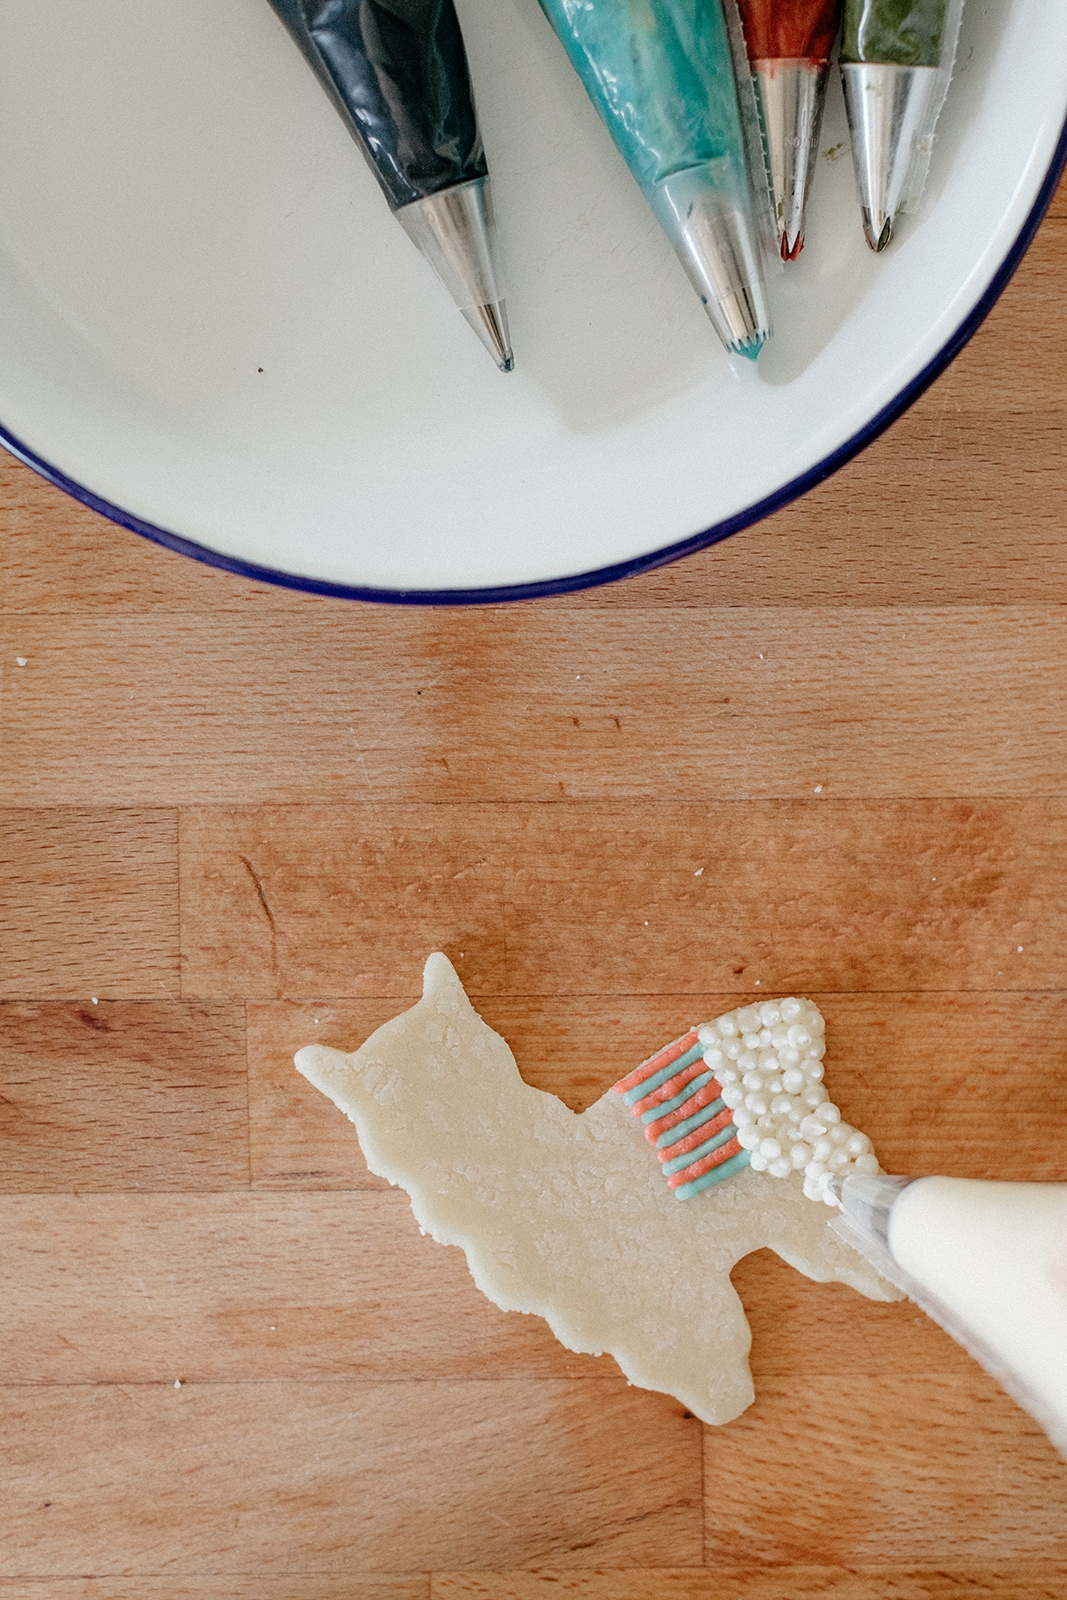
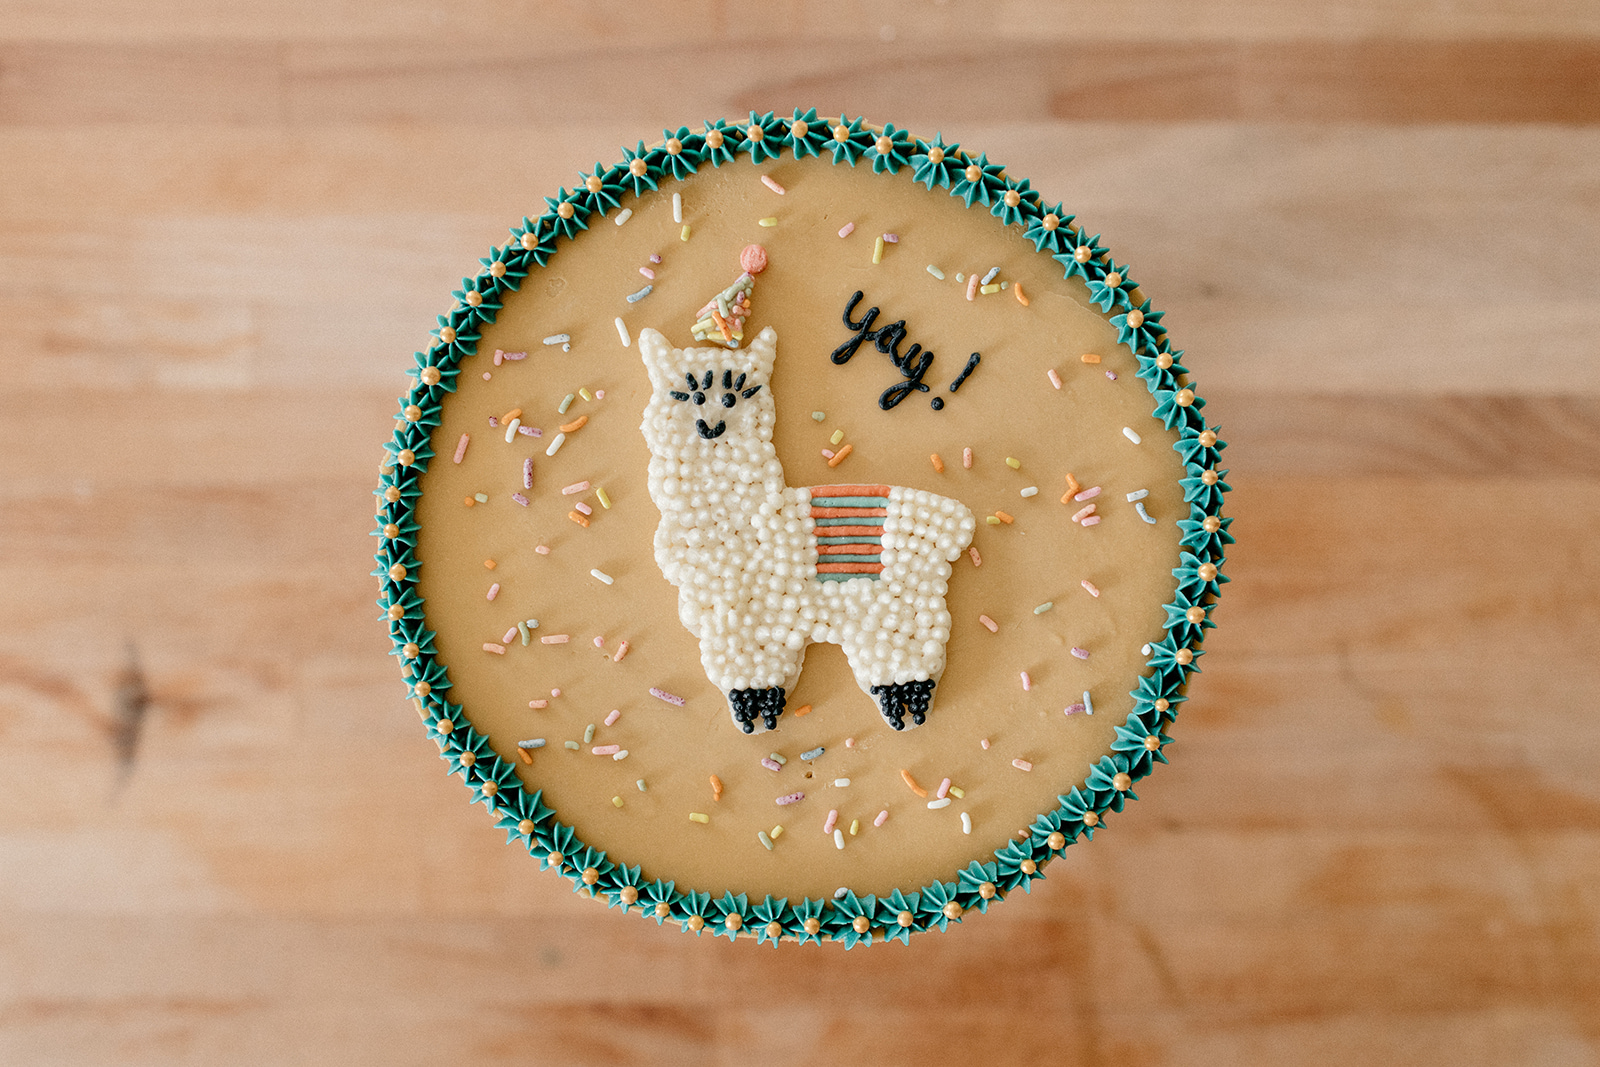
There will also be this rhubarb cake but not until the weekend when I defrost this sucker for some friends!! It was going to be an alpaca cake until I realized that llama has a silent “l” at the beginning and that’s way more quirky and cool than the trendy alpaca. No offense, alpacas. So this is a happy llama cake! It was inspired by this embroidered llama and I used this cookie cutter. My biggest challenge was making it not look like a baby shower cake, hence the mustard yellow frosting. 

I’m so happy that I could use some of our backyard rhubarb in this. Before it even popped up, I knew I wanted to make a pink fluffy buttery cake. Just like Stella's and Adrianna’s strawberry cakes but rhubarby. Only when I googled rhubarb cake the only things that came up were cakes with entire stalks of rhubarb in the batter or upside down cakes. So I experimented, using my sprinkle cake as a general roadmap and turning to Stella's and Adrianna’s cake as examples for incorporating fruit purée. I thought I’d have a long road of hibiscus-cake-style tweaking ahead of me since rhubarb is quite sour and anytime you change the pH of a batter you need to pay attention to the leavening amounts, but it turns out strawberry and rhubarb have extremely similar pH levels. So the first go was deeelicious! Fluffy, buttery, fruity, and bright. A handful of moisture tweaks later and here it is! It's so tasty and the sourness of the rhubarb balances the sweetness really nicely. To emphasis the rhubarb flavor, I’ve added a layer of rhubarb jam between the layers, along with buttercream. I like a basic vanilla buttercream with this but if rhubarb buttercream is speaking to you then go for it!


rhubarb cake

makes one 2-layer 8" cake

ingredients

cake:

10 oz (284g) rhubarb, chopped

1/4 c water 

1/2 c whole milk

2 3/4 c (352g) cake flour

1 1/2 tsp baking powder

1/2 tsp baking soda

1 tsp salt

1 c (225g) unsalted butter, softened

1/4 c (50g) flavorless oil

1 1/2 c (300g) sugar

Red or pink food coloring, optional

4 large egg whites, at room temperature

2 tsp vanilla


assembly:

vanilla frosting (recipe here) or rhubarb frosting (recipe below)

rhubarb jam (1/4 c per layer)

sprinkles, marzipan, optional but recommended


clues

Preheat the oven to 350°f. Grease and line the bottoms of two 8” cake pans with parchment and set aside. 

Combine the rhubarb and water in a saucepan and bring to a simmer over medium high. Reduce heat to medium and simmer for about 15 minutes, until the rhubarb is very soft. Let it cool and then combine with the milk in a blender and purée until very smooth.

In a medium bowl, sift together the flour, baking powder, baking soda, and salt.

In a stand mixer fitted with a paddle attachment, combine the butter, oil, sugar, and food coloring, if using, and beat on medium high until light and fluffy, 3-4 minutes. Add the egg whites one at a time, mixing after each, and then add the vanilla. Reduce the mixer to medium low and add the dry ingredients and rhubarb purée in three alternating additions, mixing just until incorporated. Do not over-beat. Divide the batter between the two cake pans and spread it out evenly. Give them a tap on the counter to get rid of any air bubbles and then bake until a toothpick inserted into the center comes out with just a few crumbs; begin checking for doneness at 30 minutes. Let cool in the pans for 10 minutes and then transfer to a wire rack to cool completely.

Make your frosting of choice! 

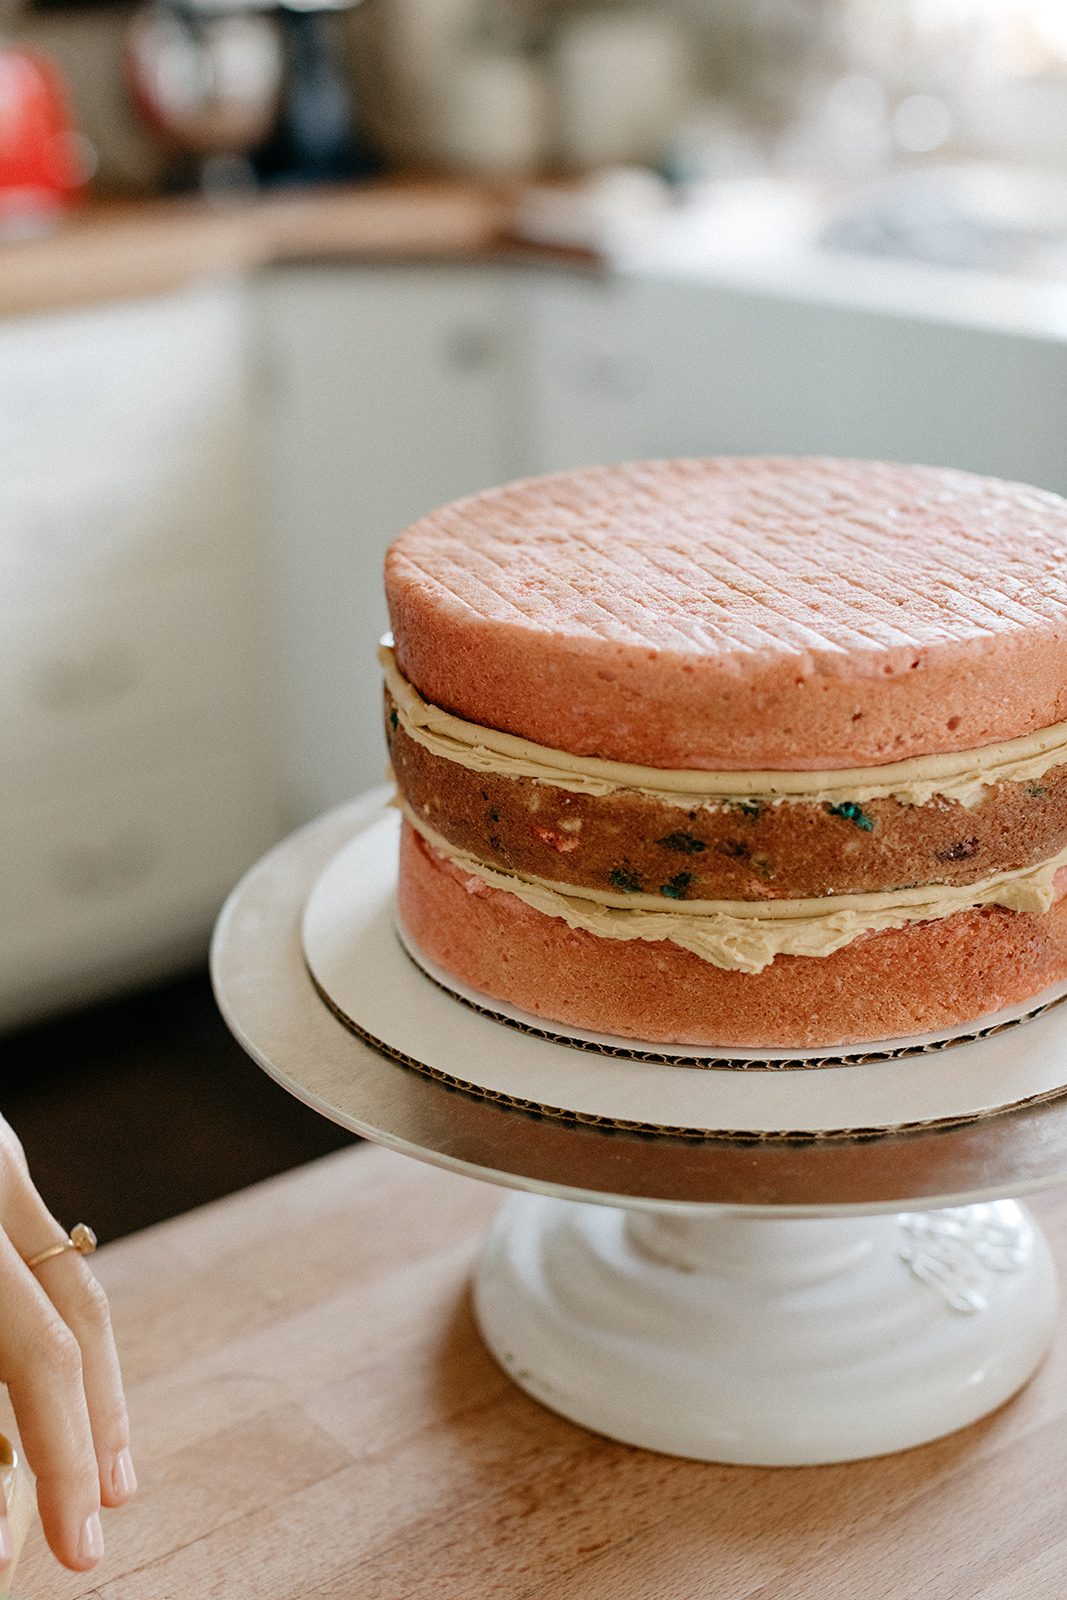
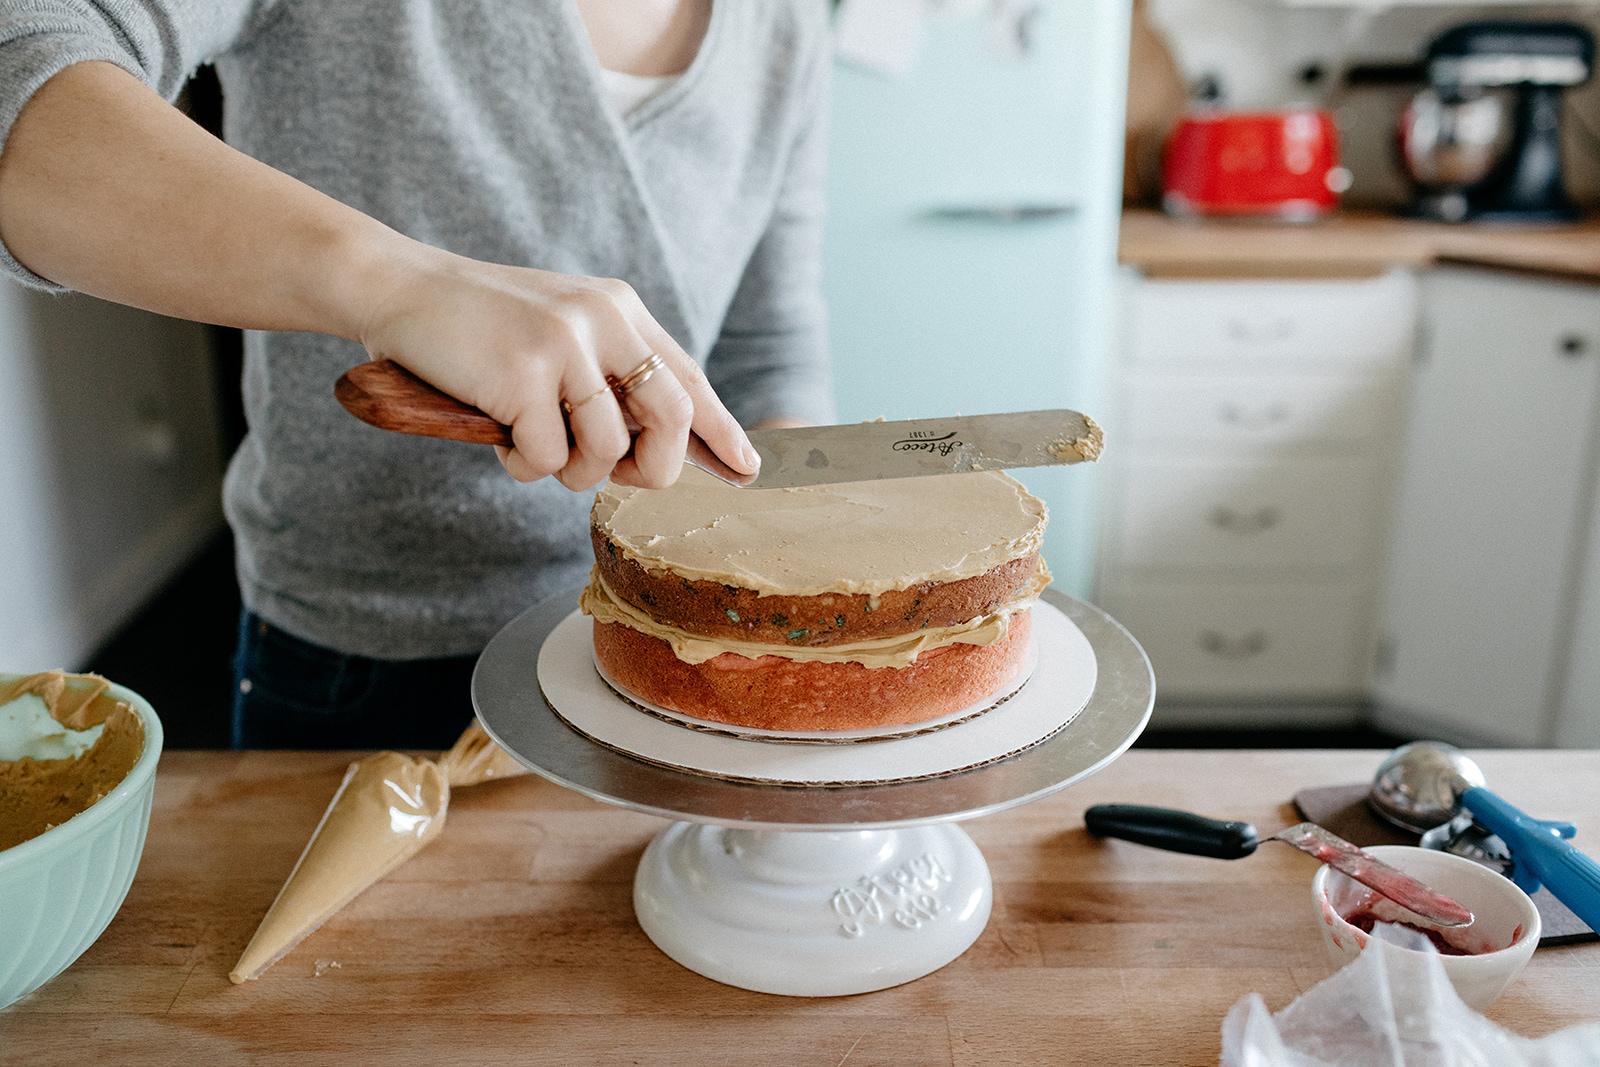
Stack up the layers with a thin layer of frosting and rhubarb jam in the middle. If you want to get really fancy and have more rhubarb jam distributed throughout you can slice the layers in half to make four very thin layers. To make the cake pictured, add a layer of funfetti cake in the middle.

Decorate with sprinkles and a marzipan llama. Or alpaca. Up to you.


rhubarb frosting

makes enough for one 2-layer 8" cake

ingredients

8 oz (226g) rhubarb, chopped

2 tb water

1 1/2 c (338g) unsalted butter, softened

5 c (600g) powdered sugar

2 tsp vanilla bean paste or extract

1/4 tsp rosewater, optional

1/4 tsp kosher salt

3 tb heavy cream

pink food coloring, optional
 

clues

Combine the rhubarb and water in a saucepan and bring to a simmer over medium high. Reduce heat to medium and simmer for about 15 minutes, until the rhubarb is very soft. Let it cool and then purée in a blender.

In a stand mixer fitted with a paddle attachment, beat the butter until soft and creamy. Add the powdered sugar gradually and mix until combined. Add the vanilla, rosewater (if using), and salt and then gradually mix in the cooled rhubarb puree. It may look curdled but continue to beat for 3-5 minutes until combined. Add the heavy cream and food coloring (if using) and beat until combined.


-yeh!
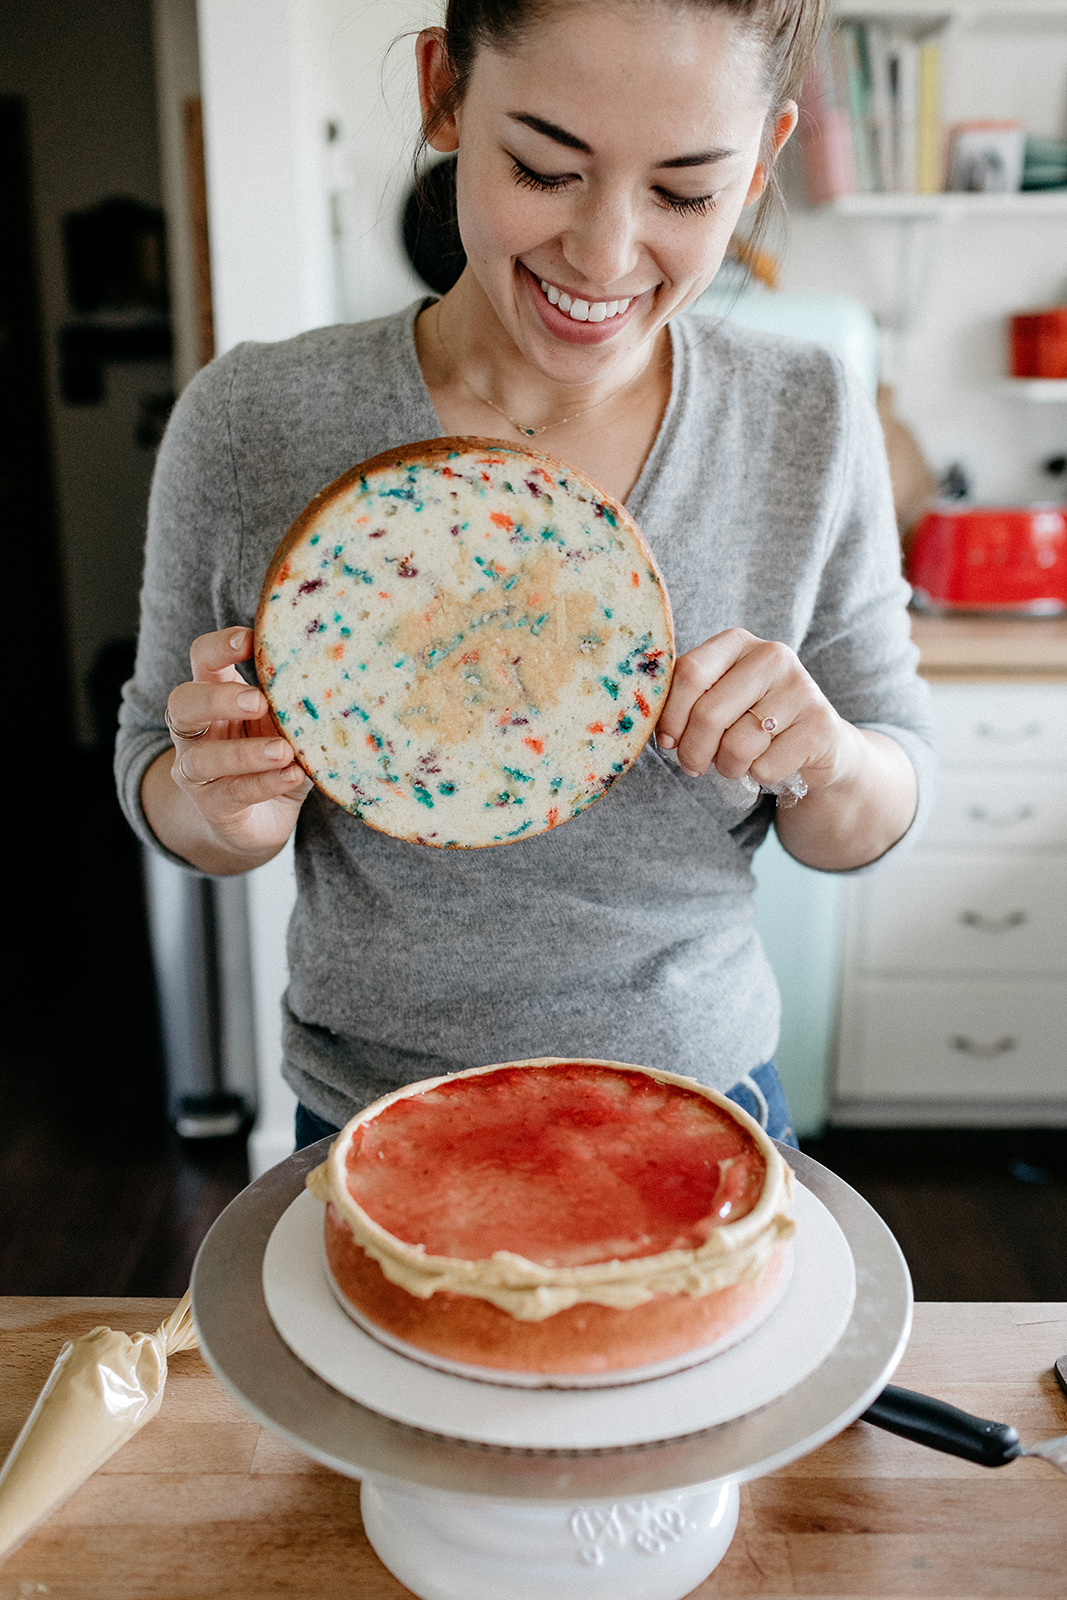
Photos by Chantell and Brett Quernemoen

Pictured: Sweater (cuyana), Funfetti socks (old navy), cake stand (mosser glass)


P.S. Thank you, friends, soooooooooooo much for all of your sweet messages about Girl Meets Farm!! I am so darn thankful for your support and I cannot wait to show you behind the scenes pics and vids and tell you all about the process of filming. Don’t forget to mark your calendars for June 24th, 11am eastern/10am central/11am pacific!


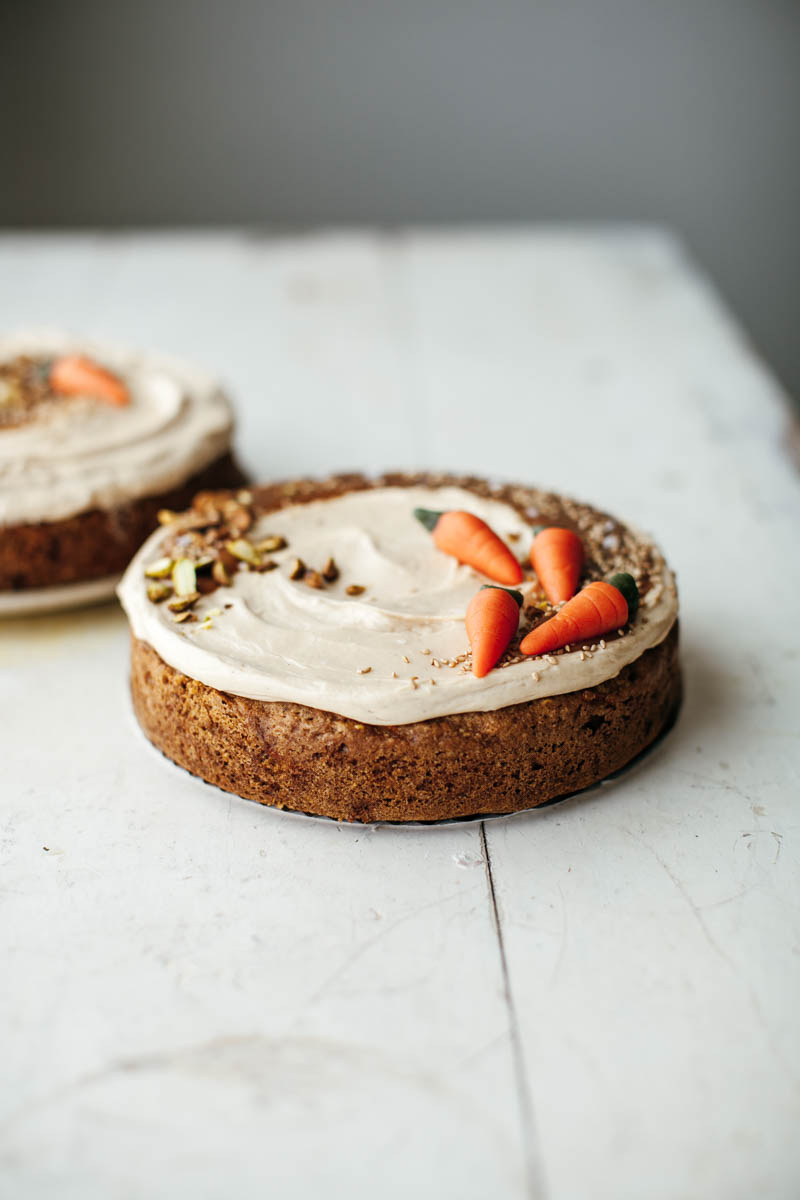
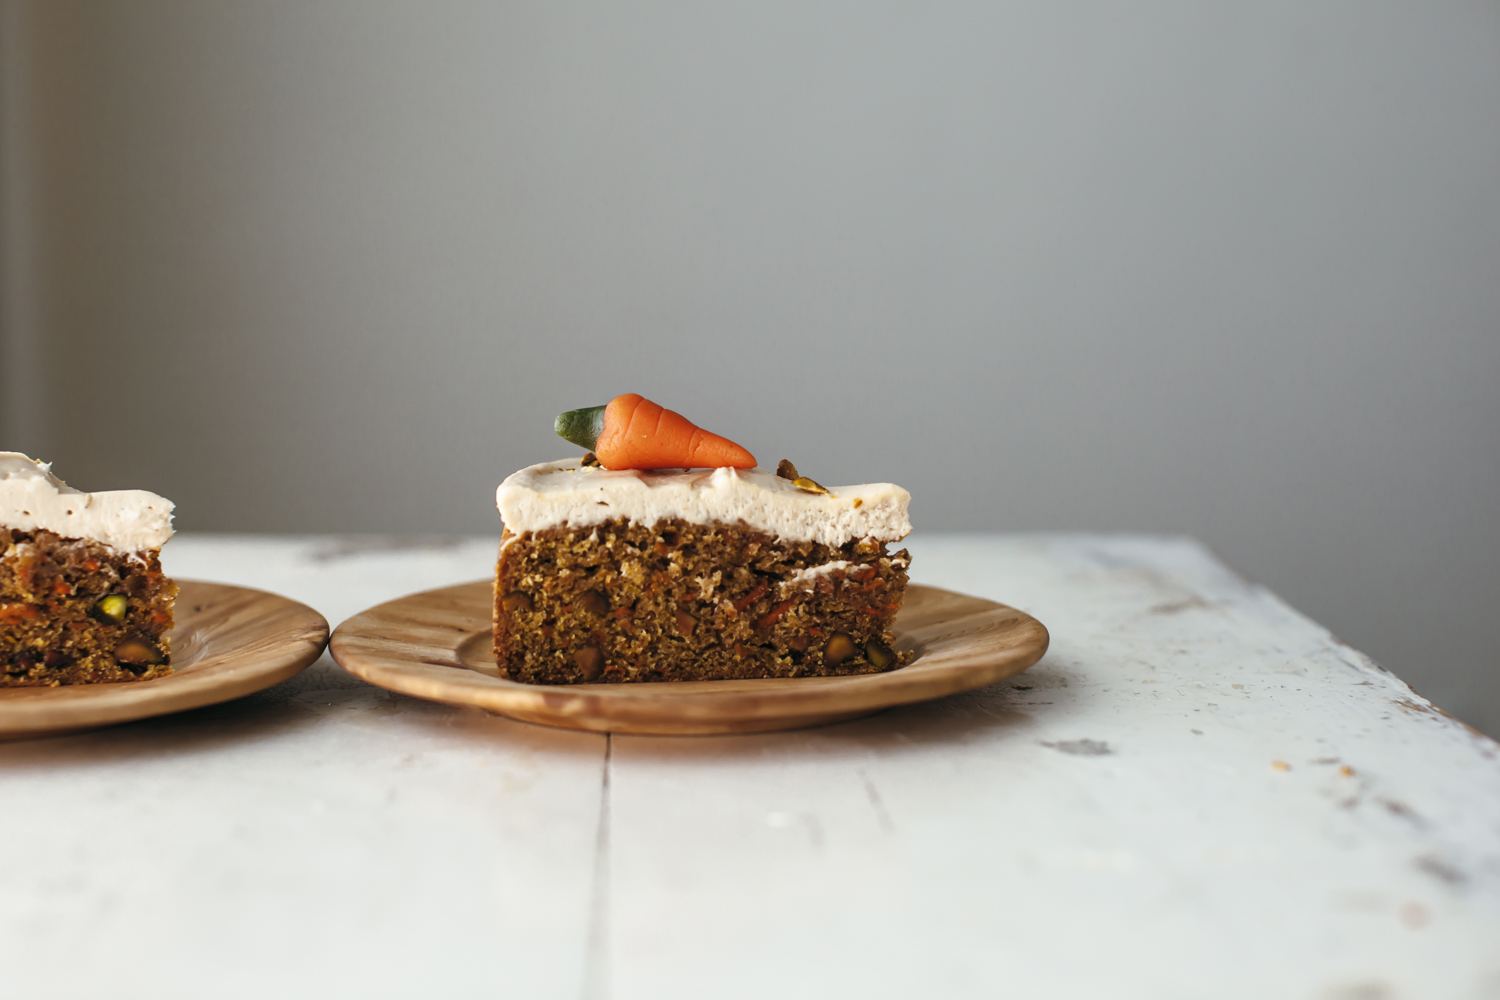
carrot cake with hawaij and tahini caramel frosting

It’s my birthday! Yay! More importantly, however, my pops is turning 60 tomorrow. Sixty! His hair is still heavier on the pepper than the salt, and he wears a Bernie Sanders t-shirt every day. And the other day he told me with a spring in his step that he plans to work for at least like 20 more years, which made me really happy because one downside about living in Winterfell is that I can’t go to his concerts whenever I please. So I’m feeling pretty good that he has 20 years of that klezmer section in Mahler one left in him. 

His true superhero power though is that he’s like a human garbage disposal in that he eats everything, in monstrous quantities (even if it’s years past the expiration date), and he loves all of  the food. With the exception of goat cheese. One thing in particular that he couldn’t shut up about recently was a carrot cake from the Blue Door Farm Stand, near where he lives. The cake is huge and filled with nuts and my dad just foams at the mouth about it. So this year for my birthday, but more importantly his, I’ve gained an understanding of carrot cake.

When I worked at the town bakery, I dreaded making carrot cake because it required using the food processor, the stand mixer, piping bags to make the little carrots, and (ugh) the can opener to open up the can of pineapple. H8 can openers. But carrot cake is good, and the process of making it is pretty unique, so it was time I got to know it. 

The first thing that aided my understanding of it was the idea that “carrot cake is ultimately a spice cake.” The carrots aren’t meant to be front and center, and Allison confirms this in her non-negotiables of carrot cake, which you all should read right now. It sets the world straight on pineapple, coconut, and raisins. Which I agree with, because a raisin’s place in my kitchen is *exclusively* on ants on a log, and also because I like the idea of achieving the best possible cake with the least amount of ingredients. Pineapple and coconut are for another time and another cake, for now we’re sticking with carrots, spices, cream cheese frosting, and cake. 

I began my testing process with my go-to vanilla cake:

1 3/4 c sugar

2 1/2 c flour

1 1/2 tsp each: salt, baking powder, baking soda

2 large eggs

1 c buttermilk

1/2 c oil

1 tb vanilla

3/4 c water

Combine dry, combine wet, combine em all, bake. 

Then I added spices: a few teaspoons of cinnamon and hawaij for coffee, the yemeni spice mix that’s a blend of all of my favorite sweeter spices, like nutmeg and cardamom, which I thought would go perfectly with carrots and...

Brown sugar: I subbed 1 c of the sugar for brown sugar because a defining feature of carrot cake is that darker, molasses-y flavor. 

And of course carrots: when carrots are added, you’re essentially adding a ton of water, so the water and milk in my recipe went goodbye. The new recipe looked like this:

1 c brown sugar

3/4 c sugar

2 1/2 c flour

1 1/2 tsp each: salt, baking powder, baking soda

2 tsp cinnamon

1 tsp hawaij

2 large eggs

1/2 c oil

1 tb vanilla

2 c shredded carrots

Before I went ahead and tested this, I read about a thousand more carrot cake recipes, and found that, a) most of them had at least double the eggs and oil as my recipe, and b) a lot of them required a method where you cream the eggs and sugar first until they’re fluffy and then drizzle in the fat. In other words, one more step and another dirty stand mixer bowl. Allison’s recipe however required beating together the carrots and sugar first. And then a few of the recipes required oil and sugar first, and then adding the eggs one at a time. I wanted to know what the difference was between each of these methods. 

So I started an internet thread about it and got some great answers from Stella, Allison, Ali, and a whole bunch of other kind people. Here was a selection of the findings:

-Beating eggs + sugar first helps aerate the cake, giving slightly more lift and offsetting the denseness of the sugar 

-Beating carrots + sugar first helps release all of the moisture from the carrots

-More eggs are required for the structure and to help the leavening work, and more oil is required to keep it moist and not eggy (I think I still have some questions about this…)

So here were the new measurements:

1 c brown sugar

3/4 c sugar

2 1/2 c flour

1 1/2 tsp each: salt, baking powder, baking soda

2 tsp cinnamon

1 tsp hawaij

4 large eggs

1 1/2 c oil

1 tb vanilla

2 c shredded carrots

I went ahead and tested the four different methods that I was wondering about and did side-by-side comparisons. Here they are along with their notes:

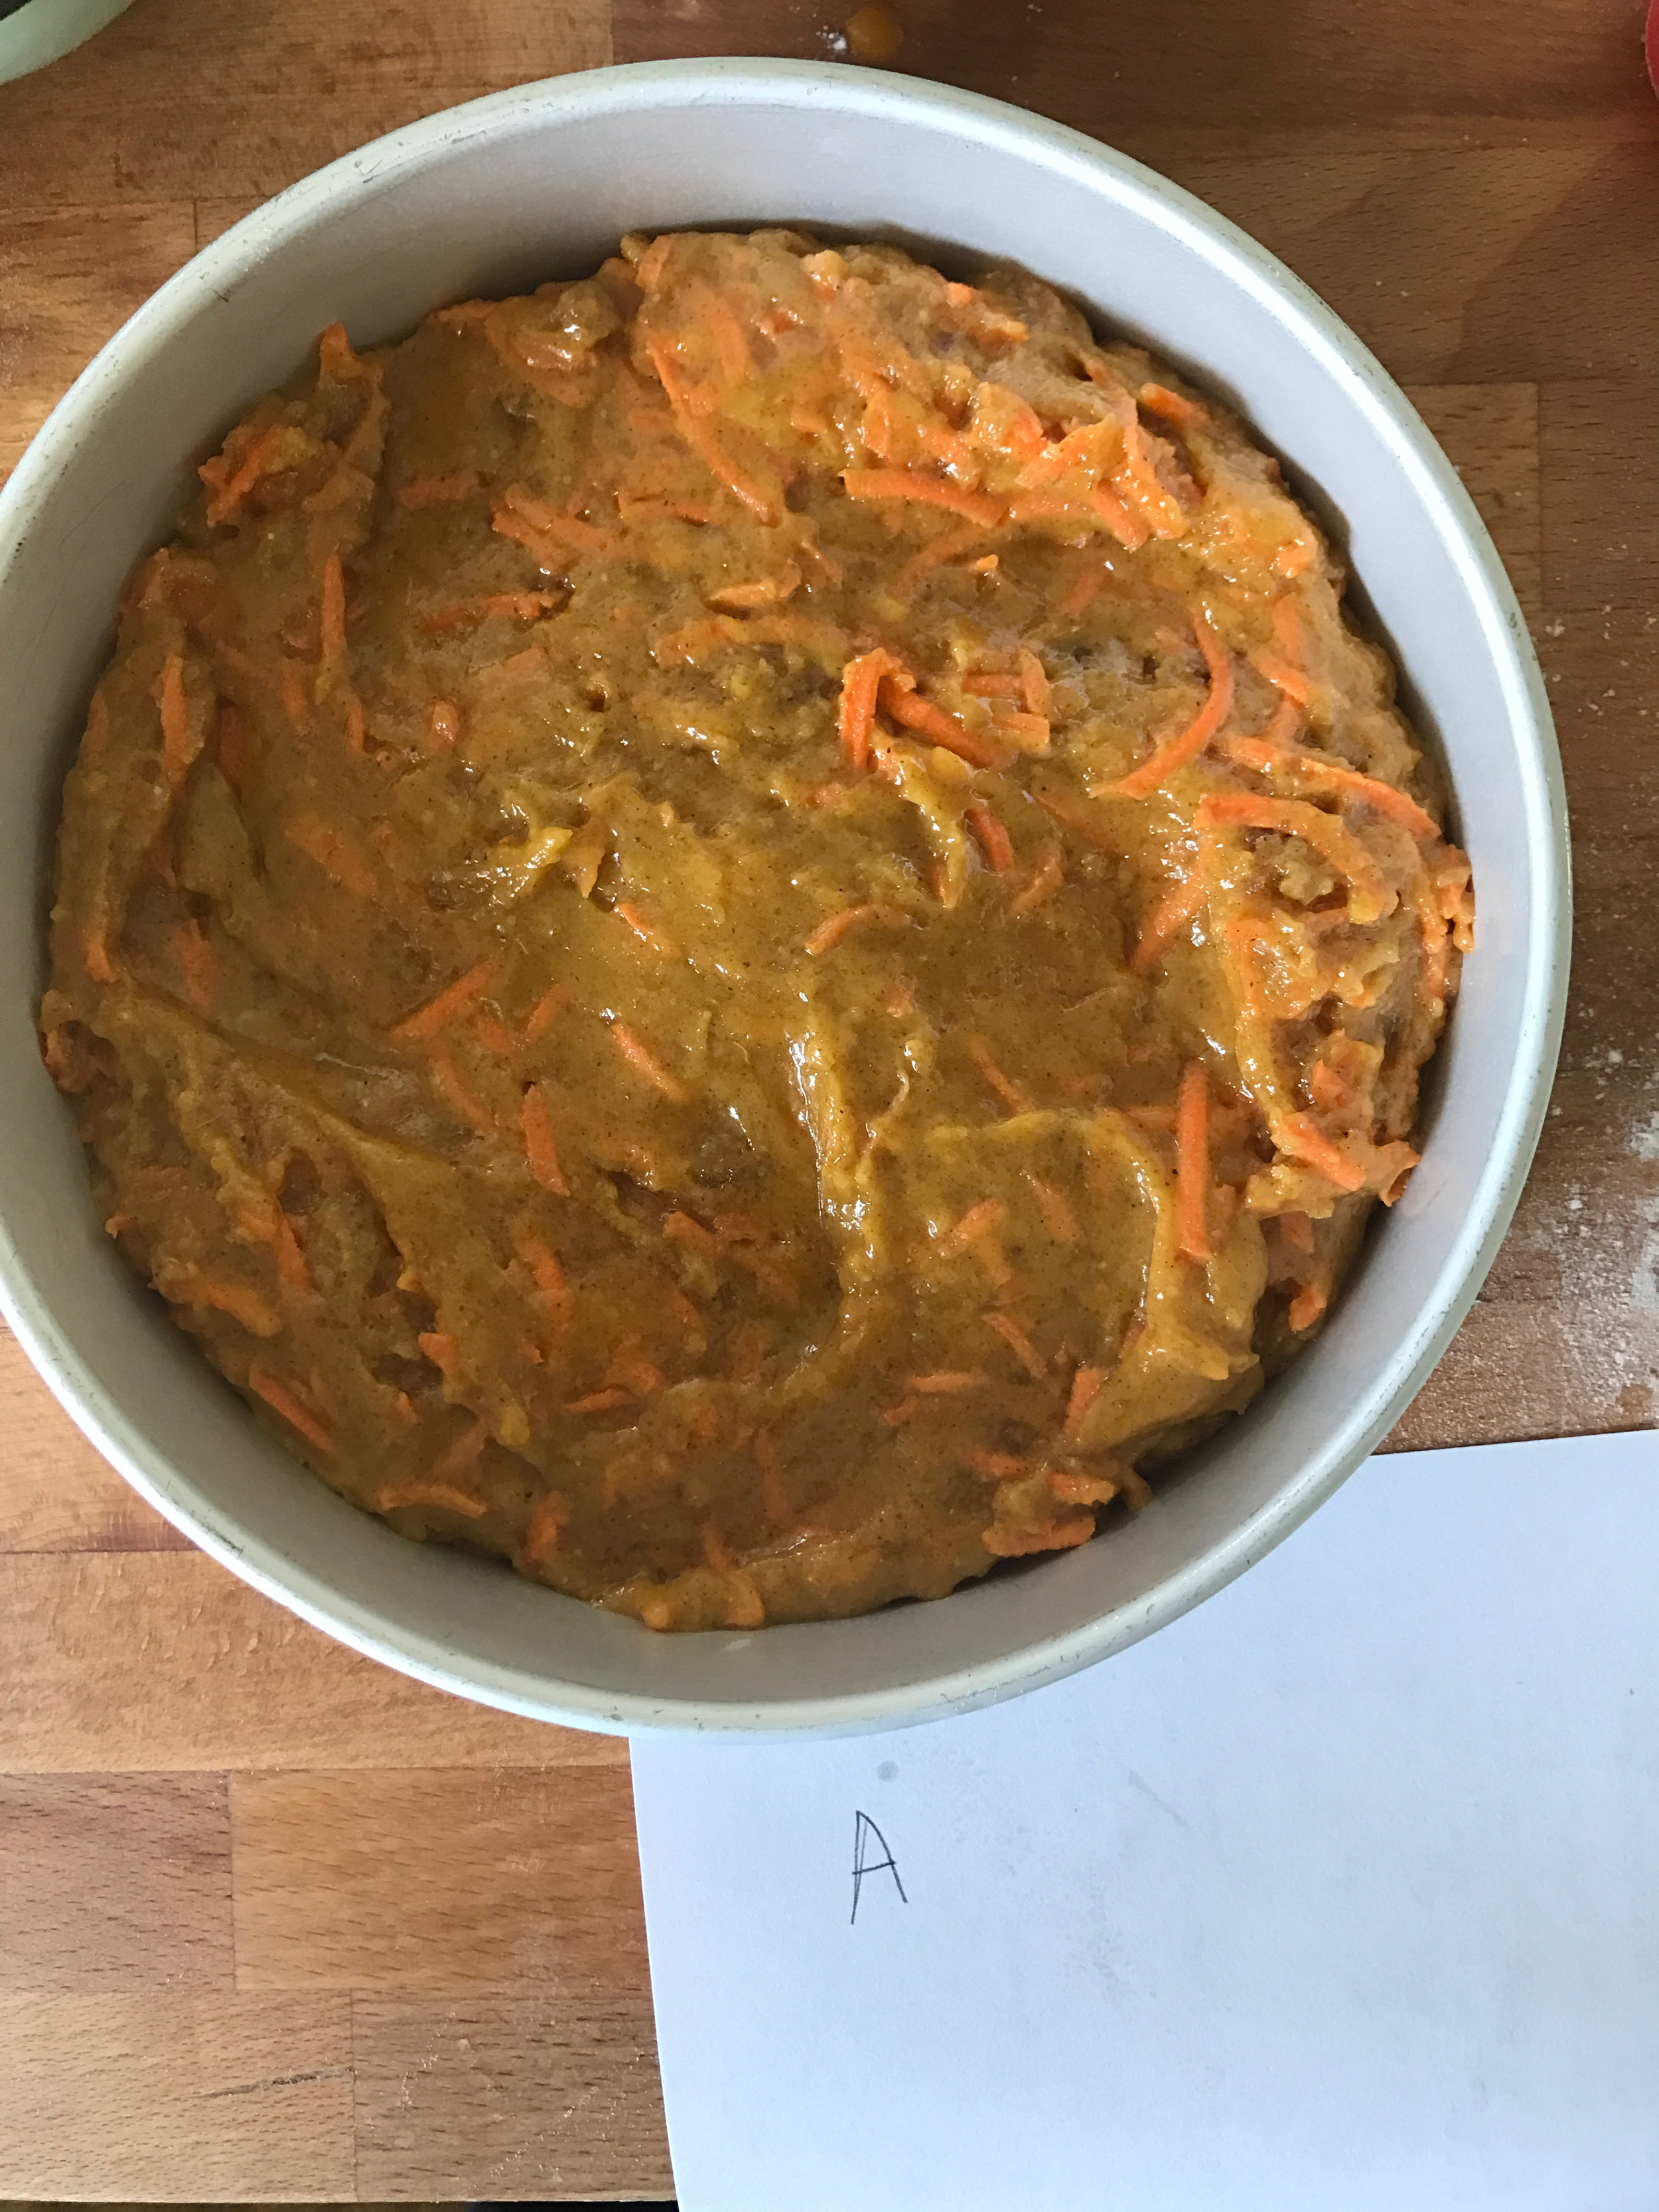
A: mixing dry, mixing wet, folding in the carrots [the laziest way]

-batter is thick, dark, and chunky and not well combined, kind of oily, almost like a brownie batter

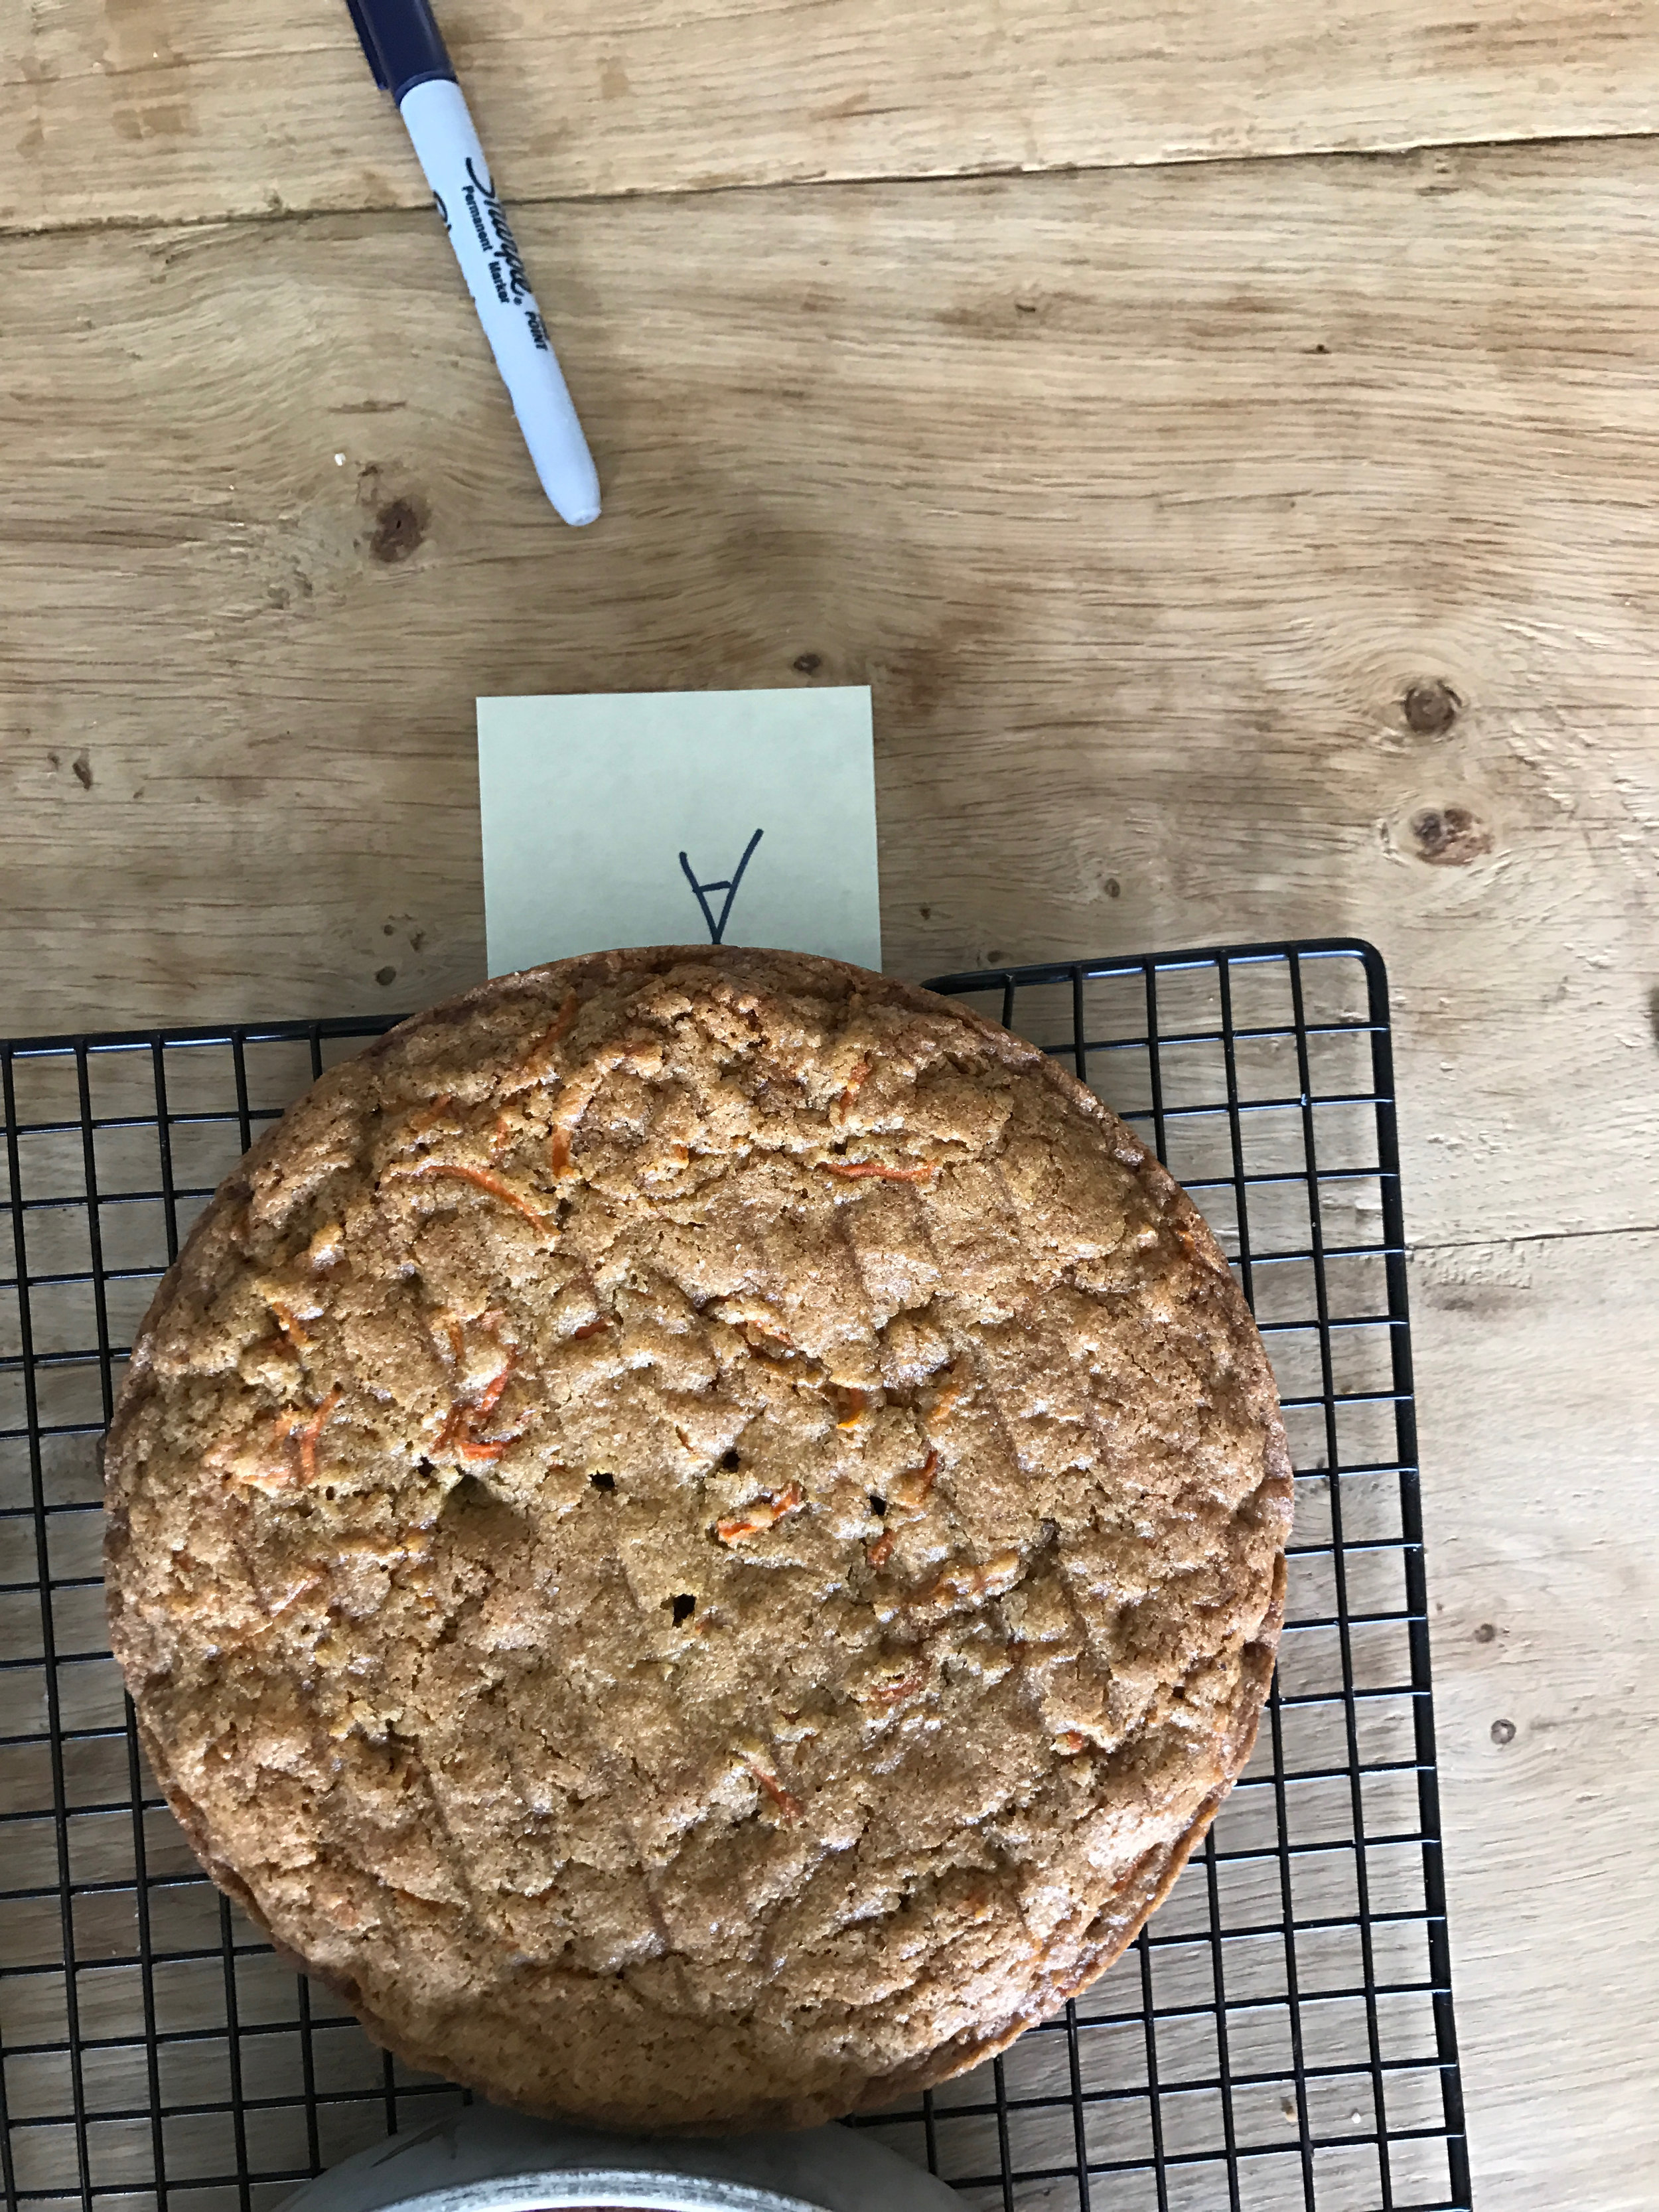
-cake is dense and good! has a great caramelized crust. center is slightly oily.

-baked for about 33 minutes

B: whisking sugar and oil first by hand, whisking in eggs on at a time, folding in dry ingredients and carrots [slightly less lazy, but still doesn't use a stand mixer]

-nice batter that held its shit together. smooth and dark.

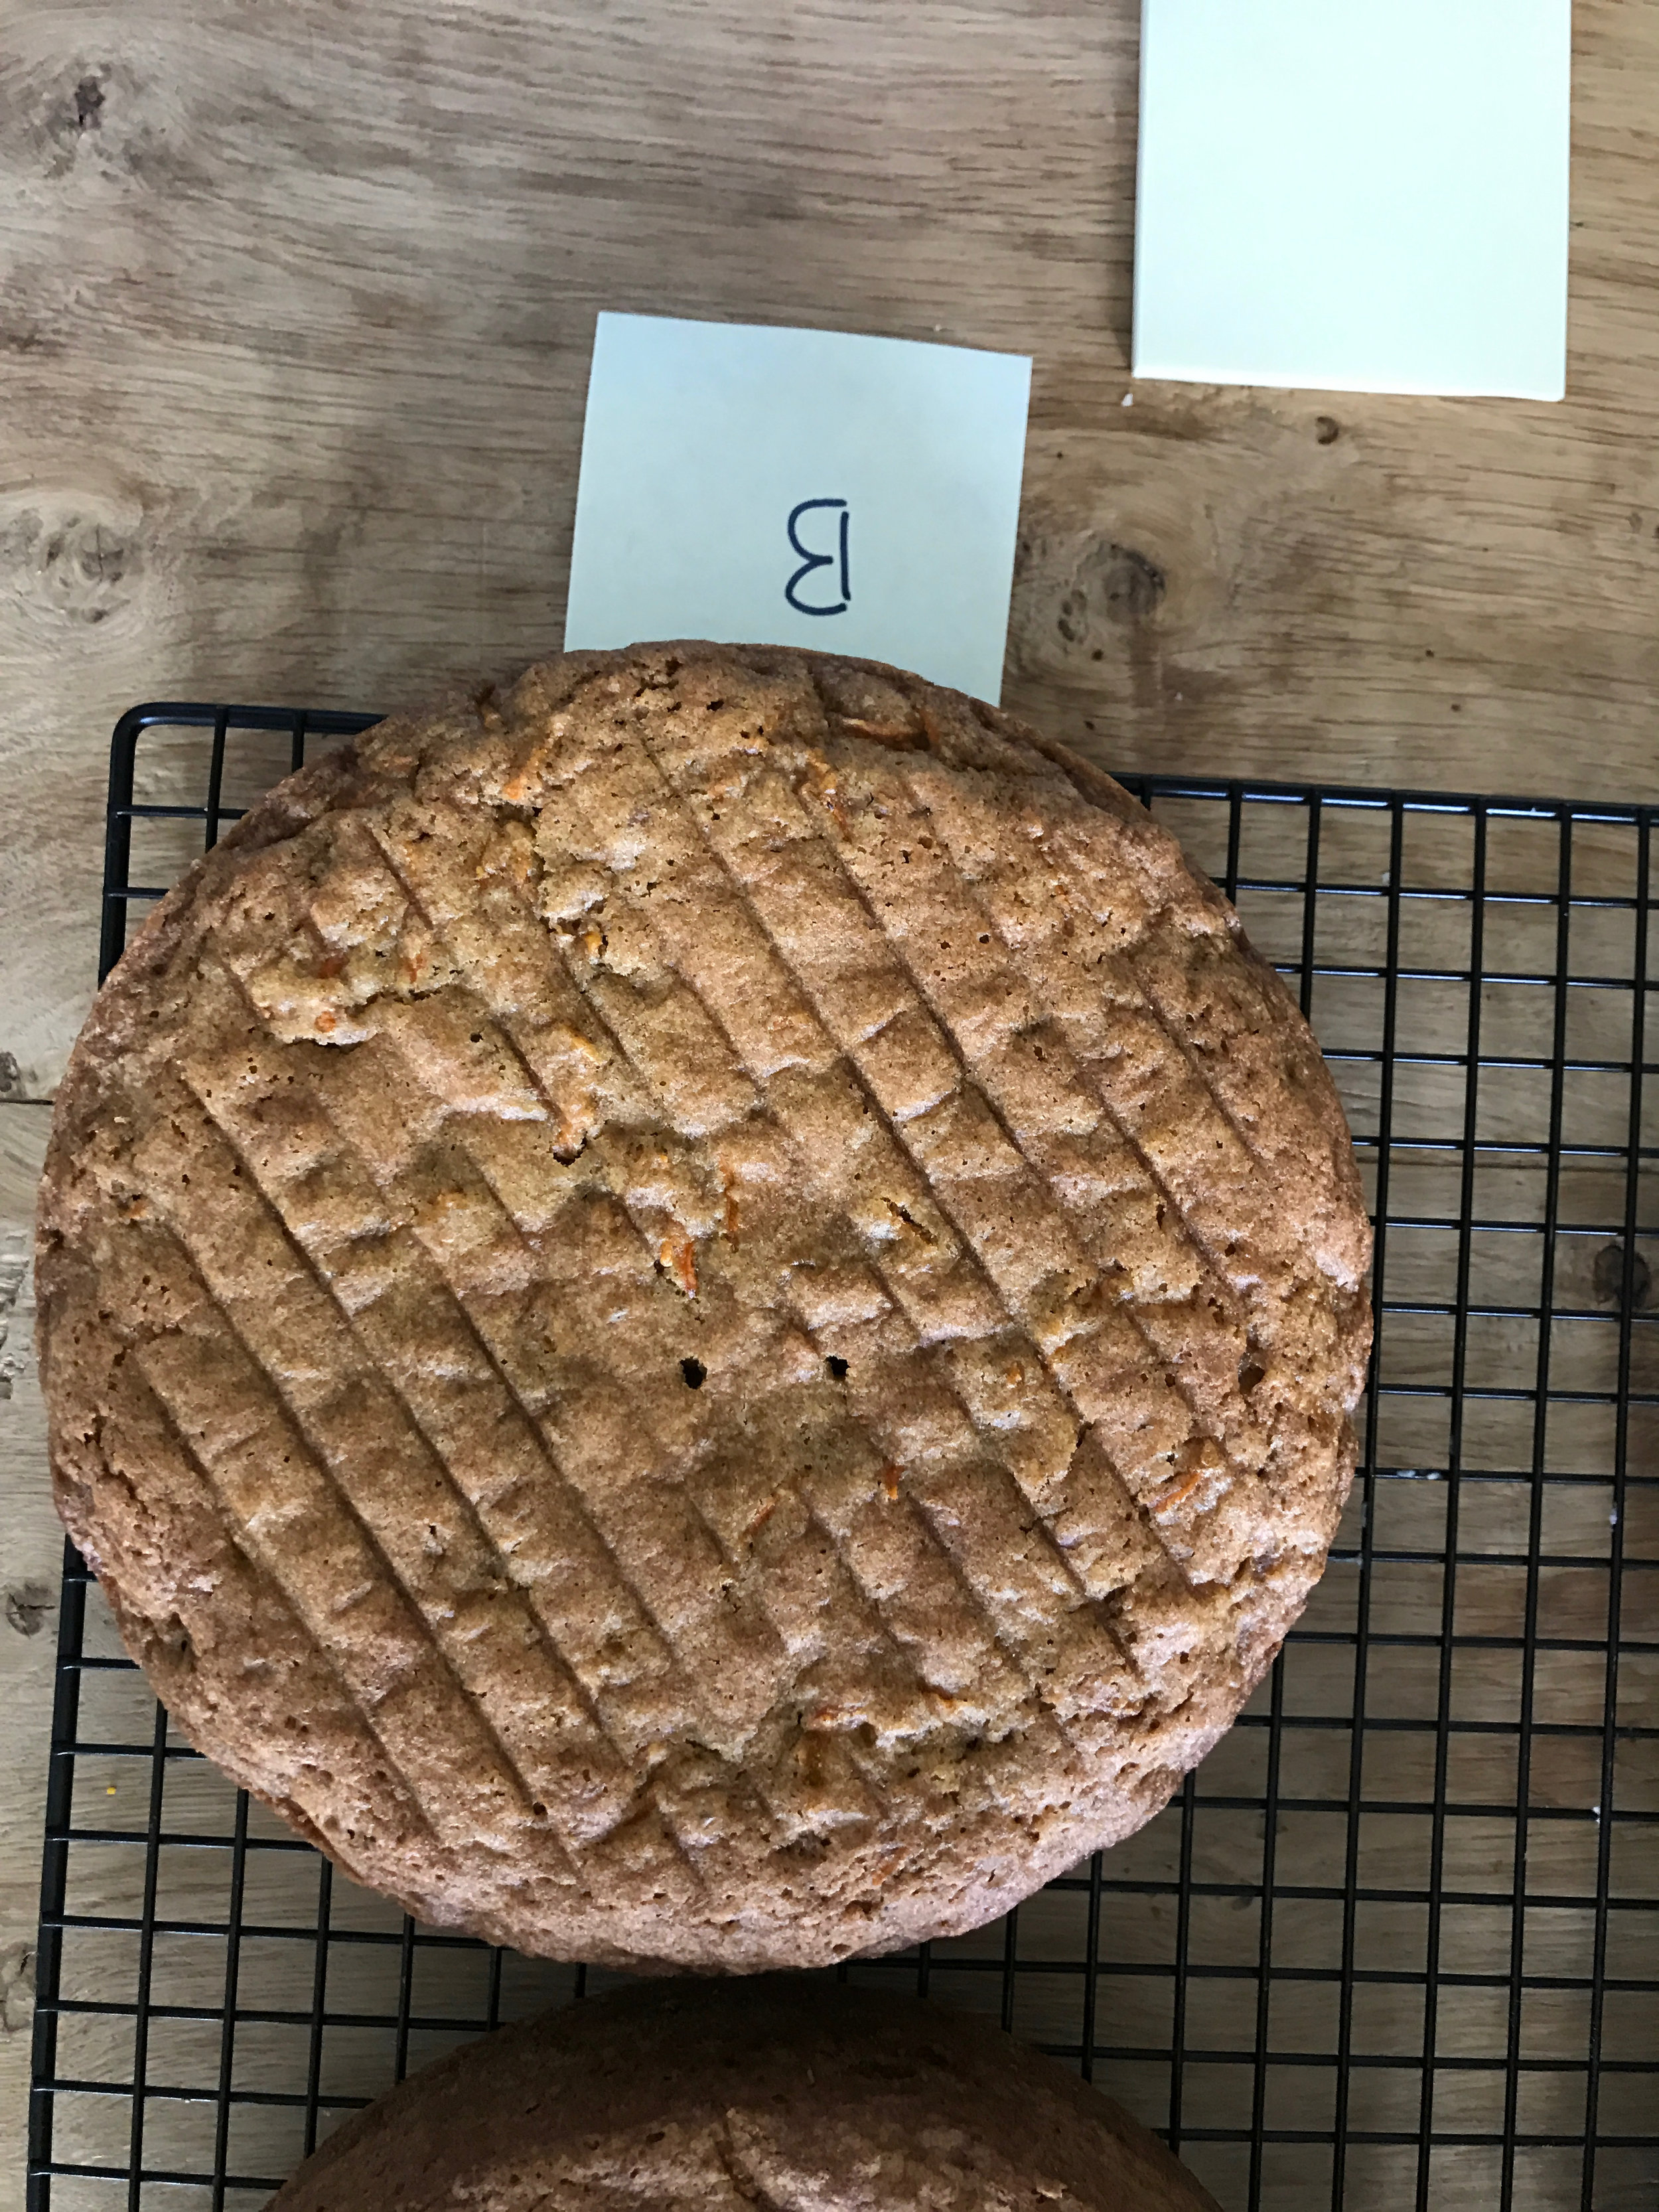
-cake is dense and GOOD

-baked for about 33 minutes

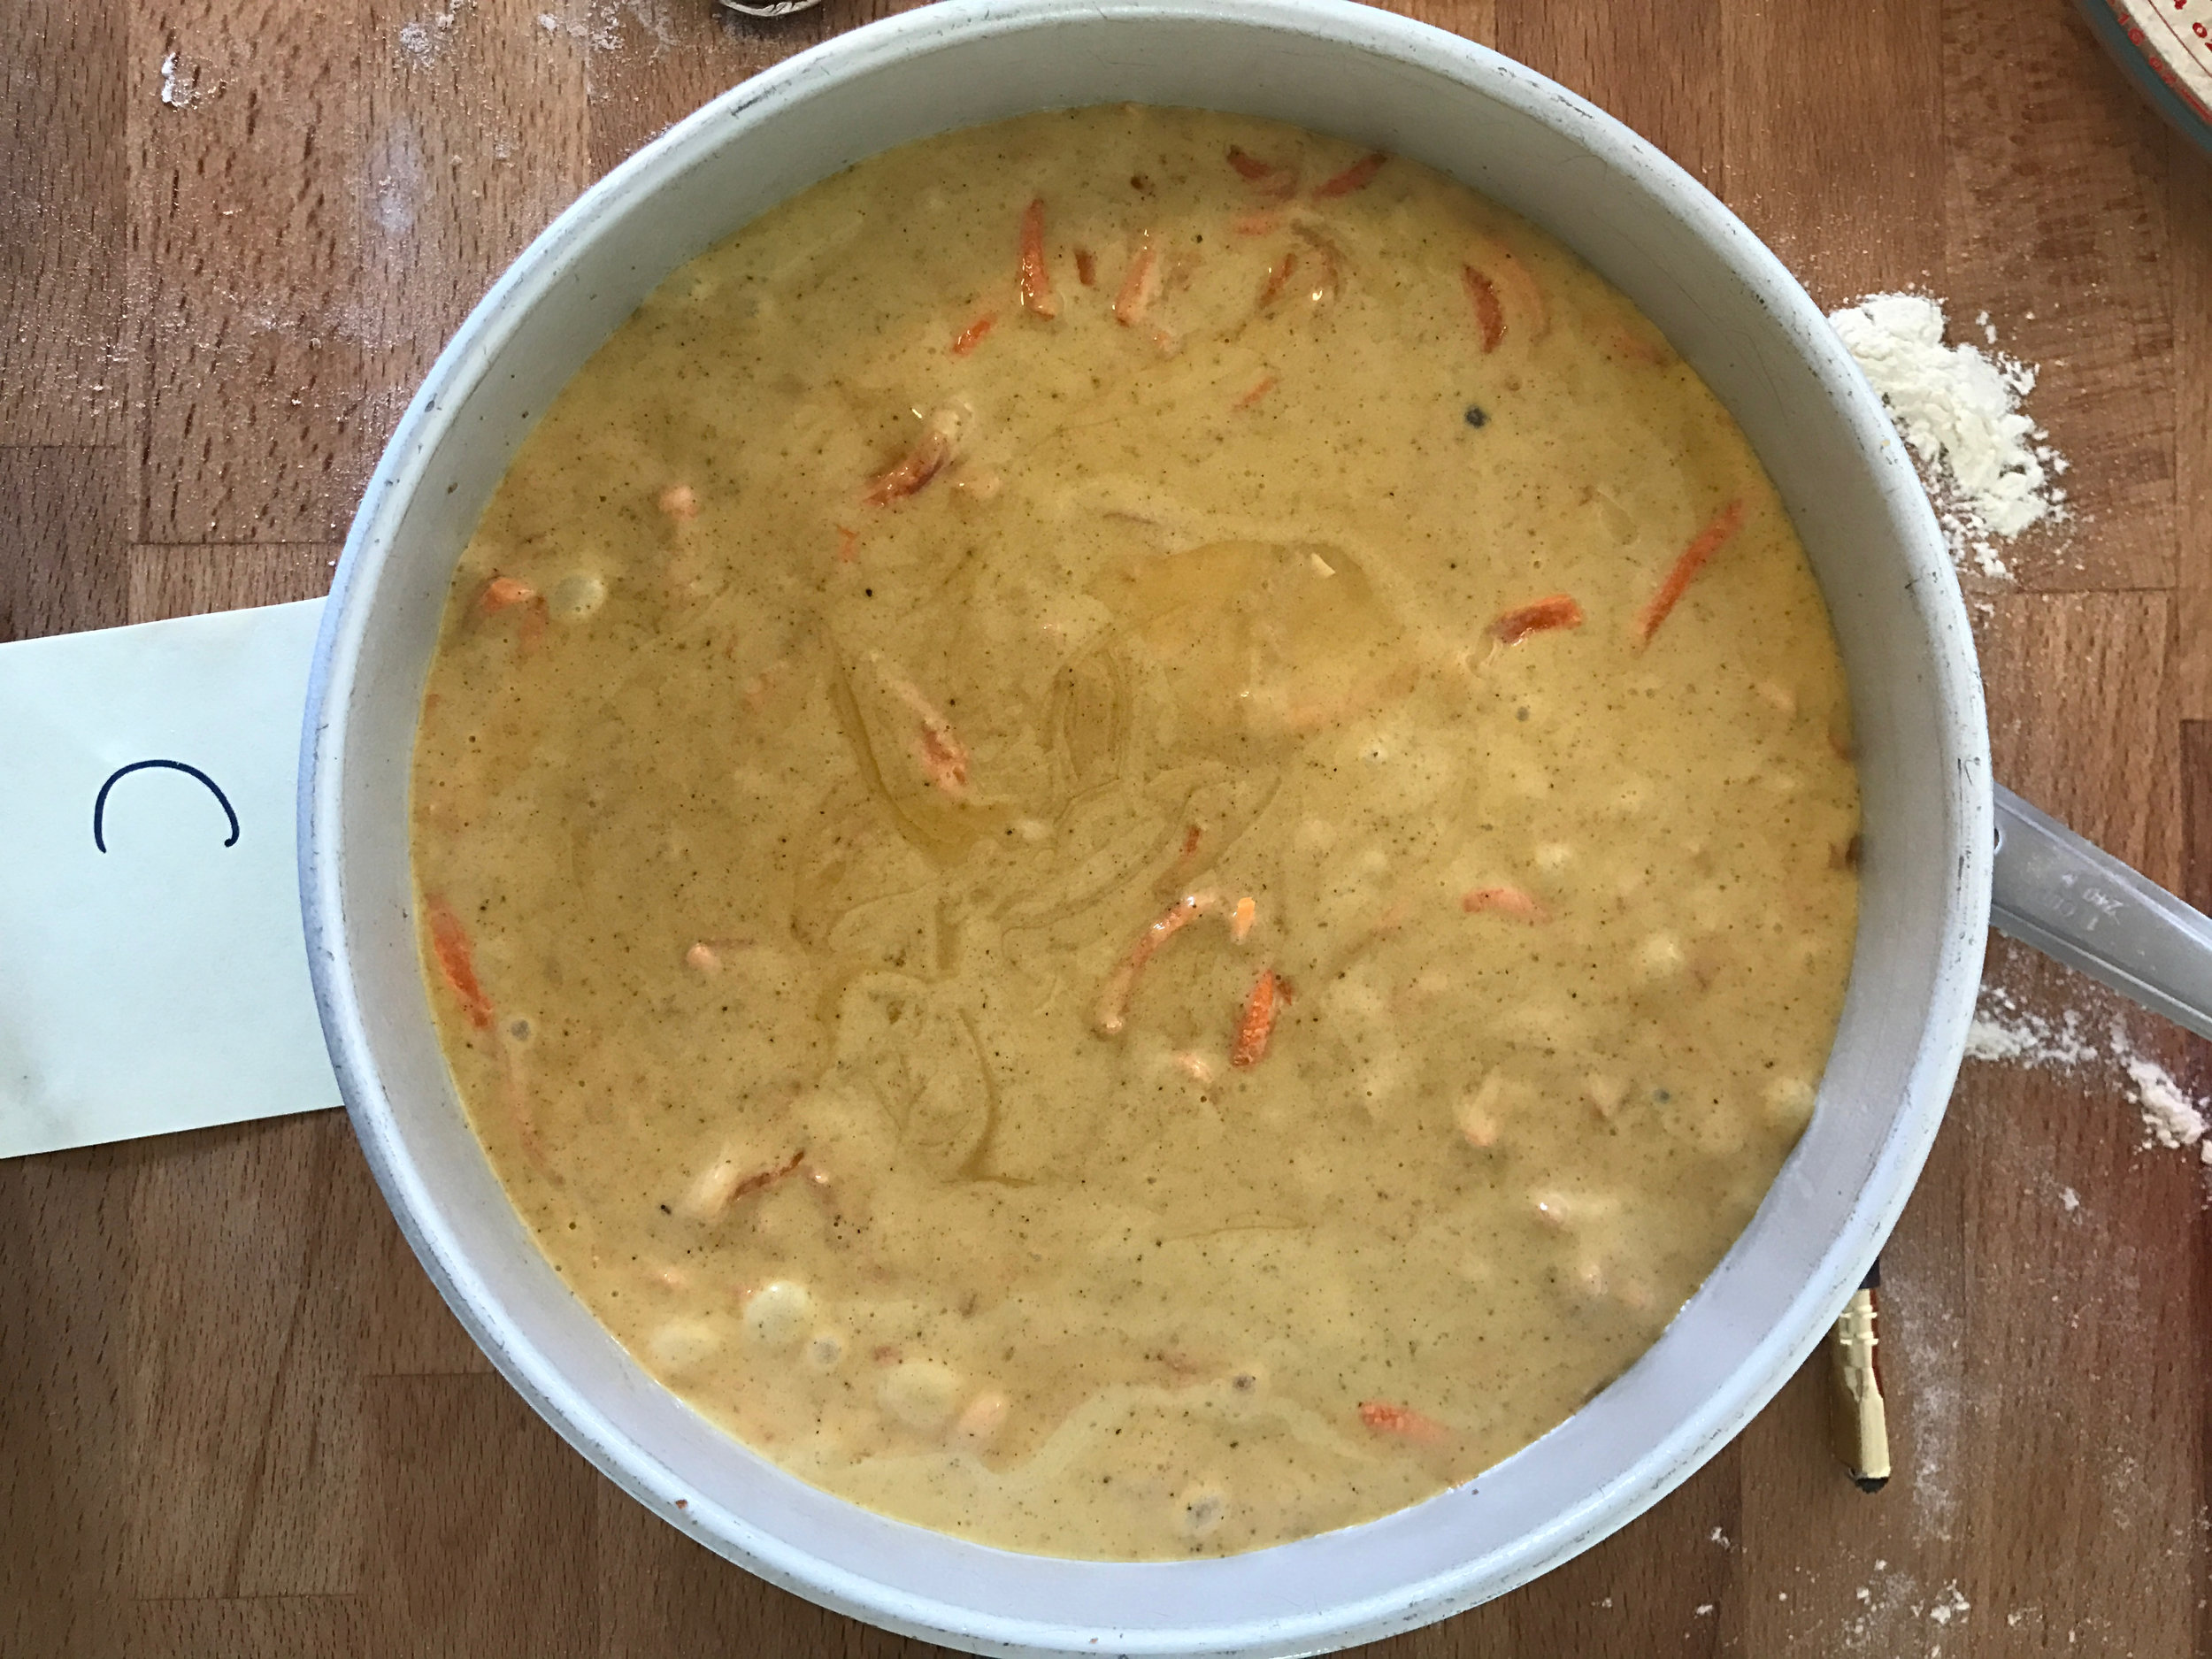
C: beating sugar and eggs until pale and fluffy in a stand mixer with a whisk attachment, then drizzling in fat, adding dry, folding in carrots [The Stella Method]

-batter is very light, more yellow, and fluffy, so satisfying to beat the eggs

-it rose WAY more, layer is about 1/2” taller than A and B, smooth on top

-needed about 38 minutes in the oven, longer than A and B

-cake was fluffy, less moist than A and B

D: beating carrots, sugar, and salt in a stand mixer with a paddle until sandy, combining eggs and oil and then adding those, adding dry [The Allison Method]

-batter was golden color (between A/B and C), way more liquidy and bubbly

-cake domed nicely, the smoothest top out of the four

-cake was fluffy, less moist than A and B

(left to right: the batters and layers of a, b, c, d. sorry these aren't the best photos, a and b were sitting upside down on the wire rack for a little bit before i took the pictures which is why they have all of those little lines in them.)

(left to right: a, b, c, d)

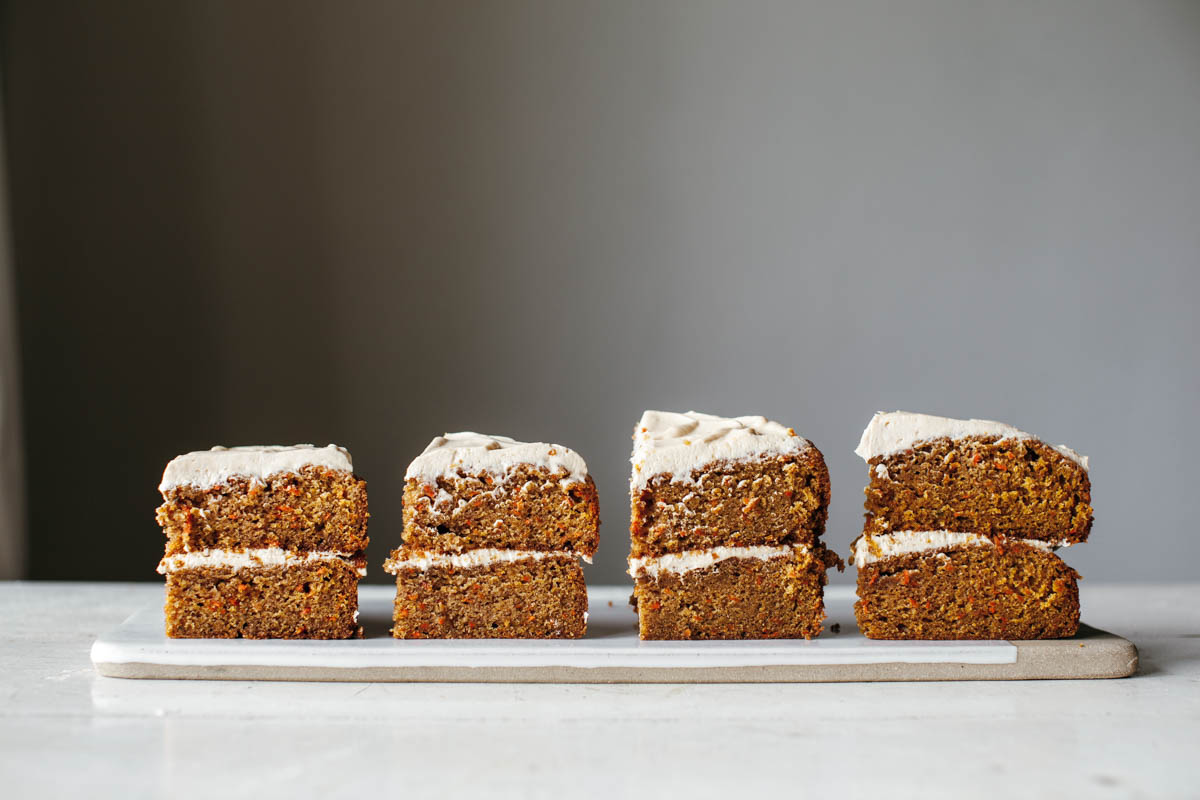
It was so fascinating to see one set of identical ingredients, all mixed up with different methods. They were all great! With methods C and D, the ingredient list would have to adjust to lean heavier on the fat (and maybe sugar?) to provide slightly more moisture. But in general my cake preference is usually on the denser side, so I chose to fly with method B, excited with the added bonus that it doesn’t require a stand mixer. 

Then I tested something that caught my eye in Stella’s recipe, browned butter! I am fairly new to brown butter but it seems like everyone flips out about it. I used method B. Here were my notes:

-batter looks pretty much the same as B

-brown butter flavor definitely present in cake

-texture very similar to B, slightly grainy, which was good, slightly more structural integrity, also good

-I don’t know that I necessary like brown butter flavor…. am I a monster if I don’t like browned butter?

I’m still going back and forth about whether or not I like brown butter. I really feel like a monster about this. The cake made with brown butter tastes exactly like a brown butter cake with spices, so if you know that you love brown butter, this is the option for you. I’ve included both options in the recipe below. 

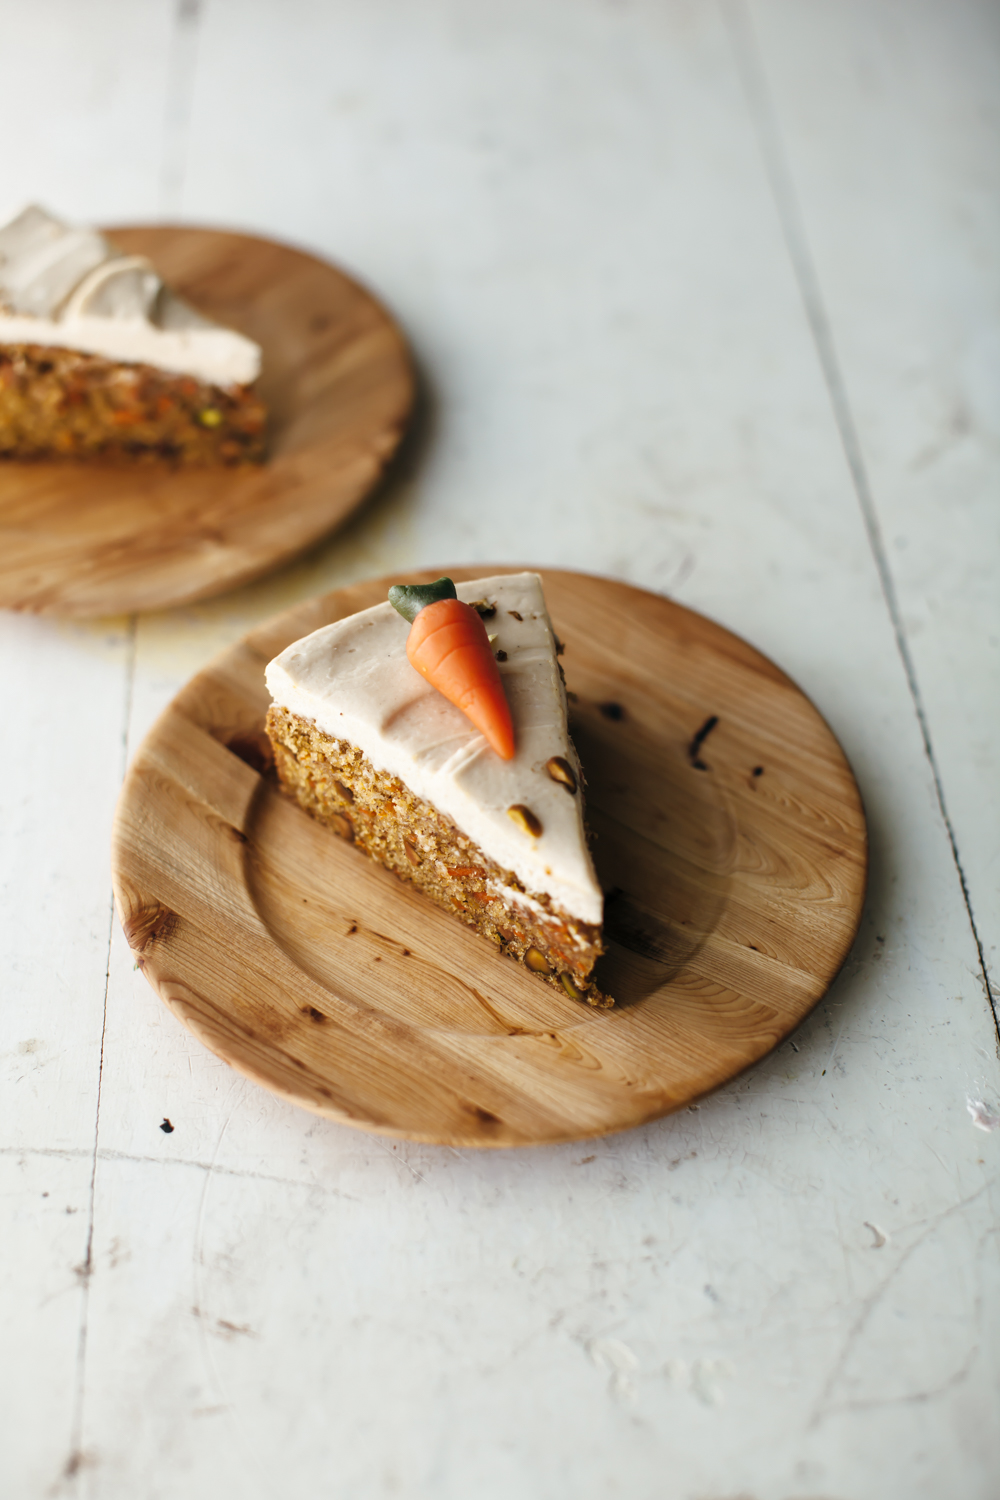
Brown butter or not, I am very happy with this cake. It is dense, moist, and fit for my pops' 60th birthday!

Ok, let's now move on to the frosting. Do you know BJ’s story about carrot cake? And you've already read Allison's frosting non-negotiables right? So carrot cake has to have the best frosting and it has to be cream cheese frosting, we’re all on the same page about that. 

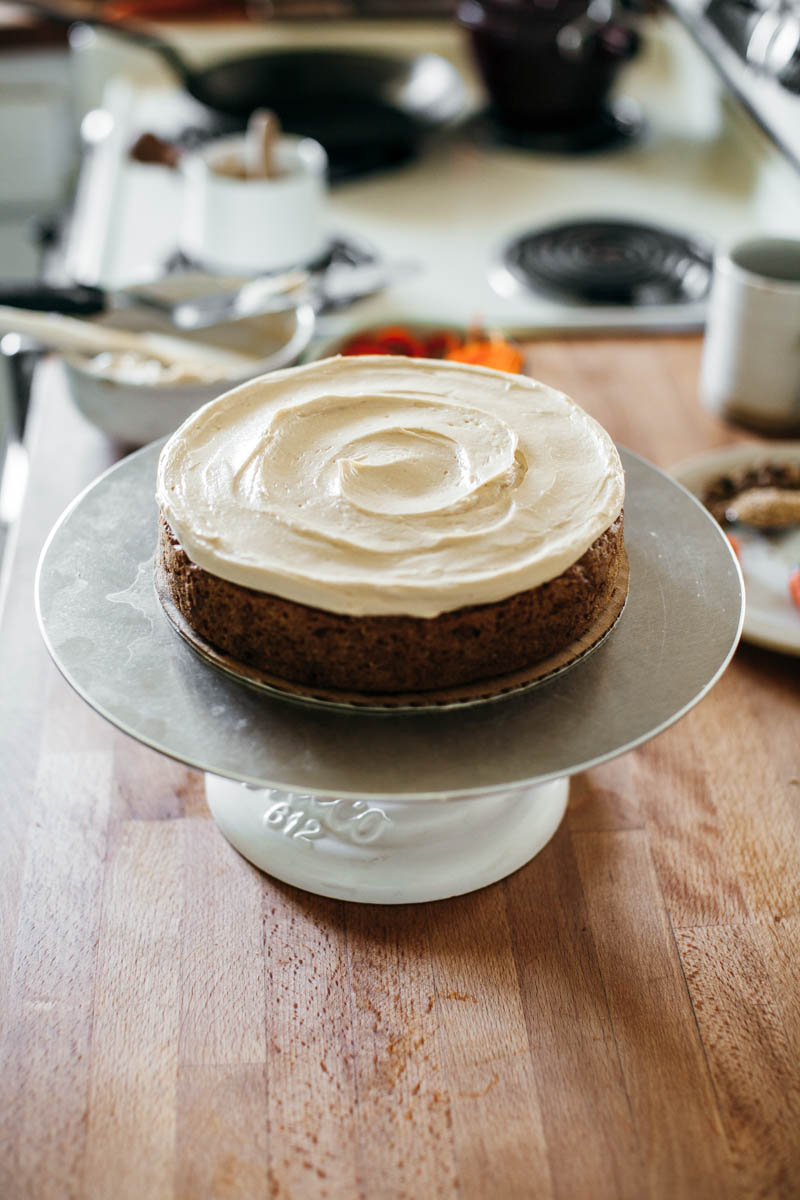
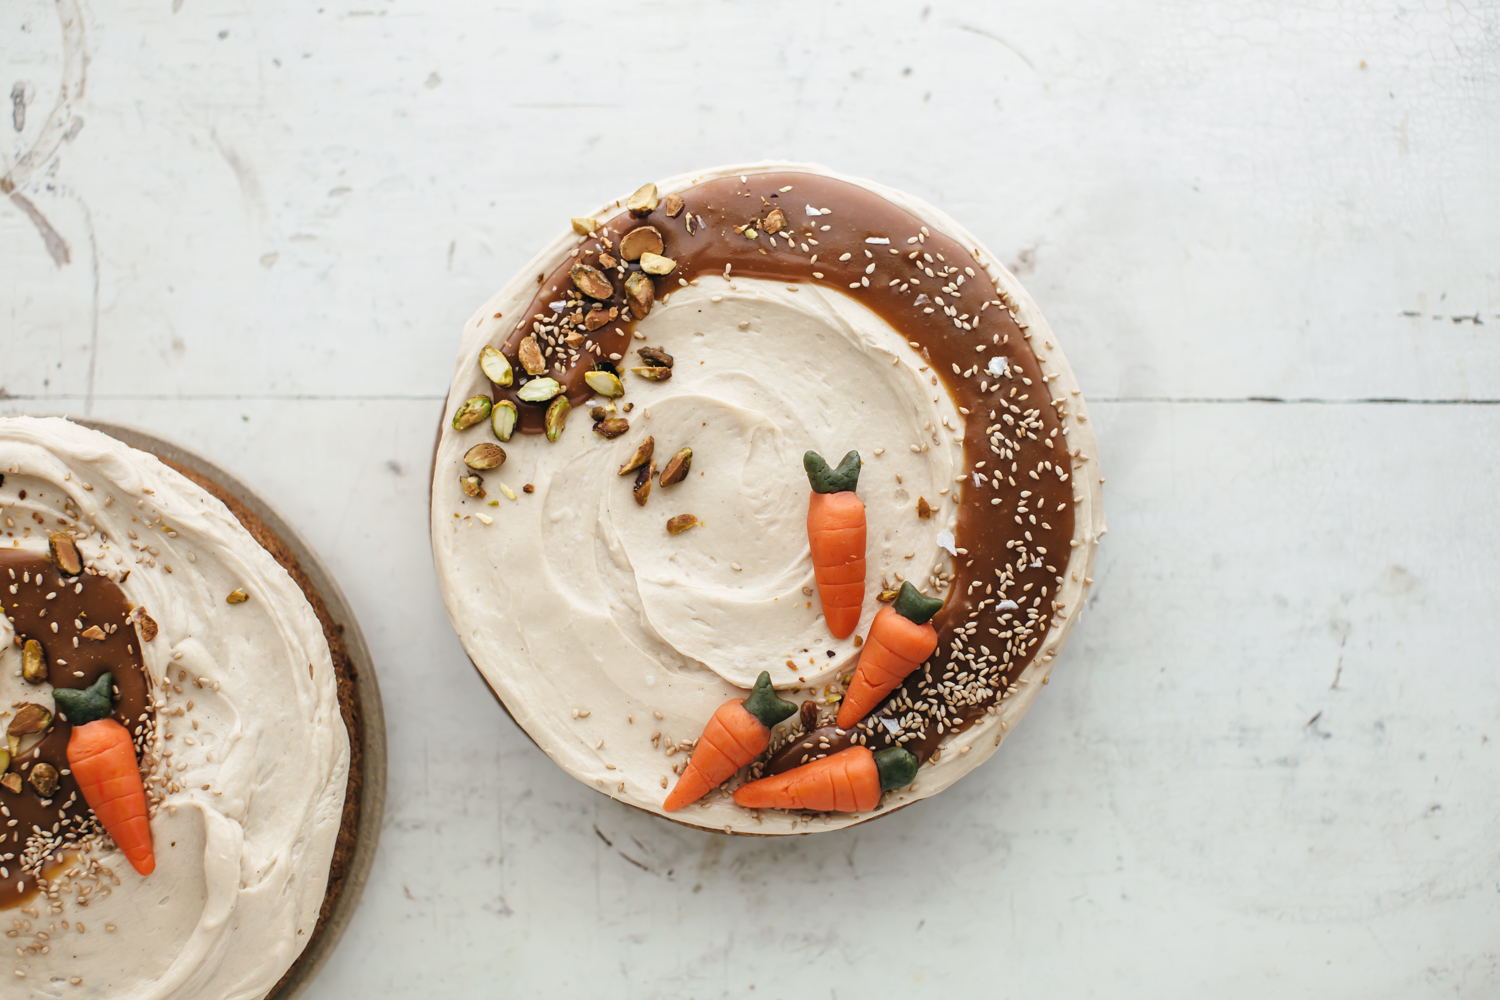
I wasn’t going to fuck around with the frosting too much until halfway through my research when I found the halva caramel cream cheese frosting in Soframiz, and girl, it kept me up at night. I just couldn’t stop thinking about it. I’ve always flipped past cakes that have caramel in the frosting because the thought of cleaning caramel out of a pot stresses me out and I honestly don’t love caramel. But obviously if you add tahini to anything I am sold. So I gave it a shot, using the caramel that Maya and I made for our molten halva lava cakes, and it turns out that such a small quantity of caramel only takes a few quick minutes to make and is actually really satisfying. The caramel mixed with the cream cheese and butter makes for a frosting that is nutty, not too sweet, full of flavor, and an important part of a really nice civilized slice of carrot cake. 

And the addition of tahini all makes sense because carrots go with cinnamon, cinnamon goes with hawaij, cinnamon goes with tahini, tahini goes with caramel, carrots go with tahini, etc., etc., guilty by association, there is a great flavor party happening in this cake. 

Ok I’m done talking about carrot cake for now. 

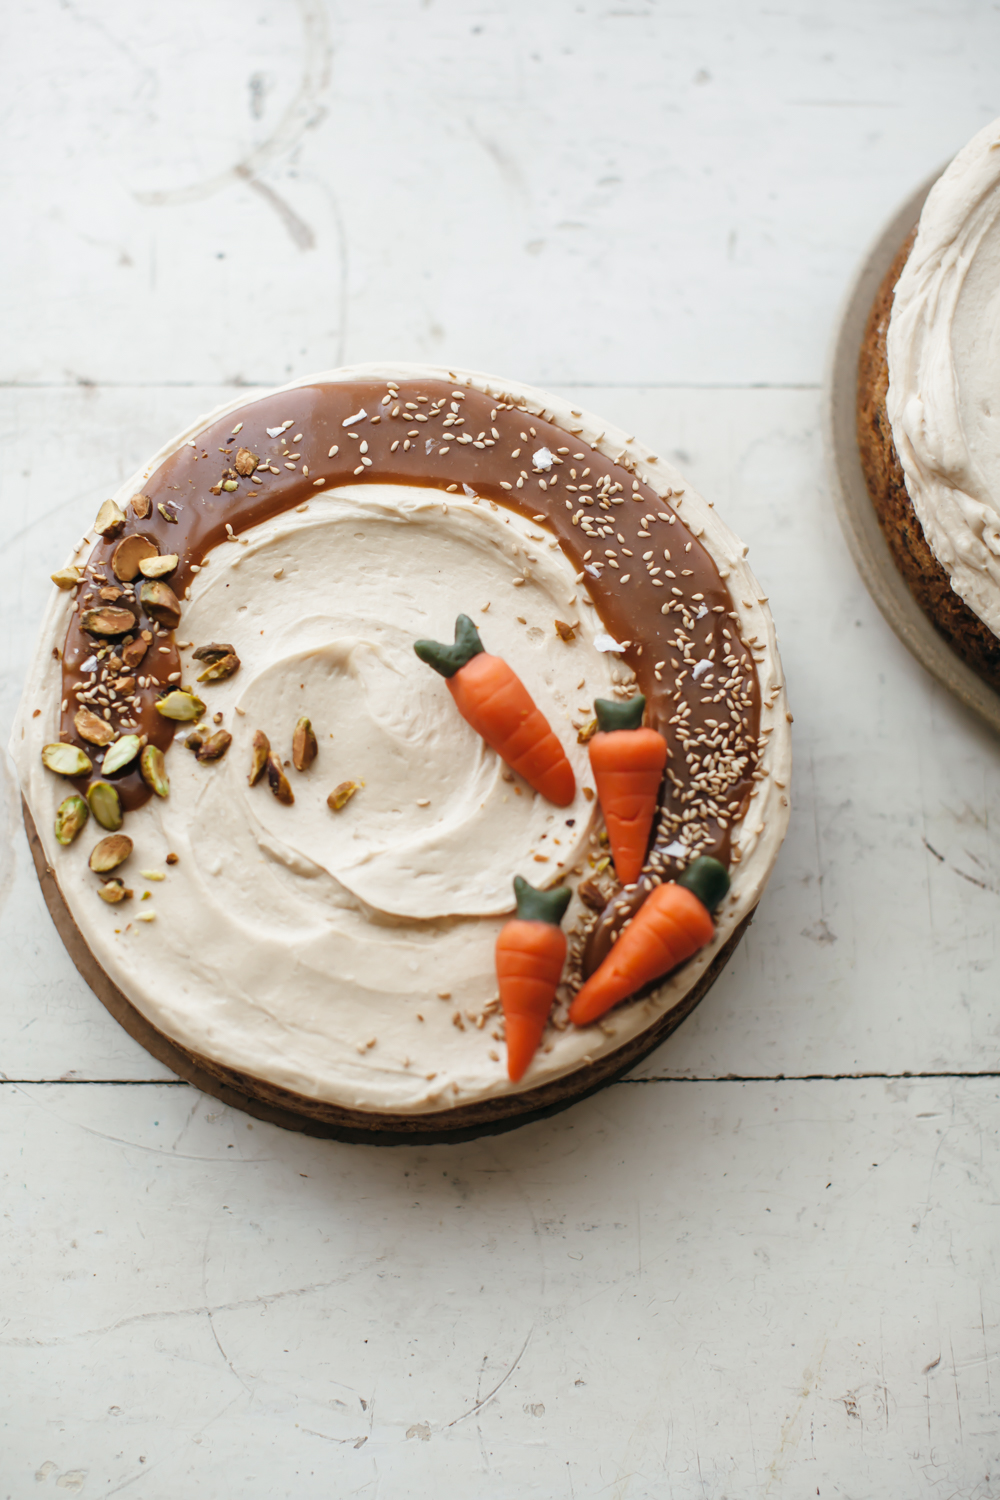
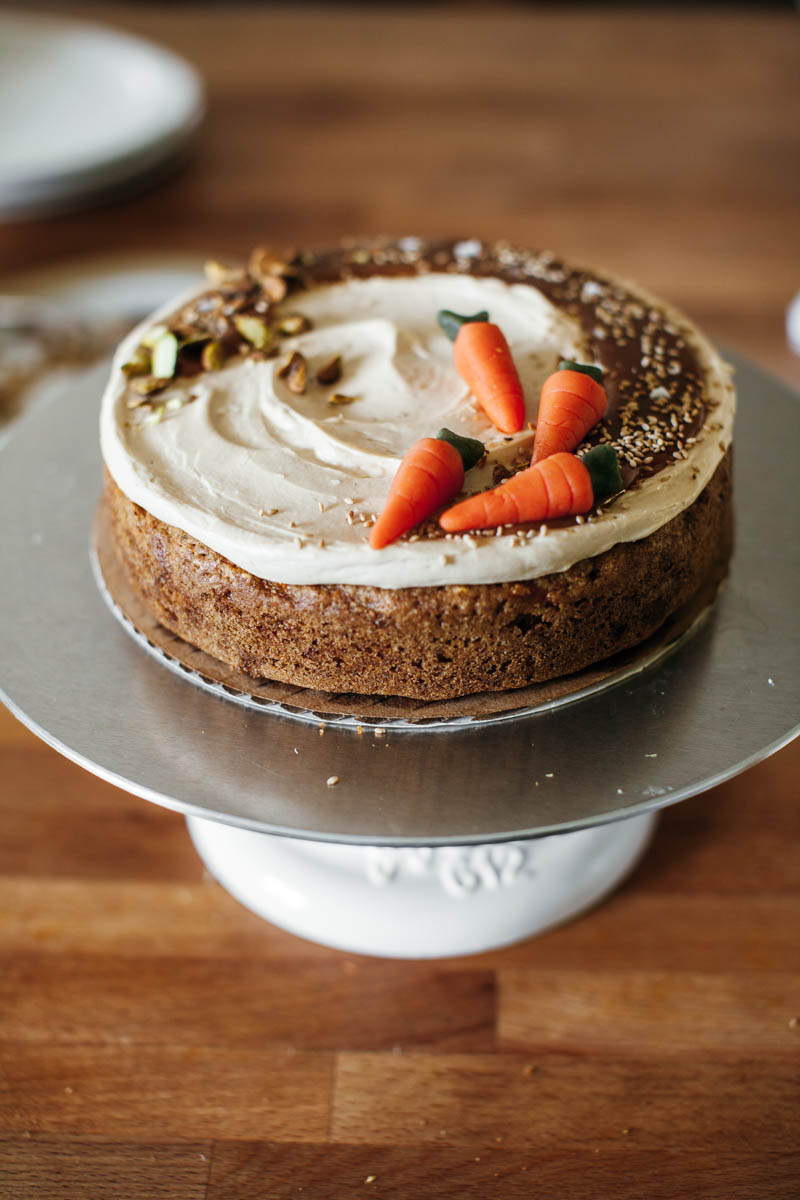
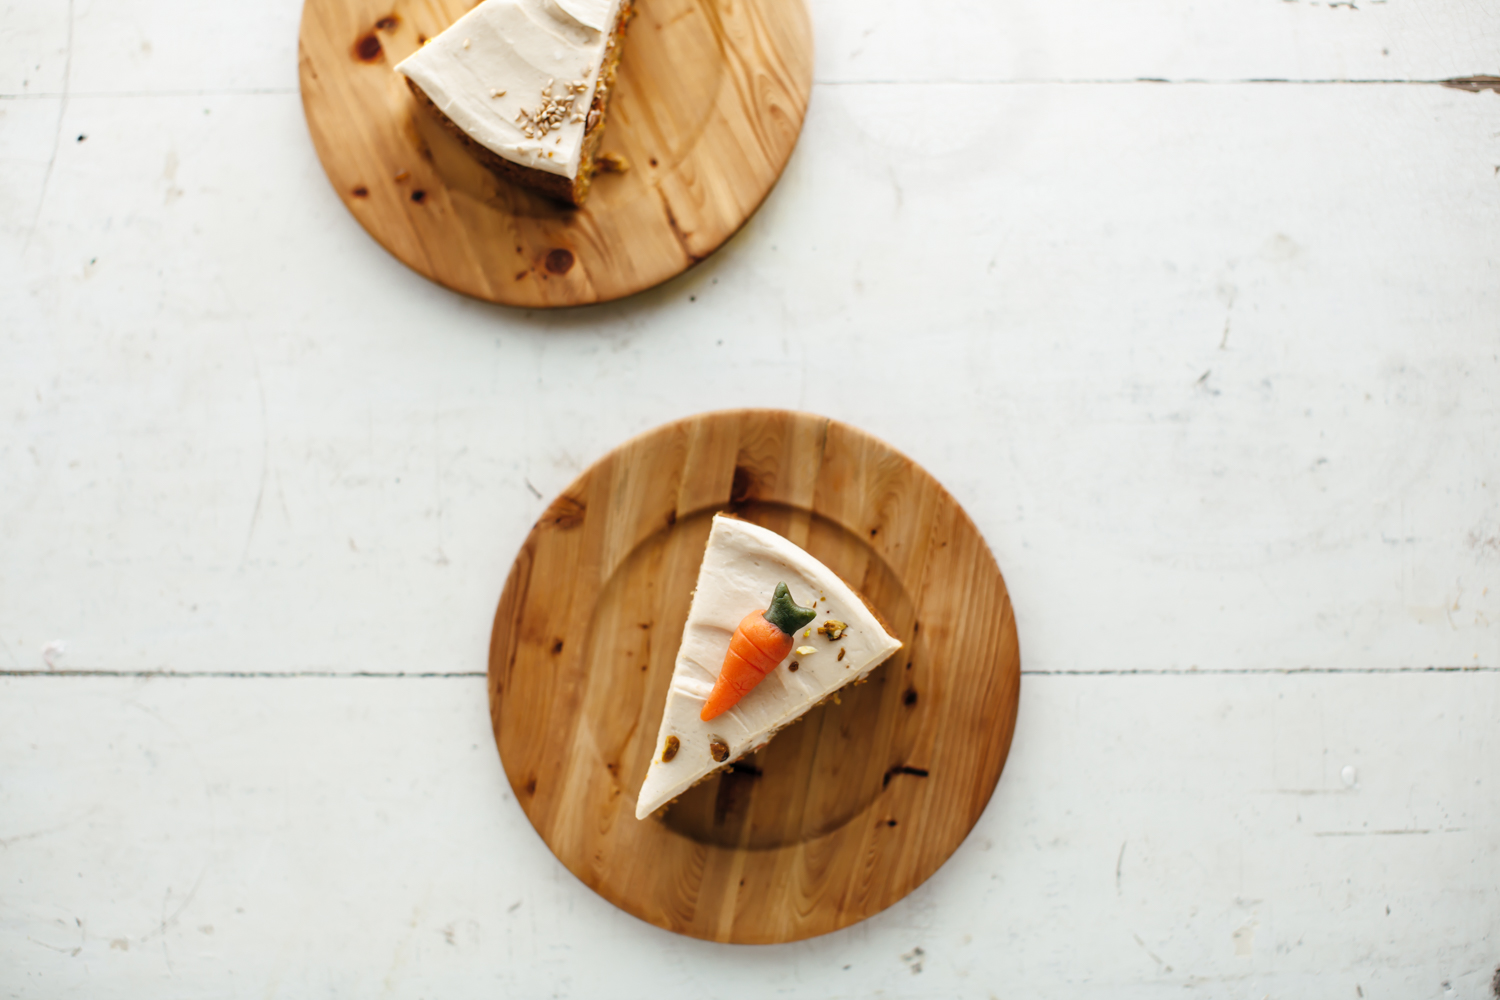
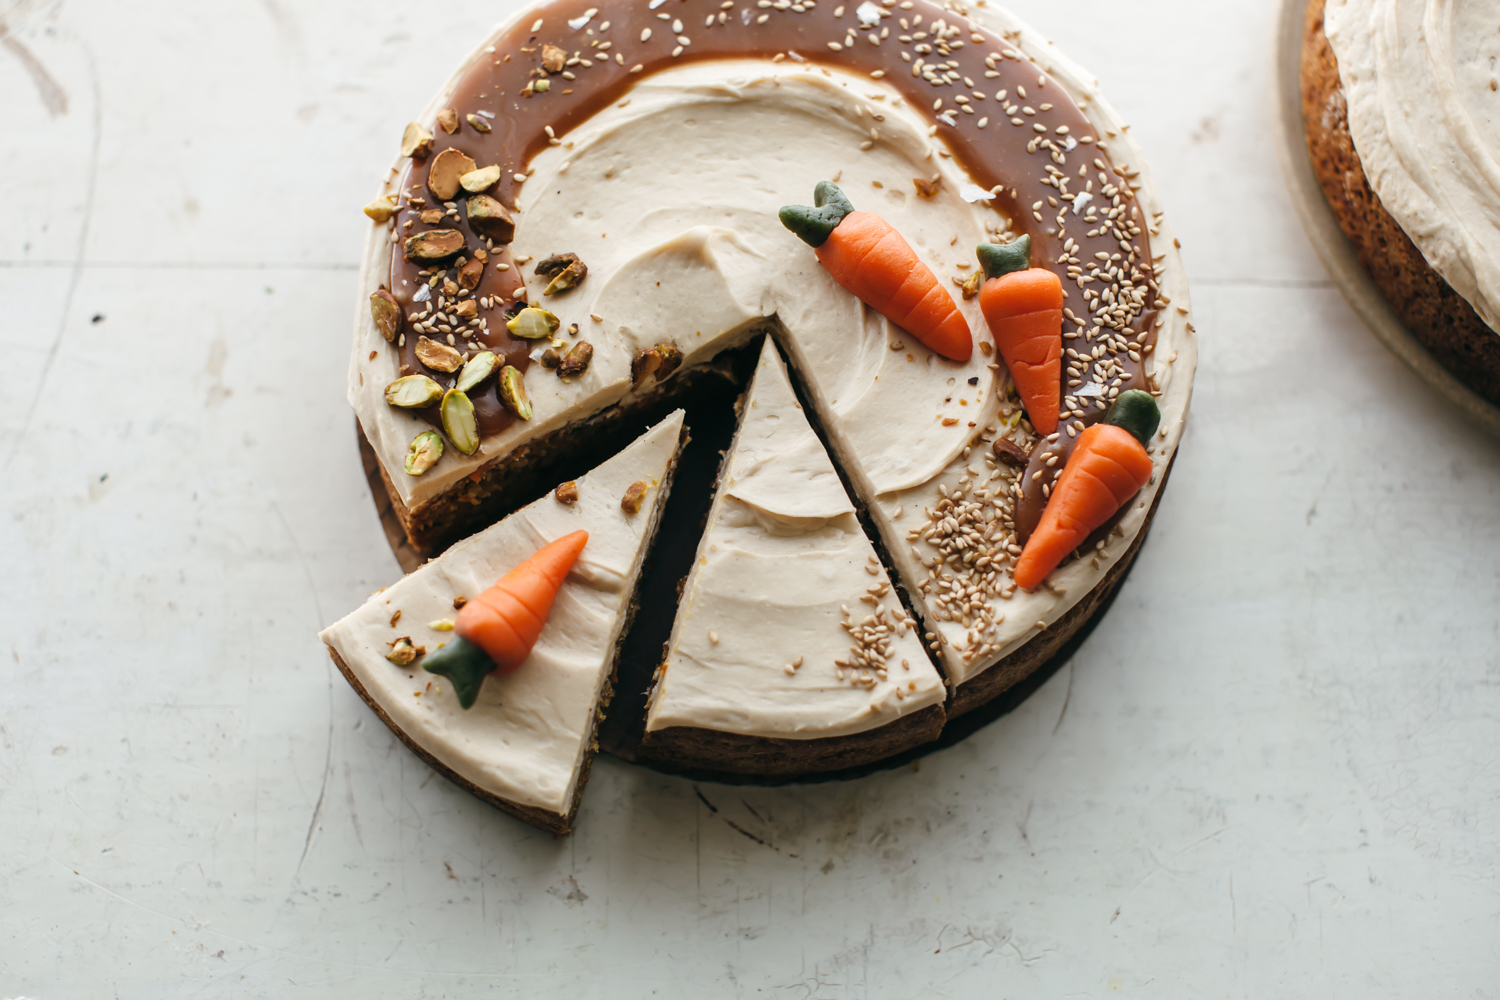
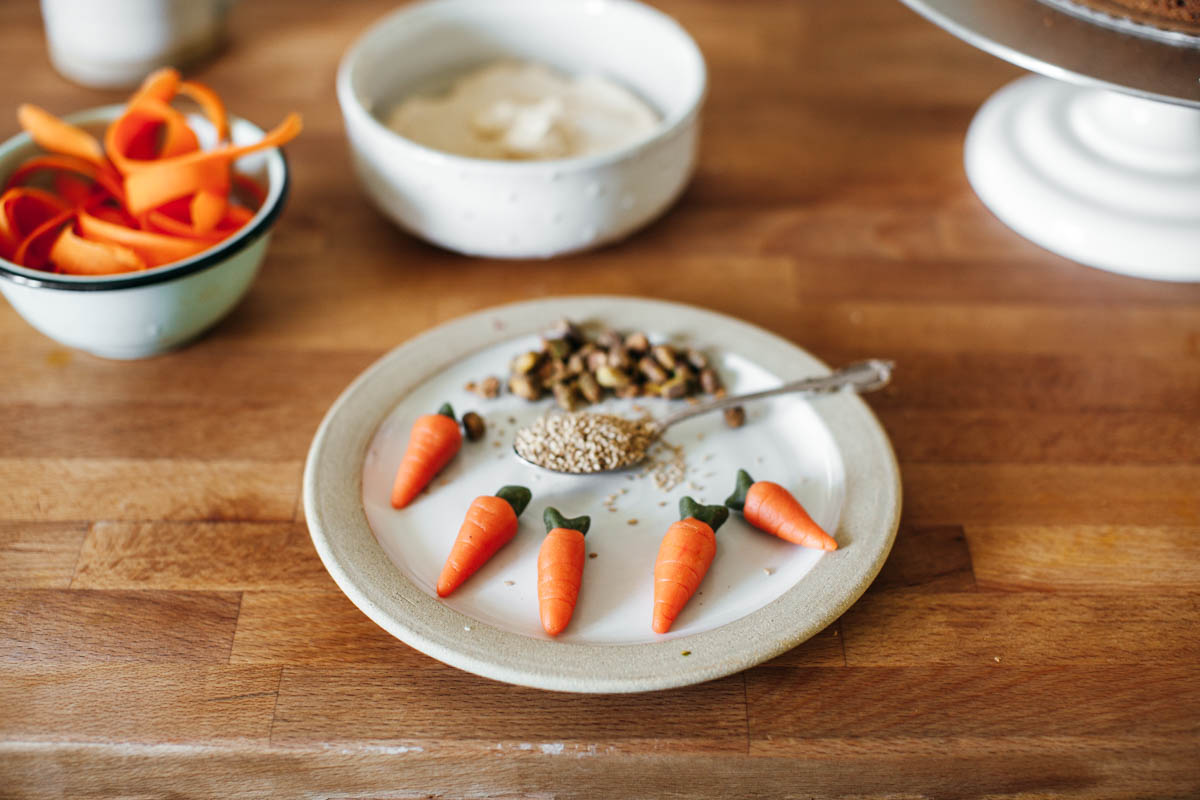
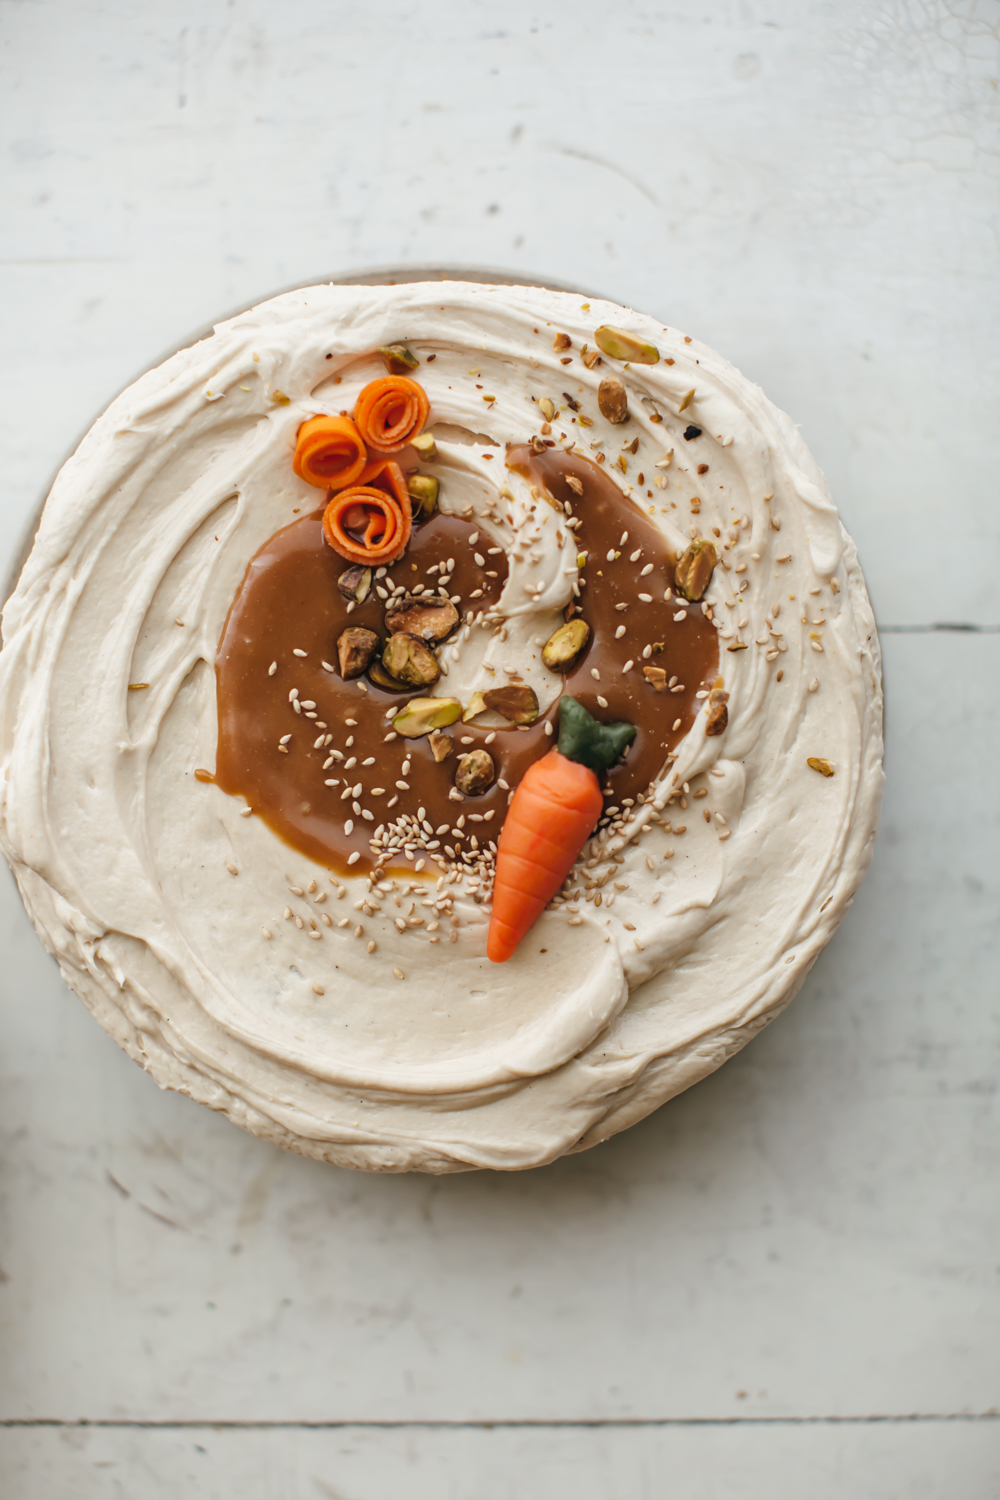
Oh pistachios! I added them because I like them. And sesame seeds are there because that’s what Soframiz does and I like that there is some sesame continuity now with the frosting. And marzipan carrots are my non-negotiable. 

Ok I’m really done now. 

Happy birthday to me and to my pops! I am spending the day decorating cake and making hotdish and recovering from a weekend of piñata making, taco eating, and rhombus brewery shutting downing!

K bye!


carrot cake with hawaij and tahini caramel frosting

makes two 8" one-layer cakes (pictured) or one 8" two-layer cake

ingredients

for the cake:

2 1/2 c (340g) all-purpose flour 

1 1/2 tsp kosher salt

1 1/2 tsp baking powder

1 1/2 tsp baking soda 

2 tsp cinnamon 

1 tsp hawaij (or sub 1/2 tsp ginger, 1/2 tsp cardamom, and a pinch each of nutmeg and cloves)

1 c (166g) c brown sugar 

3/4 c (154g) c granulated sugar

1 1/2 c (320g) oil (to sub browned butter, brown 400g butter using stella’s directions and cool

4 large eggs 

1 tb vanilla bean paste or extract

2 c (200g) freshly shredded carrots 

Optional: 2 tb toasted sesame seeds and/or 90g chopped roasted pistachios

for the frosting:

6 tb (76g) granulated sugar

1/4 tsp kosher salt

1 tb water

1/4 c (63g) heavy cream

1/2 c (114g) unsalted butter, softened and divided

3 tb (48g) tahini

8 oz (226g) cream cheese, softened

1 1/2 tsp vanilla extract

to assemble:

Shaved carrot flowers

Marzipan kneaded with orange and green food coloring and shaped into flowers

Pistachios

Sesame seeds

Sprinkles

Birthday candles

clues

for the cake:

preheat the oven to 350ºf. grease and line two 8” cake pans with parchment and set aside.

in a large bowl, combine the flour, salt, baking powder, baking soda, cinnamon, and hawaij and set aside. in a large bowl, whisk together the brown sugar and granulated sugar with the oil. whisk in each of the eggs, one at a time, mixing well after each. whisk in the vanilla extract.

using a wooden spoon or rubber spatula, add the dry ingredients to the wet ingredients and mix until about 90% incorporated. add the carrots, sesame seeds and pistachios (if using), and mix to incorporate (and by this time all of the flour mixture should be incorporated as well).

pour the batter into cake pans and bake until a toothpick inserted into the center comes out clean, begin checking for doneness at 30 minutes.

cool for 10 minutes in the pans and then turn onto a wire rack to cool completely. 

for the frosting:

first make the tahini caramel: place the sugar and 1/8 tsp salt in a saucepan. stir in the water and cook over high heat until it starts to bubble. stop stirring and continue cooking for 2-4 minutes until it turns a medium amber color. reduce heat to low and carefully drizzle in the cream while stirring (it will bubble up quickly and make a weird sucking sound, don’t be alarmed). continue to stir until the mixture smooths out. add half of the butter (1/4 c), cube by cube, stirring, until mixture is thick and homogeneous.

remove from the heat and stir in the tahini. let cool and refrigerate until ready to use. this can be made a day in advance. 

To make the frosting, combine the caramel, remaining 1/4 c butter, cream cheese, vanilla, and remaining 1/8 tsp salt in a stand mixer and mix with a paddle attachment until smooth. 

to assemble:

frost each cake liberally with frosting and decorate as desired! or, stack the two cakes for the two-layer version. 

enjoy!


-yeh!